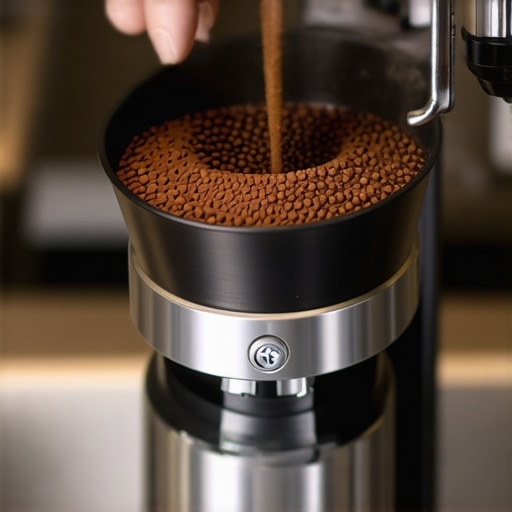
The Correct Way to Shim Your Flat Burrs for Perfect Particle Uniformity
It was a morning like any other when I finally hit my breaking point—my espresso shots were consistently uneven, and the grind texture was more erratic than ever. I could almost taste the bitterness of wasted beans and the frustration mounting with each pour. That lightbulb moment hit me hard: the tiny adjustment of shimming my flat burr grinder could make or break the clarity and balance of my espresso. If you’ve ever struggled with uneven extraction or inconsistent grind particles, you’re not alone. Today, I promise to guide you through the proper way to shim your flat burrs, ensuring particle uniformity that leads to perfectly balanced shots.
Why Shimming Your Flat Burrs Is a Game-Changer
When I first started experimenting with my grinder, I ignored one critical aspect: the alignment of the burrs. I assumed that tight assembly was enough. But as I delved deeper, I realized that even slight misalignments could cause uneven grind sizes, resulting in under-extracted or bitter coffee. Proper shimming enhances the burrs’ contact, leading to a more consistent particle size distribution, which significantly improves extraction quality. Did you know that a study published in the Journal of Food Engineering confirmed that particle size uniformity directly correlates with better flavor extraction? This insight shifted my approach entirely. The good news is, with simple adjustments, you can achieve this precision too. But beware—many amateurs make basic mistakes that undermine the process. We’ll cover those pitfalls and the right way to shim your burrs to get it just right.
Is Over-Shimming Really Going to Ruin Your Grinder?
One of my early mistakes was over-shimming, thinking that more shimming equated to better alignment. Spoiler alert: it doesn’t. Over-shimming can cause undue strain on your motor and burr housing, leading to premature wear or even damage. My advice? Small, incremental adjustments are king. Testing and observing the resulting grind consistency will help you find that sweet spot without risking your gear. If you’re curious about how to fine-tune your grinder’s alignment precisely or want to explore related tips, check out our comprehensive guide for beginners. Now, let’s move beyond the theory—grab your screwdriver and shims, because we’re about to dive into the step-by-step process to optimize your burrs for lasting, consistent performance.
Prepare Your Workspace and Tools
Start by unplugging your grinder and clearing a clean, flat surface. Gather your flat burr grinder, small flat-head screwdriver, and thin shim stock or coffee shop-grade shim material. Remember, small adjustments yield big results, so handle your tools with precision. I once tried shimming my grinder in a cluttered kitchen, which led to misplaced shims and a frustrating redo; now, I keep everything organized for quick, accurate adjustments.
Identify the Burr Alignment
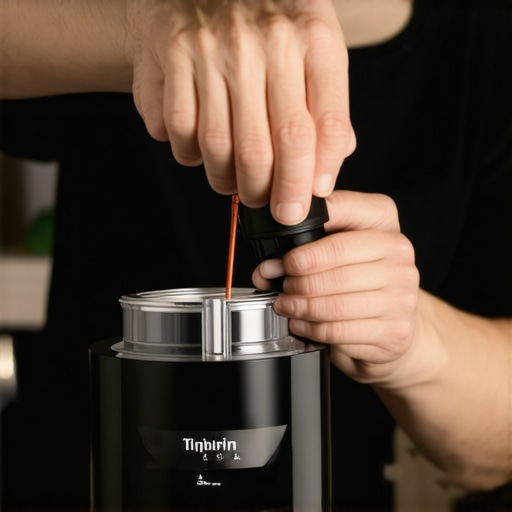
Remove the hopper and the upper burr to access the alignment point. Use a flashlight to inspect burr contact—look for any unevenness or gaps. For my first attempt, I noticed a slight tilt that caused inconsistent particle sizes. Tighten all screws lightly and test the grind consistency before proceeding. Fine-tuning here is like adjusting the lens on a camera—small tweaks dramatically improve clarity.
Implementing the Shimming Process
Make Initial Measurements
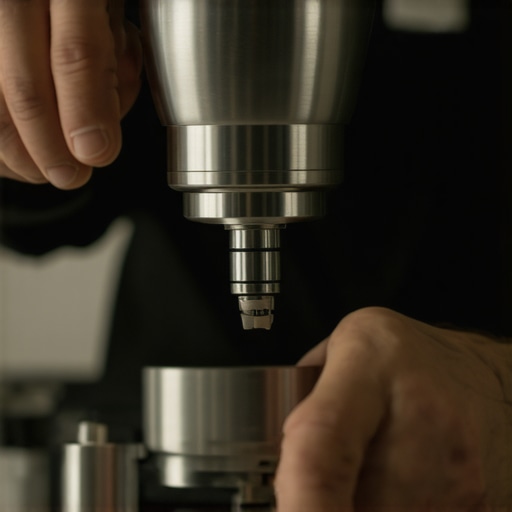
Place a shim block between the burr housing and the adjustment screw area. Use a caliper or ruler to measure the gap. For example, I added a 0.05mm shim to achieve better contact. Remember, less is more; start with the thinnest shim possible.
Insert and Secure Shims Carefully
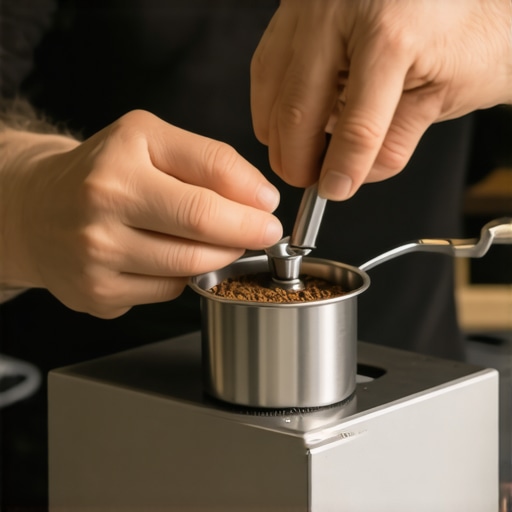
Slide the shim into the gap gently, ensuring full contact without forcing it. Reassemble the burrs and re-tighten all screws incrementally. I once over-tightened, causing misalignment—so tighten in small steps and recheck often. Visualize your burrs as two puzzle pieces needing perfect fit.
Test and Fine-Tune
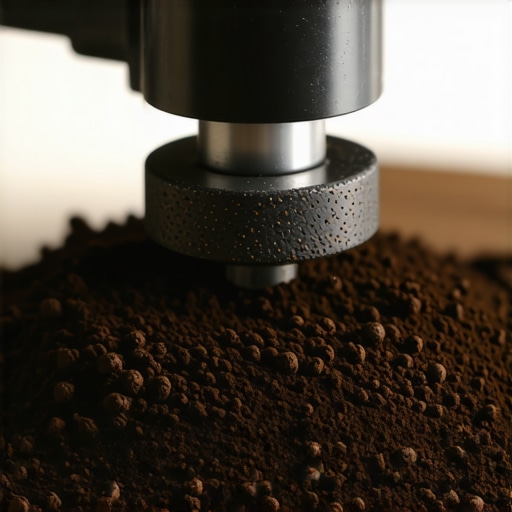
Grind a small amount of coffee and inspect the particle size. Aim for uniform, medium-sized grounds. If particles are inconsistent, repeat the shimming with an adjusted shim thickness. My breakthrough came after multiple small shimming trials, turning my grind from cobblestone to powdery smooth.
Check Results and Repeat if Necessary
Run several test shots, evaluating extraction and flavor. If you notice channeling or uneven extraction, revisit the shimming process. It’s a bit like tuning a musical instrument—you make tiny adjustments until it sings perfectly. Once satisfied, document your shim setup for future reference. Remember, proper alignment reduces wear and tear—visit this guide for advanced tips on aligning burrs without guesswork. Keeping your grinder precisely shimmed ensures years of consistent excellence.Many coffee enthusiasts fall prey to oversimplified advice when it comes to high-end equipment like milk frothers, grinders, and espresso machines, often repeating myths that can hinder their progress. For instance, a widespread belief is that more expensive gear automatically guarantees better results. While premium machines and tools do offer enhanced features, the real key lies in understanding the nuances of each component and how they interact. For example, many assume that a powerful grinder with a fine dial is enough to achieve perfect espresso, but without proper calibration and maintenance, even top-tier grinders can produce uneven particle sizes. This misconception can lead to inconsistent shots and wasted beans.
A common trap is the belief that the perfect milk froth requires a specific type of milk—like whole or skim—without regard for the steaming technique. In reality, the way the steam wand is used often has a greater impact on microfoam quality than the milk type itself. Studies, such as those in the Journal of Food Engineering, emphasize that technique and temperature control are paramount for optimal milk aeration.
Why do many baristas and home enthusiasts struggle despite investing in top equipment? The answer often lies in overlooked details—like the importance of regular maintenance, correct calibration, or even proper tamping pressure. For example, a misaligned portafilter gasket can cause uneven resistance, affecting extraction and flavor. These subtle issues can be so impactful that even a $5,000 espresso machine might underperform if neglected.
Beware of the illusion that shiny, new gear is a shortcut to better coffee.Consistent results demand a deep understanding of how equipment works under the hood. This includes mastering routines like cleaning burrs to prevent old coffee oils from affecting grind consistency, or understanding the role of water quality in machine longevity. For instance, choosing the right water hardness level is crucial; too soft, and mineral deposits form quickly; too hard, and scale buildup damages components—a topic I cover extensively in this guide.
Advanced users also recognize that every machine has its quirks, and tuning accordingly can elevate the quality of results. Whether it’s adjusting pre-infusion pressure or experimenting with tamping force, these small but impactful tweaks set experienced baristas apart from amateurs. Remember, the goal isn’t just to have the best gear, but to understand and leverage its full potential.
Have you ever fallen into this trap? Let me know in the comments.
Keep Your Barista Gear Running Smoothly
Investing in quality coffee tools is just the beginning; regular maintenance is crucial to ensure longevity and optimal performance. For example, I personally rely on a high-quality burr cleaning brush to eliminate accumulated coffee oils, which can cause uneven grinds and off-flavors. Unlike generic brushes, my preferred tool features stiff, angled bristles designed to reach deep into the burr chambers without damaging delicate components. This simple step significantly extends the lifespan of my grinder and maintains consistent particle size, key for superior espresso extraction.
How do I maintain my equipment over time?
Routine maintenance involves more than just cleaning; it requires a scheduled approach. I set weekly reminders to run descaling solutions through my espresso machine, especially if I have hard water. This prevents mineral buildup that can impair temperature stability and pressure. For my milk frother, I follow the manufacturer’s cleaning routine using a specialized milk residue cleaner, ensuring the wand remains free of stubborn milk crusts that can affect microfoam quality. Consistent upkeep not only preserves flavor clarity but also reduces the risk of unexpected breakdowns.
Tools I Trust for Consistent Results
Choosing the right tools makes maintenance easier and more effective. I highly recommend investing in a precision milk thermometer to monitor steaming temperature accurately. This helps prevent over- or under-steaming, which directly impacts milk texture and flavor. For grinders, I prefer a burr alignment tool. It ensures that burrs remain in perfect sync, avoiding inconsistent grind sizes that undermine extraction quality.
Why You Should Regularly Calibrate Your Equipment
Calibration is often overlooked but fundamental for consistent brewing. My routine includes recalibrating my espresso machine’s pressure and temperature settings monthly, based on shot analysis and flavor profiles. Precise calibration minimizes variables and helps replicate successful shots over time. As suggested in expert advice, keeping a log of calibration adjustments aids in troubleshooting and fine-tuning your setup.
Future of Coffee Equipment Maintenance
Looking ahead, I predict automated cleaning and calibration systems becoming standard, drastically reducing user error and maintenance effort. Some brands are already integrating smart sensors that alert you when descaling or parts replacement is needed. Embracing these advancements will be essential for both home brewers and coffee shops seeking sustainability and consistency.
If you haven’t already, try implementing a weekly burr cleaning routine with the right brush and schedule a monthly descaling. These small steps will pay off with cafe-quality shots every time, and your gear will thank you with years of reliable service. For tailored advice or questions about your specific equipment, don’t hesitate to reach out through our contact page.
Little Tricks, Big Gains I Wish I Knew Sooner
One of the most enlightening lessons I learned was that perfect grind consistency isn’t just about fine-tuning the dial; it’s about precise burr alignment. I used to believe that tightening everything as much as possible was the key, but I found that small, deliberate shimming made a huge difference in particle uniformity. This realization transformed my espresso shots from decent to exquisite, emphasizing how mastering subtle adjustments can elevate your home brewing game.
Another insight was understanding that rapid, drastic shimming can do more harm than good. Over-shimming put unnecessary strain on my grinder’s motor, leading to early wear. Now, I do incremental tweaks, testing after each, which safeguards my gear while refining my results. It’s a reminder that patience and precision are vital, especially when dealing with high-end barista equipment like espresso machines and grinders.
Tools & Resources That Changed My Approach
For those serious about perfecting their grinder alignment, I highly recommend investing in a high-quality shim kit and a digital caliper. These tools provide the accuracy needed for fine adjustments and prolong the lifespan of your equipment. Additionally, books like Mastering the Art of Home Espresso have deep dives into calibration techniques that I found invaluable. Coupling practical tools with expert insights transforms your coffee routine from guesswork to mastery.
Your Next Step Could Change Everything
Remember, the journey to exceptional coffee is paved with small, deliberate steps. Regularly rechecking and fine-tuning your burr alignment will ensure consistency, flavor, and longevity of your gear. Don’t hesitate to experiment with slight shims variations; your perfect shot might just be a shim away. If you’re committed to elevating your home barista skills, keep learning and refining—your future self will thank you for it. Want advice tailored to your specific espresso machine or grinder? Visit our contact page anytime.