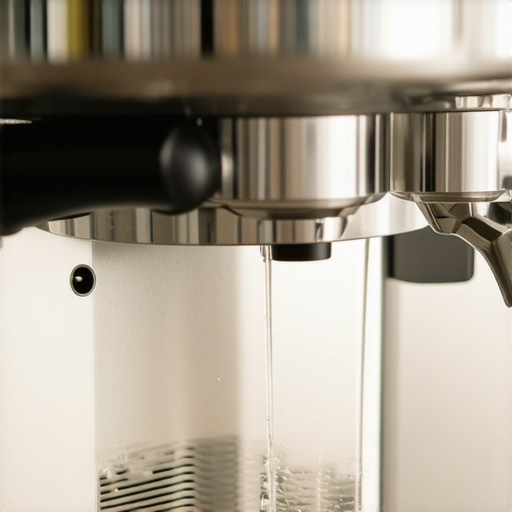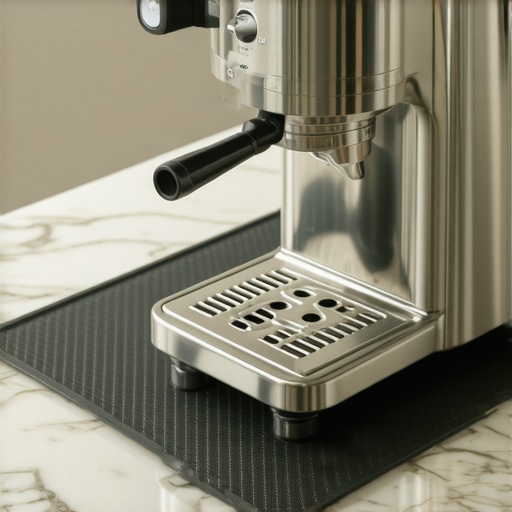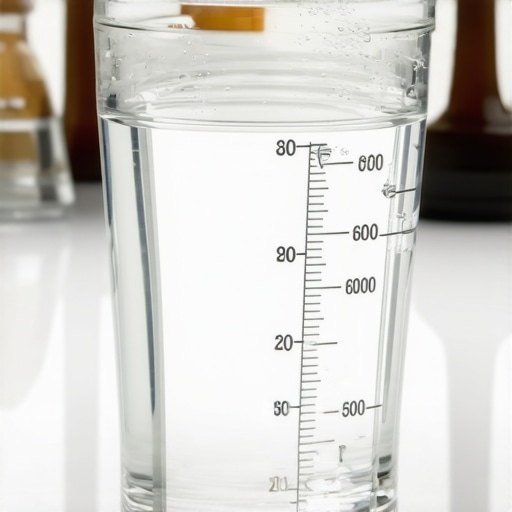
The Best Water Hardness Level for Longevity and Flavor
It was early morning, and I was eager to craft my perfect espresso. As I pulled the shot, I noticed a strange, metallic taste lingering on my palate. Frustration set in—what was I doing wrong? Turns out, the culprit was right there in my water. That moment of realization hit me hard: water quality, specifically water hardness, plays a crucial role in both the longevity of my equipment and the flavor of my coffee. If you’ve ever faced inconsistent espresso shots, mineral buildup, or even equipment breakdowns, you’re not alone. And the good news is, understanding and optimizing your water hardness can transform your brewing experience for the better.
Why Water Hardness Matters More Than You Think
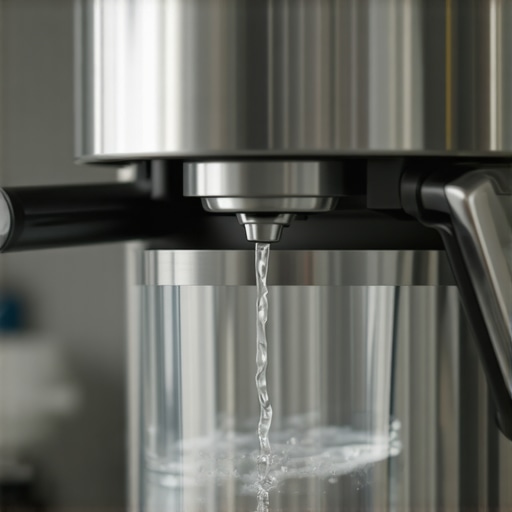
In the world of home espresso enthusiasts, we’ve often focused on grinders, beans, and machine settings. But water—yes, simple tap water—can drastically influence your results. Too hard, and mineral deposits can clog your machines, reducing lifespan and causing costly repairs. Too soft, and you might miss out on essential mineral extraction, resulting in flat or dull flavors. Striking the right balance isn’t just about taste; it’s about protecting your investment and ensuring consistent quality. As I learned, neglecting water quality can lead to calcium or limescale buildup that shortens machine life—something I discovered the hard way early on (a mistake I now share to help you avoid similar pitfalls). In fact, experts say that water accounts for about 98% of the water in your espresso—making it a fundamental element you can’t afford to ignore.
Is Water Hardness a Buzzword or a Real Problem?
I used to think water hardness was just an industry term, hype for mineral water brands. But after facing persistent issues with my espresso machine clogs and strange tastes, I realized it was a real, tangible problem. Initially, I dismissed it as just normal buildup, until my machine started to lose performance, and my shots became unpredictable. That’s when I discovered that early mistakes—like neglecting descaling or ignoring the mineral content—can jeopardize your equipment’s lifespan and flavor quality. For instance, using unfiltered tap water without considering mineral content can be the silent assassin of your brewing setup.
If this resonates with you, know that there’s a straightforward way to identify your water’s hardness and adjust accordingly. From testing kits to simple filtration solutions, I’ll guide you through the steps to find that sweet spot that ensures both longevity and flavor excellence. Ready to make your water work for you instead of against you? Let’s dive deeper into how to assess your water and optimize it for home espresso mastery.
Test Your Water Before Making Changes
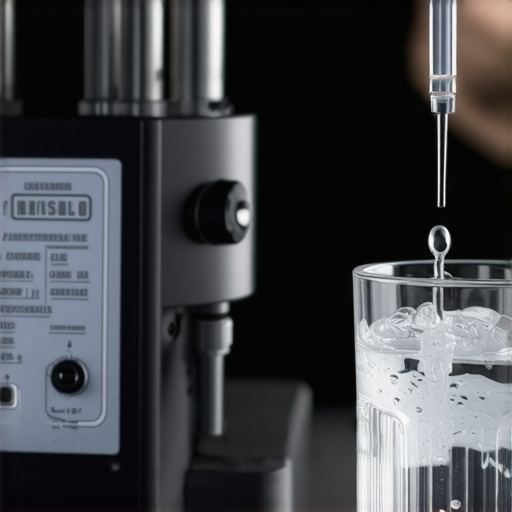
Start by measuring your water hardness with a simple test kit, available at hardware stores or online. This initial step was crucial for me when I realized my shots were inconsistent. I poured a sample into the test strip container and waited a minute; the color change indicated my water was moderately hard. Knowing this, I could plan precise adjustments instead of guesswork.
Choose the Right Filtration Method
Install a Reverse Osmosis System or Water Softener
For my setup, installing a reverse osmosis (RO) unit under the sink significantly reduced minerals. Remember, this step is vital because unfiltered tap water contains minerals that can lead to buildup. When I first installed the RO system, my machines ran smoothly, and the flavor improved noticeably. It’s like giving your espresso machine a detox—less mineral buildup, longer lifespan. For softer water, consider a commercial-grade water softener that exchanges calcium and magnesium ions for sodium. Make sure to pick a system compatible with your water supply and budget. Learn more about selecting such systems here.
Adjust Your Brew Water Composition
Once filtered, you might need to fine-tune the mineral content for optimal extraction. Use a mineral addition kit tailored for coffee brewing, which enables you to add small amounts of minerals to achieve desired hardness levels. I experimented with adding magnesium sulfate and calcium chloride slowly, testing after each addition. Aim for a total hardness around 50-70 ppm, which balances extraction and machine health. This step reminded me of seasoning a cast-iron pan—small adjustments over time yield the best results.
Maintain Consistency with Regular Testing
Water conditions change over time, so I set a monthly reminder to re-test my water. This proactive approach helped catch mineral buildup early, saving me from costly repairs. Also, regularly clean your espresso machine’s water reservoir and descaling schedules to prevent mineral accumulation. For detailed descaling guides, check this article. Consistency in water quality guarantees your shots stay rich and flavorful without surprises.
Use Proper Storage to Prevent Recontamination
After filtering, store water in a sealed, non-reactive container—preferably glass or food-grade plastic—to avoid contamination. I keep mine in a cool, dark place, reducing the chance for bacteria or mineral deposits to develop. This simple step maintains water purity and ensures every espresso shot hits the mark. Repeatedly, I saw that neglecting proper storage led to flavor degradation over time, making this a critical but often overlooked part of the process.
Many home baristas fall prey to oversimplified beliefs about espresso equipment, which can hinder their progress and even damage their gear. One widespread myth is that all milk frothers are created equal—that any device can produce perfect microfoam with minimal effort. In reality, not all frothers are suited for making high-quality microfoam, especially the automatic ones that often create larger bubbles or uneven textures. For example, specialized milk frothers offer better control and consistency, but many enthusiasts settle for cheaper models that produce inferior results—leading to frustration and subpar beverages. This misconception can be a trap, causing you to invest in a device that hampers your ability to craft those silky textures professional baristas are known for. Knowing the nuances between different types of frothers and selecting the right one is crucial for elevating your home coffee game.
Another common mistake involves underestimating the importance of high-quality barista gear, especially when it comes to espresso machines and grinders. Some believe that upgrading to a fancy espresso machine isn’t necessary if your current setup brews acceptable shots. However, expert advice shows that lower-end machines often lack precise temperature control, stable pressure, or consistent extraction, which are essential for dialing in flavor. Using an inferior grinder also results in uneven particle sizes, compromising extraction quality. Investing in better equipment might seem costly upfront, but it’s an advanced step toward true home barista mastery. Remember, a top-tier grinder paired with a reliable machine can unlock a spectrum of flavors hidden in your beans.
How often do you skip routine maintenance or cleaning, thinking it’s unnecessary? This mistake can be more detrimental than you realize. Residual coffee oils, mineral deposits, and milk residues build up over time, affecting taste, brewing performance, and even leading to equipment failure. Proper maintenance isn’t just about hygiene; it preserves your gear’s precision and longevity. For example, neglecting regular descaling or cleaning the steam wand can cause clogging, pressure drops, and microbiological growth—leading to poor microfoam and inconsistent shots. A simple routine can prevent these issues, saving you money and ensuring every cup lives up to its potential.
Let’s tackle an advanced question often overlooked by enthusiasts: What subtle equipment flaws can cause your espresso shots to taste flat or sour, despite correct grind and tamping? The answer lies in minute adjustments like group head gasket tightness, shower screen cleanliness, or slight pressure inconsistencies. Even seasoned baristas sometimes overlook such nuances, which can lead to disappointing results. For instance, a worn-out gasket can cause pressure drops, leading to under-extraction and sour flavors. Regularly inspecting and replacing components like the gasket or aiming for a perfect tamp pressure can make a marked difference. For detailed troubleshooting techniques, visit pressure gauge insights. Mastering these subtle details transforms competence into expertise.
In conclusion, refining your approach to gear selection, maintenance, and understanding the nuances of your setup can significantly elevate your home espresso experience. Don’t fall into common traps or settle for mediocre results—investing in knowledge and quality makes all the difference. Have you ever fallen into this trap? Let me know in the comments.
To ensure consistent, high-quality espresso at home, maintaining your gear with precision tools and routines is essential. Regular calibration of your grinder using a digital scale like the Espro Calibrator helps maintain uniform grind sizes, directly impacting shot quality. I personally rely on this device to keep my grinder’s adjustments accurate, preventing uneven extraction. Additionally, a high-quality cleaning schedule, including descaling agents like descaling solutions, extends the lifespan of espresso machines and preserves flavor integrity. Regularly inspecting components such as shower screens and group gaskets prevents pressure leaks that can compromise shot consistency. For software management, Espresso Shield—a specialized monitoring app—allows me to track temperature stability and pump performance over time, catching potential issues early and avoiding costly repairs. Looking ahead, integrating IoT sensors with your equipment could revolutionize maintenance, alerting you proactively before problems arise, ensuring your setup always performs optimally.
How do I maintain my espresso setup over time?
Daily routines such as wiping down surfaces and flushing water lines preserve cleanliness, but weekly deep-cleaning with small pipe cleaners like these pipe cleaners can prevent stubborn clogs. Equipment calibration should be revisited monthly; using a precise timing tamping mat helps you maintain consistent pressure with each shot, which is critical for flavor clarity. I also recommend setting reminde to replace worn parts, such as portafilter threads, before they cause leaks. Maintaining a log of maintenance tasks assists in tracking long-term trends, minimizing surprises. For a comprehensive guide on this process, visit our mastering-the-art of home espresso resources. Incorporate these practices, and your gear will reward you with flawless shots for years to come—consider trying out a calibration using a digital scale today to elevate your grind consistency.
Over the years, I’ve realized that some of the most profound improvements in my coffee routine stemmed from a simple, often overlooked detail: water quality. The lessons I’ve learned about water hardness have revolutionized my approach, transforming my espresso from good to extraordinary. And guess what? These insights aren’t just my secret—they can become yours too.
What I Wish I Knew About Water and Espresso
- Small changes make big differences: Adjusting mineral levels even slightly can enhance flavor clarity and machine longevity. Don’t underestimate the power of precise water tuning.
- Myth-busting water misconceptions: Not all filtered water is ideal. In fact, some filters strip away beneficial minerals, leading to flat shots. Finding the right filtration balance is key.
- Personalized setups are worth it: Every water source is unique. Investing in testing kits and custom solutions tailored to your local water can save you headaches and money down the line.
- Regular attention prevents surprises: Routine testing and maintenance have kept my equipment running smoothly for years. Consistency in care equates to consistency in taste.
- The magic of mineral adjustments: Adding back specific minerals after filtration can unlock the full potential of your beans, delivering a rich, balanced espresso every time.
Tools and Resources That Made a Difference in My Journey
- Choosing the right barista gear—Understanding your equipment’s capabilities and limits helped me optimize my setup, ensuring that water quality aligned seamlessly with my machine’s needs.
- Top-rated espresso machines—My research guided me toward reliable, high-performing machines that handle water specs better, reducing maintenance and improving shot consistency.
- Cleaning essentials—Keeping my equipment pristine prevents mineral buildup and preserves water’s purity, directly impacting flavor.
- Perfect grinder selection—Grind consistency and particle size distribution are vital; combined with optimal water, they make miraculous flavor differences.
Seize the Moment to Elevate Your Home Espresso Game
Embarking on the journey to optimize water hardness isn’t just about fixing problems—it’s about unlocking a new level of coffee excellence. With patience, precise tools, and a mindset of continuous improvement, you can enjoy barista-quality shots right in your kitchen. Remember, the key is consistency. Regularly test, adjust, and cherish the process, and you’ll find that each cup becomes an expression of your dedication and newfound knowledge.
Are you ready to make your water work for you? What step will you take today to sharpen your coffee craft? Let me know below!