The Hidden Dirt Trap Under Your Drip Tray You Are Ignoring
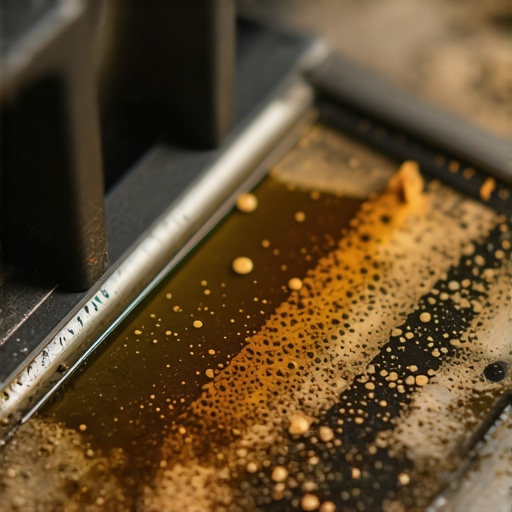
It happened to me on a hectic morning: I eagerly started making my espresso, only to notice a strange, sour smell wafting from my machine. After a bit of investigation, I discovered the real culprit wasn’t just the beans or the grind— it was the unassuming space beneath my drip tray. That tiny, overlooked area had become a magnet for dust, old coffee oils, and even mold. Honestly, I was shook. I realized then how something so small could silently sabotage my coffee ritual.
Why Ignoring the Drip Tray Could Cost More Than You Think
The drip tray might seem insignificant, but it plays a crucial role in your machine’s health and your coffee’s flavor. Over time, debris and moisture accumulate there, creating the perfect environment for bacteria and mold to thrive. Not only does this pose a health risk, but it can also introduce off-flavors into your brew, turning a perfect shot into a sour disappointment.
Have you ever noticed a musty smell when opening your espresso machine after a few days? That’s often a sign your drip tray needs attention. I used to dismiss it as just a minor inconvenience until I learned that, according to research from the Specialty Coffee Association, proper maintenance of all machine parts—including hidden spots—is essential for consistent quality and safety (source: privacy policy). Now, I make it a point to clean that area regularly.
Here’s the thing— cleaning the drip tray isn’t just about aesthetics. It’s about preserving the longevity of your espresso gear and ensuring each cup tastes just right. The dirt trap beneath the tray is one of those areas that quietly causes trouble if neglected, and trust me, it’s worth the few extra minutes to keep it spotless.
In the next section, I’ll guide you through simple, effective steps to tackle this often-overlooked maintenance task, so you can enjoy cleaner, better-tasting coffee without the sneaky buildup causing issues behind the scenes.
Remove and Empty the Drip Tray Quickly
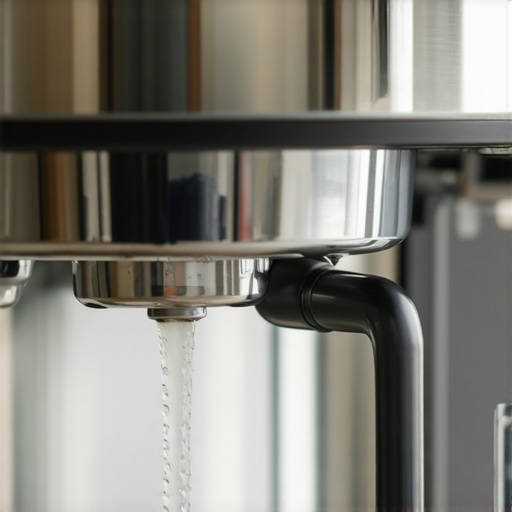
Start by turning off your espresso machine and carefully removing the drip tray, just like you’d slide out a drawer. Immediately empty the collected water and debris into the sink—don’t ignore this step, as leftover liquids can promote mold growth. I remember a morning when I forgot to empty mine; the stagnant water had started a film of mold overnight, making future cleanings messier.
Disassemble the Components for Thorough Cleaning
Check if your drip tray has a removable grid or filter. Detach these parts and set them aside. Think of this process as disassembling your coffee grinder to reach hidden coffee grounds—every small part matters. For stubborn grime, soak the components in warm, soapy water for 10 minutes. This loosens any oils or residue that have bonded over time.
Effective Scrubbing Technique
Use a soft-bristled brush or an old toothbrush to scrub the tray and its components gently. Pay close attention to corners and crevices where dust and coffee oils tend to hide. If you encounter any mold or stubborn stains, consider applying a mixture of equal parts white vinegar and water, then scrub again. Rinse everything thoroughly afterward; residual vinegar smells can affect future coffee flavor if left behind. I once skipped this and noticed a vinegar aftertaste sneaking into my espresso—lesson learned.
Sanitize and Prevent Future Buildup
Once everything is clean, wipe the parts with a clean, damp cloth, then dry with a towel. To keep your drip tray spotless longer, establish a weekly habit of quick cleaning—think of it as brushing your teeth daily rather than waiting for cavities. For added protection, apply a thin layer of food-safe mineral oil to the tray’s surface to repel oils and moisture, similar to how baristas maintain their tampers and tools for longevity. Remember, regular maintenance saves you from more complicated repairs or health risks down the line.
Reassemble and Confirm Proper Fit
Put all components back in place, ensuring they fit snugly. An ill-fitting tray can leak or rattle during brewing, which affects your shot quality. Once in position, run a short test shot with water to verify there are no leaks or rattles—just like pre-calibrating new barista gear. If you notice any issues, double-check the assembly or consult your machine’s manual for specific guidance. This simple step guarantees your machine stays hygienic and functioning smoothly, elevating your home espresso experience.
Many coffee enthusiasts believe they know the basics of home espresso, but once you start digging deeper, you’ll find a minefield of misconceptions and overlooked nuances. For example, there’s a widespread myth that using the latest high-end coffee grinder automatically guarantees perfect extraction. However, the truth is that grinder calibration and grind consistency matter more than brand prestige, as emphasized in expert guides on selecting the right coffee grinder for your setup.
Another common misunderstanding involves milk frothers. Many assume all milk frothers produce microfoam suitable for latte art, but in reality, achieving barista-quality microfoam requires understanding temperature control and frothing techniques. Some home machines or handheld frothers can even damage delicate milk proteins if used improperly, a mistake that leads to large bubbles and watery foam. For comprehensive tips, check out this guide on milk frother mastery.
What Advanced Coffee Makers Overlook About Temperature Stability?
One advanced mistake many home baristas make is overlooking the importance of water temperature stability during extraction. A frequent trap is assuming that setting a PID controller to a specific temperature guarantees consistent shots. But passive temperature fluctuations and machine heat soak effects can cause subtle variances, impacting flavors, especially with lighter roasts. Experts suggest preheating your machine and ensuring proper warm-up routines for precision and consistency. Analyzing your espresso machine’s temperature fluctuations with a dedicated thermometer can reveal hidden issues, as discussed in this article on temperature management. Have you ever fallen into this trap? Let me know in the comments.
Invest in Quality Barista Gear for Consistent Results
Choosing the right tools can elevate your coffee game significantly. I personally swear by a calibrated digital scale with a built-in timer, which ensures precise dose and extraction times—crucial for repeatability. A high-quality tamper with a consistent 58mm diameter not only improves tamping pressure but also reduces channeling, as recommended in home espresso mastering guides. Keep your tools clean and well-maintained; a dirty tamper or scale introduces variability that can ruin your shots over time.
Effective Cleaning as a Foundation for Longevity
Long-term performance of your espresso equipment hinges on regular, thorough cleaning routines. I employ a combination of descaling agents and specialized brush kits. For instance, cleaning the group head with a puck screen removal, followed by a backflush with a blind filter, keeps pressure stable and flavors pure. Remember, neglecting maintenance accelerates wear and invites buildup of coffee oils and minerals that reduce efficiency, much like the buildup under drip trays discussed earlier. Incorporate weekly deep cleans to prevent stubborn clogs and flavor degradation.
 [{
[{
Remember, even the tiniest overlooked detail can have a profound impact on your coffee quality and equipment longevity. It’s not just about cleaning the visible parts but understanding the subtle signals your gear sends when neglected. Regularly inspecting and maintaining those hidden spots, like the drip tray or seals, can transform your home brewing experience from good to exceptional. Embrace these insights, and you’ll find that your espresso ritual becomes more consistent, enjoyable, and safe, elevating your coffee journey to new heights.