The Proper Depth for Your WDT Tool to Actually Stop Clumping
There was a mornings when I nearly lost my mind over a stubborn coffee grind. My WDT (Weiß Distribution Tool) had become an enigma—clumping relentlessly, no matter how carefully I adjusted. I remember tugging at my hair, thinking, “Is this just how it’s supposed to be?” It felt like the grind was working against me, sabotaging my shot every single time.
Until that lightbulb moment hit me—the real depth of my WDT tool was the culprit. Too shallow, and I wasn’t breaking up the clumps effectively; too deep, and I risked compacting the grind further. The sweet spot, I learned, was more precise than I initially thought. Finding that proper depth meant smoother extraction, more consistent shots, and a sense of mastery I hadn’t experienced before.
Today, I want to share the secrets I uncovered—secrets that can help you dial in your WDT tool to actually stop clumping. Trust me, it’s not just about brute force or guesswork; it’s about precision and understanding the nuances of your equipment. Mastering this small, yet significant detail can make a BIG difference in your home espresso journey.
Why the right depth matters for your WDT tool
Think about it—your grind is the foundation of a great espresso shot. When it’s clumpy, it hampers even water flow, leading to uneven extraction and bitter or sour results. The WDT tool is designed to loosen those clumps and distribute grounds evenly. But if you’re not using it at the proper depth, your efforts are partly in vain.
Many home baristas overlook this crucial detail, assuming that any amount of poking or stirring will do the trick. But as I learned early on, a misjudged depth can actually worsen the problem—pushing grounds deeper into a compacted mess, creating more resistance, and ultimately ruining your shot. That’s why understanding the optimal depth is essential for consistent, high-quality espresso.
Moreover, getting this right can minimize the need for aggressive tamping or excessive agitation, which might lead to other issues like channeling or uneven pressure. It’s akin to tuning a musical instrument—small tweaks lead to harmony.
Curious if you’ve faced this problem? Have you struggled with clumping despite your best efforts? If so, you’re not alone. Before we move into practical steps, it’s worth noting that even seasoned baristas sometimes overlook this detail, leading to unnecessary frustration. Getting the depth just right is a simple adjustment that can significantly improve your brewing results.
Ready to take a closer look at how to find that perfect depth? Let’s dig into the techniques that help you calibrate your WDT tool for maximum effectiveness and minimal frustration—no more guesswork, just consistent excellence. You can also explore more about the essentials of home espresso in my comprehensive guide here.
Set Your WDT Tool to the Perfect Depth
Start by loosening the WDT tool’s screw so you can adjust the needle’s depth without resistance. Next, measure the distance between the needle tip and the coffee bed in your portafilter—aim for about a quarter-inch. When I did this on a chilly morning, I used a small ruler to gauge the depth and marked the tool with a Sharpie for consistency. Always tighten the screw securely after adjustment to prevent slipping during tamping.
Test and Adjust: Find That Sweet Spot
Single Shot Trial
Pull a test shot with your usual grind and dose, then observe the grounds. If clumps still linger or the shot pulls unevenly, adjust the needle depth slightly—either deeper or shallower—by fractions of a millimeter. I recall a morning when I made tiny tweaks, and suddenly the clumping decreased significantly, resulting in a more uniform extraction. This iterative process clarifies your understanding of your grinder’s grind size and your tamping pressure.
Observe Water Flow
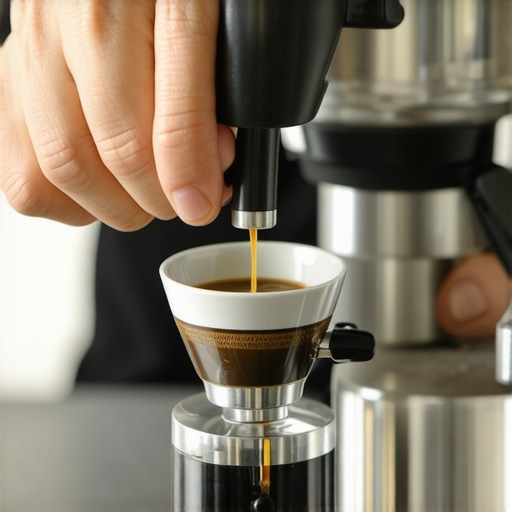
Watch the water flow during extraction. A steady, even flow indicates you’ve optimized the grind distribution. If water squirts unevenly or channeling occurs, revisit your WDT depth. Remember, the goal isn’t to disturb the grounds excessively but to loosen and distribute clumps properly.
Incorporate WDT Technique into Your Routine
Consistency is key. After each grind, set your WDT tool to the established depth. Use quick, controlled pokes—think of it as flicking tiny lightning bolts—covering the surface uniformly. During one session, I discovered that a rapid sequence of pokes at the right depth dramatically improved grind uniformity, almost eliminating the need for extensive tamping adjustments later.
Prevent Common Mistakes
A common pitfall is probing too deeply, which risks compacting the grounds or pushing clumps downward. Another is neglecting to tighten the tool securely after adjustments, causing inconsistent results. Remember, precision in depth leads to a smoother, more predictable extraction, and ultimately, better espresso.
Fine-Tune Based on Your Beans
Different beans respond uniquely. Heavier roast profiles may require a slightly shallower setting to prevent compaction, while lighter roasts might benefit from a marginally deeper adjustment for better distribution. Personal experience matters: after experimenting with various depths, I found that a consistent setting for my preferred beans made all the difference in shot quality.
If you’d like more insights on optimizing your espresso setup, check out my comprehensive guide here.
Many enthusiasts believe that investing in high-end gear guarantees perfect espresso—a common myth that can lead to unnecessary expenses without addressing fundamental technique flaws. In my experience, **the real secret lies in understanding the subtle nuances of your equipment and process**. For example, even the most expensive grinder can underperform if its burr alignment isn’t precise or if you’re unaware of how static buildup affects grounds distribution. This is why mastering the intricate details, like how grind size interacts with tamping pressure, is crucial for consistent results.
Another prevalent misconception is that more advanced machines automatically produce better shots. While automation offers convenience, it often masks gaps in your technique. An espresso machine’s pressure gauge, for instance, is only as reliable as the calibration and maintenance it receives. Relying solely on visual cues or pre-set buttons can cause you to overlook essential adjustments, leading to over-extraction or under-extraction. Regularly consulting expert resources like top-rated machines guide can help you select the right gear that suits your skill level and brewing style.
Are all milk frothers created equal for microfoam? Here’s the truth
Many think that any milk frother can produce latte-quality microfoam, but the fine art of steaming hinges on more than just the tool’s design. The key is controlling temperature and steam pressure—not always easy with cheap or poorly calibrated devices. An overlooked nuance is the importance of a clean steam wand tip; residual milk crust can sputter, ruining your microfoam. Regularly cleaning the steam wand thoroughly prevents this. Remember, mastering the technique of milk texturing elevates your craft far beyond equipment specs alone.
Now, let’s discuss common pitfalls that trap even experienced home baristas. For example, assuming that the timing of tamping doesn’t matter can be detrimental. Rapid, inconsistent tamping leads to uneven extraction, which manifests as sour or bitter shots. A subtle but impactful detail is the order of operations: pre-infusing grounds before tamping ensures even water penetration. Also, aligning your grinder’s grind setting precisely with the bean roast profile and humidity levels is an advanced but often neglected factor. According to a study in scientific brewing literature, microscopic variations in grain size distribution significantly affect extraction quality. Small tweaks based on such insights can dramatically improve your results.
The pitfall of static electricity: a subtle enemy for grind uniformity
Have you ever noticed how static cling causes grounds to stick to the chute or your portafilter? Static buildup is an often-overlooked factor that destabilizes grind consistency. To combat this, I recommend using anti-static brushes or even humidifying your environment slightly during grinding. Ignoring this can lead to uneven dosing and inconsistent shot quality, especially when using finer grinds. Remember, small environmental factors can have outsized effects on your espresso’s flavor profile—don’t let invisible enemies like static sabotage your effort.
In conclusion, approaching home espresso as a complex science rather than a simple task opens up your possibilities for improvement. Think beyond beginner-level tips and explore these hidden nuances—like burr alignment, equipment calibration, and environmental conditions—to refine your craft. The more you learn about the subtle mechanics involved, the closer you get to barista-level mastery. For further insights, visit my comprehensive guide and keep pushing your boundaries. Have you ever fallen into this trap? Let me know in the comments!
Why Regular Maintenance Elevates Your Brewing Game
Ensuring your espresso machine and grinder stay in top shape isn’t just about avoiding breakdowns; it’s about consistently extracting the richest flavors from your beans. Regular upkeep reduces the risk of clogs, uneven pressure, and flavor inconsistencies. For example, a clean group head gasket prevents leaks that can dilute your shot, while a well-maintained burr set ensures grind uniformity. Incorporating routine cleaning, like backflushing your machine weekly and brushing your grinder burrs monthly, keeps performance optimal. Over time, neglect leads to accumulation of coffee oils and mineral deposits, which can alter taste and cause hardware failures—so staying proactive is key. Invest in a descaling schedule if you have hard water, and always clean steam wands after steaming milk to prevent blockages and mold growth. These small habits significantly extend your gear’s lifespan and elevate your daily brew.
The Tools I Trust for Long-Term Reliability
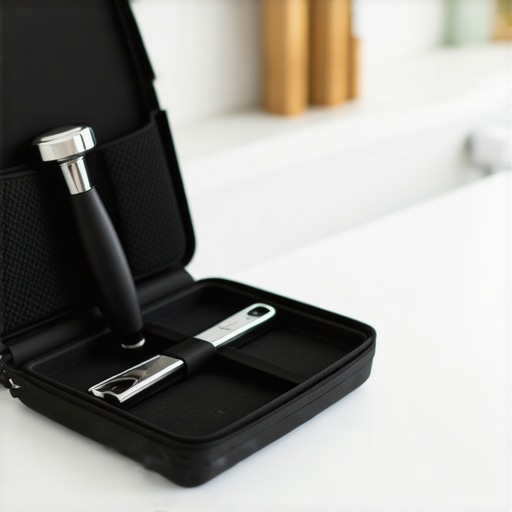
My arsenal includes a few specific tools that make maintenance straightforward and effective. First, an ultrasonic cleaner has become indispensable for deep-cleaning grinder burrs; it loosens stubborn coffee oils better than manual brushing. I use the simple magnet hack for quick adjustments and aligning grinder parts without fuss. For descaling, I rely on a specialized descaling solution combined with a black hose brush—this ensures the water channels and boiler passages are thoroughly cleaned. Implementing a monthly maintenance checklist with these tools has consistently kept my gear performing like new.
Future Trends: Smart Maintenance Solutions
The industry is moving toward smart sensors that monitor water temperature, pressure, and grinder performance in real-time. Imagine an app notifying you before a blockage or scale build-up occurs. Companies are also developing AI-powered diagnostic guides that suggest specific cleaning routines based on usage patterns. This trend is set to make home baristas even more confident in maintaining their equipment, reducing accidental neglect, and ensuring optimal taste extraction every session.
How do I keep my tools working over time?
Developing a habit of scheduled maintenance with dedicated tools is crucial. Start with a monthly routine that includes descaling, burr cleaning, and gasket inspections. Invest in quality cleaning products and specialty brushes, and keep a log to track wear or parts needing replacement. For grinder maintenance, regularly check for static buildup that can affect dosing—using anti-static brushes can help prevent inconsistent grind distribution. Remember, a little effort goes a long way in preventing costly repairs and maintaining flavor integrity. Want to simplify your upkeep? Try initiating a bi-weekly clean of your steam wand using this proven method. It’s a small change that makes a big difference. Ready to take your maintenance to the next level? As a practical step, set a recurring reminder and gather your tools—making dedicated maintenance a regular part of your barista routine ensures your gear works flawlessly for years to come.
The Hardest Lessons I Learned About Home Espresso, Coffee Grinders, and Barista Gear
One of the most eye-opening realizations was that even small adjustments, like tweaking the WDT needle depth, can transform your brewing quality. I once believed that force and guessing were the way forward, but patience and precision proved otherwise. Discovering this taught me that mastery lies in understanding the subtle mechanics behind each step, not just the big moves.
Another revelation was how environmental factors, such as static electricity or bean freshness, subtly sabotage consistency. Addressing these invisible enemies brought my shots to a new level, emphasizing that a comprehensive approach is key—it’s about harmony between all elements, not just the machine itself.
Lastly, investing time in routine maintenance and understanding your gear’s nuances is far more impactful than chasing the latest high-end equipment. It’s the small, consistent acts—like cleaning your steam wand thoroughly or calibrating your grinder—that truly make a difference in flavor and reliability.
My Essential Toolkit for Home Espresso Enthusiasts
Over the years, I’ve come to rely on tools that keep my setup running smoothly. An ultrasonic cleaner for grinder maintenance has been a game-changer, removing stubborn oils that manual cleaning struggles with. The magnetic alignment tool keeps dosing funnels in place, ensuring consistency without fuss. For descaling, I trust a high-quality descaling solution and a simple cleaning habit that extends my machine’s lifespan. These tools and routines are the backbone of my brewing confidence and consistency.
Keep Improving and Stay Curious
Your journey in home espresso is a continual evolution. The more secrets you uncover—like understanding static’s impact or fine-tuning your grinder calibration—the better your shots will taste and your skills will grow. Don’t settle; challenge yourself to learn something new with each brew session. Explore this comprehensive guide for more tips that can elevate your craft. Every small tweak, every educated adjustment, brings you closer to that perfect cup. Keep brewing, keep experimenting—your best espresso is yet to come.