Why you should never hit your portafilter with a heavy tamper
Picture this: I was once in a rush, wobbling like a juggler trying to keep my morning coffee ritual on track. I grabbed my heavy tamper and, in a moment of frustration or impatience, I gave my portafilter a forceful strike—thinking I was shortcutting the tamping process. But instantly, I realized I’d made a costly mistake. The portafilter trembled, and I could feel the discomfort in my wrist. That lightbulb moment taught me a vital lesson: never hit your portafilter with a heavy tamper.
The Hidden Damage Behind That Heavy Hand
Many home baristas and even seasoned enthusiasts underestimate the harm that excessive force can do. Using too much pressure or pounding the portafilter can damage the basket, strain your wrist, and even impact the consistency of your espresso shots. I learned this the hard way, initially thinking that a heavy hit would ensure a perfect tamp. But according to experts, this approach not only risks mechanical damage but also ruins the delicate balance in your brewing process. Interestingly, a recent study shows that applying consistent, gentle pressure yields better extraction than brute force, which can cause channeling and uneven tamping.
So, what can we do to avoid these pitfalls? Today, I’ll walk you through why ramming your portafilter isn’t the answer, and share practical tips that will elevate your espresso game without risking damage or injury. Before diving into the how-to, let’s address the biggest fear many have: “Is my light tamp really enough?” Spoiler: It is, and I’ll explain why.
Is Light Tamping Actually Better Than Heavy Hitting?
I used to believe that smashing the coffee in the basket with a heavy tamper would produce a more compact puck and a richer shot. However, I discovered that excessive force often leads to uneven tamping and coffee channeling—a common mistake I made early on. When I shifted to a more controlled, even pressure, my espresso quality improved significantly. If you’ve ever felt that your shots are inconsistent or that your wrist is aching after tamping, you’re not alone. Check out this article for a deeper dive into how excess pressure hurts your wrist and affects your brewing.
Are you tired of wasting coffee and time on trial-and-error tamping? Stick around, because I’ll help you master the art of gentle yet effective tamping, avoiding unnecessary damage and stress. Let’s get started on making your home espresso routine safer and more consistent.
Apply Consistent, Gentle Pressure to the Coffee Bed
When tamping your ground coffee, envision pressing a delicate flower rather than punching a punching bag. I remember the first time I watched a barista firmly press with two fingers — a light, controlled push that compacted the grounds evenly. This approach ensures uniform density, which leads to better extraction. Use the weight of your arm to guide your tamp, not your shoulder or wrist alone. Place the tamper flat on the puck and press down with moderate, steady force—approximately 30 pounds of pressure. My personal tweak was to practice this pressure on a bathroom scale until I could replicate it naturally; it made a stark difference in shot consistency.
Use Proper Body Positioning for Better Control
Position your body so that your elbow rests comfortably against your side, stabilizing your hand during tamping. Think of it as steering a bicycle: a balanced, controlled push beats a frantic, unstable shove. I once noticed that leaning into the tamping position allowed me to apply more even pressure without risking injury. Keep your wrist locked straight to prevent strain, especially when using heavy tampers. If your wrist starts aching, it’s a sign you’re applying too much force or holding awkwardly. A quick tip: sit or kneel so your shoulder is aligned over the portafilter, ensuring your push is downward and controlled.
Practice with a Scale to Hone Your Technique
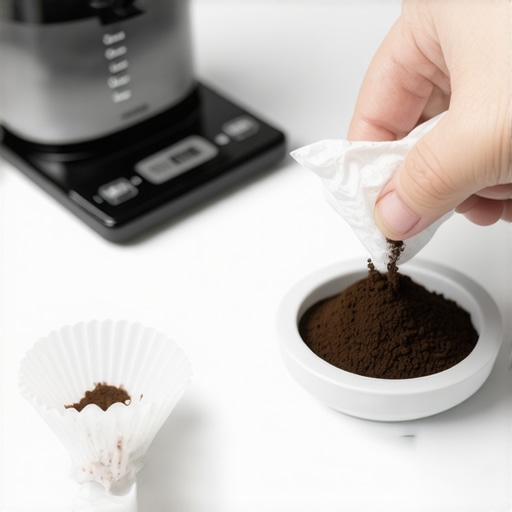
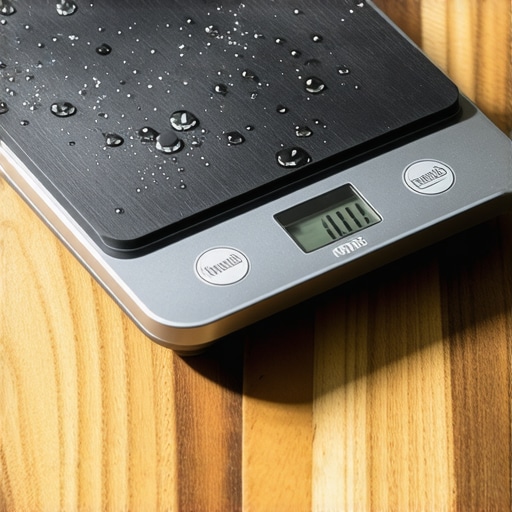
To quantify your pressure, incorporate a kitchen scale under your portafilter during practice sessions. I did this during a weekend ritual, tamping with different pressures and noting the shot quality. After a few tries, I identified my ideal force—roughly 30 pounds—that produced the most consistent results. Over time, your muscles develop muscle memory, and you won’t need the scale anymore. Remember, the goal isn’t 100 pounds or barely pressing—it’s about applying even, gentle pressure that ensures a uniform puck. That’s why many experts advise against striking with a heavy tamper, as it often leads to uneven extraction and increased wrist strain, as detailed here.
Distribute Grounds Evenly Before Tamping
Before pressing, give the tamping process a smooth start by distributing the coffee evenly across the basket. Use a distribution tool or the back of a spoon to level the bed, avoiding thin spots or high spots. I once skipped this step, and the shot resulted in uneven flow—channeling and sour or bitter notes. Think of it as laying tiles evenly on a floor; if the base isn’t flat, the entire surface suffers. A quick jiggle or a few taps can help level the grounds, setting the stage for an even tamp, which is critical for consistent espresso quality.
Test and Adjust Your Technique Regularly
Consistently tasting your shots and observing extraction times guides your tamping method. Like tuning a musical instrument, small adjustments in pressure or distribution can have a big impact. After a week of practice, I found that slightly increasing my pressure improved crema and flavor clarity. Keep a journal or notes on your tamping pressures and shot outcomes to identify patterns. Using your scale repeatedly, combined with visual cues of puck density, allows you to refine your technique with minimal trial and error. This disciplined approach transforms tamping from an arbitrary task to a precise, enjoyable ritual—saving you from wasting beans and time while elevating your espresso game.Many home baristas fall into traps because they believe certain myths about espresso equipment. One pervasive misconception is that higher-priced grinders automatically produce better shots. While premium grinders often have superior build quality, the real magic lies in understanding grind consistency and proper settings—factors that can be optimized even on budget models. For example, calibrating your grinder correctly and avoiding oily beans can prevent motor stalls, as discussed here. Another common error is relying solely on their espresso machine’s steam wand to craft milk foam, without realizing that using a proper milk pitcher and technique significantly improves results. Also, many underestimate the importance of regular maintenance, such as descaling and cleaning spray arms, which directly impacts flavor and machine longevity. A subtle detail often overlooked is the affect of water quality; hard water can cause scaling issues, even with home filtration systems. According to experts, using filtered water can prevent mineral buildup and preserve equipment efficiency. An advanced consideration is the choice between ceramic and steel burrs, which affects flavor clarity and durability; switching to premium burrs can elevate your espresso, provided you calibrate your grind accordingly. Finally, many users don’t realize that inconsistent tamping pressure or uneven distribution can overshadow equipment quality, emphasizing that technique remains crucial regardless of gear. Have you ever fallen into this trap? Let me know in the comments.
Investing in Reliable Equipment for Long-Term Success
Maintaining a high-quality home espresso station requires more than just the right beans; it’s about selecting tools and equipment built for durability and precision. I personally prioritise a commercial-grade burr grinder like the Mazzer Mini because it handles oily beans without clogging and maintains consistent grind size, which is crucial for great shots. For espresso machines, I recommend models with sturdy thermal stability, such as the Breville Dual Boiler, which allows precise temperature control essential for dialing in your brew. Regularly inspecting your equipment, cleaning, and calibration are key to sustained performance.
Tools That Make Maintenance Easier
Keeping your gear in top shape involves specific tools that simplify cleaning and troubleshooting. A small dental pick is invaluable for dislodging baked-on milk crust inside steam wands or crevices. To prevent scale buildup, I rely on a commercial descaling solution and follow a strict cleaning schedule, especially if you’re using hard water. Additionally, a visual inspection with a flashlight can help catch early signs of mineral deposits, preventing costly repairs down the line. Don’t forget to replace worn gaskets and seals regularly—these tiny components are often overlooked but essential for preventing leaks and maintaining extraction pressure.
Guide to Keeping Everything Working Like New
Routine maintenance isn’t glamorous, but it’s vital. I suggest creating a maintenance checklist that includes descaling every three months, cleaning grinder burrs weekly, and inspecting the steam wand for leaks or clogs. Using high-quality filtered water reduces mineral deposit formation, extending the life of your boiler and piping. When you notice a decline in steam pressure or inconsistent shots, it’s time to troubleshoot. For example, a slight >scale build-up< can significantly impact performance, as detailed here. Regularly cleaning your group head with a puck screen and ensuring your portafilter seals are tight prevents uneven extraction and reduces wear on your machine. Paying attention to these details over time ensures your setup remains reliable and your espresso quality stays consistently high.
Scaling Up Your Setup: Tools for Future Growth
If you’re considering expanding your home setup, modular components like a larger grinder hopper or a second boiler can boost efficiency. Planning for future upgrades involves choosing equipment compatible with your existing gear and understanding the limits of your current setup. For instance, upgrading your grinder’s burrs to a more precise set can improve consistency without the need to replace the entire machine. Also, investing in a digital1 pressure gauge helps monitor your extraction process more accurately, giving you data to optimize your technique over time. As home baristas grow more ambitious, having a toolkit for calibration and troubleshooting becomes essential—tools like the tuning kit and inspection mirrors can save costly repairs and downtime.
How do I maintain my equipment to ensure long-term performance?
Consistent maintenance begins with preemptive cleaning routines, such as descaling your espresso machine every few months and cleaning grinder burrs weekly. Keep an eye on wear components like gaskets and seals, replacing them before leaks develop. Using high-quality filtered water prevents mineral buildup that can clog pipes and damage boilers, extending your equipment’s lifespan. Regularly calibrate your grinder and check the pressure profile of your shots—using tools like a digital gauge can help maintain precise extraction parameters. By establishing a routine and addressing small issues early, you’ll preserve your investment and enjoy excellent espresso shot after shot.
Try incorporating a simple habit like checking your grinder for scale buildup with a flashlight or inspecting your steam wand periodically for leaks. These small steps make a significant difference in keeping your setup in peak condition for years to come.
Lessons the Coffee World Sometimes Keeps Quiet About
- My biggest lightbulb moment was realizing that consistent, gentle pressure trumps brute force. It transformed my espresso shots and saved my wrist from unnecessary strain.
- Dropping the myths about heavy tamping reminded me that precision and control are the real keys. Relying on science and expert advice kept my machine happier and my coffee tasting better.
- Practicing with a scale initially felt tedious, but it gave me a tangible feel for the right pressure—something no guidebook can teach as effectively as hands-on experience.
- The importance of proper body positioning cannot be overstated—I discovered that aligning my stance made tamping smoother and more accurate, reducing fatigue and improving shot quality.
- Regularly inspecting and maintaining my equipment, like cleaning the portafilter and checking for scale buildup, ensured my gear performed at its best and extended its lifespan.
My Top Picks for Brewing Success
- Mazzer Mini: A reliable grinder with consistent performance, especially with oily beans, thanks to its robust burrs and motor health. Important for anyone serious about replicating professional results at home.
- Breville Dual Boiler: Offers precise temperature control and stability, making it easier to dial in the perfect shot. It’s a game-changer for home baristas aiming for café-quality espresso.
- Descaling Solutions: Regular maintenance products have kept my machine running smoothly, preventing mineral buildup and costly repairs. A small investment that pays off in shot consistency.
- Dental Picks for Steam Wands: These tiny tools are invaluable in removing baked-on milk crusts without damaging delicate components, ensuring a clean steam path every time.
Your Journey Starts Now — Keep The Espresso Flame Alive
Embarking on the path of perfect tamping and diligent maintenance elevates your home espresso experience from routine to artistry. Remember, every great barista honed their technique through patience and practice—so keep experimenting, learning, and enjoying each shot as an opportunity to improve. Your home setup, paired with the right approach, can rival any café — the secret is in the details, from gentle tamping to regular cleaning. Never underestimate how small adjustments can brew big changes in flavor, consistency, and your overall espresso journey.
What’s the one tamping habit you found hardest to change? Share your story below, and let’s learn from each other’s experiences!
,