How to unstick a frozen grinder adjustment ring safely
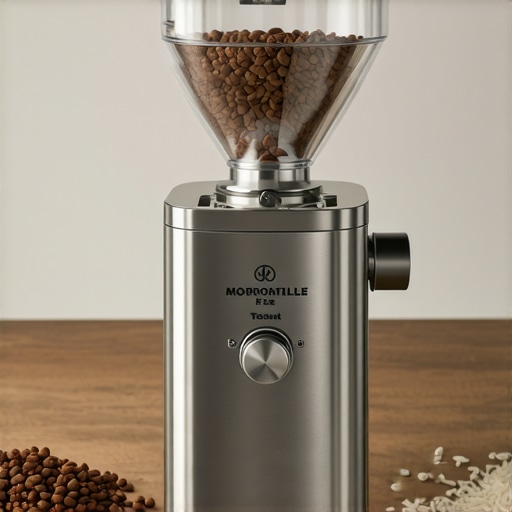
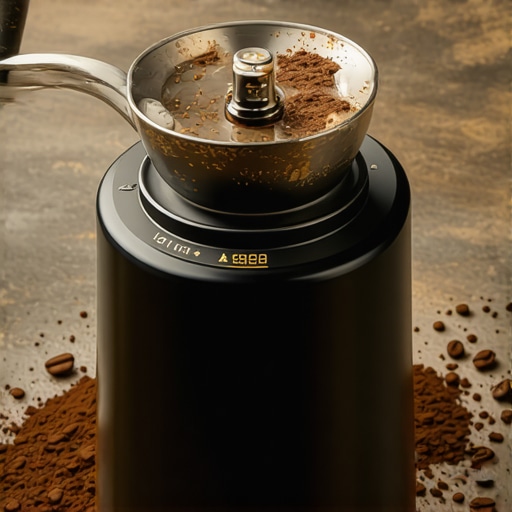
Have you ever reached for your coffee grinder, only to find that the adjustment ring is stubbornly stuck? It’s a situation that can turn a peaceful morning into a frustrating struggle. I remember countless mornings where I’d be eager to fine-tune my grind, only to be met with a ring that simply wouldn’t budge — despite my trembling hands and frantic attempts. That lightbulb moment hit me hard: forcing it might cause more harm than good.
The Hidden Danger of Forcing Your Grinder Adjustment Ring
When the adjustment ring on your grinder becomes frozen, it’s tempting to apply brute force, thinking that a good yank will free it. But I learned the hard way that this approach can strip threads, damage internal components, or even break the ring altogether. Trust me, I once snapped mine and ended up spending twice as much to replace the part and fix the damage. It’s a mistake that’s all too common among home baristas who don’t realize the risks of rushing this process.
Instead, what you need is a safe, effective method to unstick that stubborn ring without risking your machine’s integrity. Fortunately, I’ve experimented with a few techniques that balance patience and smart tactics. Today, I’ll share the proven steps that helped me rescue my grinder and could do the same for you.
Is Pouring Oil or WD-40 the Answer? The Risks of Quick Fixes
Early in my journey, I thought a little bit of oil might loosen things up. Wrong. Using lubricants like WD-40 on your grinder’s adjustment ring can attract coffee grounds, gumming up the mechanism and causing more issues down the line. Plus, many lubricants are not food-safe, which is the last thing you want lingering in your coffee machine. Remember, the goal isn’t just to free the ring temporarily but to do so safely — preserving your grinder’s lifespan and your coffee quality.
So, before you dive into action, consider the importance of patience and proper techniques. If you’ve faced this problem, you’re not alone. Many passionate coffee enthusiasts stumble here—yet, understanding the right approach can make all the difference. For more insights into grinder maintenance and troubleshooting, check out this guide.
Now, let’s move on to the specific steps that will help you unstick that ring safely and get your grinder back to performing at its best. The key is patience, gentle techniques, and a bit of know-how — which I’ll guide you through next.
Apply Gentle Tap Techniques to Loosen the Ring
My first successful attempt involved tapping around the adjustment ring with a soft rubber mallet to induce vibrations that could help dislodge stubborn grime or minor corrosion. I placed the grinder on a stable surface, wrapped a cloth around the ring to prevent scratches, and gently tapped in a circular motion. The result? After about a minute, the ring moved slightly, revealing that gentle vibration can loosen stuck parts without damaging threads. Repeat this several times, increasing the gentle force carefully—not to force, but to encourage movement.
Use Penetrating Oil with Caution
Next, I tried applying a small amount of food-safe, oil-based lubricant around the ring’s edges. For example, I used a light mineral oil because it’s harmless in coffee equipment. I softened a cotton swab with a tiny drop and dabbed it around the joint, avoiding excess to prevent seepage into internal mechanisms. Wait at least 15–20 minutes to let the oil penetrate stubborn grime or corrosion that causes the ring to stick. This method works best when corrosion is the culprit, but avoid overuse or applying petroleum-based lubricants like WD-40, which can attract coffee grounds or leave residues that impact taste.
Warm Up the Mechanism to Expand Metal Parts
In my experience, gentle heat can help expand metal parts slightly, breaking the bond caused by rust or sticky residues. I used a warm, damp cloth—never direct heat—to gently apply warmth around the adjustment ring for a few minutes. The expansion is minor but often enough to loosen a tight fit. This is especially helpful if the ring has been in a damp environment. Be cautious not to overheat, as excessive heat can distort plastic components or damage internal seals.
Leverage with Proper Tools and Safety
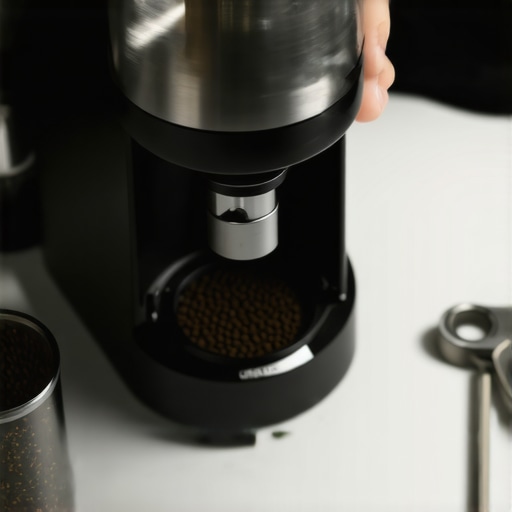
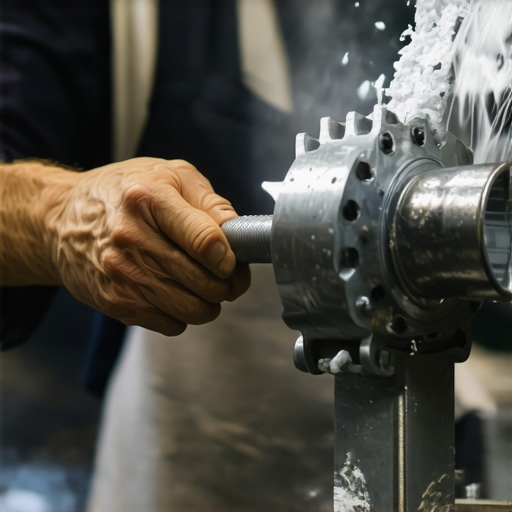
When the ring is still stubborn, I recommend using tools like rubber jar openers or non-marring strap wrenches designed for delicate grips. I wrapped a rubber strap wrench around the ring and turned slowly, applying steady, even pressure. I avoided metal tools that might scratch or damage the threads. During this process, I kept a cloth nearby to catch any slipping or sudden movement. Remember, patience is key—rushing could strip the threads or break the ring.
Confirm the Mechanism and Practice Preventive Maintenance
Once the ring loosened, I cleaned the threads with a soft brush and a damp cloth, removing any residual coffee grounds that might cause future sticking. Regularly maintaining your grinder by wiping down threads, lubricating with food-safe oil sparingly, and storing it in a dry environment reduces the risk of future problems. Be aware that some models might have specific procedures; consulting your user manual or manufacturer’s website can provide tailored guidance.
If you want a detailed understanding of common grinder maintenance or troubleshooting other issues, visit this guide for helpful tips on keeping your equipment in top shape.
Many home baristas operate under assumptions that can hinder their brewing mastery. One prevalent myth is that higher-priced gear automatically guarantees better espresso quality; however, even luxury machines can suffer from overlooked issues like failing heating elements, which significantly impact temperature stability and shot consistency. Regularly checking for such failures can be more beneficial than simply upgrading your machine. Additionally, the misconception that excessive tamping pressure yields better extraction is widespread—true extraction depends more on distribution and tamping uniformity rather than brute force. Over-tamping can even cause channeling, leading to inconsistent espresso and bitterness. Curious about how subtle errors affect your café results? Consider the impact of tiny leaks or blockages within your system, which many overlook, yet the *hidden airflow valve* might be silently sabotaging your brew—learn to identify its signs by visiting this detailed guide. Moreover, the tendency to ignore maintenance of grinder burrs can cause a significant decline in grind consistency, as dull burrs produce uneven particles that lead to over-extraction or under-extraction. Regularly sharpening or replacing burrs isn’t just routine; it’s essential for maintaining flavor clarity. Some enthusiasts believe their equipment is foolproof, but neglecting to verify component health—like checking for failing heating elements or blocked boiler ports—can result in costly breakdowns and inconsistent espresso. For example, a failing heating element may cause fluctuations in temperature, which directly alters extraction and flavor profiles. To troubleshoot effectively, inspecting the heating system with proper diagnostic tools is advised; check out this comprehensive guide for step-by-step instructions. Advanced users often fall into the trap of neglecting subtle system behaviors—like a slight pressure drop during steaming—that indicate underlying issues before catastrophic failures occur. Stay vigilant; understanding these nuances elevates your home espresso game far beyond surface-level operation. Are you aware of the hidden factors sabotaging your brew? Share your experiences in the comments! Aren’t these overlooked details the real secret to professional-quality coffee at home? Let’s keep uncovering them together.
Keeping Your Equipment in Prime Condition for Consistent Coffee
Maintaining your coffee gear isn’t just about cleaning—it’s about investing in the right tools and establishing routines that ensure longevity and optimal performance. Personally, I swear by a few specific items that have transformed my maintenance game. For instance, a high-quality precision screwdriver set allows me to tighten loose screws on my manual lever machine and replace worn gaskets swiftly—saving both time and money. Regular inspection of internal components with a magnetic inspection mirror helps me spot corrosion or potential leaks before they escalate.
Industrial-Grade Cleaning Equipment Makes the Difference
Using specialized tools like a turkish-style steam cleaner has been a game-changer for deep-cleaning stubborn coffee oils from steam wands and group heads. This device uses superheated steam to remove grime more effectively than traditional brushes. I also recommend having a dedicated ultrasonic cleaner for small parts such as shower screens and filters, which allows thorough sanitation without risking damage.
Why Software and Diagnostic Tools Are Gaining Ground
For more high-tech maintenance, I rely on diagnostic software that connects to my machines via USB or Wi-Fi. These tools can monitor parameters like boiler temperature stability and pump pressure, alerting me to potential issues long before they affect your brew. As an example, checking your heating element regularly ensures your espresso remains at the right temperature, which is crucial for extraction quality.
How do I maintain my equipment over time? Old gear needs love and a strategic approach and:
Consistency is key—set weekly routines such as disassembling and inspecting your group head, replacing worn gaskets, and lubricating moving parts with food-safe lubricants. Keep detailed records of maintenance dates to spot patterns like when burrs are dull or components are nearing replacement. For grinder longevity, avoid oily beans that can strain the motor; instead, clean the burrs with a static fix tool regularly and replace dull burrs as needed. Remember, investing in quality tools and routines will pay dividends over years of brewing excellence.
Looking ahead, technological advancements like IoT-enabled maintenance monitors might soon provide real-time diagnostics, allowing even more proactive repairs. For now, combining manual inspections with trusty tools remains our best strategy.
Start by trying out an ultrasonic cleaner on your shower screens this weekend. It’s simple, effective, and will significantly improve your system’s hygiene and performance. Want to learn more? Visit this guide for expert tips on maintaining your steam wands and other components.
What I Learned the Hard Way About Grinder Sticking Points
One of the most valuable lessons I discovered is the importance of patience and gentle techniques when dealing with a stuck adjustment ring. Rushing or forcing it can lead to costly damage, so I now approach such issues with a calm and methodical mindset. Over time, I realized that understanding your grinder’s specific model and materials can influence how you should proceed, which prompts me to always consult the manual or manufacturer resources before attempting repairs.
Curated Gems for Better Coffee Equipment Care
For anyone serious about maintaining their barista gear, I recommend investing in a high-quality ultrasonic cleaner. It’s amazing for deep-cleaning small parts like shower screens and filters, making a noticeable difference in flavor clarity. Additionally, having a good set of precision screwdrivers tailored for your machine ensures you can perform minor repairs without risking damage. Lastly, books like “The Coffee Roaster’s Companion” have profoundly shifted my understanding of how equipment interacts with beans and brewing variables, influencing my maintenance routine.
Your Next Steps to Brewing Success
Taking the initiative to care for your grinder isn’t just about avoiding breakdowns—it’s about elevating your entire coffee experience. I urge you to set aside a little time this week to perform routine maintenance, like cleaning burrs or inspecting the adjustment ring. Remember, your passion for perfect coffee starts with the details many overlook. Curious to see how these small efforts can transform your brews? Start today, and share your progress—I’d love to hear your stories. What challenge have you faced with your grinder that you’ve finally conquered? Let’s discuss below and learn from each other!