The best way to store a manual grinder for travel
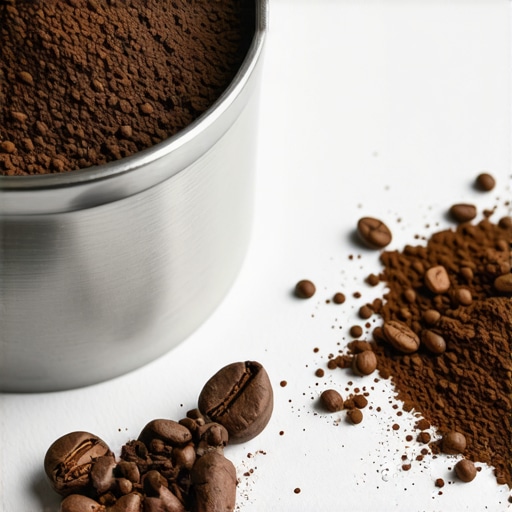
I remember the moment clearly—my flight was boarding, and I was juggling my backpack, a carry-on, and a precious manual coffee grinder nestled safely inside. But as I hurried through security, I heard that dreaded clink and jostling sound. Turns out, my grinder had come loose, spilling beans all over the conveyor belt. That tiny incident taught me a vital lesson: proper storage for travel isn’t just a convenience—it can make or break your coffee experience on the go.
Why Proper Storage of Your Manual Grinder Matters When Traveling
Traveling with a manual coffee grinder is a fantastic way to enjoy freshly ground beans wherever you go. But without the right storage method, you risk damage, mess, and even compromising your grinder’s longevity. A poorly stored grinder can become misaligned, its burrs can get nicked, and beans can spill into places they shouldn’t. Plus, a disorganized or unstable setup can turn your carefully prepared coffee ritual into a frustrating experience.
Imagine arriving at your destination, eager to brew that perfect cup, only to find your grinder is jammed or full of debris from careless packing. Not exactly the start you wanted, right?
The good news? With a few simple tips, you can keep your manual grinder secure, clean, and ready to deliver great coffee, no matter where life takes you. I’ve tested different methods myself—some worked, some didn’t—and learned a lot along the way. Now, I want to share those insights so you can travel confidently with your grind setup.
Before we jump into the best storage practices, I want to address a common skepticism: Is it really worth fussing over grinder storage? Honestly, yes. According to recent research, physical damage accounts for a significant portion of grinder malfunctions, which affects grind consistency and extraction quality. Proper storage isn’t just about avoiding breakage; it’s about protecting your investment and ensuring your coffee tastes great every time.
Have you faced the frustration of ruined beans or a stuck grinder mid-trip? If so, you’re not alone. Many coffee enthusiasts overlook this seemingly minor detail but end up paying the price.
Let’s move forward and explore practical, proven ways to keep your manual grinder in top shape during travel, so your next adventure can include a fresh, flavorful brew—without the hassle.
Disassemble with Precision
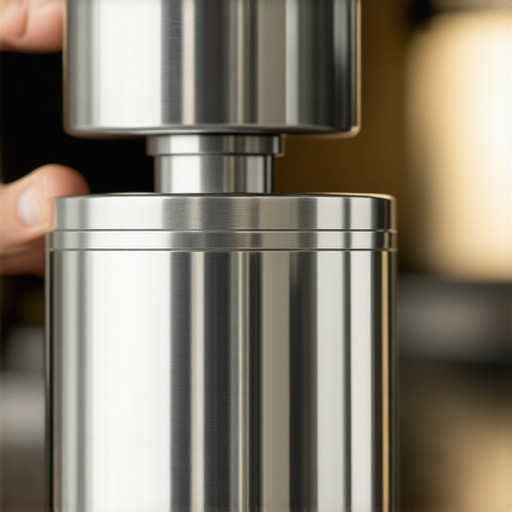
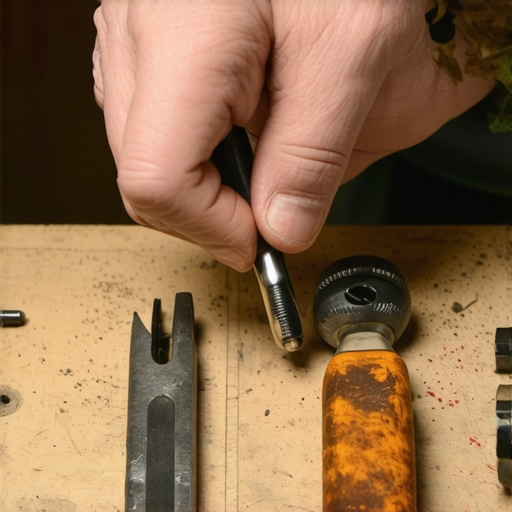
The first step is to disassemble your grinder carefully. Remove the hopper, burrs, and any removable parts. Think of it as taking apart a bicycle before cleaning its inner workings—each piece needs attention to prevent issues later. During my last trip, I forgot to take out the burrs, and they rattled loudly, causing unnecessary alarm. By disassembling properly, you prevent damage and make cleaning easier.
Clean Thoroughly Before Packing
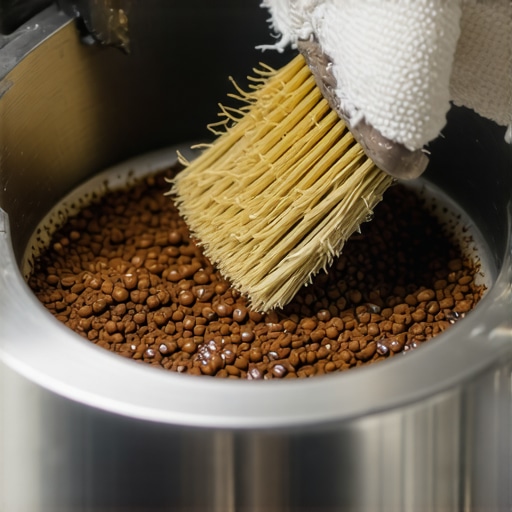
Clean all components with a dry brush or cloth. Use compressed air if available, especially for hard-to-reach areas. This is like cleaning your home espresso machine’s group head before storage—removing residual coffee oils prevents mold and keeps everything fresh. I once skipped this step and found mold forming during a week-long trip, which was a nightmare. Proper cleaning preserves your grinder’s lifespan and performance.
Wrap with Protective Materials
Wrap each part with soft materials like foam, bubble wrap, or even a clean cloth. Imagine wrapping fragile glassware carefully—each layer cushions it from shocks. For my recent travel, I used soft cloths and kept small parts in a sealed bag, which protected them during transit. This step minimizes the risk of burr misalignment or burr damage, akin to protecting delicate milk frothers during a jostling journey.
Secure the Assembly in a Dedicated Container
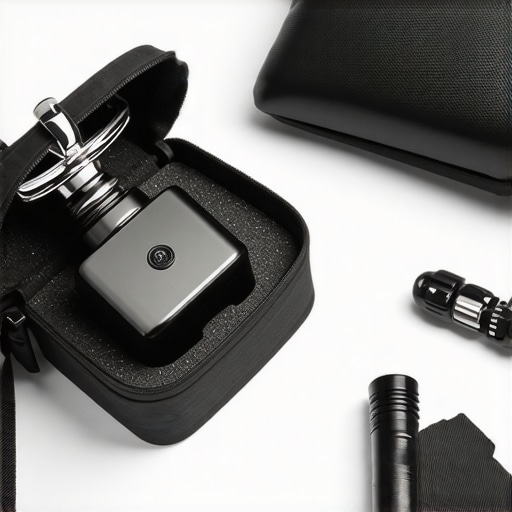
Place the disassembled parts into a sturdy container or a dedicated padded bag. Think of it as a padded lunchbox for your gear—everything stays in place. During a recent trip, I used a small, hard case with compartments, which prevented parts from bouncing around and breaking. Make sure the container is snug enough to prevent movement but not so tight that it causes pressure points.
Label Each Part for Easy Reassembly
Labeling helps during reassembly, especially if you’re traveling with multiple similar parts. Use masking tape or labels like you’ll find in a toolbox. I once arrived at my destination and wasted time figuring out how to reassemble my grinder because I skipped labeling—costing me precious morning coffee moments. Clear labels streamline the process and keep your setup consistent, ensuring a perfect grind every time.
Store in a Climate-Controlled Environment
Finally, keep your grinder parts in a cool, dry place. Humidity can cause rust or mold—think of it as storing precious vintage tools in a humid basement. During my recent journey, I stored my parts in a sealed plastic bag with silica gel packets, which absorbed moisture and kept everything pristine. Avoid leaving your parts in hot or damp environments, much like you would with high-end espresso machines or milk frothers.
Remember, preserving your barista gear through proper disassembly and storage is vital. Not only does it extend the lifespan, but it also ensures consistent performance on every trip. For more tips on choosing the best gear for your setup, visit our gear guide.
When diving into the world of barista gear and home espresso setups, many enthusiasts operate under misconceptions that can limit their brewing potential. Let’s dig deeper into some of these hidden nuances that often trip up even seasoned home baristas.
One widespread myth is that expensive equipment automatically guarantees better coffee. While high-end machines and grinders can offer increased consistency, many home brewers overlook the importance of mastering basic techniques and understanding their specific gear’s quirks. For instance, a lesser-known fact is that
proper tamping pressure and grind size are often more critical than the machine’s price point. Research from the Specialty Coffee Association emphasizes technique as a key factor in espresso quality, regardless of equipment cost.
Another common trap involves assuming that all milk frothers produce similar results. In reality, the design nuances—such as steam wand placement, tip shape, and power—significantly influence foam texture and stability. As highlighted in our post on milk frothers, investing in a device that fits your steaming style is crucial for latte art enthusiasts.
From my experience, many fail to consider the proper maintenance routines for their espresso gear, which is essential for longevity and performance. Overlooking regular backflushing, descaling, or burr cleaning can lead to inconsistent extraction and flavor deterioration. A detailed cleaning schedule can prevent issues like channeling or bitter flavors, as discussed in our guide on identifying equipment failures.
One advanced question I often encounter is: How do internal adjustments impact consistency over time? The answer goes beyond basic calibration—small tweaks to boiler pressure or grind settings can compensate for seasonal humidity changes or bean freshness. Mastering these subtle adjustments requires hands-on experience and an understanding of your specific machine model. Experts often recommend keeping a brewing log—something I personally do—to track variables and outcomes for perfect shots every time.
Don’t fall into the trap of thinking that more gear equals better coffee. Sometimes, honing your technique and understanding your equipment’s nuances yields the most satisfying results. If you’re eager to refine your setup or seek personalized advice, feel free to reach out to us. Have you ever fallen into this trap? Let me know in the comments, and share your experiences with gear myths or secrets you’ve uncovered on your brewing journey.Maintaining your barista gear is crucial for consistent, high-quality coffee. Personally, I rely on precise calibration tools like the simple pump pressure gauge to monitor and maintain optimal extraction pressure without investing in expensive gauges. Regularly checking your machine’s boiler pressure with a digital manometer ensures your espresso remains balanced and flavorful. Another must-have is a high-quality burr cleaning brush, which I use weekly to prevent oil buildup that can clog your grinder and cause uneven grinds. Over time, components like portafilter gaskets and steam wand seals degrade, so I keep spare parts on hand and follow manufacturer recommendations for replacement intervals. Proper descaling is often overlooked but essential; I perform this every three months using a descaling solution recommended by the manufacturer, as outlined in technical specs of models like the top-rated espresso machines in 2025. Staying organized with dedicated storage for disassembled parts—wrapped in anti-static foam—prevents damage during travel or storage. Looking ahead, I believe IoT-connected maintenance trackers will become standard, alerting users when parts need attention to minimize downtime and optimize performance. For now, I recommend establishing a weekly maintenance routine: clean burrs, check seals, and calibrate pressure. Want an extra edge? Try using a digital scale with a built-in timer during extraction to precisely monitor shot timing, vital for dialing in your brew. Ready to take your setup to the next level? Start with regularly measuring your pump pressure—it’s a game-changer for consistency. If you’re unsure about how to implement these tools or need personalized advice, don’t hesitate to reach out here. Keeping your espresso gear in peak condition ensures every brew is as good as your favorite café, sip after sip.
The Hardest Lesson I Learned About barista gear,milk frothers,home espresso,coffee grinders,espresso machines
One late-night packing mistake revealed how fragile our beloved gear can be—being careless can lead to broken beans or misaligned burrs and ruin your experience. Lesson learned: investing time in proper storage prevents costly repairs and ensures optimal performance every trip.
3 Myths About barista gear,milk frothers,home espresso,coffee grinders,espresso machines That Held Me Back
I used to believe that a sturdy case was enough, but I ignored cleaning and disassembly steps, which led to moisture buildup and corrosion. Now, I know that detailed maintenance routines, including thorough cleaning and labeling, are essential steps that many overlook but are crucial for longevity.
What Experts Won’t Tell You About barista gear,milk frothers,home espresso,coffee grinders,espresso machines
Regularly checking each component’s condition can be the difference between a good brew and a great one. Experts suggest establishing a routine—use silica gel packs to control humidity or label each part for quick reassembly—these small details make a big difference. Sharing these insights can elevate your travel coffee game beyond the basics.
My Essential Toolkit for Travel Coffee Safety
My trusted tools include a padded, multi-compartment case, soft wrapping materials like foam or cloth, a labeling pen, and silica gel packets. These protect fragile parts from shocks and moisture, ensuring my grinder and accessories stay pristine. For detailed instructions on choosing durable storage, visit our gear guide.
Your Turn to Elevate Your Coffee Journey
Proper storage isn’t just a maintenance task—it’s a vital part of your coffee adventure. With these tips, your gear will last longer, perform better, and keep bringing you that perfect cup wherever you travel. Remember, your commitment to care today shapes the quality of your brew tomorrow. Have you faced a travel mishap with your gear? Share your story below, or ask for advice to keep your gear safe on your next trip.