How to Tell if Your Espresso Machine Solenoid Is Failing
It was another early morning, and I was eager to enjoy that perfect shot of espresso. But instead, my machine sputtered, refused to build pressure, and those tiny clicks from the solenoid sounded more like a warning than an operational cue. That moment, I realized I was staring at a problem many home baristas face but often overlook—how to tell if the espresso machine’s solenoid valve is failing. If you’ve ever been greeted with inconsistent shots or a machine that’s suddenly not cooperating, you’re not alone.
Why a Failing Solenoid Could Ruin Your Coffee Routine
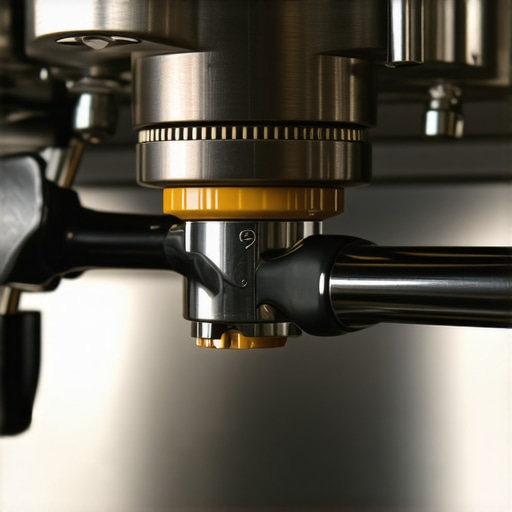
The solenoid valve acts as the gatekeeper, controlling water flow at the right moments during extraction. When it malfunctions, it can cause uneven pressure, water leaks, or even complete shutdown of your machine’s brewing process. Early signs can be subtle—such as strange noises or inconsistent shot times—and if ignored, it might lead to costly repairs or worse, the need to replace your espresso machine altogether. Recognizing these signs early can save you time, money, and a lot of frustration.
Is the Bolster of the Hype Worth It?
Admittedly, I was skeptical when I first heard about sticking with regular maintenance routines to prolong solenoid life. I once ignored a faint buzzing sound, dismissing it as normal wear and tear. That mistake nearly cost me my espresso machine. According to industry experts, neglecting the signs of solenoid failure can lead to bigger issues, including water damage and electrical hazards. So, it’s worth paying attention to those subtle cues that something’s off, rather than waiting for a full-blown breakdown.
Diagnose the Solenoid Valve: Spot the Red Flags
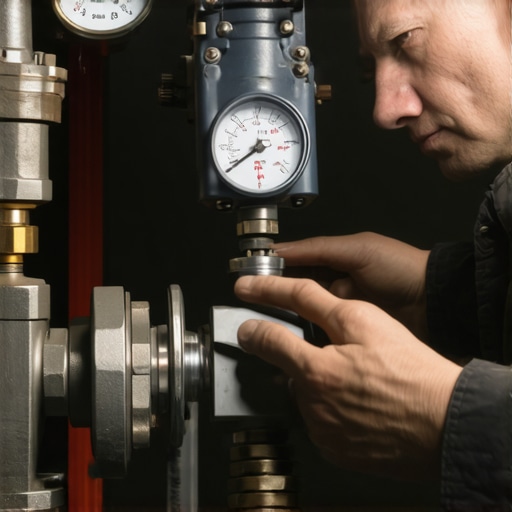
Begin by listening for irregular noises or clicks during operation—these may indicate a failing solenoid. Check for water leaks around the valve, which could signal internal damage. When I faced sputtering shots that tasted off, I carefully examined the solenoid after turning off the machine and noticed sluggish response times—telling signs that it was time for a deep dive.
Prepare Your Workspace and Gather Tools
Unplug the espresso machine and lay out necessary tools: a screwdriver, a magnet, cleaning brushes, and replacement parts if needed. Ensuring a clean, well-lit area helps prevent mishaps. I once rushed into a fix without proper lighting—ended up stripping screws, which added hours to my repair. Taking your time here is key.
Access the Solenoid Valve
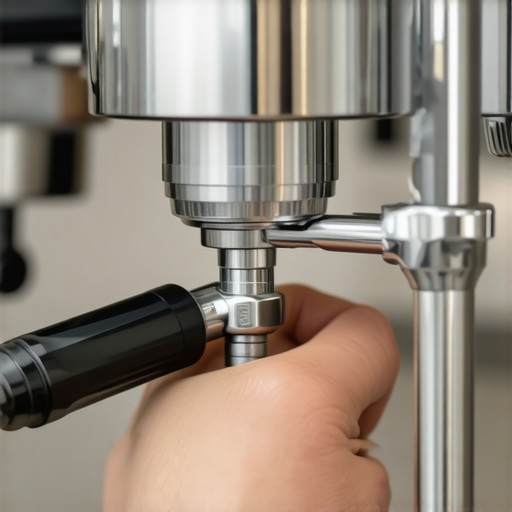
Remove the machine’s outer panels following manufacturer instructions—usually via Phillips screwdriver. Locate the solenoid, which is typically near the boiler and water inlet. Be cautious with wires; disconnect them gently, noting their positions. Using a magnetic screwdriver can make this step cleaner, especially if tiny screws threaten to roll away.
Check for Blockages and Damage
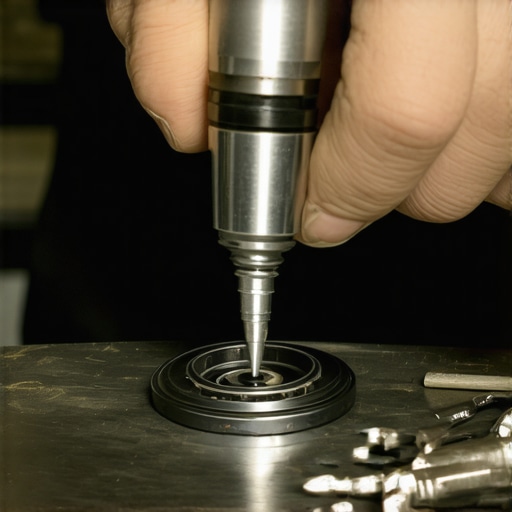
Inspect the solenoid for debris or mineral build-up. Gently remove the valve if possible, and examine the inlet and outlet openings using a fine brush or compressed air. If the coil is visibly burnt or the internal parts look worn, replacement might be the only solution. I once cleaned a stubborn clog, and it restored pressure instantly—proof that sometimes, cleaning beats buying new parts.
Test and Clean the Solenoid
Apply a small voltage (if you have electrical expertise) to see if the coil energizes correctly. For cleaning, soak the valve in descaling solution to dissolve mineral deposits—this often solves pressure issues caused by hard water buildup. Remember, a clogged solenoid is a common culprit for inconsistent shots. Regular maintenance, like using filtered water, extends its lifespan. Need tips on that? Check out https://espressotechguide.com/top-rated-espresso-machines-for-coffee-lovers-in-2025.
Replace or Reassemble
If the solenoid is irreparable, install a new one matching your machine model. Carefully reconnect wires and screw the valve back into place, ensuring tight seals to prevent leaks. Reassemble panels securely. Turn on your machine and run test shots, observing pressure stability and sound. I once forgot to fully tighten a fitting—resulted in a minor leak that required a second disassembly; patience here saves trouble later.
Verify Your Fix with a Test Shot
Pull a shot and note pressure, flow, and noise. A smooth, consistent extraction indicates success. If issues persist, revisit connections and ensure no parts are misaligned. Consistent pressure not only improves flavor but also prolongs your machine’s life. For more detailed calibration techniques, visit https://espressotechguide.com/how-to-calibrate-your-grinder-after-replacing-your-burrs.
When it comes to mastering the art of coffee at home, many enthusiasts focus on upgrading their espresso machines or buying the newest milk frother. However, there’s a prevalent misconception that more expensive or advanced gear automatically translates into better coffee. In reality, understanding the finer points and common pitfalls can make a significant difference in your brewing results.
Why Bigger Isn’t Always Better with Grinders
A common myth is that larger grinders or those with more wattage produce superior grounds. But in my experience, the precision of burr size and alignment, along with consistent calibration, matter far more. Many home baristas overlook the importance of regular grinder calibration. Skipping this step can lead to uneven extraction despite owning high-end equipment.
Milk Frothers and Foam: Expectations vs. Reality
Many believe that all milk frothers create silky microfoam instantly. The truth is, manual or inexpensive frothers often require technique to get the right texture. An overlooked nuance is milk temperature; starting with cold milk and steaming it to the right temperature yields better foam quality. Don’t fall for the trap of assuming that a fancy frother guarantees coffee shop results. Instead, focus on mastering steaming techniques—here’s how to do it properly.
Advanced Tools Might Cause More Harm Than Good
Many home baristas invest in high-end barista gear—pouring kettles, tamping mats, or precision scales—with the belief that this will improve their shots. But without proper knowledge, these tools can become distractions or even impediments. For instance, using a digital scale without learning how to interpret pressure and flow can lead to inconsistent shots. I recommend mastering basics first, then gradually integrating advanced tools—like this.
What About the Role of Grind Size in Achieving the Perfect Shot?
The belief that finer grind always equals better espresso is misleading. In fact, grind size must be tailored to your specific machine, basket, and coffee roast. Fiddling with grind size too aggressively can cause over-extraction or channeling. An expert approach involves understanding how grind size affects extraction and calibrating accordingly. This nuanced calibration is key to consistently excellent espresso. Have you ever fallen into this trap? Let me know in the comments.
In the end, elevating your coffee game isn’t solely about acquiring the most sophisticated gear. It’s about understanding its nuances, avoiding common mistakes, and leveraging expert techniques. For more insights, explore our home espresso tips for beginners and join a community of passionate coffee lovers.
Investing in quality coffee gear like espresso machines, grinders, and milk frothers is only half the battle; keeping them in peak condition over time is equally important. As a dedicated home barista, I’ve found that a combination of regular maintenance routines and the right tools can vastly extend the lifespan of your equipment and improve your brewing consistency. In this post, I’ll share specific tools and methods I personally use to ensure my gear keeps performing flawlessly.
How do I maintain my espresso machine and grinder effortlessly?
One key tip is investing in high-quality cleaning brushes like the small detail brushes designed for coffee equipment. These allow for easy removal of coffee oils and residue from hard-to-reach areas, preventing buildup that can cause channeling or inconsistent shots. I also use a rubber gasket cleaning tool to keep my group head sealed and free of debris, ensuring optimal water flow.
Consistency in calibration is crucial, so I utilize a digital digital caliper for precise grind adjustments. Precision tools like this help me notice small deviations over time and adjust accordingly, which is essential as burrs wear down. Pairing this with a 10-second flush routine after each session keeps my equipment free of oils that can taint flavors.
What tools make preventative maintenance easier?
One underrated tool I swear by is an ultrasonic cleaner. It’s perfect for cleaning portafilters, shower screens, and even small parts like valves and gaskets. The process is simple: soak the parts in the cleaner with a gentle descaling solution, then rinse. This method restores the parts effectively and saves me from costly replacements. I also keep a silicone scale protector around my beverage scale to prevent coffee grounds from sticking, which maintains accuracy between calibrations.
Preparing for sustainable brewing through tools and habits
When it comes to long-term results, using filtered water is non-negotiable. I recommend a quality water filtration system to minimize mineral buildup and protect your boiler and heating elements. Additionally, scheduling regular descaling (every 3-6 months, depending on water hardness) using the manufacturer’s descaling solution helps prevent lime scale that can cause overheating and efficiency losses.
Looking ahead, I believe that smart maintenance tools—like IoT-connected sensors that monitor temperature and pressure—are poised to become more mainstream. They will provide real-time alerts, making proactive maintenance easier than ever. To stay ahead, I suggest integrating simple yet effective tools like a small vacuum or compressed air for regular dust removal from delicate components.
Keep your gear dependable: the importance of a solid routine
Essentially, maintaining your barista equipment involves a blend of good tools and disciplined habits. Incorporate a weekly cleaning schedule, routinely replace worn gaskets and filters, and always use high-quality descaling agents. For consistently great shots and long-term durability, try adding a simple pressure gauge check into your routine—this small step can preempt many common issues.
My challenge for you today: select one tool mentioned here, like a small ultrasonic cleaner or a digital caliper, and incorporate it into your maintenance routine this week. The payoff will be tasting better espresso, and your gear lasting longer. Ready to give it a shot? Visit our contact page if you need personalized advice, or check our home espresso resource for more tips.
Lessons I Wish I Didn’t Overlook When Caring for My Espresso Equipment
One of the toughest lessons I faced was realizing that even the highest-quality equipment can falter without consistent maintenance. I used to believe that cleaning was only necessary when things looked dirty—until I experienced a clogged solenoid that nearly shut down my brewing routine. The lightbulb moment was understanding that proactive care, like regular descaling and parts inspections, is essential to keep my espresso machine performing at its best.
Another insight I gained is that investing in the right tools—such as ultrasonic cleaners or precision calipers—may seem optional but can dramatically extend the lifespan of my gear. These tools help me catch tiny issues before they become costly repairs, saving both time and money in the long run.
Lastly, I learned that staying informed about the latest best practices and product updates, through trusted sources, keeps my knowledge fresh and my equipment in top shape. This ongoing curiosity empowers me to troubleshoot effectively and make smarter upgrades, ensuring every shot is as good as it can be.