The Simple Trick to Prevent Coffee Grinds from Sticking to Your Scale
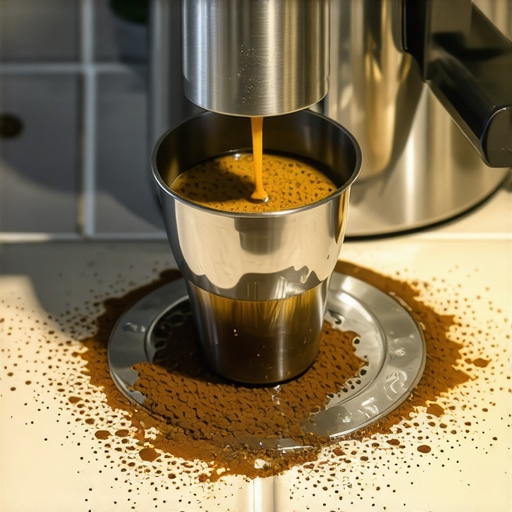
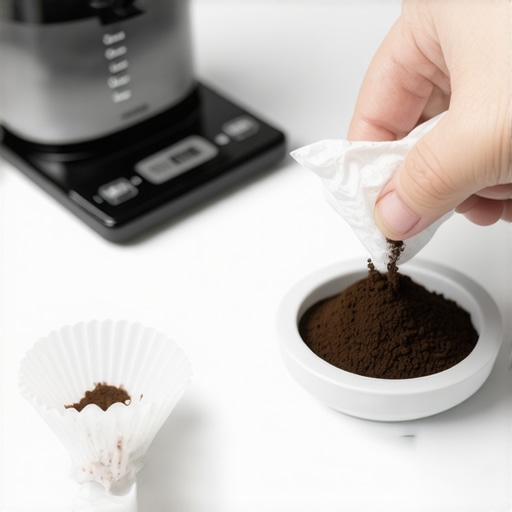
It was a morning not so long ago, when I finally cracked the code of a frustrating little problem—coffee grounds everywhere. You know the scene: I’m meticulously grinding beans, carefully dosing, and then, as I press the tamper, a sudden shower of coffee dust erupts, settling all over my precious kitchen scale. It’s like my coffee setup decided to throw a tiny, gritty tantrum every single time. Frustrating doesn’t even begin to cover it. I used to think my scale was faulty, or maybe I was just cursed with a messy grinder. But after some research and a few experiments, I discovered a surprisingly simple trick that changed everything.
Why Coffee Grounds Sticking to Your Scale Is More Than Just Annoying
The truth is, watching those tiny coffee particles stick to your scale isn’t just a cosmetic issue—it’s a real problem for anyone who cares about precision in home brewing. When grounds gather on the surface, they can interfere with accurate weight readings, leading to inconsistent shots and wasted beans. Plus, the buildup can be a breeding ground for bacteria and mold if not cleaned regularly. Believe it or not, a study published in the Journal of Food Science highlights how cleanliness directly impacts flavor quality in espresso preparation. So, maintaining a clean, ground-free scale isn’t just convenient; it’s essential for that perfect cup.
But here’s the kicker—early on, I made the mistake of just wiping the scale after every use or covering it with a cloth, expecting that to solve the problem. Spoiler alert: it didn’t. The grounds would always find a way. That’s when I realized that the real fix required understanding the mechanics of static electricity and how it attracts coffee dust. From there, I found a straightforward, practical solution that I’ll be sharing next.
What You Should Be Skeptical About Before Trying This Trick
Now, I know some of you might be thinking, “Is this really going to work?” Honestly, I was skeptical at first too. I’d tried everything—dusting, wiping, even taping down the scale—but nothing stuck. My biggest mistake was assuming the problem was the scale or the grinder. Turns out, ignoring the root cause—static and surface tension—was holding me back. If you’re wary, I completely get it. Still, I urge you to give this simple hack a shot; it’s been a game-changer for me.
Next, we’ll dive into what you can do to keep your scale clean and free from coffee grounds with minimal fuss. Trust me, once you get the hang of it, your mornings will be a lot smoother—and your coffee tasting better. If you’re tired of battling coffee dust, stick around. I’ll show you exactly how to fix it once and for all; it’s easier than you think and definitely worth the effort. Want some more expert tips? Feel free to reach out through our contact page. Let’s get started!
Prepare Your Workspace and Tools
Begin by clearing your counter and laying out all necessary tools: a damp cloth, a soft brush, and a small cup of water. This setup minimizes distractions and allows you to focus solely on cleaning your scale effectively. I once started cleaning my scale in a busy kitchen without all tools handy, which led to missed spots and more mess. Avoid that mistake by assembling everything first.
Use a Microfiber Cloth for Daily Wipe-Downs
After each brew session, wipe the scale surface gently with a microfiber cloth. This traps coffee dust before it settles. When I forgot to do this, grounds accumulated overnight, making the next measurement inaccurate. Consistency is key—making it part of your routine prevents buildup.
Employ A Damp Brush for Cracks and Crevices
Coffee grounds sneak into tiny areas like seams or under the buttons. Use a soft, damp brush to dislodge persistent particles. I once ignored this step, causing grounds to interfere with calibration. Regular brushing keeps the scale functioning precisely and prolongs its lifespan.
Deep Clean Weekly With Vinegar Solution
Every week, unplug the scale and wipe it with a cloth dampened in a solution of equal parts water and vinegar. This removes oil, soap residue, and ingrained dust that daily wipes miss. I learned this the hard way when dried coffee oils started to affect weight readings—simple vinegar cleaning fixed the issue instantly.
Avoid Excess Moisture and Harsh Cleaners
Never submerge the scale or use abrasive chemicals. Water entering internal components damages electronics. Your best bet is a lightly dampened cloth or vinegar solution, then drying immediately with a dry cloth.
Implement Static-Reducing Measures
Static electricity attracts coffee grounds onto plastic or metal surfaces. To combat this, keep humidity levels moderate, or lightly spray a static guard spray on a cloth before wiping the scale. I noticed grinding coffee on dry days heightened static buildup—using this technique drastically reduced dust adhesion.
Check Calibration After Cleaning
Once the scale is dry, re-calibrate to ensure accuracy. A quick test with a calibration weight confirms everything is set correctly. I once cleaned my scale without recalibrating, which led to inconsistent measurements—arising from residual static or dirt influencing the sensor.
Maintain Your Setup for Long-Term Results
Store your tools in a dust-free environment, and avoid leaving grounds near the scale. Regular gentle cleaning keeps the setup ready for every shot, saving time and spoiling fewer beans. Over time, these small practices prevent stubborn buildup and extend your scale’s precision and lifespan.
Many home baristas fall victim to misconceptions that hinder their espresso journey. One prevalent myth is that investing in the most expensive gear guarantees perfect results. While quality equipment is important, mastering technique and understanding nuances like dose calibration and tamping pressure are often more critical. Another misconception is that all grinder burrs are equally suitable; in reality, ceramic burrs can produce different flavor profiles compared to steel, and the choice impacts consistency, as detailed in studies on burr material effects.
Is Your Setup Truly Optimized or Just Expensive?
Many enthusiasts believe that buying top-tier gear automatically elevates their coffee. However, even the finest machines can produce subpar espresso if not properly dialed in. Often overlooked is the importance of temperature stability and pressure control. Attempting to compensate with excessive grind size adjustments can cause inconsistent extraction and lead to bitter or sour shots. A common trap here is neglecting regular maintenance—scaling, gasket replacements, and calibration—to keep equipment performing at peak levels. For advanced espresso enthusiasts, understanding the subtle interplay between grinder static issues on dry days and water droplet modifications can dramatically improve consistency, as discussed in expert articles. Be cautious about rushing into upgrades—sometimes, fine-tuning what you already own yields more benefits than a costly overhaul. I recommend checking reliable resources like our top-rated espresso machine reviews or the guide on selecting the right grinder for your needs for more insights. Additionally, paying attention to details like milk frother choice can elevate your milk-based drinks—see our selection of best milk frothers. Remember, mastering these nuanced aspects often distinguishes an average home setup from a true barista experience. Have you ever fallen into this trap? Let me know in the comments.
Prioritize Precision with Quality Equipment
Investing in reliable, well-designed equipment is the foundation of consistent espresso at home. I personally swear by the top-rated espresso machines for 2025. They offer excellent temperature stability and durable components that significantly reduce upkeep hassles. Remember, even the best gear requires proper maintenance to sustain its performance over time.
Use Tools That Simplify Maintenance
Having the right tools makes all the difference. I recommend keeping a small rubber band for grinder adjustment handy—it helps keep your grind settings consistent and prevents accidental dial slippage. Additionally, a dedicated cleaning brush for burrs and seals saves time and minimizes the risk of damaging delicate components. These tools not only prolong your equipment’s lifespan but also ensure your shots remain flavorful and consistent.
Establish a Routine Maintenance Schedule
Consistency in maintenance is key. I schedule weekly deep cleans of my espresso machine, including descaling and gasket inspections, which prevents clogs and scale buildup. For grinders, a monthly brush-out and burr calibration keep performance optimal. Regular attention to small issues catches potential problems early, saving you from costly repairs down the line. Plus, it guarantees each shot delivers that perfect crema and flavor profile you’re after.
Nurture Your Equipment for Longevity
Long-term results depend on proactive care. Always avoid harsh chemicals—opting instead for natural solutions like vinegar-based cleaners for descaling, which are effective yet gentle. When not in use, cover your machine and grinder with dust covers or store them in controlled environments to prevent environmental damage. These habits retain the integrity of sensitive parts, ensuring your gear stays in top shape for years to come. Also, check calibration settings after deep cleaning, as even minor shifts can impact shot quality—revisit your calibration routines regularly or consult comprehensive guides like how to calibrate your grinder for detailed steps.
Stay Ahead with Smart Upgrades and Trend Insights
The future of home barista gear points toward smarter, sensor-driven machines that self-monitor and alert you to maintenance needs. Companies are integrating IoT capabilities, allowing remote diagnostics—a game changer for busy enthusiasts. I predict that upcoming models will feature real-time usage analytics and automated descaling routines, reducing manual upkeep further. Gaining familiarity with these advancements allows you to plan strategic upgrades that marry performance with ease of maintenance. To explore the latest in this space, visit our guide on barista gear.
How Do I Maintain My Espresso System Over Time?
The secret lies in establishing a disciplined routine—consistent cleaning, calibration checks, and mindful storage. Incorporate specific tools like the grinder rubber band hack and dedicated brushes to streamline upkeep. Regularly reviewing manufacturer recommendations and staying updated on industry trends ensures your setup remains flawless. I encourage you to try the detailed calibration techniques outlined in this guide for precise adjustments—taking your home espresso game to new heights. For tailored advice or troubleshooting, our contact page is always open: reach out here.
Lessons That Caught Me Off Guard in the World of Home Espresso
One of the most surprising insights I gained was how static electricity on dry days drastically increased coffee grounds sticking to my scale. It’s a detail I overlooked for months, thinking the problem was just my equipment. Realizing that humidity levels affect static buildup, and thus measurement accuracy, was a game-changer. Another lesson was that regular calibration after deep cleaning isn’t just a good practice—it’s essential. Skipping calibration can subtly affect extraction quality, leading to inconsistent flavors. Lastly, I learned that investing in quality tools like a dedicated burr brush or a static reducer spray might seem minor but significantly prolongs equipment lifespan and preserves flavor consistency. These lightbulb moments turned my morning routine into a smooth, satisfying process and deepened my appreciation for the nuances of excellent home espresso brewing.
My Trusted Arsenal for Improving Home Espresso Rolls
First, I swear by the top-rated espresso machines for 2025. They combine reliability with advanced features that simplify maintenance and boost brew quality. For cleaning small crevices and burrs, I rely on a rubber band trick for grinder dials; it keeps settings consistent and hassle-free. My go-to tool for managing static buildup is a bottle of static-reduction spray, especially valuable on dry days. Finally, I incorporate the step-by-step guide for grinder calibration to fine-tune after every deep clean. These curated tools and resources keep my setup performing at its best, ensuring each shot is as perfect as it can be.
Keep Your Coffee Passion Alive and Growing
If you’re serious about elevating your home espresso game, embrace these insights and tools, and don’t shy away from experimenting and learning more. Every tweak and improvement brings you closer to that barista-standard shot. The journey is continuous, and each small victory fuels your enthusiasm. Remember, the joy of a well-crafted espresso isn’t just in the taste—it’s in mastering the process and making it your own. Your next great coffee experience starts now; take that step today. If you’re curious about more tips or have questions, our contact page is open for your questions. Cheers to your brewing adventure!