The Rubber Band Hack for Slippery Grinder Dials
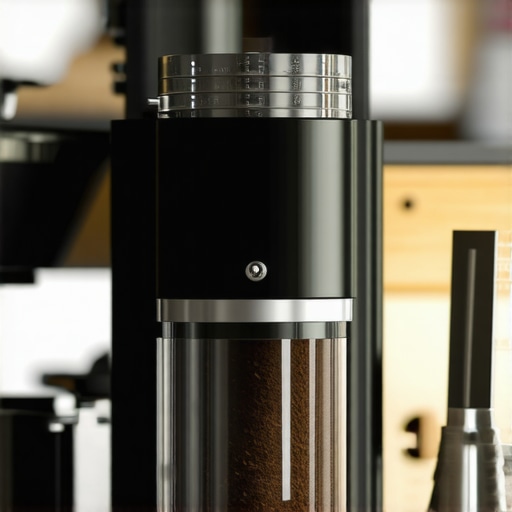
I vividly remember my morning ritual, fumbling with my espresso grinder, desperately trying to dial in that perfect grind size. But every time I turned the knob just a little too enthusiastically, it would slip, spinning wildly out of control. Frustration would mount, and my treasured coffee session was delayed. That was my lightbulb moment—realizing that a simple trick could solve this pesky problem once and for all.
The Dilemma of Slippery Grinder Dials
If you’ve ever wrestled with your grinder’s dial slipping despite your careful adjustments, you’re not alone. This common issue can throw off your grind consistency, ultimately affecting the flavor of your brew. And truthfully, it’s enough to make even seasoned baristas like myself want to toss their grinders out the window. But fear not—there’s an easy, affordable fix I discovered that’s transformed my grinding routine.
Is a Rubber Band Hack Really Effective or Just a Trend?
At first, I was skeptical. When I read about wrapping a rubber band around the dial, it seemed almost too simple to be true. I made a mistake early on by trying to tighten the dial screws instead of adding grip with a rubber band. This only damaged the dial mechanism and made the problem worse. But once I understood the correct technique—wrapping a standard rubber band around the dial’s grip—I gained better control and eliminated slippage. This straightforward trick is supported by many home baristas and has even been recommended by experts in online coffee communities. Plus, it’s a gentle, non-invasive method to improve grip without damaging your equipment. Curious if this could work for your setup? Let’s dive into how you can implement it easily.
Applying the Rubber Band for a Firm Grip
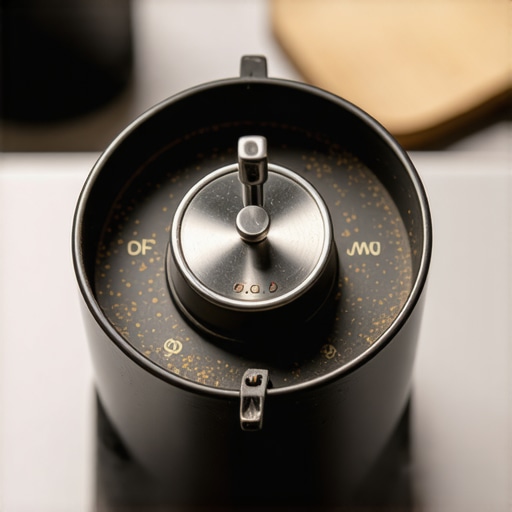
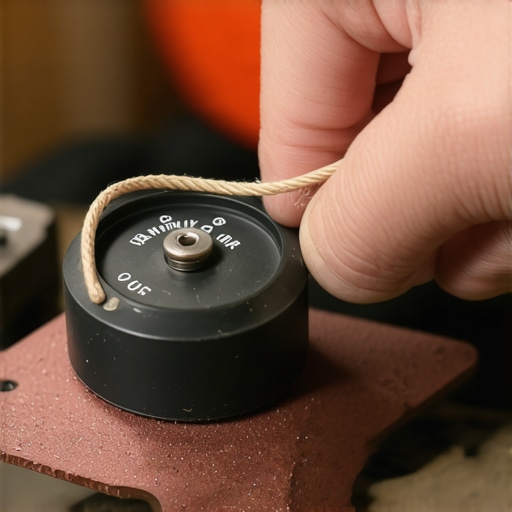
Start by selecting a sturdy, elastic rubber band, preferably one with a thickness of around 1/4 inch to ensure enough grip. Wrap the rubber band around the circumference of your grinder’s adjustment dial, making sure it sits snugly without overlapping too tightly. This will create additional friction, helping the dial resist slipping during adjustments. When I first tried this, I placed the rubber band just below the numbers, so I could still see the grind settings clearly. After winding the rubber band once around, I turned the dial gently; the increased grip made the adjustment smoother and more precise, preventing unwanted slips.
Many home baristas and espresso lovers believe they have a solid grasp on their equipment, but several misconceptions and overlooked details can compromise your brew quality. One prevalent myth is that investing in the most expensive grinder guarantees perfect consistency. While a high-quality grinder is crucial, improper calibration or neglecting burr wear can sabotage your shots. For instance, even premium burrs dull over time, leading to uneven particle size distribution, which affects extraction and flavor. Regularly checking burr sharpness and calibrating your grinder—details often missed—are vital steps for maintaining optimal performance.
Another common mistake involves the assumption that all milk frothers produce microfoam of equal quality. Many rely solely on automatic steam wands without understanding the importance of technique, steam pressure, and pitcher positioning. An overlooked nuance is the interaction between steam velocity and milk temperature; mastering this requires finesse beyond just turning a knob. According to renowned barista trainer Scott Rao, understanding airflow dynamics during steaming can significantly elevate your microfoam quality, making your latte art sharper and your milk creamier.
How can advanced steam control techniques improve your microfoam?
Think beyond the basic settings and experiment with adjusting steam pressure and pitcher angles; this allows for finer control over foam texture. Be wary of common pitfalls like overheating milk or creating large bubbles, which stem from neglecting the importance of a precise steaming routine. Avoiding these pitfalls can be tricky without knowledge of fluid dynamics, but investing time into learning these hidden nuances is well worth the effort.
When selecting an espresso machine, many people focus solely on brand reputation, neglecting calibration capabilities and the machine’s internal components. An overlooked detail is the importance of the boiler’s heating element and its capacity to maintain temperature stability during prolonged use. As expert Robert Thalhem states, temperature fluctuations can cause inconsistent shots and scalding issues. Ensuring your machine allows for easy temperature calibration and maintenance prevents these problems from creeping in.
Inconsistent grind size or tamping pressure often result from a neglect of subtle adjustments or understanding of pressure dynamics. A quick tip—small variations in tamping pressure can alter shot flow by up to 15%, impacting flavor clarity. For the seasoned barista, understanding the physics of pressure and flow rates can help refine your technique. To truly elevate your coffee, avoid the trap of assuming your gear is infallible; instead, focus on the fine-tuned interactions between every component of your setup.
Exploring these hidden details and debunking myths is essential for achieving expert-level results at home. Do you have a go-to troubleshooting step that repeatedly saves your brew? Share your experience and let me know in the comments! For more in-depth tips, visit our cornerstone content on mastering home espresso [here](https://espressotechguide.com/mastering-the-art-of-home-espresso-tips-for-beginners). Want tailored advice on selecting the right equipment? Check out our guide on choosing the best barista gear [here](https://espressotechguide.com/choosing-the-best-barista-gear-for-coffee-enthusiasts).
Maintaining your coffee equipment is crucial for sustaining top-notch espresso quality over time. Having the right tools and knowing proper maintenance routines can make all the difference in ensuring consistent flavors and reliable performance. As a seasoned barista, I swear by a set of specific tools that have helped me keep my machines and accessories functioning flawlessly, saving both time and money in the long run.
Tools That Make a Difference
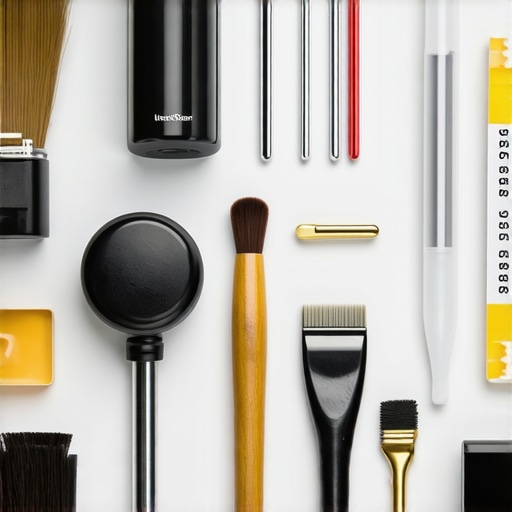
One indispensable tool is a precision burr calibration kit, which allows me to fine-tune my grinder’s burrs periodically, ensuring optimal grind consistency. I personally use an electronic burr alignment device from Baratza, as it provides accurate readings and easy handling. Regular calibration prevents uneven particle sizes that can lead to over- or under-extraction, directly impacting flavor. For cleaning and maintenance, I rely on a dedicated grinder brush with stiff nylon bristles—it reaches deep into the burr chambers and chute, removing coffee oils and dust buildup. This simple yet effective tool is vital for preventing clogging and preserving grinder lifespan. Additionally, a high-quality group head cleaning brush helps me remove coffee residues from the shower screen and dispersion block, which is essential for consistent shot quality.
Investing in a good-quality descaling solution and a water testing kit is also a priority. Hard water leads to limescale buildup, which can degrade machine performance and flavor extraction. I recommend testing your water regularly at home to determine the mineral content, enabling you to select the appropriate descaler or water filter. For espresso machines with PID controllers, a calibrated digital thermometer ensures accurate temperature readings, helping you make precise adjustments—that’s why I use the ThermoWorks Thermapen MK4, renowned for its speed and accuracy. Small investments in these tools promote long-term reliability and help you troubleshoot issues before they escalate.
Looking Toward the Future of Home Barista Maintenance
As technology advances, I predict more integrated solutions such as app-connected sensors that monitor grinder and machine health, providing real-time alerts for maintenance needs. Sensors capable of detecting burr wear or scale buildup will become common, allowing proactive maintenance instead of reactive fixes. To stay ahead, incorporating smart tools into your routine can be a game changer, ensuring your gear remains in peak condition with minimal effort.
How do I keep my equipment working well over time?
Developing a regular maintenance schedule tailored to your specific gear is essential. This includes wiping down surfaces, lubricating moving parts if applicable, and replacing worn components like vape valves or seals. I recommend reviewing your machine’s manual for specific maintenance intervals—many manufacturers provide detailed guides or troubleshooting tips. Scheduling bi-weekly cleaning with descaling and oiling protects your investment. If you notice changes in shot consistency or steam pressure, those are signs that your equipment needs a thorough inspection. Remember, prevention is better than cure; catching issues early spares you costly repairs later. For detailed advice on calibrating your grinder and maintaining consistent quality, check out our [comprehensive guide](https://espressotechguide.com/how-to-calibrate-your-grinder-for-the-perfect-coarse-setting).
Finally, having a set of high-quality spare parts—like replacement seals, gaskets, and portafilter screens—on hand ensures quick fixes without downtime. I keep a small kit from OEM suppliers, which has saved me from lengthy service delays. Maintaining an organized workspace with labeled tools and spare parts also helps streamline regular maintenance routines, especially when troubleshooting under time pressure. If you want to learn more about specialized maintenance techniques, feel free to reach out through our [contact page](https://espressotechguide.com/contact-us). Taking proactive steps and employing these tailored tools will keep your home setup performing at its best for years to come.
What I Wish I Knew Before Taming My Coffee Gear
One crucial lesson I learned was the importance of patience—understanding that equipment needs regular attention and calibration to perform at its best. Jumping to expensive upgrades without mastering the basics only set me back, revealing that consistency comes from fine-tuning and maintenance. Additionally, I realized that many faults stem from overlooked details, like burr sharpness or water quality, which can make or break your brew. This epiphany transformed my approach from reactive troubleshooting to proactive care, ensuring every cup is as delightful as the first.
My Top Picks for Coffee Enthusiasts Looking to Elevate Their Routine
The first resource I trust is our comprehensive guide on mastering home espresso. It offers step-by-step insights that demystify complex techniques and help you develop a keen understanding of your gear. For calibration and maintenance, the calibration techniques section has become my go-to. Additionally, I rely on high-quality tools such as a burr cleaning kit and digital thermometers to keep my equipment in prime condition. These resources have saved me countless hours and ensured every shot hits the mark.
Your Coffee Journey Awaits—Take the Next Step
Every espresso enthusiast has the potential to craft cafe-quality drinks from the comfort of home. Embracing meticulous care, continuous learning, and using trusted resources will unlock your equipment’s full potential. Remember, mastery is a journey, not a destination—so keep experimenting, tuning, and enjoying each cup along the way. If you’re ready to dive deeper into optimizing your setup, visit our water quality tips or check out our gear recommendations to elevate your barista game. How have you recently upgraded or maintained your coffee equipment for better performance? Share your experience below!”}}#END#