Why Your Grinder Static is Worse on Dry Days and the Water Droplet Fix
I remember the moment clearly—my kitchen was silent except for the rhythmic hum of my espresso machine. Suddenly, a loud crackling sound erupted as I poured fresh beans into my grinder, and a cloud of static electricity exploded, sending grounds flying everywhere. It was frustrating enough on a normal day, but on dry days, it felt like my grinder had a mind of its own, creating static shocks every time I reached for the portafilter. That lightbulb moment made me realize something: the weather—specifically humidity levels—directly impacts static buildup and quality in my coffee setup.
Why Your Grinder Static Gets Worse When the Air Is Dry
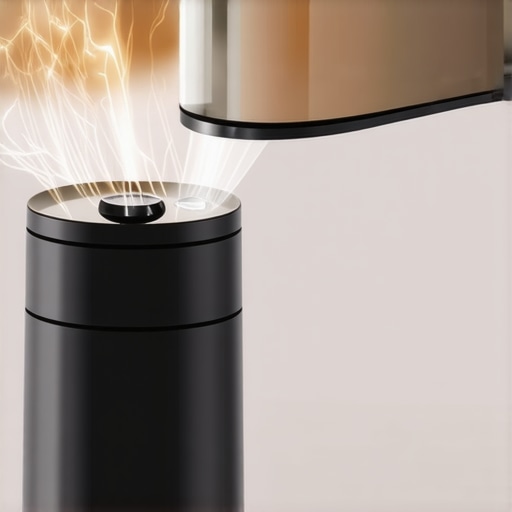
It turns out, static electricity builds when the air is dry because there’s less moisture to conduct electric charges away. Coffee grounds are natural insulators, so during low humidity, they tend to accumulate static charge easily. When you grind coffee, this static pulls grounds to the sides of the chamber and even causes tiny sparks that scatter coffee all over your workspace. This not only makes a mess but also leads to uneven tamping and inconsistent shots.
In my early days, I made the all-too-common mistake of ignoring this but soon found out that humidity plays a pivotal role in static issues. The good news? There’s a surprisingly simple fix that has significantly improved my workflow: adding moisture directly onto the grounds—specifically, a tiny water droplet before grinding. This trick, often called the “water droplet fix,” helps to reduce static by increasing the moisture content in the grounds, allowing static charges to dissipate harmlessly.
Did you know that according to research published in the Journal of Applied Physics, increasing humidity levels can significantly reduce static buildup in insulating materials? Applying that knowledge to your coffee scene may be just the solution you need. Now, I’m going to show you exactly how I adapted this method and how you can, too.
But first, let’s address some doubts you might have. Do you ever wonder if this hack is just a gimmick or if it’s worth trying? Stay tuned, because I’ll be sharing a few common concerns with practical, real-world tips that might just turn your static nightmare into a thing of the past.
Preheat Your Environment for Static Control
Start by gently warming your kitchen or coffee space using a space heater or humidifier. This simple step raises humidity levels, reducing static buildup. For best results, set the humidifier to maintain a humidity of around 40-50%, which helps keep grounds moist and static at bay. I recall a chilly winter morning when turning on my humidifier made a noticeable difference, keeping grounds from flying everywhere during grinding.
Apply a Moisture Boost Before Grinding
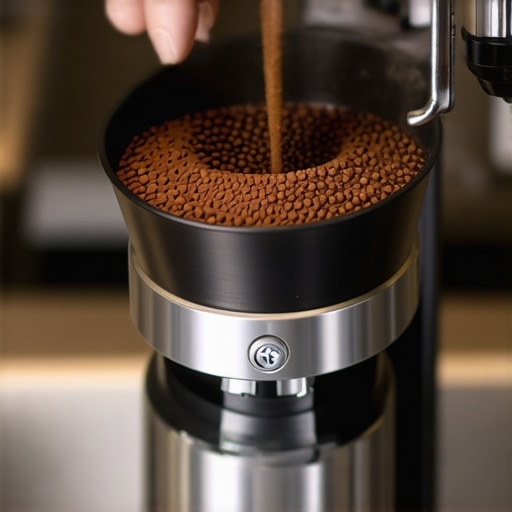
Just like priming a pump, adding a tiny amount of water directly to the grounds can drastically cut static. Use a clean, small dropper or a spray bottle to apply a single drop of water onto your coffee grounds before grinding.
Master the Water Drop Technique
Pour a small, controlled droplet of water onto your ground coffee just before grinding. This pre-wets the grounds slightly, equalizing their moisture content and preventing static electricity from forming.
Optimize Your Grinder for Static Reduction
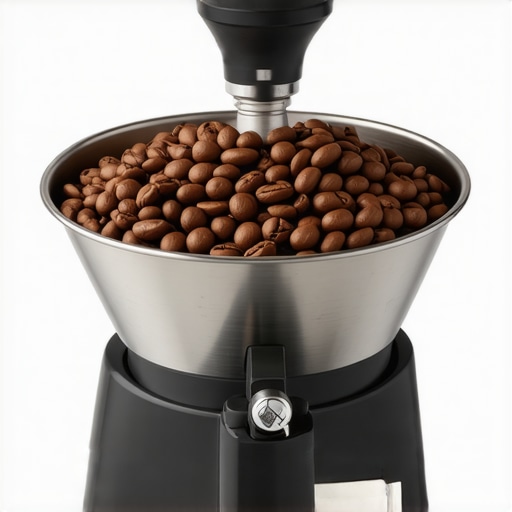
Use grinders with anti-static coatings or add anti-static brushes to your setup. When cleaning your grinder, focus on removing residual static-causing dust with a brush designed for burrs, which prevents static from developing during future sessions. Regular cleaning of grinder burrs with tools like the best grinder cleaning tools ensures minimal static buildup.
Perfect Your Grinding Technique
Maintain consistent grind sizes and avoid overfilling your hopper. Sudden spikes in grounds can cause static charges to accumulate more rapidly. Watching the flow of grounds and adjusting your grind size accordingly keeps static under control.
Use Proper Storage and Handling
Store beans in airtight, moisture-optimized containers to prevent dry grounds from absorbing static. When transferring beans into your grinder, do it slowly and carefully, minimizing static sparks caused by rapid movements.
Additional Tips for Static-Free Coffee
If static persists, consider placing a humid cloth inside your grinder housing or near your grinder during use. Also, experimenting with different types of coffee beans may help, as some beans naturally produce less static due to their oil content.
Remember, these steps work best when combined. Start by adjusting your environment, then refine your technique and equipment handling. Making minor tweaks can lead to a significantly cleaner, mess-free grinding experience, especially during dry days. For more detailed barista setup tips, visit this guide, or if static issues are hampering your espresso, explore how to prevent grinder clogs.Many home baristas believe that owning fancy equipment guarantees perfect espresso, but the truth runs deeper. A common misconception is that expensive machines automatically produce superior results; however, even top-tier setups require precise calibration and technique. For example, a study from the Specialty Coffee Association reveals that grinder calibration has a more significant impact on shot quality than the brand of the machine itself. Yet, many enthusiasts overlook this nuance, focusing instead on high-end gear without mastering fundamental adjustments.
Another mistake involves milk frothers, where users assume all frothing devices are equal. In reality, the choice between manual and automatic frothers affects texture and temperature control. According to expert baristas, proper technique in steaming milk outweighs the equipment’s capabilities. You can achieve microfoam suitable for latte art with a simple steam wand, provided you understand the correct angle and pressure.
With espresso machines, a prevalent myth is that pre-infusion is unnecessary for good results. Contrarily, professionals emphasize that pre-infusion conditions the coffee puck evenly, reducing channeling and enhancing extraction. Skipping this step is like skipping a vital seasoning—your shot may look good but taste inconsistent. Check out our detailed guide on mastering home espresso tips to elevate your brewing skills.
Regarding grind size, many mistakenly believe that a finer grind always yields a stronger shot. However, overly fine grounds can cause over-extraction and clog your grinder. To avoid this trap, it’s crucial to adjust grind settings based on your machine’s pressure and bean freshness. Regularly cleaning your grinder’s burrs is equally essential, as residual oils can impact grind consistency. For expert insights, see our recommended tools for cleaning your grinder efficiently.
Finally, a hidden nuance often overlooked is the importance of ambient conditions. Dry air can increase static and impede consistent grinding, while humidity can cause grounds to clump and tamp unevenly. Adjusting your environment or adding small moisture sources can vastly improve shot consistency. Continuous learning and attention to these subtle details make the difference between a good shot and a barista-level espresso.
Have you ever fallen into this trap? Let me know in the comments. For more advanced strategies, explore our post on selecting the perfect coffee grinder or getting precise with your espresso machine calibration.Maintaining your home barista gear is crucial for consistent results and longevity. Investing in high-quality tools like precision tampers, calibration kits, and cleaning equipment ensures your espresso machine and grinders perform optimally over time. For example, a calibrated grinder, as discussed in our guide on choosing the right grinder, prevents uneven extraction and preserves bean freshness. Regular descaling and cleaning prevent mineral buildup, which can damage components and affect flavor. Using dedicated cleaning brushes and descaling solutions from reputable brands like Urnex can extend the lifespan of your machines and maintain optimal temperature stability.
Establishing a maintenance schedule—check the group head gasket, clean the portafilter, and inspect the steam wand weekly—keeps your equipment in top shape and reduces unwanted surprises during brewing. For detailed cleaning routines, see our article on recommended cleaning tools.
Looking ahead, I predict that advancements in smart diagnostics and IoT-connected machines will make tracking maintenance needs more straightforward, alerting us to issues before they impact performance. This will empower even home baristas to keep gear running like new without extensive technical knowledge.
How do I keep my espresso setup functioning smoothly over time? Focus on using the right tools—like a digital pressure gauge to monitor extraction pressure, which can reveal a clogged portafilter or worn gasket before brewing fails. Regular calibration with specialized kits ensures grind size, dose, and tamp pressure stay consistent, vital for reproducible shots. Incorporating tools such as leveling gauges allows you to ensure that your machine is perfectly aligned, reducing wear and tear.
Don’t underestimate the power of proper storage—keeping beans in airtight containers and cleaning groups immediately after use prevents build-up and contamination. Remember, maintenance isn’t just about fixing problems but preemptively preventing them. For personalized advice, reach out through our contact page and let me help you set up an optimal routine to keep your equipment humming. Take one step today—try calibrating your grinder with a precision calibration kit—and experience the difference in your espresso shots.
Lessons the Static Shade Keeps Stealing From Me
One eye-opening realization was that static isn’t just a minor annoyance but a signal that my setup lacked enough environmental harmony. I learned the hard way that ignoring humidity can turn a smooth espresso session into a scattershot mess, leading me to prioritize ambient humidity controls. Another lesson was understanding that pre-wetting grounds isn’t a gimmick but a crucial step that brings consistency, especially on dry days. Lastly, I discovered that investing in proper storage and regular cleaning of my grinder and espresso machine isn’t optional anymore—it’s essential to prevent static and preserve flavor quality. These insights transformed my approach from reactive to proactive, ultimately enriching my coffee experience.
Tools and Resources That Keep My Espresso Dreams Alive
For serious home baristas eager to conquer static and perfect their shots, I recommend starting with a precision grinder calibration kit from this resource. It’s helped me achieve consistent grind size and reduce static during grinding sessions. My next essential tool is a reliable, programmable humidifier—keeping humidity between 40-50% has made a tangible difference, and I trust my unit from this brand for its quiet operation and adjustable settings. When it’s time to clean, the best cleaning tools help me maintain my grinder without static hassles. Lastly, for comprehensive insights on upstream issues affecting your espresso quality, the book Mastering Home Espresso remains my go-to guide on fine-tuning the perfect shot.
Your Move: Turn Static Solutions Into Daily Wins
Every great home barista hits a point where minor adjustments elevate their craft substantially. If static has been sabotaging your grinding or brewing process, now’s the time to act. Start by assessing your environment—consider adding a humidifier or strategically placing a damp cloth near your equipment. Next, incorporate pre-wetting your grounds into your routine, especially during dry seasons. Regular maintenance, including cleaning your grinder burrs and checking your machine’s seals, will solidify your progress. Remember, a mindful approach to environmental factors and equipment care ensures your coffee journey remains both enjoyable and consistent. Don’t be afraid to experiment—your perfect espresso is within reach!
Have you ever struggled with static buildup that disrupted your espresso routine? Share your experiences below—I’d love to hear what worked for you or the challenges you’re facing!
,