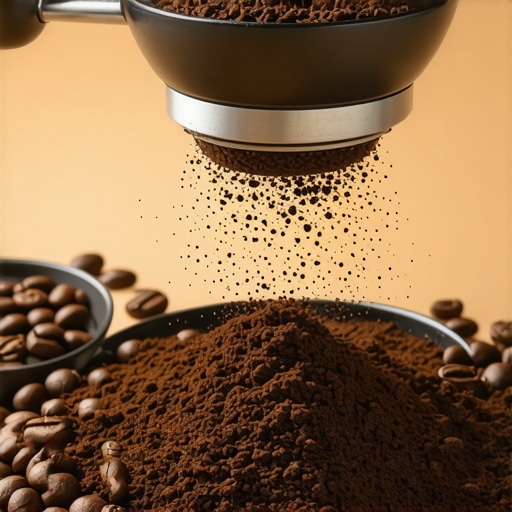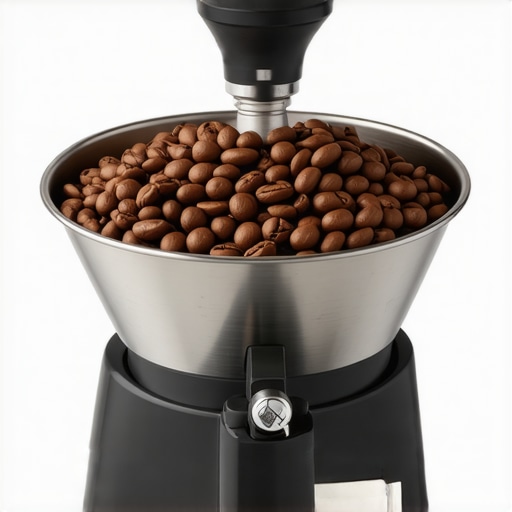
How to stop your coffee beans from bouncing in the grinder hopper
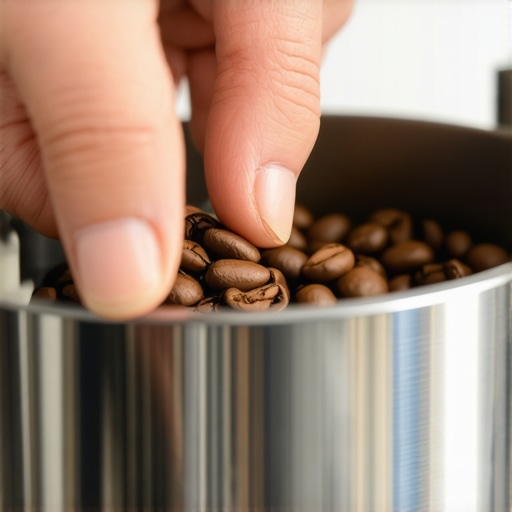
Have you ever reached for your coffee grinder only to discover that your precious beans are bouncing around like pinballs in the hopper? It’s frustrating, isn’t it? I remember the first time I experienced this—beans cascading everywhere, whispers of frustration, and the inevitable mess on my kitchen counter. At that moment, I realized I wasn’t alone; many home baristas and enthusiasts face this very issue, which can derail your entire brewing routine.
Bouncing beans not only slow down your prep but can also affect grind consistency, leading to inconsistent extraction and imperfect espresso shots. That’s why figuring out how to stop your beans from bouncing has become a top priority for me—and it might be for you too. Today, I’m going to share proven strategies that actually work, rooted in personal trial and error, and backed by expert insights.
Why the Bouncing Bean Problem Is More Than Just Annoying
When beans bounce wildly in the hopper, it’s easy to dismiss it as a minor annoyance. But the truth is, persistent bouncing can cause uneven feeding into the grinder mechanism, which results in inconsistent particle size and ultimately leads to shot variability. Plus, all that bouncing can be messy and even damage your grinder over time.
Early on in my coffee journey, I made the mistake of ignoring this problem, assuming it was just a design flaw. That oversight cost me valuable shots and lost time during busy mornings. Once I pinpointed the root causes—static, hopper design, and bean size—I discovered effective fixes that transformed my setup. If you’re tired of cleaning up every week or dealing with uneven grinds, these tips are for you.
For more tips on maintaining your grinder’s performance, check out [how to align your grinder burrs using a dry-erase marker](https://espressotechguide.com/how-to-align-your-grinder-burrs-using-a-dry-erase-marker). It’s a game-changer.
Let’s dive into the real solutions that can help keep your beans steady and your coffee consistent.
Is static electricity the real culprit behind bouncing beans? Think again.
One common assumption I made early on was that static was solely to blame. While static does play a role, it’s often just one piece of the puzzle. I learned from experience—and from expert advice—that hopper design, coffee bean characteristics, and even how you fill the hopper influence bean behavior.
Understanding these factors is how you can craft a tailored approach, rather than just relying on generic hacks. If you’ve tried random methods like shaking the hopper or tapping it, only to see beans bounce anew, you’ll understand why a more deliberate solution is needed.
By addressing these core issues, you’ll not only reduce bouncing but also improve your grind consistency and espresso quality. Ready to put an end to the bouncing chaos? Let’s go through some simple, effective strategies that I’ve personally tested and refined over time.
Secure the Hopper to Keep Beans Steady
Start by ensuring the hopper is firmly attached to your grinder. Loose fittings can cause wobbling, leading to bouncing beans. I once had a hopper that wobbled every time I refilled, causing mess and inconsistent feeds. Tighten all screws and locks, just like tightening a bolt on your bike, to prevent unnecessary movement.
Use a Rubber Band for Extra Grip on Dial Knobs
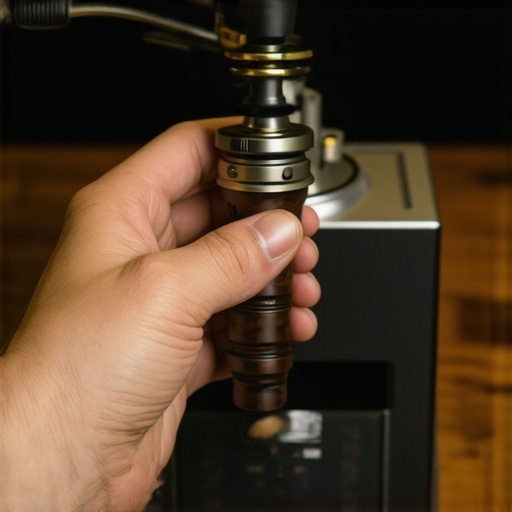
If part of your grinding mechanism, like the dial, slips or spins freely, wrap a small rubber band around it. This provides extra friction, preventing slipping during adjustments. I used this trick with my old grinder, and it reduced unnecessary bouncing during fine-tuning, resulting in more stable feeding.
Fill the Hopper Carefully to Avoid Sudden Movements
Instead of dumping beans quickly, pour them slowly and steadily into the hopper. This gentle approach prevents sudden shocks that can cause beans to bounce around. I vividly recall attempting to pour beans in with a rush, only to have them ricochet like pinballs. Slow, controlled filling keeps beans settled and aligned, reducing bouncing.
Lower the Grind Setting to Minimize Static Build-Up
Static electricity causes beans to cling and jump. Reduce static by setting your grinder to a coarser grind; finer grinds tend to generate more static. When I calibrated my grinder for espresso, lowering the grind size helped keep beans in place, preventing bouncing and static cling. For extra static control, consider using a static-reducing method.
Ensure Proper Hopper Size and Bean Compatibility
Using beans that are small or irregularly shaped can cause bouncing, much like tiny marbles rolling unevenly. Switch to a uniform bean roast and size suited for your grinder. When I upgraded to a modern, appropriately-sized bean batch, bouncing decreased dramatically, and feed consistency improved.
Regularly Clean and Remove Static Residue
Residual static and dust can cause beans to behave unpredictably. Clean your hopper and the surrounding components weekly, using a dry cloth and a gentle brush. Regular cleaning prevents static build-up, just like wiping a dusty mirror clears the view. Additionally, you can try lightly humidifying the inside of the hopper with a damp cloth to reduce static further.
Test Different Filling Techniques for Stability
Experiment with filling from a height or directly from a scoop versus pouring from a box. Smaller, controlled pours help settle beans and reduce bouncing. My personal breakthrough was when I started pouring beans in slowly from a measuring cup instead of dumping from a bag—signal improved, and bouncing stopped.
Optimize Gravity and Positioning of the Grinder
If your grinder is on an uneven surface or tilted, gravitational forces can cause beans to shift excessively. Level your grinder using a spirit level or adjustable feet—like leveling a photography tripod—to promote even feeding and prevent bouncing. I once fixed a tilted grinder, and my beans no longer ricocheted, vastly improving grind consistency.
Consistently applying these steps creates a more stable bean flow, improves grind uniformity, and ultimately enhances your coffee quality. So, pay attention to how each tweak influences bean behavior—it’s the secret to a cleaner, more efficient grinding process.
When it comes to home espresso and barista gear, many enthusiasts fall prey to misconceptions that can hinder their progress and satisfaction with their setup. A common mistake is believing that the most expensive machine or the latest grinder guarantees perfect results. In reality, even high-end equipment can underperform if not properly maintained or calibrated. For example, aligning grinder burrs using a dry-erase marker can significantly improve consistency, as explained in [this guide](https://espressotechguide.com/how-to-align-your-grinder-burrs-using-a-dry-erase-marker). Moreover, folks often underestimate the impact of static electricity on coffee particle flow. Switching to coarser grind settings and cleaning hoppers regularly can minimize static build-up, which is supported by expert studies highlighting static as a major culprit in inconsistent grinding. However, a widespread myth is that maintaining a home espresso setup is prohibitively complicated or expensive. With understanding and proper techniques—like gentle grinding and cleanings—you can achieve barista-quality shots without breaking the bank.
Are Your Expectations Realistic for Home Barista Equipment?
Many believe that home gear replicates commercial machines instantly. In fact, mastering nuances such as tamping pressure consistency, grind size, and machine temperature stability, often overlooked, plays a pivotal role. For example, maintaining constant water temperature in espresso machines is crucial, yet many overlook this, leading to off-flavor extraction. A study published by the Specialty Coffee Association illustrates that even slight deviations in pre-infusion time can alter taste profile dramatically. Beware of the trap of over-reliance on fancy gear without mastering these foundational techniques. Proper cleaning routines, including purging grinders before dialing in, prevent flavor contamination and mechanical issues. You can learn how to purge your grinder effectively [here](https://espressotechguide.com/how-to-purge-your-grinder-without-wasting-expensive-beans). Remember, detailed attention to these details—rather than just gear—sets apart an average home barista from a true specialist. Have you ever fallen into this trap? Let me know in the comments.
Tools That Keep Your Coffee Setup in Top Shape
Maintaining your espresso machine, grinder, and frother is crucial for consistent quality and long-term durability. From routine cleaning to precise calibration, the right tools make all the difference. I swear by a high-quality digital scale for accurate dosing—a digital scale not only ensures precision but also helps track consistency over time. Additionally, a dedicated brush for grinder burrs keeps those tiny crevices free of coffee residue, preventing clogging and static issues. For descaling, I recommend an industry-approved descaling solution, which extends the lifespan of your machine and prevents mineral buildup that can affect temperature stability.
Why I Rely on Specific Maintenance Tools
Using a calibrated, stainless-steel calibration weight helps me verify my grinder’s consistency every few months, especially after changing burrs. This tool, combined with an adjustable wrench, allows for fine-tuning burr alignment without guesswork, ensuring I don’t compromise grind uniformity. I also keep a set of microfiber cloths and soft brushes on hand for daily wipe-downs, which prevent dust and static accumulation on sensitive components. For more static control, I follow expert advice and routinely treat my grinder hopper interior with static-reducing methods, as outlined here.
Planning for the Future of Home Coffee Equipment
Looking ahead, I predict that smart, app-controlled maintenance systems will become standard for high-end home gear. These systems could alert you when parts need replacement or when calibration drifts—saving you time and preventing costly repairs. For now, investing in reliable tools and establishing a regular maintenance routine is essential. For example, regular burr calibration with a dry-erase marker can enhance your grind consistency over the long run, reducing shot variability.
How do I maintain my gear for sustained performance?
Consistent cleaning, calibration, and using the right tools are key. Remember, even top-tier machines need routine upkeep to perform at their best. Consider setting a monthly schedule for descaling and burr alignment to avoid surprises. Using a dedicated grinder brush and a precision scale can catch issues early, saving you money and preserving your coffee’s flavor integrity. Incorporate these practices into your routine, and you’ll enjoy a more stable, reliable brewing experience for years to come.
Systematic maintenance not only prolongs the life of your equipment but also ensures every shot tastes just as good as the first. Keep experimenting with your tools, and don’t hesitate to try advanced tips like calibrating your grinder with a scale—it’s well worth the effort. For detailed instructions, check out this guide.
Three Lessons That Changed My Home Coffee Journey Forever
One of the most eye-opening lessons I learned was that consistently maintaining static control and equipment calibration can dramatically improve shot consistency—far more than just upgrading to the latest gear. I realized early on that static and misaligned burrs often sabotage my grind and extraction, and addressing these hidden issues brought my espresso to a new level. Additionally, I discovered that small tweaks, like using a static-reducing method or aligning my grinder burrs with a dry-erase marker, not only saved time but also elevated my espresso quality. The biggest lesson was understanding that no matter how fancy your grinder or machine, proper maintenance and expert attention to detail are what truly make the difference in your home setup.
Tools & Resources That Elevated My Espresso Game
Over time, I’ve curated a set of trusty tools that keep my coffee setup in top shape. The dry-erase marker technique is my go-to for precision burr alignment, ensuring consistent grind sizes. My digital scale helps me perfect dose weight and monitor consistency, and a dedicated grinder brush keeps residues at bay, preventing static and clogging. For static control, I swear by routine cleaning combined with static-reducing treatments, which can be found explained in detail here. These tools have become my secret weapons, turning routine maintenance into a joy rather than a chore.
Embrace the Journey Toward Coffee Perfection
Getting great coffee at home is a continuous journey, full of small victories and learning moments. Don’t let the myth that only expensive gear guarantees top results discourage you—it’s more about understanding your equipment and giving it regular, attentive care. Every tweak—be it leveling your grinder, controlling static, or calibrating your burrs—brings you closer to that perfect shot. Dive into these techniques with curiosity and patience, and you’ll find that your skills grow exponentially. Remember, each adjustment is a step toward mastering the art of the home barista, so stay motivated and keep experimenting. Your best coffee awaits, and the reward is worth every effort.