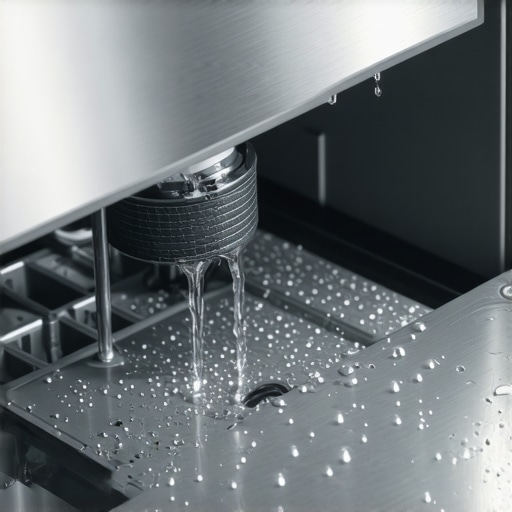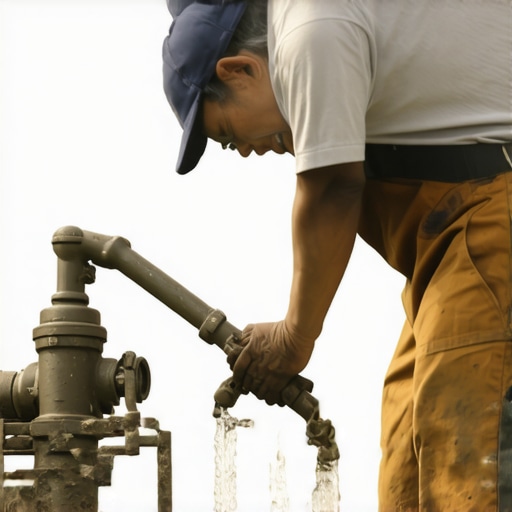
The easy way to prime a pump after your machine ran dry
Ever experienced that sinking feeling when your beloved espresso machine grinds to a halt, refusing to pump water despite your best efforts? I still remember the first time it happened to me. I was all set for my morning ritual—beans freshly ground, portafilter locked, ready to brew—and suddenly, silence. No pump noise, no water flow. Just a frustrating dead-end. It felt like I’d been blindsided by a stubborn machine that refused to cooperate, and I wondered if I’d ruined my favorite coffee ritual forever.
Why Getting Your Pump Back in Action Matters More Than You Think
That initial jolt of panic isn’t unique. Many home baristas and coffee enthusiasts hit this snag at some point. When a machine runs dry, it’s not just an inconvenience—it can lead to more complicated problems if not addressed quickly. The pump might struggle to build pressure, or worse, sustain proper flow, which directly affects your espresso’s taste and body. Plus, a dry pump can cause unnecessary wear, shortening the lifespan of your investment.
Fortunately, after months of trial, error, and a few burnt fingers, I found a simple, effective way to prime that stubborn pump and get your machine back to churning out those perfect shots. And no, it’s not about loading it with more water and hoping for the best. That approach rarely works long-term, and sometimes it can even cause damage. Instead, there’s an easy method—rooted in basic mechanics—that can save your day. Curious? Keep reading because I’m about to share my experience and guide you through the foolproof step-by-step process for priming your pump after it’s run dry.
What about the skeptics? Is this method really safe and effective?
I know what you’re thinking. Could this be just another coffee guru’s myth? Believe me, I made the mistake early on of forcing water through my machine with a syringe, expecting miracles. That’s a quick way to damage seals or create air pockets that make things worse. The truth is, this method is straightforward and designed to gradually re-establish proper flow without risking harm. In fact, it’s so simple that even a rookie can do it—no tools needed, just a little patience. For more tips on maintaining your equipment, check out this quick flush trick that can prevent many common issues.
Now, let’s move from the problem to the solution, and restore your machine’s coffee mojo.
Clear the Water Path Successfully
First, turn off your machine and unplug it to ensure safety. Remove the water reservoir and empty any remaining water. Detach the water inlet hose if possible, to gain direct access. Locate the pump inlet — it’s usually connected to the water reservoir. Use a clean cloth to wipe the area, removing any debris or blockages that might hinder water flow.
Prime the Pump with Controlled Water Flow
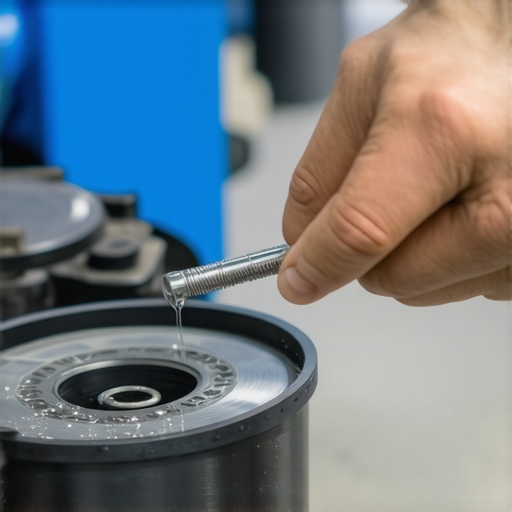
Fill a small squeeze bottle or bulb with warm water. Gently introduce water into the pump inlet, mimicking the pressure of a barista’s hand. Be cautious not to force water too quickly, as sudden pressure can damage internal seals. Slowly squeeze the bottle, observing for any resistance or leaks. This gradual process helps rebuild the pressure inside the pump without risking damage.
Apply Gentle Pressure and Observe
During this step, focus on applying consistent, gentle pressure to avoid forcing air or damaging components. You might notice the water starting to flow smoothly through the system. If water struggles to pass, loosen any remaining connections slightly to allow air to escape, helping the pump draw in water more effectively. Remember, patience is key; rushing can cause re-air locking or seals to rupture.
Reinstall and Test the System
After successfully priming the pump, reconnect any detached hoses and reinstall the water reservoir. Fill the reservoir with fresh water, and turn the machine back on. Run a few brewing cycles without coffee to observe if water flows steadily and pressure builds properly. If you see irregular flow or strange noises, repeat the priming process carefully.
Use a Shortcut to Boost Priming Efficiency
For an easier approach, pre-heat your portafilter using this best method to pre-heat your portafilter. This helps maintain optimal machine temperature, preventing air pockets that can sabotage the pump priming process. Also, ensure your machine’s group head is properly flushed to avoid dry running issues in future cycles.
Solve Common Challenges During Priming
If you encounter stubborn air pockets, try tapping gently on the machine’s casing to dislodge trapped air—much like beating a stubborn marinade. Never tap directly on delicate parts like the pump or control panel. If resistance persists, double-check all connections, and consider running the priming process a second time with slightly increased water pressure—within safe limits—to help clear blockages.
Prevent Future Pump Drying
Regular maintenance can prevent your pump from running dry. Always keep the water reservoir full and clean. Use descaling routines to eliminate mineral build-up that can impair pump function, and periodically run the 10-second flush to keep internal components lubricated and free from scale.
Remember, your espresso machine’s pump is like a barista’s breathing—essential and delicate. Proper priming and maintenance extend its lifespan and ensure consistently excellent coffee shots. With patience and a gentle touch, reviving your pump becomes an easy routine rather than a stressful repair.
Many coffee enthusiasts believe that the latest milk frothers or high-end grinders automatically guarantee perfect espresso shots. However, even the most advanced equipment can be rendered useless by misunderstandings or overlooked nuances. A common myth is that bigger or more expensive gear is inherently better, but in reality, selecting the right tools and understanding their true capabilities requires nuance and expertise. For example, some assume that a professional-grade grinder will automatically produce consistent results, yet static buildup on dry days can impair performance. Regular maintenance and understanding how environmental factors influence grinding consistency are often underestimated but critical for perfection. An often-overlooked aspect is the importance of matching tamping pressure and basket size—using a too-large basket with a powerful grinder can lead to channeling, which ruins extraction quality. To really master your setup, consider how each component interacts; see how the mirror trick can help diagnose channeling issues, or how understanding equipment temperature stability impacts shot consistency. Many believe that simply upgrading to a commercial grinder or espresso machine will solve all issues, but these are often superficial solutions. Proper calibration, like adjusting grind size or dose distribution, plays a greater role in flavor extraction. This links to the advanced discussion about grinder calibration; see calibrating your grinder properly for optimal results. One trap to avoid is neglecting pre-heating your portafilter, which can result in uneven extraction and weak crema. Incorporating this quick preheat method ensures stability throughout your shot. Advanced baristas also pay attention to the precise temperature of their brewing water; deviations of even a degree or two can significantly impact flavor, especially with light roasts, as documented in various studies highlighting extraction sensitivity. Remember that equipment is just part of the story—technique and understanding nuanced variables make all the difference. So, are you truly leveraging your gear’s potential, or are you falling for common misconceptions? Have you ever fallen into this trap? Let me know in the comments.
Keeping your espresso gear in top shape requires not just care but the right tools. Over time, even high-quality machines benefit from precise calibration, routine cleaning, and upgrades that enhance reliability and performance. One indispensable piece of kit I personally rely on is a high-precision digital caliper. It helps ensure my grinder burrs are perfectly aligned, minimizing static buildup and static-related clogs on dry days. Regularly calibrating your grinder after replacing burrs using a calibration technique ensures shot consistency, saving you time and frustration.
Another tool I highly recommend is a small, flexible silicone brush. It’s perfect for deep-cleaning your espresso machine’s group head and steam wand without damaging delicate seals. This simple addition keeps microbial growth at bay and prevents scale buildup, which can impact temperature stability. Remember, equipment reliability directly influences long-term results in espresso making, so investing in quality cleaning tools pays dividends.
For monitoring water quality—crucial for both flavor and machine longevity—I use a TDS (Total Dissolved Solids) meter. Using a device like this allows me to see if I need to descale more often or switch to better-quality water. Scale buildup not only impairs taste but can push you toward expensive repairs, such as replacing flow restrictors or pumps. Regular measurement helps me stay ahead of these issues and prime my machine properly, especially before a busy weekend.
As for future trends, I anticipate smart, connected diagnostic tools becoming more common. Imagine a device that interfaces with your espresso machine and alerts you proactively when a component needs servicing—saving you time and costly repairs. Already, some companies are exploring IoT-enabled sensors that monitor temperature stability or pump performance, signaling maintenance needs before breakdowns occur.
Curious about staying ahead of maintenance? Ask yourself, “How do I keep my equipment performing reliably over time?” A decisive step is integrating reliable tools into your routine and not just waiting for problems to appear. One advanced tip I suggest trying today is the 5-minute fix for a squeaky E61 lever. It will significantly improve your manual lever operation and extend your machine’s lifespan—a small investment for long-term peace of mind.
Over the years, I’ve come to realize that the most overlooked aspect of maintaining a top-tier home espresso setup is understanding your pump’s heartbeat—its priming process. The deep personal insight I gained is that patience and finesse during priming can dramatically extend your machine’s lifespan and elevate your coffee quality. One lesson that struck me was how rushing the priming can cause more harm than good, leading to air pockets and unnecessary wear. Embracing a gentle, methodical approach has transformed my routine from frustrating trial to confident mastery.
Surprising Tricks No One Tells You About Pump Care
- Consistent Water Temperature Matters: Using warm water to prime prevents thermal shock and helps rebuild pressure smoothly, a tip I learned after ruining a seal by using cold water during rebirth.
- Micro-Adjustments Are Key: Slightly loosen hoses or connections when facing stubborn air pockets. This small tweak allows trapped air to escape without forcing water aggressively, saving your seals and internal parts.
- Timing Is Everything: Performing priming routines after descaling or filter changes ensures your pump isn’t fighting mineral buildup or blockages, leading to a more efficient priming process.
- Visual Clues Tell the Tale: Watch for steady, bubble-free water flow during priming. This visual cue indicates your pump is properly recharged—skip rushing these signs for a quicker fix.
- Preventative Maintenance Paying Off: Regularly running a 10-second flush to keep internal pathways free from scale and air traps minimizes the need for deep priming sessions, as explained in my go-to guide on quick flush routines.
My Trusted Arsenal for Long-Term Espresso Health
Equip yourself with tools that make maintenance intuitive. A high-precision digital caliper allows me to check burr alignment after replacements, ensuring consistent grind size, which directly reduces strain on the pump. I swear by a small silicone brush for cleaning delicate areas like the group head and steam wand—simple yet vital for preventing scale and microbial buildup, as discussed in this cleaning tip. For water quality, using a TDS meter helps me monitor mineral levels and descale proactively, preventing scale-induced pump wear. These tools integrate seamlessly into my routine, preserving my machine’s health and my coffee’s flavor.
Your Bold Next Step in Espresso Mastery
Embrace the subtle art of pump priming as a vital skill—one that combines patience, observation, and gentle adjustments. With the right awareness and tools, you can turn a stressful startup into a seamless ritual that enhances both your equipment and your coffee. Remember, mastery isn’t about rushing; it’s about understanding your machine’s nuances and responding with care. As you gain confidence, you’ll find these small acts become your signature move in delivering consistently spectacular espresso.
How do you ensure your pump stays healthy during regular use? Share your tips or stories below, and let’s learn from each other’s experiences!