The 10-Second Flush That Saves Your Group Head Gasket
It hit me one morning, standing in my tiny kitchen, coffee bubbling over as I desperately tried to troubleshoot my espresso machine. That metallic clink, the sudden loss of pressure — I realized I’d ignored a tiny, critical detail for too long. Turns out, a simple 10-second flush can make all the difference in protecting your group head gasket and saving yourself hundreds in repairs.
The Hidden Culprit Behind Gasket Failures
Like many home baristas, I used to skip that quick rinse after each shot, thinking it’s just a needless step. But over time, I noticed my gasket was wearing out prematurely, leaks appeared more often, and maintenance became a chore I dreaded. It wasn’t until I stumbled upon a professional tip that I learned how crucial that brief flush really is — it clears out residual coffee oils and buildup that can cause corrosion and stress on the gasket, especially during long periods without use.
Doing just a 10-second flush isn’t just about cleanliness; it’s a protection strategy. By eliminating these buildups before they cement themselves, you reduce the risk of gasket blowouts and extend the lifespan of your machine’s vital parts.
Is This Small Step Worth the Effort?
You might be skeptical, wondering if a quick rinse really makes a difference. Honestly, I was too. I’ve made the mistake early on of neglecting this step, only to pay the price later with costly repairs and inconsistent shots. Trust me, something so minor can have a colossal impact.
Research indicates that residual oils and coffee grounds contribute to corrosion and gasket deterioration, which can cause costly repairs down the line. For more insights about common grinder issues that can affect your espresso quality, check out this guide on oily beans and grinder health.
So, are you tired of replacing gaskets prematurely? Or maybe you’re just frustrated with inconsistent shots that seem to haunt your mornings? Stick around, because I’ll walk you step-by-step through how a simple, reliable 10-second flush can become your secret weapon against machine wear and tear. Let’s dive into how you can implement this small but mighty habit that protects your investment and keeps your brew tasting perfect.
Performing the Flush Correctly
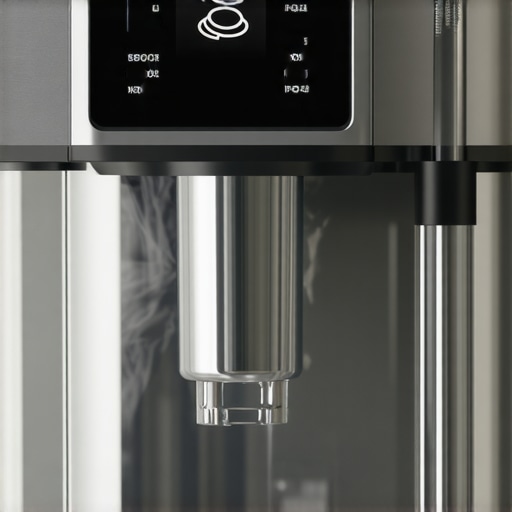
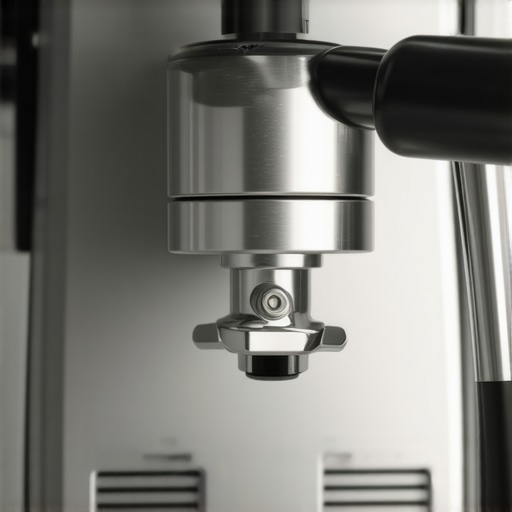
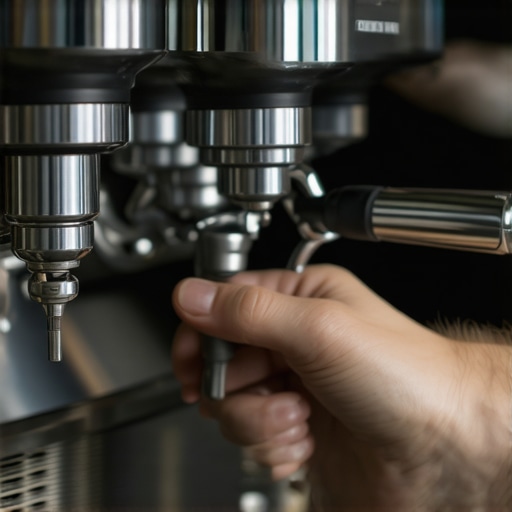
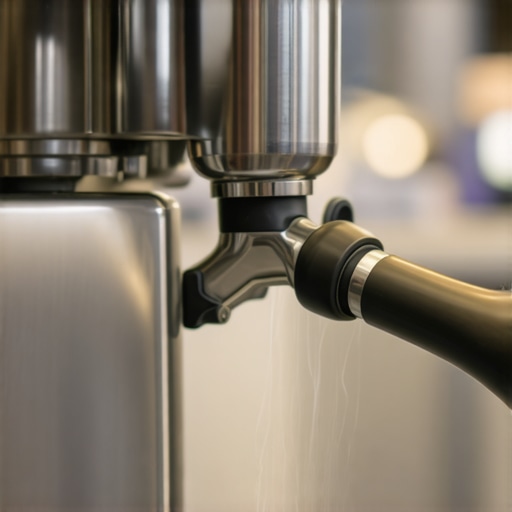
To start, ensure your machine is powered off and cooled down to avoid burns and damage. Remove the portafilter and any residual grounds. Place a cup or bowl under the brew head. Turn on the machine and run hot water through the group head for about 10 seconds, applying just enough pressure to simulate a shot. This quick rinse clears oils and debris that accumulate during use.
Targeted Flushing for Maintenance
After brewing, especially if you’ve pulled multiple shots, perform a longer flush of 15-20 seconds to clear lingering coffee oils inside the group head and brew path. Use this step to dislodge stubborn residues, reducing buildup that can harm gaskets and valves. Regular flushing keeps the internal components in optimal condition, preventing corrosion caused by coffee oils, which you can read more about here.
Incorporating Flushing into Your Routine
Make this quick flush a habit immediately after each shot—think of it like rinsing a paintbrush between colors. Even if your machine has a dedicated flush button, manually running hot water for 10 seconds ensures a thorough cleanse. This maintenance habit reduces the risk of gasket failure, a common and costly problem many home baristas face.
Dealing with Stubborn Residues
If you notice persistent buildup, increase the flush duration to 15 or 20 seconds, or perform a deeper cleaning cycle using descaling agents recommended for espresso machines. Pay special attention to the piston and shower screen area, as residues here can cause uneven water flow and channeling. Proper cleaning prevents pressure inconsistencies, as explained in this guide.
The Practical Benefit of Consistency
Just last week, I applied this simple step after a busy morning and noticed a marked difference in shot clarity and machine performance. The process was quick, messy if done hastily, but ultimately saved me from expensive gasket replacements and improve my espresso quality. Think of this flush as a tiny but powerful return on investment—protecting your gear and your mornings.
Many home baristas fall for misconceptions that can lead to costly mistakes. One prevalent myth is that upgrading to the fanciest espresso machine guarantees perfect shots, but in reality, mastering your current setup and understanding its nuances often yields better results. For instance, a common oversight is neglecting the importance of grind size and distribution, which significantly impacts extraction quality. Using a high-end grinder won’t compensate for inconsistent tamping or uneven coffee grounds, so focus on technique and consistency first. Another misconception involves milk frothers; some believe that more steam pressure equals better microfoam, but this can actually cause milk to overheat or become bubbly if not controlled properly. Learning to dial in your steam wand settings and textures is far more effective. Additionally, many think that larger portafilters always produce superior espresso, yet a smaller basket with a consistent, even distribution can lead to more balanced shots. Remember, the equipment itself is only part of the equation; mastering its quirks and understanding advanced nuances make a real difference.
Maintaining your espresso setup requires more than just regular cleaning; it involves selecting the right tools and adopting proven methods to keep your machines performing optimally over time. I’ll share the specific gear I rely on daily, why I prefer these tools, and how they can extend the lifespan of your equipment.
Investing in Quality Cleaning Tools
One of my favorite investments is a high-quality brush set designed specifically for coffee machines. For instance, a brass shower screen scraper makes cleaning stubborn coffee oils from the shower screen effortless, ensuring even water distribution — a crucial step highlighted in this guide. Using a dedicated brush for group heads prevents cross-contamination and maintains proper flow, which directly impacts shot consistency.
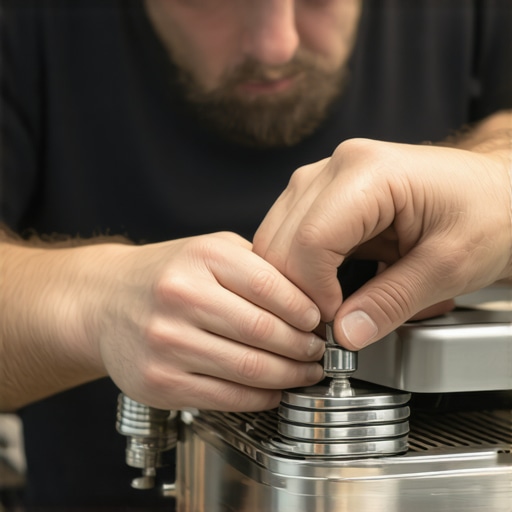
Additionally, I swear by a set of precision screwdrivers for routine internal checks and minor repairs. Many home enthusiasts overlook the importance of tightenings screws for things like group head gaskets and steam wand fittings. Having these tools at hand allows me to perform quick, non-invasive maintenance, avoiding costly visits to the tech shop.
How do I maintain my grinder’s performance over time?
Grinding consistency is vital, and a key tip is using a static eliminator spray on your grinder chamber to prevent static build-up, which causes grounds to cling and disrupt dosing. This simple step improves the cleanliness and accuracy of pours—see how this static fix works. I also regularly check and replace worn burrs; high-grade ceramic or steel burrs last longer and provide consistently better flavor clarity, as discussed here.
Furthermore, keeping your grinder clean is about more than aesthetics. I use a specialized vacuum attachment that reaches into tough spots without disassembling the entire unit, which saves time and preserves seals. Regularly cleaning the chute reduces oily bean residue buildup, consistent with the advice in this article.
Preparing for Long-Term Results
Establishing a routine with these tools ensures your espresso machine and grinder stay in excellent shape. I also recommend scheduling biannual descaling and gasket inspections. Using a digital inspection scope can reveal hidden issues inside the boiler or pump, preventing expensive repairs. Keeping detailed maintenance logs helps track when each component was last serviced, which is especially useful if you own multiple machines.
Looking toward the future, trends indicate smarter, app-connected equipment will provide diagnostic data to automate some maintenance tasks. Until then, reliance on precise tools and consistent routines remains essential.
Make maintenance easier: Start with a dedicated group head brush and always replace worn burrs promptly—your future self will thank you.
What I Wish Someone Told Me About Long-Term Coffee Success
One of the most valuable lessons I learned from my journey into home espresso was that consistent small steps trump massive efforts taken irregularly. Regularly performing even a quick 10-second flush, for example, didn’t seem important at first, but over time, it became a game-changer in preserving my machine and enhancing shot quality. Sometimes, the most profound lessons come from realizing how seemingly insignificant habits hold the power to extend your equipment’s lifespan and improve your mornings.
Another insight was understanding that mastering a few dedicated tools—like a quality group head brush or a precise timer—can transform your routine from stressful to seamless. These tools are investments in your coffee journey, making maintenance less daunting and more habitual.
Finally, I discovered that accepting the learning curve and embracing a mindset of continuous small improvements foster patience and persistence. Every tweak, or shortcut like a targeted flush, contributes to developing expertise that no quick fix or expensive upgrade could replace. The secret lies in recognizing that these small, intentional acts can accumulate into remarkable results over time.
My Essential Coffee Gear That Keeps the Brew Perfect
Throughout my journey, certain tools have become indispensable. A high-quality brass shower screen scraper ensures I keep my espresso machine’s water distribution even, directly impacting shot consistency. For grinder maintenance, a static eliminator spray has prevented grounds from clinging and causing uneven dosing. Regularly replacing worn burrs with a trusted brand has kept my flavors sharp and extraction even. These tools offer peace of mind and tangible performance gains, and I trust them because they consistently deliver real results, as discussed here.
Complementing this setup is a durable silicone tamper mat, which maintains stability and prevents slipping during tamping—a small detail that ensures uniform pressure every time. When I want to troubleshoot deeper issues, a compact inspection scope has helped me detect internal problems early, saving costly repairs. Essential tools like these are the backbone of a sustainable, high-quality coffee routine.
Your Next Step: Elevate Coffee Craftsmanship
Stepping into a mindful routine with simple habits—like that quick flush or regular tool checks—empowers you to take full control of your espresso experience. Remember, greatness in home brewing isn’t always about the newest machine but about nurturing your current gear thoughtfully and consistently. Embrace these small changes and watch your coffee game reach new heights. Ready to implement a small habit today that could transform your mornings? Share your thoughts below or tell me about the routine tweak that made the biggest difference for you.