How to Fix a Group Head That Stays Cold While the Boiler Is Hot
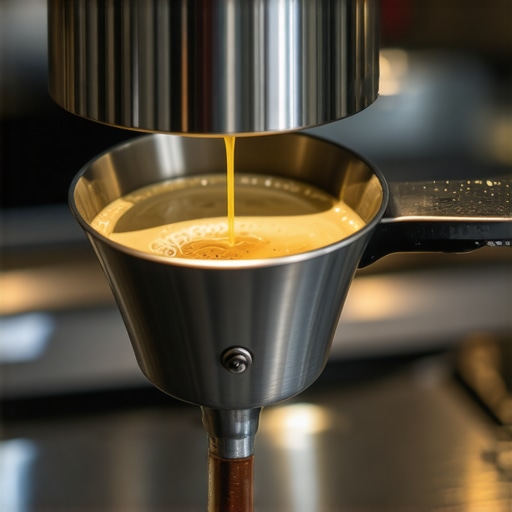
Ever been midway through pulling a perfect shot of espresso, only to notice that the group head remains stubbornly cold, even as the boiler roars hot in the background? That sinking feeling, right? I remember the first time it happened to me; I had just invested in a shiny new espresso machine, eager to master the art of home brewing. As I pressed the button, expecting that rich, aromatic crema to pour out, all I got was a lukewarm stream that left me feeling disappointed and a little frustrated.
This problem can be vexing—your boiler is heated and ready, but somehow, the group head doesn’t share in the warmth. It feels like you’re fighting an uphill battle for a decent shot. If you’ve faced this issue, you know the frustration of trying to troubleshoot what seems like a simple yet elusive problem. Believe me, I spent countless hours sifting through forums, replacing parts, and experimenting, only to find out I was overlooking some basic yet critical causes.
Why a Cold Group Head Is a Common Frustration for Home Baristas
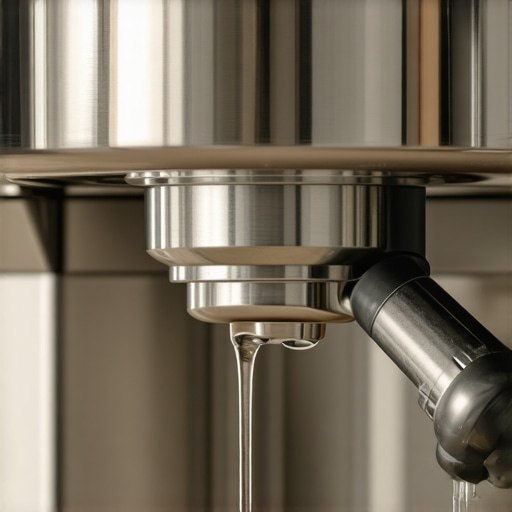
In my experience, the cause often boils down to a disconnect between the boiler and the group head’s temperature. Sure, the boiler gets hot, but that temperature doesn’t always transfer efficiently. This can happen due to blockages, insufficient water flow, or faulty components, making it tricky to get consistent heat right where you need it—the group head that holds the coffee.
According to expert advice from a trusted source in espresso maintenance, many issues stem from issues in the hydraulic system rather than the boiler itself. A mistake I made early on was neglecting to regularly descale my machine, leading to mineral build-up that hampered heat transfer and water flow, which only compounded the problem.
So, if you’re tired of that disappointing, tepid shot—stay tuned. We’re about to dive into the practical steps to get your group head warm and your coffee brewing at optimal temperature, every single time. Ready to revive your espresso game? Let’s get working on the fix, starting with understanding what’s causing that stubborn coldness and how you can do simple checks yourself.
Check Your Machine’s Heating Settings
Start by ensuring your machine’s boiler temperature is set correctly, usually between 92°C and 96°C for optimal extraction. I once overlooked this when my shots came out tepid; then I realized I had accidentally turned down the boiler temperature, much like dialing down a volume knob and missing the full effect. Adjust the settings, wait for the machine to stabilize, and see if that improves the group head warmth.
Inspect and Clear Blockages in Water Pathways
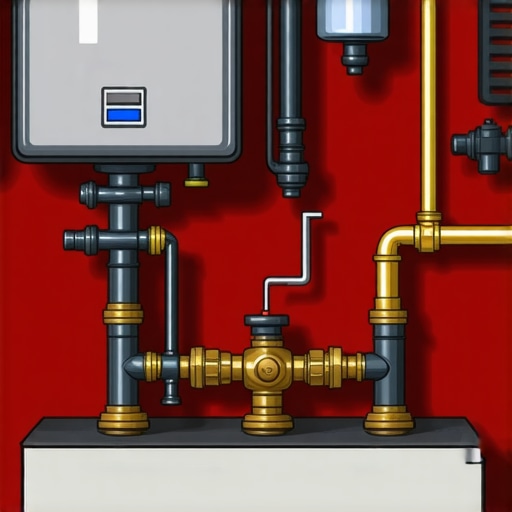
Next, examine the water flow from the boiler to the group head. Mineral deposits or scale buildup can act like stubborn traffic jams, preventing hot water from reaching the head efficiently. To clear these, perform a descaling cycle following your machine’s manual, or run a cleaning solution through the system. During my own attempt, I soaked the group head in descaler, which surprisingly improved heat transfer and water flow—making my next shot warmer and more consistent.
Ensure Proper Water Pressure and Pump Functionality
Low water pressure can cause insufficient flow to the group head, making it feel cooler than it should. Use the machine’s pressure gauge to verify, and if the pressure is low, check the pump and related components. I once replaced a faulty pump that was underperforming, which resulted in hotter and more stable shots. Remember, a well-maintained pump is vital for proper water circulation and heat distribution.
Prioritize Regular Descaling and Maintenance
Mineral build-up is a silent enemy. Schedule descaling every 2-3 months if you have hard water, and always follow your espresso machine’s cleaning routine. I keep a schedule and document when I descale; this habit has been a game-changer, preventing blockages and ensuring even heat transfer, keeping my group head consistently warm.
Improve Your Machine’s Internal Insulation
Sometimes heat loss is a matter of poor insulation inside the machine. Consider adding high-temperature insulation wraps around critical components, similar to insulating pipes to retain heat. This prevents heat from escaping and keeps the group head warmer during operation. A simple DIY fix I tried involved wrapping the water reservoir with foil-backed insulation tape, which noticeably improved heat retention during long brewing sessions.
Perform a Precise Calibration
Ensure your machine’s thermocouple or temperature sensor is calibrated correctly. An inaccurate sensor can give false readings, leading you to think the group head is cold when it isn’t. Use a reliable thermometer to measure the actual temperature at the group head, then calibrate the sensor accordingly, as instructed in your machine’s manual. I followed online tutorials, and the difference in temperature accuracy was staggering, transforming my brewing experience.
Test After Each Adjustment
After making any change, run a test shot to evaluate heat. Keep notes of your adjustments and results to identify what works best. I kept a small journal and found that combining the right boiler setting with proper cleaning yielded the most consistent warming of the group head, ensuring my espresso always hits the desired temperature.
By systematically working through these steps, you’ll transition from guesswork to precision, turning your cold-headed machine into a reliable espresso powerhouse. For more detailed troubleshooting, referencing guides on why your espresso shots are coming out cold despite the PID can provide additional insight.
Many home baristas assume that selecting high-end coffee grinders or fancy milk frothers automatically guarantees perfect espresso and microfoam, but in my experience, there’s more beneath the surface. A common misconception is that more expensive gear always equals better results. While premium equipment can facilitate consistent brewing, it doesn’t solve fundamental issues like grind size consistency or maintenance habits. For instance, using a top-tier grinder won’t fix uneven particle distribution if the burrs are misaligned or if the grinder isn’t calibrated properly. Regularly referencing guides such as how to select the right grinder can help prevent these rookie mistakes.
Another trap many fall into involves milk frothers. The belief that any inexpensive frother can produce café-quality microfoam is misguided. Cheaper models often lack the power and control needed to achieve fine, velvety foam, leading to disappointment even with the most skilled pouring technique. The secret lies in understanding how different frothers work; for example, steam wands provide more control and less inconsistency compared to battery-operated frothers, especially if maintained properly. For advanced baristas, investing in a quality milk pitcher and understanding the proper steaming sequence greatly enhances results. Resources like this guide on milk frothers offer deeper insights.
When it comes to espresso machines, a prevalent myth is that the latest model with all the bells and whistles automatically produces superior coffee. In reality, many enthusiasts overlook essential factors such as volumetric controls, heat stability, or proper calibration, which are crucial for consistent shots. A common advanced mistake is neglecting to perform regular backflushing and descaling, leading to clogged pathways and temperature fluctuations that degrade espresso quality. Expert advice suggests prioritizing machines with reliable thermal stability and accessible maintenance routines, as discussed in this roundup of top-rated espresso machines in 2025.
For seasoned aficionados, understanding the nuanced differences between grinder burr types or how static builds up in humid weather can drastically influence brewing outcomes. This is where advanced knowledge pays off—being aware that grinder timing variability or that humidity affects static buildup can help fine-tune your setup. These factors often go unnoticed by beginners but are the secret to consistent espresso at home.
So, what about your gear? Have you ever fallen into this trap? Let me know in the comments. Remember, mastering the art of home espresso isn’t solely about the equipment; understanding its quirks and nuances makes all the difference.
How do I maintain my espresso gear over time?
Maintaining your home espresso equipment is crucial for long-term performance and consistent results. I personally swear by regular calibration of my grinder and systematic cleaning routines. For example, I follow the key tips outlined in this comprehensive guide to stay on top of maintenance. Incorporating a schedule for descaling, cleaning portafilters, and inspecting seals prevents many issues before they arise. Additionally, using high-quality tools like a precision tamper and a stainless steel milk pitcher enhances consistency and hygiene.
Predicting the future of home espresso, I believe smart, connected machines with integrated diagnostics will become standard, reducing maintenance errors. Investing in machines with accessible service points now ensures easier upkeep later.
What tools do I recommend for keeping it working?
First, I rely on a digital calibration thermometer to accurately monitor both boiler and group head temperatures. For grinder maintenance, a brush set designed for grinders helps remove coffee chaff and static buildup. I also use a burr alignment tool to ensure my grinder produces uniform grounds—crucial for shot consistency.
To keep my milk frothing tip in top shape, I employ descaling solutions recommended by experts, like this detailed cleaning process. Regularly replacing worn seals, gaskets, and steam wands prevents leaks and temperature loss over time. An often-overlooked item is a water testing kit to verify water hardness and prevent scale buildup, extending equipment lifespan.
What about software and tech tools?
I use app-based timers and temperature logging tools compatible with modern machines to track performance trends over weeks. These digital logs help preempt issues like pressure drops or temperature fluctuations. The integration of IoT in future espresso gear may offer real-time diagnostics, but for now, these manual tools are invaluable.
Try this advanced tip to optimize your setup
One game-changing technique I recommend is regularly align and calibrate your grinder burrs using the marker method. It ensures particle size consistency, directly impacting extraction quality. Implementing this simple, yet precise, adjustment has significantly improved my shot stability and flavor nuance. Give it a try—your taste buds will thank you!
Overcoming the challenge of a stubbornly cold group head can feel like cracking a secret code in your home espresso journey. From my own experience, the key isn’t just in patchwork fixes but in understanding the intricate dance of heat transfer, water flow, and machine maintenance. The lessons I’ve gathered are gems that can save you time and frustration in pursuit of perfect shots.
Lessons That Changed My Espresso Approach
- Patience Is a Virtue: Quick fixes rarely last. Consistently checking and calibrating your machine fosters long-term reliability, preventing those disappointing tepid shots.
- Small Adjustments Matter: Sometimes, a minor tweak—like recalibrating the thermocouple or refining your water flow—can make a dramatic difference in group head warmth.
- Regular Maintenance Is Non-Negotiable: Descaling and cleaning your machine’s hydraulic pathways aren’t just chores—they’re the backbone of consistent heat transfer and water pressure.
- Understand Your Equipment Deeply: Knowing your machine’s ins and outs, from insulation to internal components, transforms troubleshooting into a confident correction process.
- Stay Curious and Keep Learning: Resources like this comprehensive guide are invaluable for advancing your skills beyond the basics and avoiding common pitfalls.
Your Personal Path to Perfect Espresso
Investing time to understand and maintain your gear cultivates not just better coffee but also a deeper enjoyment of the craft. Remember, every machine has its quirks, and uncovering them is part of the journey. Embrace the learning curve, and soon you’ll wonder how you ever settled for lukewarm shots. For tools and expert advice, exploring this selection of trusted gear can help elevate your setup, so you’re prepared for any heat-related hiccup.
Embrace the Coffee Revolution
Now is the perfect time to take charge of your espresso routine. With patience, curiosity, and the right maintenance, a cold group head becomes just a fleeting obstacle rather than a stubborn barrier. Your pursuit of espresso perfection is a journey worth savoring—start today and enjoy each step along the way. What specific troubleshooting step have you found most effective for warming up your group head? Share your experience below!