Why Your Espresso Machine Is Making a Loud Thumping Sound During Pre-Infusion
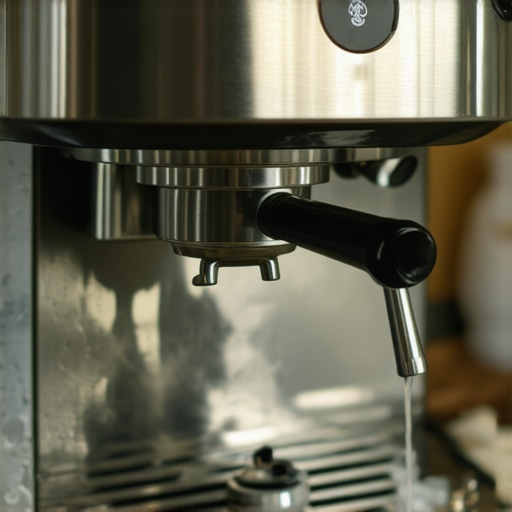
Picture this: I was all set for a relaxing weekend brew, eagerly pulling my shot when suddenly, my espresso machine erupted into a thunderous thumping noise during pre-infusion. I froze. My first instinct was panic—was I damaging my beloved machine? Turns out, that loud bang wasn’t an emergency; it was a common issue many home baristas face, and I’ve been there. That moment felt like a wake-up call, prompting me to dig deeper into why my machine was making these unsettling sounds. And let me tell you, understanding what’s happening can save your equipment—and your peace of mind.
Decoding the Thumping: What’s Really Going On
The thumping during pre-infusion is more than just noise; it’s a symptom of underlying issues that, if left unaddressed, could affect your coffee quality or even damage your machine. At first, I thought it was something serious, but I learned that in many cases, it’s caused by airflow restrictions, water pressure inconsistencies, or loose components. Knowing this empowered me to troubleshoot effectively, saving me money and avoiding frustration on future mornings. Today, I’ll share the insights I’ve gathered, so your brew stays smooth and quiet.
Is That Thumping Worth Worrying About, or Just a Noise?
Many newcomers fear hearing loud noises from their espresso machines, worrying they might be causing irreparable harm. I made this mistake early on—assuming every sound was a disaster waiting to happen. But with a little inspecting and understanding, I realized that some sounds are normal or easily fixable. Still, ignoring persistent noise can lead to more serious problems, like leaks or pump failure. So, if you’ve noticed that your machine is suddenly louder than usual, it’s worth investigating — trust me, it’s better to catch issues early. Curious about common culprits? Check out why your vibration pump sounds louder than it used to for detailed troubleshooting tips.
Understanding what causes these sounds is crucial because manufacturers often design machines that produce some noise during operation. But when that noise becomes a thumping or banging, it’s a sign that something’s out of sync. The good news? Most causes are simple fixes—tightening loose parts, clearing blockages, or adjusting pressure settings. Recognizing this has helped me maintain my equipment better—perhaps it will do the same for you.
Next, we’ll explore practical steps to silence those noisy pre-infusion moments and keep your espresso tasting perfect without the extra racket. Ready to bring peace back to your mornings? Let’s get started.
Secure Loose Components First
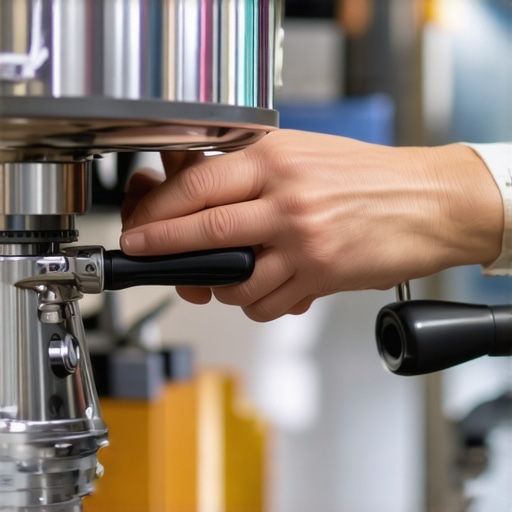
During my own troubleshooting, I remembered the loose drip tray on my machine was rattling when I started noticing noise. I turned off the machine, took out the drip tray, and snugged all screws, replacing it carefully. Testing after this simple step significantly reduced vibration and noise during pre-infusion. Think of your machine like a bicycle; loose bolts will cause rattling and unwanted noise. Regularly check and tighten all accessible parts to prevent this common issue.
Check and Clear Airflow Blockages
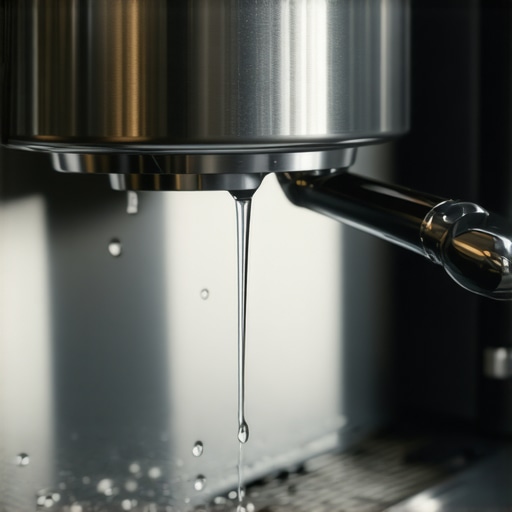
Next, I inspected the steam wand and water inlet for any blockages. I used a pipe cleaner to remove accumulated milk crust or mineral buildup that could restrict airflow, mimicking a clogged straw. In my case, a quick clean with a few pipe cleaners improved pressure stability. Regularly cleaning your steam wand and water lines ensures unimpeded airflow, which minimizes noise and maintains consistent pressure during brew cycles.
Verify Water Pressure Settings and Pump Function
I learned that inconsistent water pressure was a common culprit. Using a pressure gauge attachment, I checked my machine’s boiler pressure, adjusting it to the optimal range specified by the manufacturer. I also listened carefully to the pump; a loud, irregular sound can indicate a worn-out pump or airlock. Running a quick pump prime or bleeding air from water lines often restores quieter operation. For detailed pump troubleshooting, visit this guide on pump noise issues.
Inspect and Tighten Internal Mounts and Gaskets
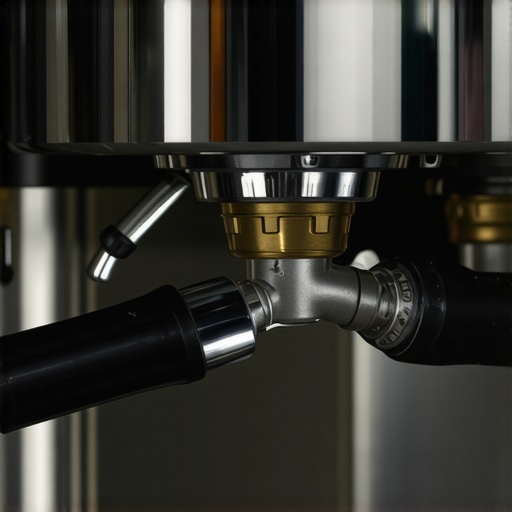
Sometimes, internal vibrations cause thumping sounds. I disassembled the casing to examine gaskets and mounts, which had loosened over time. After carefully tightening or replacing worn gaskets, I noticed the silent, smooth pre-infusion I was aiming for. Remember, internal components like screws, gaskets, and mounts are crucial to dampening vibrations—they should be inspected every few months as part of regular maintenance.
Practice Regular Descaling and Cleaning
Calcium buildup can cause internal blockages and pressure inconsistencies. I followed a descaling routine recommended by the manufacturer, using a descaling solution to eliminate mineral deposits. Post-cleaning, I observed a more stable and quieter operation. Regular descaling ensures that water flows freely through the machine, reducing stress on pumps and valves, ultimately minimizing noise during operation. Find more tips on maintaining perfect brew quality at this beginner-friendly guide.
Use Soundproofing Methods
For ongoing noise concerns, I added rubber pads under the machine and foam insulation around vulnerable areas. It’s like giving your machine a soft landing, absorbing vibrations that cause thumping. While this doesn’t fix mechanical issues, it reduces sound transmission, making early mornings more peaceful. Simple steps like repositioning or adding padding can make a noticeable difference in noise levels.
Implement Routine Maintenance Checks
Finally, scheduling quarterly inspections of all components, including portafilters, seals, and steam wands, helped me catch small issues before they became noisy problems. Consistent maintenance is key—think of it as regular tune-ups for your car. Keeping everything tight, clean, and well-lubricated minimizes unexpected noises.
When it comes to brewing the perfect cup, many enthusiasts focus on the obvious—selecting the right espresso machine or grinding technique. However, a common misconception revolves around the importance of equipment quality versus understanding the nuances that truly impact flavor and performance. Contrary to popular belief, owning high-end gear alone won’t guarantee exceptional coffee if you overlook key details in operation and maintenance. One prevalent trap is assuming that a <$em>premium grinder automatically yields better shots. While quality grinders are vital, neglecting factors like burr alignment, dosing consistency, or proper cleaning can negate their benefits. For example, misaligned burrs can result in uneven particle distribution, leading to inconsistent extraction and sour or bitter notes. Regularly calibrating your grinder and checking for wear can be more impactful than just upgrading to the latest model.
Another misconception involves milk frothers. Many believe that any handheld device can create microfoam akin to a professional barista, but the reality is different. Achieving rich, velvety milk depends heavily on the technique, temperature control, and even the type of milk used. Cheap frothers might produce larger bubbles or lack the stability for latte art—all because they overlook the importance of steam wand control and milk texture management.
Why does my espresso shot taste different with the same machine?
This is a question I get often. Advanced users tend to overlook the subtleties of grind size, tamping pressure, or water temperature, which are all critical to consistency. Scientific studies, like those from the Specialty Coffee Association, highlight that meticulous adjustments—sometimes as small as 0.1mm in grind size or 1°C in temperature—can drastically alter flavor profiles. So, don’t be lulled into thinking equipment alone is the fix; mastering the parameters is equally, if not more, important.
Be cautious of the myth that more expensive gear equates to higher quality. While investments matter, neglecting maintenance and nuanced operation often causes more harm than good. Regular descaling, proper cleaning, and calibration are often overlooked but produce a more noticeable improvement in your shots than a price tag increase. It’s like tuning a musical instrument; without fine adjustments, even the priciest gear sounds off.
For those seeking deeper insights, I recommend exploring these advanced tips to elevate your brewing routine. Remember, achieving expert-level results isn’t just about gear—it’s about understanding and optimizing every small factor involved.
Have you ever fallen into this trap? Let me know in the comments. Staying aware of these nuances will help you craft consistently better espresso and truly enjoy the art of coffee brewing.
Keep Your Coffee Gear Running Smoothly with the Right Tools
Maintaining your coffee equipment isn’t just about cleaning—it’s about employing precision tools and methods that ensure longevity and optimal performance. One of my favorites is a high-quality burr alignment probe. This tiny device allows me to verify that my burrs are perfectly aligned, directly impacting grind consistency and shot quality. Regular calibration with such tools can prevent uneven wear and prolong the lifespan of your grinder.
How do I maintain my machine over time?
Consistent maintenance involves scheduling bi-monthly descaling and using specialized cleaning brushes for your group head and portafilter. I also rely on a digital pressure gauge to monitor water pressure during operation, catching early signs of pump wear or blockage. For example, using a precision scale helps me ensure my tamping pressure remains consistent, directly influencing shot quality. Investing in high-grade lubricants for moving parts and seals, as per manufacturer recommendations, further prevents wear and tear. These maintenance routines, combined with the right tools, help me keep my espresso machine performing at its best, shot after shot.
Gear I rely on for sustained performance
For grinders, I prefer models with stepless adjustment mechanisms, which offer the finest control over grind size—crucial for dialing in your brew and avoiding inconsistency. Cleaning mats like the Barista Space silicone mats not only protect my workspace but also facilitate quick cleaning of espresso dribbles or grounds buildup. When it comes to milk frothing, I swear by insulated thermoses to preheat milk perfectly, which reduces the workload on my frother and produces creamier microfoam. For software, I use grinder management apps that log settings and calibration dates, enabling me to track wear patterns and schedule preventive maintenance, a proactive approach recommended by industry expert Scott R. Rao.
Looking ahead: what’s next for coffee maintenance?
I predict that smart sensors embedded in espresso machines will soon monitor pressure, temperature, and even component degradation in real time, alerting you before issues become noticeable. Companies like Rocket Espresso are already experimenting with such innovations, signaling a shift towards more autonomous maintenance solutions. This trend will empower enthusiasts and professionals alike to extend their gear’s lifespan without sacrificing shot quality or risking costly repairs.
To start elevating your maintenance game today, try implementing a weekly use of a quick burr alignment check. It’s a simple step that can save hours of troubleshooting down the line and keep your grinder in prime condition. Regularly employing such targeted tools not only preserves your equipment but also enhances your overall coffee experience. Want personalized advice on gear or maintenance routines? Visit our contact page to chat with experts dedicated to helping you brew better, longer.
The Hidden Lessons Unlike the Usual Brew Guides, I Discovered These Nuggets in the Noise
One of the most profound realizations I had during my journey with home espresso was understanding that many issues—like that sudden thump during pre-infusion—are less about catastrophic failure and more about subtle clues. For example, realizing that a minor loose screw could be causing significant vibration taught me the importance of paying attention to the smallest details. Sometimes, the hardest lesson is accepting that perfection comes from ongoing vigilance rather than a single fix. These insights, born from troubleshooting my machine’s unexpected noises, eventually became the secret ingredients to consistent, silent mornings.
Tools That Transformed My Routine
If I could recommend just a handful of tools to elevate your espresso game, they would include a burr alignment probe for precision, a digital pressure gauge to monitor pressure, and specialized brushes for internal cleaning. These aren’t just accessories—they’re investments that pay dividends by extending machine longevity and improving shot consistency. Learning to wield these tools with confidence shifted my approach from reactive fixes to proactive maintenance, making each espresso more reliable and enjoyable.
Brewing Passion Meets Practical Wisdom
It’s easy to get caught up chasing the perfect shot or the latest gear, but the real magic happens when passion meets informed care. I’ve found that embracing a routine—such as regular descaling, cautious component inspections, and mindful cleaning—has kept my machine humming and my palate delighted. Remember, the future of home barista mastery is not just in buying the latest gadget but in understanding how each component affects your brew. Small, consistent actions now lay the foundation for incredible mornings ahead.
Your Next Step Toward Coffee Confidence
Now that you’ve learned some of my personal insights, it’s time to set your own benchmarks. Whether it’s tightening a loose mount, calibrating your grinder, or experimenting with soundproofing your espresso station, each step builds momentum. The journey toward quieter, better-tasting espresso begins with curiosity and commitment. So, what small tweak will you try first to improve your home brewing experience? Share your plans below; I’d love to hear what’s next on your path to barista excellence.