How to Clean Buried Coffee Oils Out of Your Grinder Chute
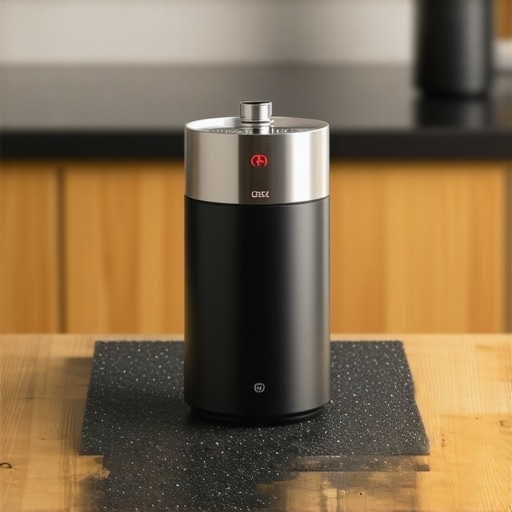
Ever wrestled with a grinder that suddenly clogs or produces bitter, off-tasting coffee despite fresh beans? I remember the first time I experienced a strange, rancid smell emanating from my grinder—right in the middle of my morning brew. That lightbulb moment made me realize: my grinder was hiding a greasy secret. Over time, I discovered that buried coffee oils not only tarnish flavor but can also damage your equipment, leading to costly repairs.
The clean truth about coffee oils is that these oily residues accumulate in places you least suspect—like the grinder chute—and that buildup can be sneaky. It’s easy to overlook because, in our busy routines, we often just brush off the surface grime or assume the grinder is “clean enough.” But trust me, those hidden oils can cause more harm than you might expect.
Why You Should Care About Buried Coffee Oils
Imagine your favorite morning ritual—precise grind, perfect tamp, and a rich espresso—marred by a hint of sourness or bitterness. That’s often a sign of old, rancid oils contaminating your brew. In fact, a study published in the Journal of Food Science notes that residual oils can accelerate flavor deterioration and even promote mold growth if left unchecked.
But cleaning these oils isn’t just about taste. Poor maintenance can lead to clogging, inconsistent grind sizes, and damaged burrs over time. I made the mistake early on of thinking a quick wipe was enough, only to notice my grinder sputtering and my shots tasting off. It wasn’t until I tackled those buried oils that I regained control over my espresso quality.
Do you ever find yourself battling a persistent aftertaste or irregular grind performance? If so, you’re not alone. Many home baristas face these issues but don’t realize that deep cleaning is the key. Regular maintenance routines, like those outlined on this guide, can make all the difference.
In the upcoming sections, I’ll guide you through practical steps on how to effectively remove those stubborn, buried coffee oils from your grinder chute. No fancy tools or disassembly required—just simple, effective methods to keep your grinder in top shape and your coffee tasting true to the beans’ potential. Ready to reclaim your brew? Let’s get started.
Start with a Dry Brush to Loosen Residue
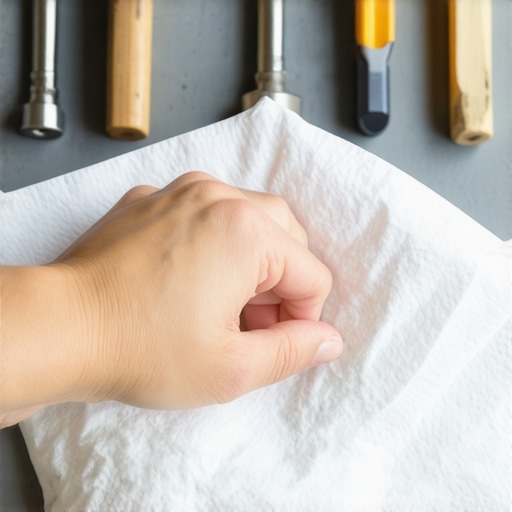
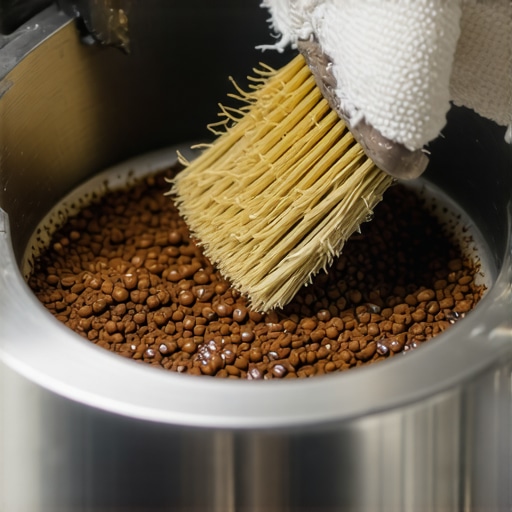
Grab a stiff-bristled toothbrush or a dedicated small cleaning brush and gently scrub the grinder chute and burrs. This initial step helps dislodge the oily buildup that sticks stubbornly to the metal surfaces. I once tried just wiping my grinder and was surprised to find a thick film I missed during quick cleaning. After brushing, the visible residue decreased significantly, making the next steps more effective.
Use a Grinder Cleaning Powder or Rice
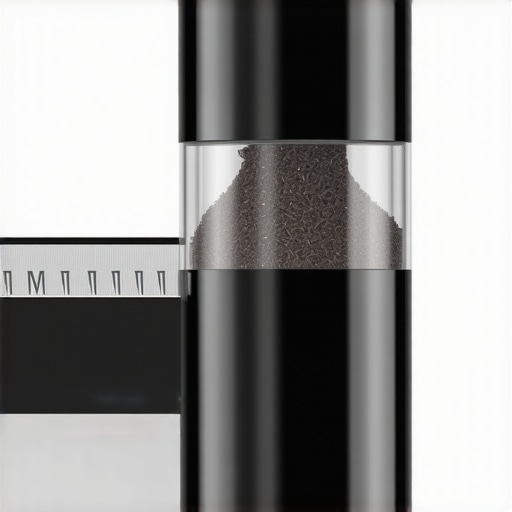
Next, run a small amount of grinder cleaning powder—specifically designed for coffee equipment—or uncooked rice through your grinder. The abrasive nature of rice helps absorb and break down residual oils, while cleaning powders chemically dissolve them. I prefer cleaning powder because it’s formulated for this purpose, but rice can serve as a readily available alternative. Place a teaspoon of the powder or rice into the hopper and grind until it’s processed through. Expect some residual dust—clean it out with a vacuum or compressed air afterward. This process reduces internal oil buildup without requiring disassembly.
Perform a Hot Water Flush (No Disassembly Needed)
Fill the hopper with hot, clean water—avoid soap or detergents—then run a few short, controlled grind cycles to flush out loosened oils. For safety, ensure the grinder is unplugged before doing this step to prevent accidents. The hot water helps loosen and carry away oily residues deep within the chute and burrs. After flushing, empty the hopper and dry the remaining water. This method effectively removes surface oils that might otherwise seep into your coffee.
Deep Clean with Vinegar Solution for Stubborn Oils
If residual oils still persist, create a solution of equal parts white vinegar and water. Run this mixture through your grinder as if it’s coffee beans, then immediately follow with a water-only grind to rinse out vinegar traces. Vinegar’s acidity dissolves grease and oils without harming your grinder’s metal components. I found this step particularly useful after prolonged periods of heavy use. Always dry the parts thoroughly afterward to prevent corrosion.
Reassemble and Test for Clarity
Once cleaning is complete, reassemble your grinder carefully. Run a few small doses of fresh coffee beans and taste-test to ensure the oils are gone, and that there’s no rancid flavor affecting your brew. Improvements in flavor and grind consistency should be noticeable immediately. Regular maintenance, including these steps, keeps your grinder operating smoothly, reduces clogging, and protects your investment.
Additional Tips for Ongoing Maintenance
To keep oils at bay, consider cleaning your grinder thoroughly every 1-2 months, depending on usage. Avoid using soap internally—stick to dry brushes, rice, or cleaning powders. For quick cleanings, an occasional hot water flush can prevent oil buildup from developing into a problem. Remember, buried oils not only spoil flavor but can damage burrs over time—making regular cleaning a worthwhile habit.
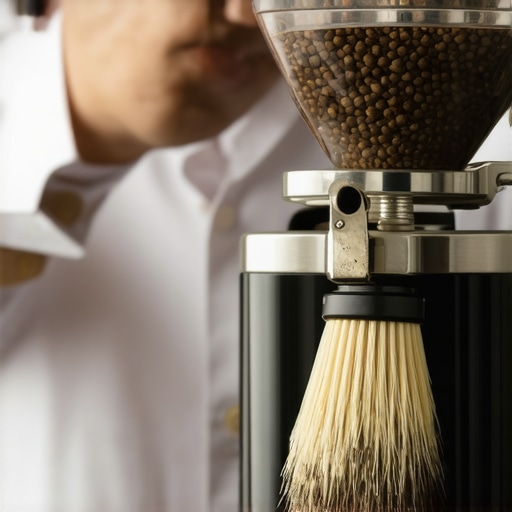
Use a visual aid showing a step-by-step process of cleaning grinder burrs and chute with brushes, rice, and water flush.
Many home espresso enthusiasts operate under assumptions about equipment that can inadvertently sabotage their coffee experience. Contrary to popular belief, opting for the most expensive grinder or the latest espresso machine doesn’t automatically guarantee perfect shots. For example, some believe that pre-heating the portafilter is a waste of water, but in reality, it helps maintain optimal extraction temperatures, crucial for nuanced flavors. Skipping this step can lead to uneven brewing and inconsistent results, especially with light roasts known for their delicate profiles. To understand the nuanced factors influencing your brew, consider exploring optimal brewing temperatures, which often overshadow equipment quality alone.
A common myth is that bigger grinders always produce better results. However, many overlook that burr type, alignment, and maintenance play pivotal roles. Investing in a hefty burr set is pointless if they are misaligned or dull, leading to static issues and uneven grounds. Regularly checking burr sharpness can be more beneficial than splurging on the latest model.
Advanced baristas know that the smallest detail affects shot quality—such as tamp diameter and pressure distribution. An overlooked mistake is using a tamper that doesn’t match the basket’s diameter, causing unpressed edges that lead to channeling. This disrupts extraction, resulting in sour or bitter flavors. More on this can be found in tamper-diameter tips. Additionally, improper leveling of your espresso machine can cause uneven water flow, further complicating extraction. Regularly checking and leveling your machine can make a noticeable difference, as outlined in this guide.
What about the role of grinder static and grind retention? Some assume static is just a minor nuisance, but it can cause uneven dosing and inconsistent shots. Applying simple fixes like anti-static accessories or routine cleaning routines can significantly improve consistency. If you’re curious about advanced techniques, I recommend picking up magnet tricks for managing static.
Making your coffee isn’t just about high-end gear; it’s about understanding and maintaining your equipment at a nuanced level. Regularly inspecting burr alignment, temperature regulation, tamping consistency, and machine leveling can elevate your home brewing from good to exceptional.
**Want to optimize your espresso setup further?** Don’t forget to explore tips to stabilize your machine and prevent vibrations that cause messy spills and uneven pours. Have you ever fallen into this trap? Let me know in the comments.
How do I keep my barista gear performing optimally over time?
Maintaining your coffee equipment isn’t just about routine cleaning; it involves integrating the right tools and strategies that ensure longevity and consistent results. Personally, I rely on a few specialized tools and methods that have dramatically improved the lifespan and performance of my espresso machine and grinder.
One indispensable tool I can’t do without is a calibrated digital scale. Precision in dosing directly impacts extraction quality. I recommend models like the Hario Drip Scale. It features a built-in timer, which helps in maintaining consistent shot times, crucial for espresso mastery.
To keep my grinder burrs sharp and aligned, I use a burr alignment gauge. Regular checks can prevent static buildup and uneven burr wear, which compromise the grind quality. Dull or misaligned burrs are often overlooked but are a leading cause of bitter-tasting coffee and inconsistent extraction. For detailed alignment, I follow procedures in this guide.
Cleaning tools also matter. I prefer a small ultrasonic cleaner for parts like portafilter baskets and shower screens. Ultrasonics efficiently remove oils and coffee residue that brushes alone can’t eliminate, ensuring cleaner brewing surfaces for each shot.
When considering long-term investment, think about water filtration systems. Hard or contaminated water can damage boilers and create scale buildup, reducing efficiency. A reputable filtration device saves money and prolongs your machine’s life. For instance, using a deionizer cartridge can significantly reduce mineral deposits in your boiler, as explained in this article.
How do I maintain my home espresso gear as it evolves?
As your skill progresses and equipment ages, regular evaluations of your tools become essential. Keep an eye on burr sharpness, machine pressure stability, and sealing components. Upgrading accessories like tamper mats or portafilter gaskets can fine-tune your setup without replacing the entire machine. Embracing a proactive maintenance routine helps ensure that your equipment continues delivering espresso that rivals cafe quality and reduces costly repairs down the line. For specific maintenance routines, I highly recommend checking this guide.
Remember, the future of home espresso lies in smart diagnostics and automated maintenance tools. Some emerging tech includes IoT-enabled sensors that monitor temperature and pressure, providing proactive alerts before issues escalate. Staying updated with such innovations will be key for the dedicated home barista.
Start experimenting with a hot water flush—a simple yet effective step to maintain your grinder’s internal cleanliness and prevent buried oil buildup. Incorporating this into your routine can dramatically improve your coffee’s clarity and flavor profile.
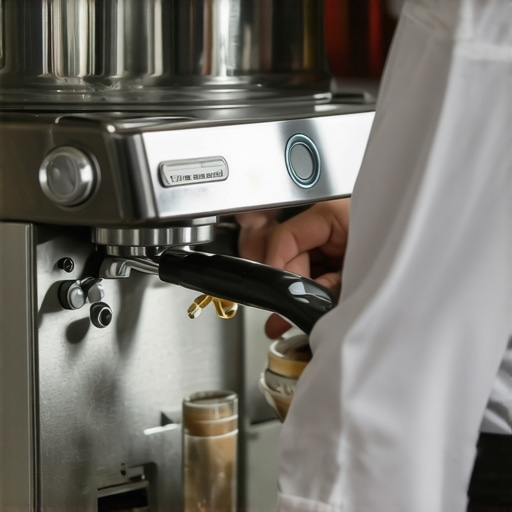
Image showing a professional barista performing routine maintenance on an espresso machine with specialized tools such as gauges and ultrasonic cleaners.
By integrating these tools and practices, you’ll set your equipment up for long-term success, ensuring every shot is as delicious as the first day. Want a quick tip? Regularly checking your machine’s levelness can prevent lopsided extractions that compromise flavor and consistency.
The Hardest Lesson I Learned About Coffee Oils and Equipment Care
One of the most eye-opening experiences in my journey as a home barista was realizing how buried coffee oils subtly sabotage my brew quality. I once ignored the importance of deep cleaning my grinder, only to notice persistent off-flavors and grind inconsistencies. That revelation taught me that maintenance isn’t just routine—it’s crucial for maintaining flavor integrity. Working with equipment taught me that neglecting these hidden residues leads to prolonged issues that could have been avoided with proactive cleaning.
My Secret Arsenal for Keeping Coffee Flavors Sharp
I rely heavily on a few trusted tools that make deep cleaning manageable. A small ultrasonic cleaner helps remove oils from intricate parts, while a burr alignment gauge ensures my grinder remains sharp and aligned. I also keep a tamper with the right diameter to avoid uneven tamping and channeling. These investments, coupled with a regular cleaning schedule, have transformed my coffee experience, allowing me to enjoy pure, vibrant flavors every time.
Fuel Your Passion, One Shot at a Time
Creating perfect espresso isn’t just about gear—it’s about developing a mindset of curiosity and care. Every time I perform a quick water flush or recheck my grinder’s burrs, I remind myself that excellence comes from attention to detail. As you refine your routine, remember that sustainable, long-term results stem from consistent effort and a willingness to learn. Your best brew is just an inside clean away—so get inspired to keep improving, one shot at a time.
What’s the one equipment habit that’s made the biggest difference in your coffee quality? Share your insights below and let’s elevate our home espresso mastery together.