How to Keep Your Tamping Mat from Sliding on the Counter
Have you ever been mid-espresso pull, only to watch your tamping mat slide uncontrollably across your counter? It’s a small annoyance, but one that can throw off your rhythm and even affect the quality of your shot. I remember the first time this happened to me—frantically trying to stabilize my mat while beans spilled everywhere. That lightbulb moment made me realize how much this tiny issue can disrupt a perfect brewing session.
Why Your Tamping Mat Won’t Stay Put and What You Can Do About It
Keeping your tamping mat in place might seem like a minor detail, but it actually plays a crucial role in maintaining a clean and efficient workflow. A stable mat ensures your coffee grounds are evenly distributed and reduces the mess that can often lead to uneven extractions. Over time, I learned that the solution isn’t just about pressing harder or adjusting the mat haphazardly—it’s about understanding the root causes and applying simple tricks to solve them. In this post, I’ll share tried-and-true methods to keep your tamping mat from sliding, making your home barista experience smoother and more enjoyable.
Is it really worth the fuss to fix a slipping tamping mat?
Early in my barista journey, I made a common mistake: I ignored the importance of grip and stability, thinking the problem would resolve itself with better technique. Spoiler alert—it didn’t. The truth is, small adjustments like adding grip or using specific anti-slip solutions can drastically improve your setup. Don’t let this tiny issue sabotage your pursuit of espresso greatness. If you’ve ever felt frustrated during your shot, wondering why your workspace isn’t cooperating, you’re not alone—and the good news is, fixing this is easier than you might think. For instance, sometimes a simple addition of a damp towel underneath the mat can do wonders. Want more tips? Check out how to distribute grounds effortlessly and elevate your entire process.
End of the introduction and first section. Let’s move on to practical solutions next.
Apply a Non-Slip Grip Material
Start by placing a thin rubber mat or anti-slip shelf liner underneath your tamping mat. This creates friction, dramatically reducing movement during tamping. I once added a piece of silicone baking sheet to my setup, and it made a noticeable difference in stability, especially when applying even pressure.
Choose the Right Surface
Ensure your countertop is clean and flat. A smooth, non-porous surface like granite or quartz provides better grip than uneven or slippery materials. I replaced my marred wooden surface with a polished stone counter, which helped my tamp stay put and improved consistency.
Use a Damp Towel for Extra Stability
Place a damp microfiber cloth or towel beneath the tamping mat. The moisture increases grip, preventing slipping. During my first try, I dampened a small towel, laid it under the mat, and immediately noticed the mat staying in place even with firm tamping. This quick fix is inexpensive and easy to implement.
Clamp or Tape the Mat in Place
If you want extra security, temporarily secure the tamping mat with painter’s tape or clamps. I once used painter’s tape to hold the mat steady while practicing my tamping technique, ensuring consistent pressure without the mat shifting.
Integrate Magnetic Solutions
Use magnetic strips or pads if your setup allows. Attaching small magnets to the underside of your tamping mat and the counter can keep things firmly in place. In my experience, this method is more advanced but provides a reliable, mess-free solution for regular espresso routines.
Maintain Regular Surface Cleaning
Keep the surface and underside of your tamping mat free from dust and coffee residue. Dirty or slick surfaces are more prone to slipping. I found that wiping my workstation with a damp cloth before each session maintains optimal grip and stability.
Optimize Your Workspace Layout
Position your espresso gear for minimal movement. A tightly arranged station limits accidental shifts. I standardized my setup so the grinder, tamper, and tamping mat are within arm’s reach, reducing the need to reposition or adjust the mat during a session.
By combining these practical steps—adding grip materials, ensuring a stable surface, using minimal extra accessories—you’ll transform your coffee workspace into a controlled environment. Not only will your tamp stay steady, but you’ll also gain consistency, leading to better extraction and flavor in every cup. For specific tips on distributing grounds effortlessly to prevent puck issues, visit this guide. Keep experimenting with these methods until you find the perfect combination that works for your setup.
When it comes to mastering the art of coffee brewing at home, many enthusiasts focus on the flashy equipment—sleek espresso machines, high-end grinders, or fancy milk frothers. But beneath the surface of these popular tools lie nuanced misconceptions that can derail even well-intentioned home baristas. Let’s dig deeper into some of these overlooked pitfalls and uncover what truly separates the amateurs from the experts.
Are Barista Gears Overrated or Undervalued? Think Again
Everyone emphasizes the importance of ultra-precise coffee grinders or the latest espresso machine model, but in reality, many miss the critical details that can make or break your shot. For example, a common misconception is that higher-priced gear automatically guarantees better extraction. While quality equipment helps, neglecting proper technique—such as dose calibration, tamping consistency, or maintenance—can negate the benefits. I’ve seen premium grinders misused because owners overlook simple measures like purging grinder dust or calibrating burrs correctly.
Furthermore, many assume that fancy espresso machines are foolproof, but they often hide complexities—like pressure profiles and temperature stability—that novices overlook. Proper knowledge of machine behavior becomes a true advantage, especially when troubleshooting issues like inconsistent shot timings or poor crema.
Mastering Milk Frothing Is More Than Just Texturing
Many believe that a high-quality milk frother or wand guarantees perfect microfoam, but dynamics such as milk temperature, jug angle, and even the type of milk significantly influence the outcome. For example, I used to think that foam quality depended solely on the wand’s design, but after experimenting with steaming at slightly lower temperatures and maintaining a proper jug tilt, I achieved velvety microfoam consistently. These subtle techniques often get overshadowed by equipment hype but while gear matters, technique rules the day.
Would Upgrading Your Coffee Grinder Make All the Difference?
Many home baristas believe that splurging on a top-tier grinder is the fastest path to perfect shots. While an excellent grinder certainly contributes, neglecting other factors like grind size consistency, burr cleanliness, or even the freshness of beans can still produce underwhelming results. Moreover, a grinder’s static electricity can cause grounds to cling, affecting dose accuracy and shot consistency. Cleaning inside your grinder properly sometimes produces greater improvements than a higher price tag.
Lastly, misjudging <$"the importance of matching basket size to grind settings" might lead to channeling or under-extraction, issues that equipment upgrades can’t fix if overlooked. This highlights the importance of understanding the synergy between all components for the best espresso quality.
In conclusion, while investing in good gear is beneficial, it’s the nuanced knowledge—understanding machine behaviors, mastering technique, and proper maintenance—that truly elevates your home espresso game. Have you ever fallen into this trap? Let me know in the comments!
Maintain Your Equipment with Precision and Care
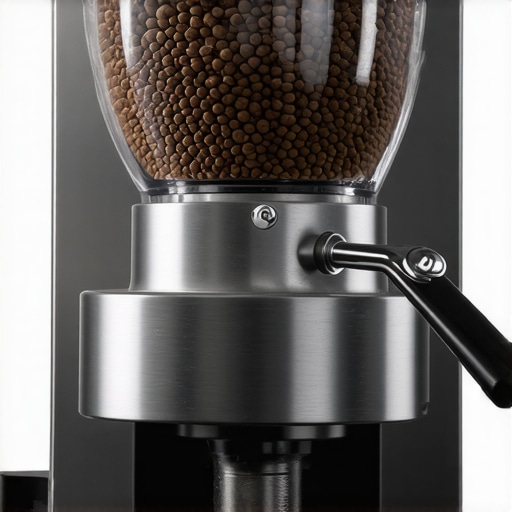
To ensure your home espresso setup continues to perform at its best, regular maintenance and the right tools are essential. I personally rely on a dedicated grinder cleaning brush to remove residual coffee oils and fine dust from the burrs, preventing clogging and static issues. This simple tool has significantly extended the lifespan of my grinder and boosted shot consistency.
Another crucial aspect is calibrating your grinder periodically. Over time, burrs can shift, leading to inconsistent grind sizes. I use a high-precision digital scale to measure dose weight accurately, ensuring each shot starts with the same grounds. This practice minimizes variables and sharpens your brewing skills.
How do I maintain my espresso machine over time?
Routine descaling is vital to prevent mineral buildup, especially if you have hard water. I follow manufacturer-specific cleaning protocols, including flushing the heat exchanger and cleaning the portafilter gasket regularly. Using a specialized descaling solution ensures your machine stays responsive and efficient for years. Additionally, inspecting and replacing seals as needed avoids leaks that can compromise pressure stability.
Implementing a weekly cleaning schedule with these tools helps prevent issues before they escalate, saving time and costly repairs.
Invest in Tools That Make Long-Term Maintenance Easier
Advancing your setup with quality accessories pays off. I installed a magnetic magnetic mirror on my espresso station, giving me a clear view of my tamping and distribution without bending over. It’s a simple addition, but it dramatically improves workflow and consistency, reducing fatigue during long brewing sessions.
Another game-changer is a flow control device for manual espresso machines. It helps regulate water flow precisely, preventing channeling and uneven extraction, which are common pitfalls for home baristas aiming for professional results. Embracing such tools signals the future of home brewing—precision and reliability becoming more accessible.
The Future of Home Coffee Maintenance
Looking ahead, I predict an increasing integration of smart diagnostics in coffee gear. Machines with built-in sensors will monitor pressure, temperature, and flow rates, alerting you when maintenance is needed before problems arise. This proactive approach aligns with trends in smart home technology, ensuring your gear stays in top shape effortlessly.
If you haven’t tried it yet, I recommend implementing a regular grinder purge routine to prevent clogging and static issues. Visit this guide for step-by-step instructions. Making this a habit will keep your grind quality sharp and your shots consistent, even after months of use.
Maintaining your gear with attention and the right tools isn’t just about longevity—it’s about consistently achieving that perfect shot. Start with one upgrade or routine today, and watch your espresso quality improve over time.
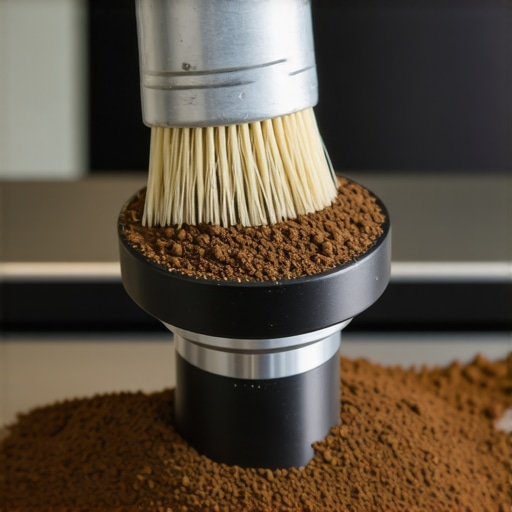
Through my journey in home barista mastery, I’ve discovered that the smallest details—like ensuring your tamping mat stays put—can dramatically elevate your espresso game. These insights are born from personal trials, errors, and ultimately, a deeper understanding of the nuanced dance between workspace setup and shot quality. When I first added a simple damp towel under my tamper, I didn’t realize it would unlock a newfound consistency, transforming how I approach every shot. My advice? Never underestimate the power of well-thought-out workspace ergonomics; a stable tamping mat isn’t just convenience—it’s a cornerstone of precision brewing.
The Hidden Lessons Behind a Slipping Tamping Mat You Can’t Afford to Miss
- One lightbulb moment for me was realizing that even minor surface imperfections or slickness could compromise tamp stability. Fixing this was less about upgrading tools and more about refining how I prepared my workspace, emphasizing cleanliness and surface friction.
- I learned that integrating affordable solutions like rubber shelf liners or silicone pads isn’t just a cheap fix but a strategic move to create a secure foundation, even on imperfect countertops. These small changes yielded consistent improvements in shot quality.
- Understanding the role of proper workspace layout—keeping equipment within arm’s reach and minimizing unnecessary movements—made a noticeable difference in maintaining focus and reducing accidental disruptions.
- My biggest revelation was realizing that maintaining a clean, dust-free surface coupled with strategic grip enhancements ensures your tamping mat stays anchored during high-pressure moments, ultimately leading to better extraction and flavor clarity.
Tools and Tricks From My Home Barista Arsenal
- Anti-slip shelf liners: A simple, affordable way to increase grip. I’ve found that choosing high-traction silicone mats works wonders, especially when working on smooth surfaces.
- Magnetic attachments: For those with more advanced setups, small magnets under the mat and counter can provide reliable stabilization—an investment in workspace precision.
- Regular surface maintenance: Wiping down and keeping surfaces free from oils and residues prevents slickness, a habit that consistently improves tamp stability.
- Thoughtful workspace layout: Positioning gear strategically minimizes unnecessary movements, keeping the tamping situation under control and improving shot consistency.
Your Next Move Toward Espresso Excellence
Remember, achieving a steady tamping mat is more than a fix—it’s about embracing a mindset of precision and care in your setup. Small tweaks, like securing your workspace or adding grip materials, can make each espresso shot better than the last. I challenge you to evaluate your station today: Are your surfaces clean and stable? What simple upgrade can you implement now that will bring lasting improvements? Share your experiences below—your journey to consistent espresso starts with those small, deliberate steps. Let’s elevate our home brewing by paying attention to the details that matter most.