How to stop your steam wand from sputtering during the stretch
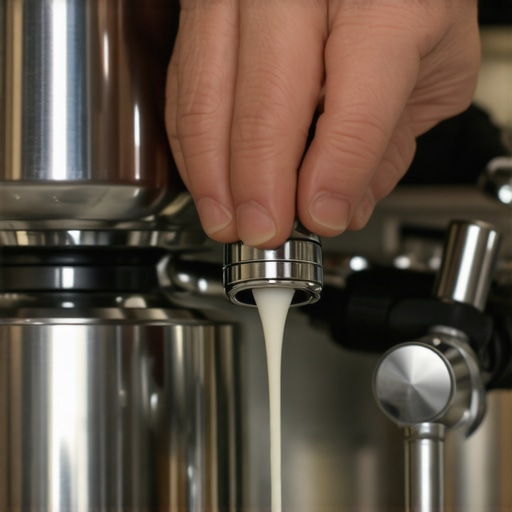
Ever had your steam wand sputter and splatter, ruining what should be a silky smooth microfoam? I sure have. I remember the first time I tried to stretch milk, only to end with a splattering mess that looked like a toddler’s art project. Frustrating, right? That moment was a lightbulb for me—this problem isn’t just annoying; it’s a sign something’s off with the process.
If you’re tired of chasing after perfect microfoam only to be met with sputtering and uneven frothing, you’re not alone. This issue plagues many home baristas, and honestly, it’s more common than you might think. But here’s the good news: it’s fixable. Today, I’m going to share how I cracked the code and what you can do to make your steam wand deliver consistently smooth, dry vapor, no sputters attached.
Why Your Steam Wand Won’t Stop Sputtering and Why It Matters
Many beginners assume that sputtering during milk stretching is just part of the game. But in reality, it often signals underlying issues—like trapped air, improper maintenance, or device inefficiencies—that affect your entire espresso experience. When your steam wand sputters, it’s not just a minor annoyance; it can compromise the texture of your milk, leading to less creamy microfoam and even risking damage to your machine over time.
You see, the quality of your microfoam hinges on the vapor delivery. If the wand isn’t producing a steady, dry vapor, the foam will be uneven, large-bubbled, or even watery. Plus, sputtering milk can leave behind residue, building up over time and causing even more problems. According to barista expert Scott Rao, consistent steam quality is crucial for achieving perfect espresso-based drinks, and sputtering is a clear sign that something’s off.
Early in my journey, I made the mistake of cleaning only the obvious parts and neglecting the finer details like the steam tip or internal valves. That oversight—along with neglecting to regularly descale and lubricate—led to frequent sputtering. Trust me, I learned the hard way that proper maintenance and understanding your machine’s mechanics are essential.
So, if this sounds familiar, don’t worry. We’re about to dive into straightforward, practical fixes that will have your steam wand behaving like it’s brand new. Whether you’re a beginner or an experienced home barista, understanding these core issues will elevate your frothing game to professional levels. Ready to transform sputtering into silky, meter-perfect microfoam? Let’s get started.
Start with a Deep Clean of Your Steam Wand
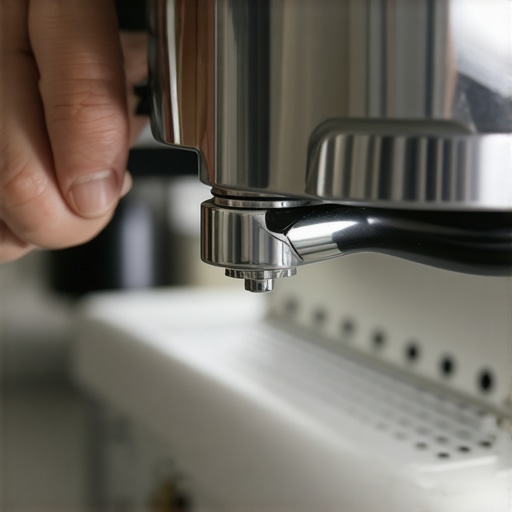
Remove the steam tip and soak it in a vinegar solution to dissolve mineral buildup. Use a needle or a specialized cleaning brush to clear any clogs in the holes. Reassemble and purge steam to check for smooth vapor flow. I remember tackling this after noticing sputtering during milk frothing—I soaked the tips, scrubbed carefully, and finally got consistent, dry steam after the clean. Regular cleaning prevents future blockages that cause sputters.
Ensure Proper Milk Pitcher Position and Technique
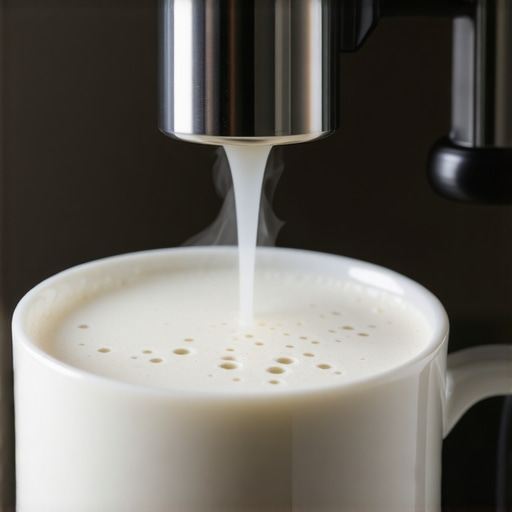
Position your frothing pitcher at the correct angle—around 45 degrees—and keep the steam wand tip just below the milk surface at the start. This creates a whirlpool, mixing air and milk evenly. During my first attempt, I was too close, causing splatters; once I adjusted the pitcher angle and depth, the microfoam became silky. This subtle tweak leverages the physics of fluid dynamics for better frothing outcomes.
Check and Maintain Your Machine’s Internal Components
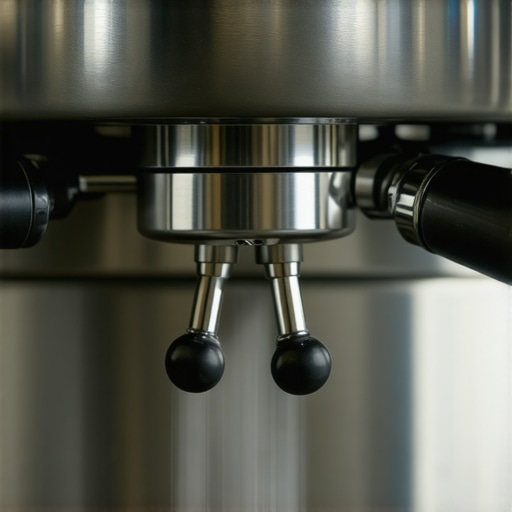
Internal buildup or worn seals can cause irregular steam pressure, leading to sputtering. Regularly descale your machine following manufacturer instructions. For instance, I used descaling solution every three months, which improved steam consistency noticeably. Additionally, inspect and replace worn O-rings and seals—this prevents leaks and maintains optimal pressure. Proper internal maintenance directly impacts steam quality and prevents sputters.
Adjust Your Boiler Pressure Settings
If your machine allows, tweak the boiler pressure to optimize vapor production. Consult your machine’s manual or a professional if unsure. Higher pressure often delivers drier, more stable steam, reducing sputter risks. I experimented with increasing pressure slightly, and it resulted in a steadier steam flow, making frothing smoother and more predictable. Accurate pressure control is key to consistent microfoam.
Practice Consistent Technique and Patience
Mastery comes with experience. Practice the same technique, maintain stable arm position, and listen for a hissing, steady vapor sound. Avoid rushing—the initial seconds are crucial for establishing a stable steam and milk interaction. I found that slow, gentle movements led to cleaner vapor and better microfoam. Developing a routine helps your machine work at its best, reducing sputtering episodes over time.
Optimize Your Grinder Settings for Better Shot and Microfoam
A grinder with too fine or inconsistent grind can cause over-pressurization, affecting steam quality indirectly. Use a consistent grind size and clean your grinder burrs regularly. Check for dull burrs by performing the paper test—if burrs are dull, replace or sharpen them. Proper grind size ensures even extraction and stable pressure, leading to smoother steaming sessions. Discover more about grinder maintenance here.
Double-Check Water Quality and Supply
Mineral-rich water causes scale buildup faster, impeding steam flow. Use filtered or softened water to minimize lime deposits. Regularly clean your water reservoir and descaling schedule. I noticed that after switching to filtered water, my steam was consistently dry and sputter-free, highlighting the importance of water quality. Good water management safeguards your machine’s longevity and performance.
Regularly Service Your Machine to Prevent Future Issues
Professional servicing ensures internal parts stay in top shape. Schedule periodic maintenance, including gasket replacements and pressure checks. Preventative care is more efficient than troubleshooting sputtering mid-session. I set reminders for routine check-ups, which kept my espresso machine operating quietly and reliably, consistently delivering perfect microfoam every time.
Many coffee enthusiasts operate under misconceptions about home espresso setups that can hamper their progress. For instance, a widespread belief is that investing in expensive equipment guarantees professional results. While premium gear can aid performance, mastering technique and understanding nuanced variables like tamp pressure, temperature stability, and grind consistency are equally critical. According to expert barista Scott Rao, the difference between a good shot and a great one often hinges on these subtle details, which are frequently overlooked by beginners.
Why the ‘Bigger is Better’ Myth Doesn’t Hold Up
Some argue that larger, more powerful espresso machines produce better coffee. However, high wattage or bigger boilers aren’t a panacea. In fact, overly robust machines can be more difficult to control and maintain optimal temperature stability, leading to inconsistent shots. The real secret lies in precise thermal management and pressure profiling, not just size. To refine your setup, focus on equipment that offers fine-tuning capabilities and easy maintenance. Explore more about selecting the right gear here.Maintaining your home espresso setup ensures consistent performance and extends the lifespan of your gear. Investing in the right tools and adopting effective maintenance routines can make a significant difference in the quality of your coffee over time. One of the most vital practices is regular cleaning; for example, using a dedicated brush kit to clean your coffee grinder burrs and portafilter components helps prevent buildup that can affect shot quality. Personally, I rely on a high-quality grinder cleaning brush from baristapro to keep my burrs free of old coffee particles, which ensures even grind size and extraction.
Another essential tool is a precise digital scale. Accurate dosing directly impacts extraction and flavor. I recommend the Dymo Digital Scale, which provides consistent measurements down to the tenth of a gram. Using such a scale consistently allows you to fine-tune your grind and tamp pressure, ultimately improving shot clarity.
For ongoing maintenance, descaling solutions are a must. Mineral deposits can clog internal water pathways, impairing steam and brewing functions. I keep a bottle of Urnex Dezcal on hand and follow a monthly descaling routine—this preemptively prevents sputtering and pressure drops. Additionally, lubricating moving parts like portafilter gaskets and steam wand joints with food-grade lubricant minimizes wear and ensures smooth operation.
Upgrading your milk frothing tools can also enhance your coffee experience. A high-quality milk frother, such as the FrothMaster Pro, delivers consistent microfoam and reduces the risk of sputtering during steaming sessions. Regularly cleaning this device after each use maintains hygiene and performance.
Looking ahead, automation and smarter diagnostics will increasingly aid in machine upkeep. IoT-enabled machines can notify you of maintenance needs or when descaling is due, minimizing downtime. Companies like Jura are pioneering such features, hinting at a future where optimizing your espresso setup could be as simple as approving a maintenance alert.
How do I maintain my espresso machine over time? The key is establishing a routine—monthly descaling, weekly cleaning of removable parts, and checking for wear on seals and gaskets. Following manufacturer guidelines and consulting detailed tutorials—like those found at Mastering the Art of Home Espresso—can help you develop habits that preserve your setup’s performance.
To really get the most out of your equipment, try implementing a comprehensive maintenance checklist and stay disciplined. For example, dedicate 10 minutes after each shot to wipe down your steam wand and clean the portafilter. Over time, these small steps accumulate to keep your machine running smoothly and your coffee tasting superior. Remember, investing in quality tools and adhering to regular upkeep creates a foundation for barista-quality espresso at home every day. Ready to elevate your routine? Incorporate a high-quality grinder brush into your weekly cleaning and see how the consistency of your shots improves markedly.
Lessons from the Foam Frontier
One of the most enlightening moments I had was realizing that sputtering steam isn’t just a nuisance; it’s a signpost pointing to deeper issues—be it buildup, worn seals, or pressure inconsistencies. Addressing these foundational problems transformed my experience, and I wish I had prioritized machine maintenance from the start, especially descaling and cleaning the steam tip regularly. It’s tempting to chase the perfect microfoam without considering the health of your machine, but those small overlooked details make all the difference.
My Essential Tools for Espresso Success
Over time, I gathered a toolkit that turned my home setup into a barista’s dream. A high-quality grinder brush like the one offered by this brush keeps my burrs free of old coffee oils, which improves grind consistency and shot clarity. I also invested in a digital scale from this trusted brand, which eliminated guesswork in dosing and tamping. Combining these tools with routine cleaning and descaling routines from the main guide has drastically elevated my coffee game—something I highly recommend for any aspiring home barista.
The Power of Consistent Care and Your Daily Routine
The last piece I want to share is the importance of embedding maintenance into your daily coffee rituals. Setting a few minutes after each shot to wipe down the steam wand, purge excess water, and inspect gaskets might seem trivial—but it’s these habits that preserve machine longevity and ensure your microfoam stays silky. Investing in regular professional servicing, along with a vigilant cleaning schedule, creates a ripple effect, making every cup more satisfying. After all, a well-maintained machine not only performs better; it inspires confidence to experiment and refine your craft.
Your Espresso Adventure Continues Now
Every sip of coffee is a chance to learn and improve. Whether you’re tackling sputtering steam or perfecting your milk pour, remember that patience and attention to detail are your best allies. The journey to café-quality microfoam and espresso at home is filled with small wins—don’t forget to celebrate each one. Keep experimenting, stay curious, and most importantly, enjoy every moment along the way. Your home espresso setup is a reflection of your dedication—so give it the love and care it deserves, and watch your coffee experience transform beyond expectations.