The Real Reason Your Milk Foam Is Too Thick for Latte Art
It was a morning just like any other—hopping out of bed, grabbing my espresso machine, and ready to whip up a beautiful latte. But as I poured the steamed milk, my heart sank. Instead of silky, luscious microfoam ready for intricate latte art, I was met with thick, stubborn foam that refused to thin out. Frustratingly, it looked more like whipped cream than the velvety canvas I envisioned. Ever been there? If so, you’re not alone. That lightbulb moment when I realized my latte art efforts were sabotaged by overly thick milk foam changed everything I thought I knew about steaming. Now, I want to share with you the real reason behind this common issue and, more importantly, how to turn it around. Today, we’ll uncover the secret sauce for achieving properly textured milk—so you can impress friends, elevate your mornings, or just enjoy that perfectly poured cup every time.
What’s Really Going Wrong with Your Milk Frothing?
Is Thick Foam Actually Worth the Hype?
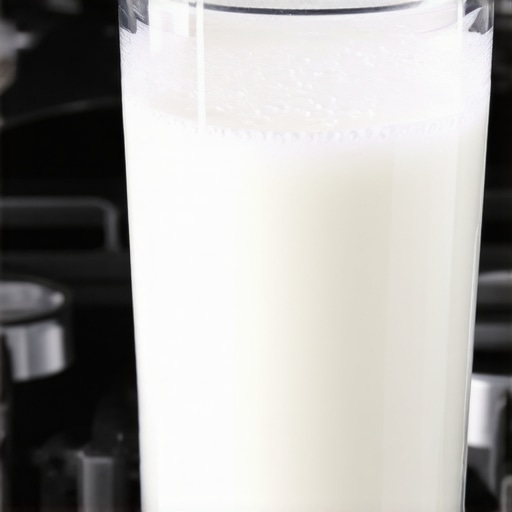
Many home baristas think that thicker foam is a badge of honor, a sign of a powerful steam wand. But in reality, overly dense foam can be a nightmare—not just for latte art but for taste and heat transfer. The mistake I made early on was assuming more foam meant better foam. Turns out, that’s not quite true. Achieving that silky, smooth microfoam requires the right balance — and that begins with understanding your process and equipment. Interestingly, the ideal milk foam should be about 130–150°F, hot enough to enjoy but not so hot that it destroys the texture. According to coffee expert James Hoffmann, mastering milk texture is one of the most overlooked skills in home brewing, yet it’s critical for both flavor and aesthetics. For years, I was chasing thick, foamy peaks, believing that’s what latte art demanded. When I finally learned to adjust my technique—getting the milk just right—I saw a dramatic difference in both my foam quality and my ability to craft beautiful designs. So if you’ve struggled with thick foam that just won’t pour smoothly, don’t fret. I’ll guide you through the steps to fix this problem and elevate your coffee game. Ready to start? Let’s dive into what causes overly thick milk foam and how to fix it effectively.
Adjust Your Milk Temperature to the Sweet Spot
Start by heating your milk to about 130–150°F, similar to the temperature of a warm bath. Using a thermometer helps maintain consistency. I once rushed this step, overheating the milk, which resulted in thick, unpourable foam. Now, I always preheat my pitcher and monitor the temperature carefully — the difference in foam quality is night and day.
Use the Right Steam Wand Technique
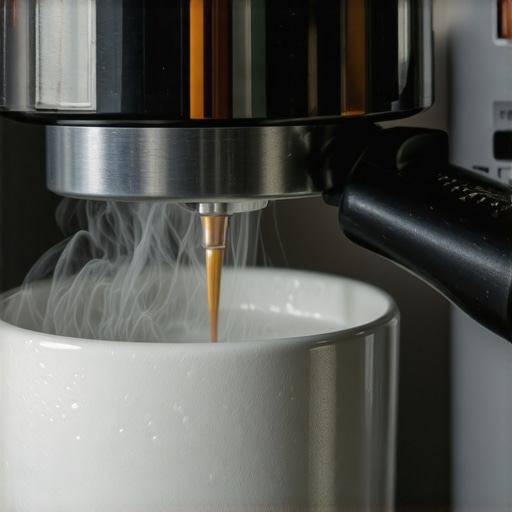
Position the steam wand just below the milk surface at a slight angle, creating a whirlpool effect. This circulation spreads microbubbles evenly. I remember before mastering this, my foam was uneven and dense. When I practiced controlling the wand’s position with slow, deliberate movements, the microfoam became silky — ideal for latte art. For detailed guidance, check out our top milk frothers.
Control the Frothing Speed Carefully
Adjust the steam valve so that the milk is heated gently, not aggressively. Think of it like simmering a sauce — low and steady wins the race. I once opened the valve too wide, causing turbulence and thick foam. Now, I listen for a steady hissing sound and see a steady rise in temperature. Consistent, gentle steaming prevents overly dense foam and ensures microbubbles.
Know When to Stop Frothing
Stop when the milk reaches 140–150°F and the pitcher is slightly too hot to hold comfortably. This indicates adequate texture. In the past, I over-frothed, resulting in dry, stiff foam that didn’t pour well. Using a milk thermometer took the guesswork out. Remember, quality foam is about balance — thick enough to hold shape, yet pliable enough to pour smoothly.
Practice with Different Milk Types
Almond, soy, and dairy milk each behave differently. For example, I noticed almond milk tends to foam better when lightly heated and blended with a bit of water. To prevent separating issues, consult our guide to almond milk texture. Experimenting helps refine your technique, leading to consistent microfoam regardless of the milk you choose.
Many enthusiasts dive into upgrading their home espresso setups, believing that buying the latest equipment guarantees perfect shots. However, a common misconception is that *more expensive* or *higher-end gear* automatically produces better coffee. In reality, understanding the nuanced interplay of grind size, tamping pressure, and machine calibration can make or break your brew, regardless of the equipment’s price tag. For example, even top-tier espresso machines like those listed on our recommended models require proper setup to realize their full potential. Overlooking these details often leads home baristas to blame their gear, when in fact, mastering technique is more critical. A telling trap is assuming that regular maintenance and cleaning are optional. Neglecting this aspect can cause inconsistent pressure, uneven extraction, and flavor degradation, even with the best equipment. Additionally, many get caught in the myth that high-tech features such as PID controllers or dual boilers automatically mean better results. While these features provide precision, they still demand understanding and proper use; otherwise, their benefits are lost. Expert baristas emphasize that equipment familiarity and technique optimization are the pillars of excellent espresso.Maintaining your home espresso setup is essential for consistently excellent results and extending your equipment’s lifespan. One crucial step is regular cleaning, especially of components like the shower screen, portafilter, and steam wand. For example, deep cleaning your milk pitcher with a solution of baking soda and vinegar can eliminate stubborn residues that compromise foam quality. I personally incorporate weekly backflushing with a specialized cleaning tablet, which effectively maintains pressure stability and prevents flavor degradation.
How do I maintain my espresso machine over time?
Adopting a routine schedule is key. I set aside time every week to descale my machine with a descaling solution, especially if I notice a drop in steam pressure or uneven shot extraction. Using high-quality water filters reduces mineral build-up, ensuring longevity. Keeping replacement parts like gaskets and group head seals on hand allows quick swaps before wear causes leaks or pressure issues. I favor brands like Mazzer for grinders because their durable burrs require less frequent calibration, saving time and maintaining grind consistency. Looking ahead, automation and smart diagnostics will likely become standard, simplifying maintenance further. For now, sticking to meticulous care routines and durable tools is your best bet.
What tools do I recommend for home maintenance?
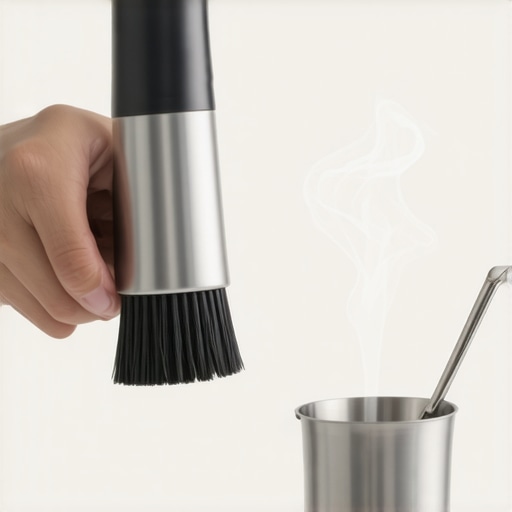
Well-loved items include a dedicated cleaning brush for your portafilter, which prevents cross-contamination of flavors, and a precision torque wrench to ensure even tamping without over-tightening. Investing in a high-quality coffee grinder, like those featured in our top-rated options for 2025, ensures consistent particle size, reducing the need for frequent recalibration. Remember, preventive maintenance is cheaper and less frustrating than fixing broken components down the line. Consider setting reminders for regular descaling and part inspection, or better yet, consult our contact page for tailored advice. To keep your setup performing at its best, try incorporating a routine that includes both simple daily wipe-downs and more intensive weekly deep cleans. This proactive approach saves time and keeps your coffee tasting perfect, shot after shot. Keeping your gear in shape is an investment in your brewing journey—so don’t neglect it. For detailed cleaning techniques, check out our guide on deep cleaning your milk pitcher. Regular upkeep not only preserves the value of your equipment but also guarantees that each cup you brew meets your high standards.
Lessons Only Experienced Baristas Usually Discover
- Perfecting microfoam is less about steaming time and more about finesse—small adjustments to your technique make the biggest difference, a lightbulb moment I had when I realized patience beats speed every time.
- The true value of quality equipment isn’t in its features but in your understanding of how to leverage them; I once thought a high-end machine would solve all my issues, only to learn proper maintenance and technique are the real keys.
- Experimenting with different milk types taught me that each behaves uniquely, and embracing these differences led to more consistent, velvety textures—so don’t shy away from trying almond, soy, or even oat milk in your routine.
Top Resources That Changed My Approach to Home Espresso and Milk Frothing
- Mastering the Art of Home Espresso: This comprehensive guide helped me understand the nuances of grind size, tamping, and machine calibration, transforming my brewing results.
- Milk Frothers That Transform Your Coffee Experience: A must-read for choosing the right frother to achieve silky microfoam, boosting both taste and visual appeal.
- Deep Cleaning Your Milk Pitcher: Proper maintenance of tools was a game-changer in maintaining consistency and preventing unwanted flavors.
Your Espresso Journey Starts Now — No Experience Needed
Having explored these insights, it’s clear that mastering milk frothing and equipment care is within everyone’s reach. With patience, practice, and the right resources, you can turn your humble kitchen into your favorite cafe. Remember, every expert was once a beginner—so take that first step today, and enjoy the process of elevating your coffee craftsmanship. What’s been your biggest challenge when it comes to milk frothing or maintaining your espresso gear? Share your story below and let’s learn together.