Why Your Portafilter Baskets Keep Getting Stuck in the Group Head
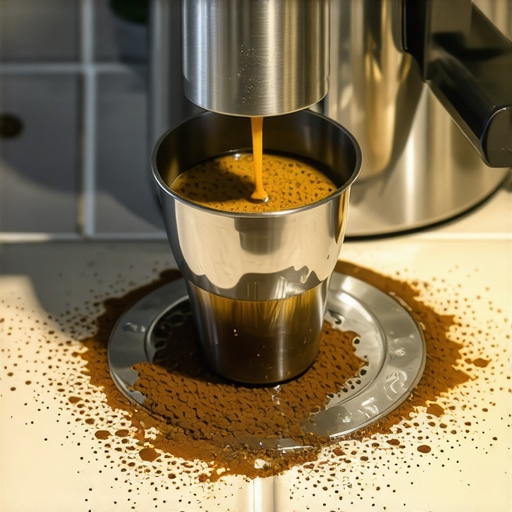
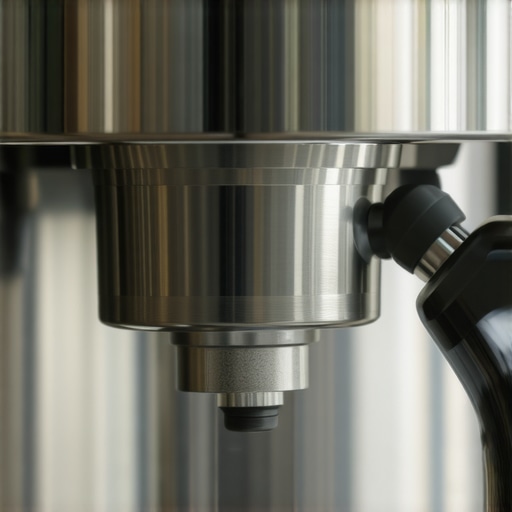
It happened to me during a hectic Saturday morning coffee session—my portafilter was jammed tight into the group head of my espresso machine. No matter how much I tried to wiggle or twist, it wouldn’t budge. Frustration bubbled up as I worried about damaging my beloved gear. Sound familiar? If you’ve ever faced this stubborn stuck portafilter situation, you’re not alone. This common issue can turn a routine brew into a full-blown nightmare, especially when you’re aiming for that perfect shot.
Dealing with a Stuck Portafilter: Why It Happens and Why It Matters
As a passionate home barista, I’ve learned that a stuck portafilter isn’t just a minor inconvenience; it’s often a sign of underlying problems that, if left unaddressed, can impact your espresso quality and machine longevity. The good news? With a little knowledge, you can troubleshoot and prevent this annoying snag.
Is All the Tightening Actually Worth It?
Early in my espresso journey, I believed that overtightening my portafilter would ensure a perfect seal and prevent leaks. Turns out, over- tightening can cause the gasket to compress unevenly or misalign, making future removal a struggle. It’s a mistake I made repeatedly, which only worsened the problem. A better approach is understanding the right amount of pressure—firm enough to seal, but not so much that it sticks. Want to optimize your technique? Check out this guide on portafilter gasket issues for insights.
Have you faced the frustrating moment when your portafilter refuses to come out, no matter how much you pull? If so, you’re in good company. The key lies in understanding the common causes and preventative measures to keep your coffee routine smooth and enjoyable.
Apply Controlled Leverage to Loosen the Portafilter
Grip the portafilter handle firmly with a towel or barista cloth for extra grip. Gently twist it counterclockwise, applying steady pressure. I remember when I faced my first jam—using a towel prevented slipping and avoided damaging the handle. If it resists, try rocking it slightly side to side while twisting, mimicking the gentle undulations you’d use to loosen a stubborn screw.
Use Warm Water and Lubrication Techniques
Warm the Components
Run hot water over the portafilter and around the gasket area—think of it like softening a tough rubber band. Warmth causes slight expansion, easing stuck parts. One morning, I soaked my portafilter in hot water for a few minutes before attempting removal. It made a noticeable difference, reducing the force needed.
Apply Safe Lubricants
For more stubborn cases, a tiny amount of food-safe lubricant or silicone oil on the gasket edge helps. Avoid harsh chemicals; this isn’t a car engine. A little lubricant not only aids removal but also prolongs gasket life. After my second attempt, applying a light silicone spray allowed an easier twist without risking damage.
Leverage with Tools and Gentle Taps
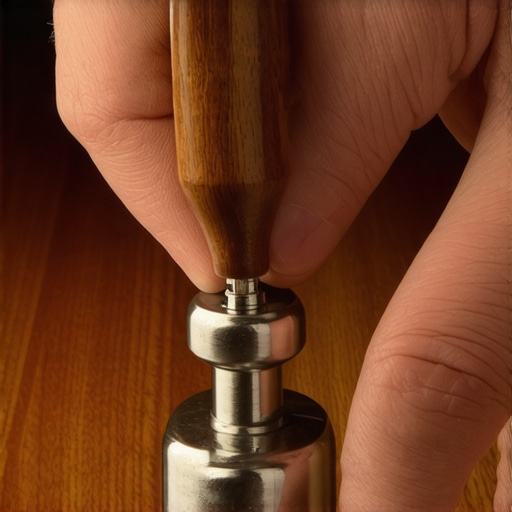
If manual methods fail, use a rubber strap wrench or a soft plastic prying tool around the handle—think of it as giving gentle support to the handle’s leverage point. Tap lightly on the handle’s end with a wooden or rubber mallet if needed; this vibrates the tight seal without smashing the espresso itself. During one session, gentle tapping freed the portafilter after a stubborn 10-minute struggle; patience was key.
Prevent Future Sticking with Proper Tamping and Maintenance
Over-tightening and compressed gaskets cause these issues. Make sure to tamp consistently—aim for about 30 pounds of pressure—and periodically check the gasket for cracks or flattening. Regularly clean your portafilter and gasket to remove coffee oils that create adhesion. For detailed techniques, see our guide on mastering home espresso.
Final Troubleshooting Tips
If all else fails, consider replacing worn gaskets or seeking professional service—sometimes, the stubbornness stems from wear and tear. Remember, forcing a stuck portafilter aggressively risks damaging both the handle and the machine’s group head, leading to costly repairs. Keep your equipment in tip-top shape with regular maintenance checks, and you’ll avoid this frustrating scenario altogether.
Many coffee enthusiasts assume that high-end equipment guarantees flawless espresso, but the truth runs deeper. For instance, a common misconception is that more expensive grinders automatically produce better grounds—however, many top-tier grinders can still suffer from improper burr alignment or static buildup, both of which can severely impact grind consistency. Achieving optimal extraction isn’t just about the gear’s price tag but understanding its precise mechanics and how to fine-tune them. Critically, many overlook the importance of properly seasonaling new burrs to prevent uneven grinding and static charge, which can cause inconsistent dosing and channeling issues. Experts like Scott Rao emphasize that even minor imperfections in burr alignment or inconsistent tamping can lead to under-extraction or over-extraction, compromising flavor. So, instead of blindly trusting your equipment, invest time in mastering calibration techniques—like using a feeler gauge for burr alignment or conducting a light roast test with a coin to verify kill-zone uniformity. Additionally, many home baristas are unaware that their milk frothers may not deliver the silky microfoam they desire because of overlooked factors like pitcher angle or steaming temperature. A study published in the *International Journal of Food Science* confirms that even slight variations in steaming angle dramatically influence foam texture. For advanced users, understanding the physics of fluid dynamics—such as how pitcher tilt affects airflow and bubble formation—can elevate your latte art. Make sure your equipment is properly maintained: regularly descaling machines, cleaning steam wands thoroughly, and replacing worn gaskets can prevent subtle issues from sabotaging your brew. One trap to avoid is assuming that initial setup is a one-time affair; precise adjustments require ongoing attention. Have you ever fallen into this trap? Let me know in the comments! Explore more about selecting the right gear and avoiding common pitfalls at this guide.Maintaining a reliable and efficient home espresso setup requires more than just good equipment; it demands regular upkeep, strategic tool choices, and understanding how to troubleshoot common issues. To keep your gear performing at its best, investing in the right tools for cleaning, calibration, and adjustment is crucial. For instance, I personally rely on a precision burr alignment gauge, which allows me to fine-tune my grinder accurately and ensure consistent particle size, leading to better extraction every time. This tool has saved me countless headaches and preserves the lifespan of my burrs, especially when I upgrade or replace them. Additionally, a dedicated cleaning kit that includes espresso machine descaling solution, group head brushes, and microfiber cloths helps me stay on top of routine maintenance, preventing mineral buildup and microbial growth that can impact flavor and safety.
Looking ahead, I predict that automation and smart diagnostics will become more integrated into home espresso machines, making maintenance even more straightforward. Features like auto-clean cycles, predictive wear alerts, and app-based troubleshooting will empower enthusiasts to care for their equipment without extensive technical knowledge.
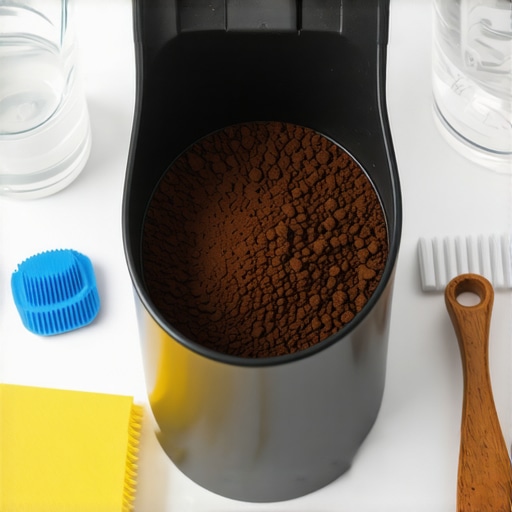
How do I maintain my espresso gear over time? Regular calibration is the foundation. I use a digital scale for dosing and a visual tamper to achieve consistent pressure. Periodically, I check the gasket condition by inspecting for cracks or uneven wear, which can cause leaks or poor compression. For grinders, I clean the chute and burrs weekly, utilizing a specialized brush that reaches into tight corners—avoiding heavy disassembly unless necessary. This routine preserves grind uniformity and extends equipment lifespan.
Scaling your setup effectively also means managing component wear. Replacing worn portafilter gaskets and inspecting steam wand seals every few months prevents leaks and maintains steaming performance. A good practice is to keep spare parts handy and schedule proactive replacements based on your usage patterns, not just when issues arise.
For tools, I recommend prioritizing a high-quality calibration weight set and a soft rubber mallet designed for gentle taps—these enable precise adjustments and help dislodge stuck parts without risking damage. For example, carefully tapping the group head with a rubber mallet, as supported in expert guides, can free stubborn seals or components, avoiding unnecessary repairs.
If you’re serious about long-term results and want to maintain consistent shot quality, dive into detailed calibration tutorials and keep a log of adjustments. My recent tip? Use a feeler gauge to check burr alignment and prevent static or uneven grinds, a common culprit in inconsistent espresso shots. You can find detailed methods at our burr alignment guide.
Finally, don’t overlook software updates and firmware calibrations if your machine supports them. Manufacturers often release patches that improve performance or fix bugs, enhancing reliability over time. Staying proactive in your maintenance routine ensures your setup remains in tip-top shape and delivers that perfect cup every morning. Ready to try a more advanced technique? Next time, aim to calibrate your grinder’s burrs using a marker to detect subtle misalignments and optimize grind consistency—it’s a game changer for refined flavor and extraction quality.
What I Wish I Knew When I Started Fixing My Barista Gear
One of the biggest revelations was understanding that equipment issues often stem from routine habits. For example, over-tightening my portafilter created more problems than it solved. Recognizing the importance of proper torque taught me to avoid unnecessary stress on gaskets and handles, extending the life of my gear and ensuring consistent shots. Additionally, I learned that patience is vital—sometimes, a gentle tap with the right tool resolves stubborn stuck parts without risking damage.
Another insight was the significance of regular maintenance and calibration. I used to neglect small details like burr alignment or gasket inspection, but now I see how these everyday tweaks dramatically improve flavor and machine longevity. Investing time in understanding the mechanics behind my espresso machine and grinder elevates my brewing from good to exceptional, turning routine chores into opportunities for mastery.