How to Fix a Stuck Bean in Your Manual Coffee Grinder
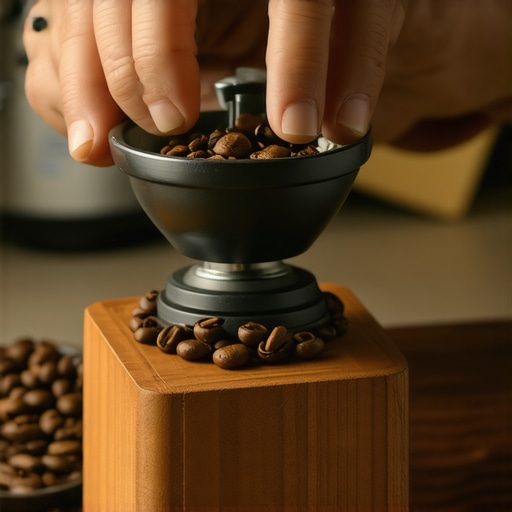
Ever since I started brewing espresso at home, I’ve faced my fair share of equipment hiccups. But nothing was more frustrating than the time I eagerly turned my trusty manual grinder, only to find that my beans refused to budge. The handle wouldn’t turn—stuck tight as if it had developed a mind of its own. It hit me then: a simple, everyday task was turning into a stubborn puzzle. That frustrating moment inspired me to figure out how to fix a stuck bean in my grinder once and for all.
Getting to the Root of the Jam
Sometimes, it feels like your grinder’s just decided to sass back. A stuck bean isn’t always an isolated issue; often, it’s a symptom of underlying problems like accumulated coffee oils or misaligned burrs. When I first encountered this snag, I hastily forced the handle, only to damage the internal components—trust me, that was a costly mistake I learned the hard way. Early on, I overlooked the importance of regular cleaning, which is essential in preventing such jams. Regular maintenance, including cleaning and checking for worn parts, can save you tons of trouble down the line. Did you know that coffee oils can clog your grinder’s mechanisms, making beans stick and twist? According to Home-Barista.com, routine cleaning dramatically reduces these issues and extends your equipment’s lifespan.
Are you tired of battling with a grinder that won’t cooperate? Don’t worry—I’ve been there, and I’ve got practical solutions coming right up. Before we dive into the step-by-step fixes, let’s address some common doubts.
Is Tip-Top Maintenance Actually Worth the Effort?
Early in my journey, I thought ignoring the cleaning schedule wouldn’t hurt. Turns out, skipping regular upkeep only leads to those stubborn jams and inconsistent grinds. Now, I never skip a quick clean, especially after grinding oily beans. If you’ve ever questioned whether routine cleaning really makes a difference, I highly recommend checking out tips on maintaining your gear from professionals. Proper care not only prevents jams but also guarantees a fresher, more flavorful brew in every cup.
So, if you’ve faced the frustration of a grinder that refuses to turn, stick around. I’ll guide you through everything needed to get your grinder smoothly running again, saving you from future headaches and costly repairs.
Disassemble the Grinder to Access the Burrs
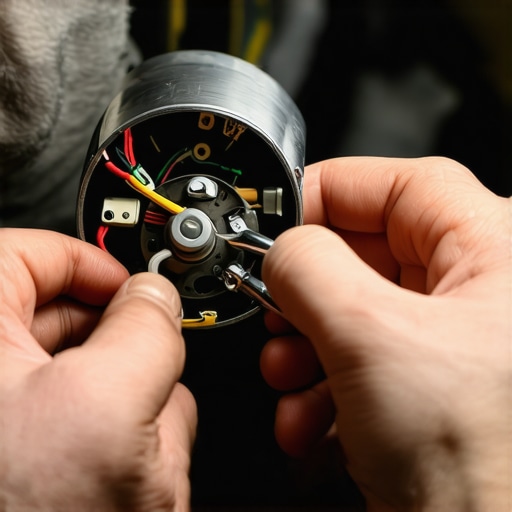
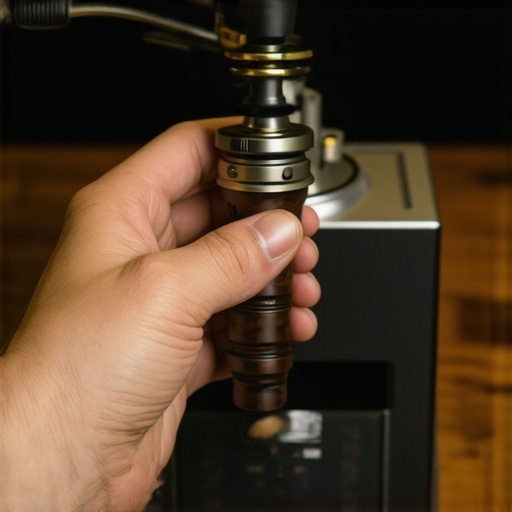
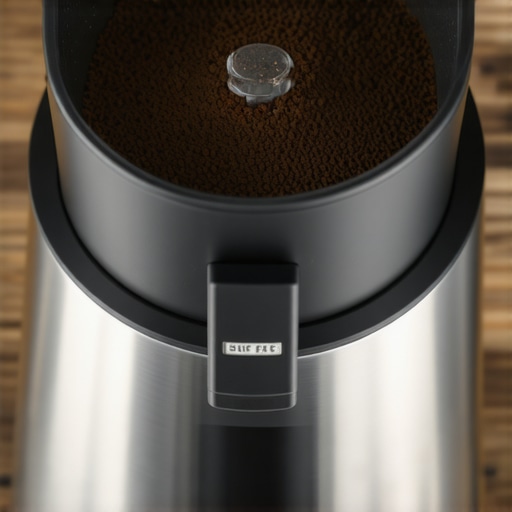
Start by unplugging your grinder to ensure safety. Remove the hopper and the upper burr assembly, which often involves unscrewing or gently twisting the parts—think of it as opening a jar but with the right tools. Use a brush to clear loose debris from the burr chamber. I once struggled for five minutes, fumbling with the parts, until I realized a gentle twist with a damp cloth loosened stubborn ingredients, revealing the stuck bean trapped between the burrs.
Clear the Jam with Precision and Care
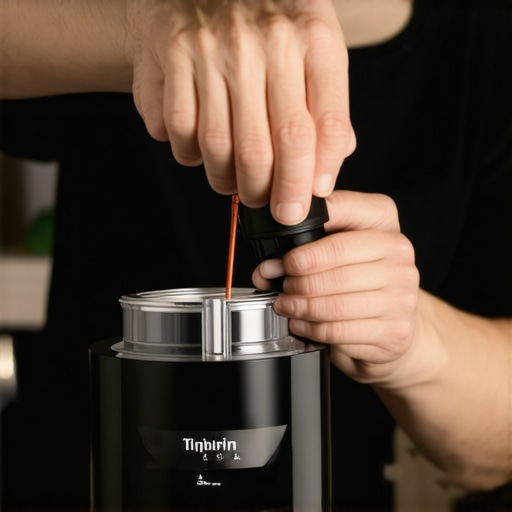
Identify the stuck bean—usually lodged between burrs or in the grinding chamber. Use a wooden toothpick or a dedicated brush to dislodge it carefully; avoid metal tools that could damage the burrs. Picture this like extracting a stubborn seed from a fruit—delicate work yields best results. When I did this job, I made sure to hold the burrs steady with my free hand while delicately prying out the bean, preventing further misalignment.
Check for Residual Clumps and Oils
Look for any residual coffee oils or clumps that might cause future jams. Using a clean, dry cloth or a soft brush, wipe away these greasy residues. Regular cleaning is like oiling the gears of a clock—preventative maintenance extends your equipment’s lifespan. I missed this step initially and faced repeated jams, but cleaning everything thoroughly made a noticeable difference in grind consistency.
Reassemble and Test the Grinder
Once clean, carefully reassemble the burrs and hopper. Make sure all parts are securely in place; a loose screw or misplaced burr can cause uneven grinding or further jams. After reassembly, run a few grams of coffee through the grinder without beans to ensure smooth operation. When I followed this practice, I immediately noticed a softer handle turn and cleaner grounds—a sign the jam was gone.
Prevent Future Jams by Adopting Best Practices
To avoid recurring issues, clean your grinder regularly—at least once a week if grinding oily beans. Use dry brushes, avoid water or harsh chemicals, and check for worn burrs or misalignments. Think of cleaning as giving your espresso setup a health check. Also, adjust the grind size to avoid over-tightening or forcing the beans through when resistant. For more detailed tips, visit this comprehensive guide.
Remember, patience is key. Rushing to fix a jam can damage your grinder—take your time, work carefully, and you’ll keep your machine singing smoothly. If you encounter persistent problems or suspect internal mechanical issues, get in touch with professionals through this contact portal.
Many enthusiasts assume that investing in high-end espresso machines or only focusing on grind size will guarantee perfect shots, but the truth runs deeper. One common myth is that grind size alone determines extraction quality. In reality, variables like brew temperature, tamping pressure, and even the water used play crucial roles. For example, a common mistake is neglecting to calibrate the machine’s temperature settings, which can lead to bitterness or sourness despite a perfect grind. Expert baristas know that maintaining a stable temperature is essential; precisely controlling this aspect can mean the difference between an average espresso and a stellar one, as highlighted in research from the Specialty Coffee Association.
Another misconception is that more sophisticated gear automatically equals better coffee. While premium equipment offers advantages, many home brewers overlook that user error and technique matter more. For instance, a high-end grinder won’t compensate for inconsistent tamping or uneven puck distribution. Moreover, many casual drinkers underestimate the importance of grinder freshness and proper cleaning. Coffee oils, if not regularly removed, can cause buildup, leading to uneven grounds and uneven extraction—a common trap that ruins flavor.
A frequent mistake by serious coffee lovers is overtightening the portafilter or tamping excessively. This not only risks mechanical damage but also causes channeling, where water flows too quickly through certain parts, resulting in under-extraction. Making small, consistent adjustments in tamping pressure can improve shot quality dramatically. Additionally, attention to the routine maintenance of barista gear, such as replacing worn shower screens or gaskets, is often overlooked, but neglecting these details hampers overall performance and flavor.
For advanced enthusiasts, understanding the nuances of pump pressure and boiler temperature stability can unlock consistent shot quality. Adjustments like optimizing pump pressure—whether via software or hardware modifications—require precise knowledge, as improper setup can lead to over-extraction or watery shots. An insightful guide on [how to adjust your pump pressure without opening the machine](https://espressotechguide.com/how-to-adjust-your-pump-pressure-without-opening-the-machine) can be a game-changer.
Beware the trap of equating equipment complexity with skill. Many believe that a complex, dual-boiler machine guarantees perfect elimination of temperature fluctuations, but without proper calibration and routine checks, this can be a false sense of security. Regularly inspecting components like the group gasket or safety valves prevents issues before they become costly repairs. For deeper insights, consult the comprehensive [home espresso maintenance tips](https://espressotechguide.com/mastering-the-art-of-home-espresso-tips-for-beginners).
To elevate your brewing, focus not just on gear but also on technique, calibration, and maintenance. Small adjustments and knowledge of nuanced factors turn good espresso into extraordinary. Have you ever fallen into this trap? Let me know in the comments.Maintaining your espresso setup is essential to keep your coffee consistently flavorful and your equipment in top shape. I personally rely on a few specialized tools and techniques that have saved me time and money over the years. Regularly inspecting and cleaning your grinder’s burrs with a dedicated cleaning brush ensures no residual oils or coffee particles cause jams or uneven grinds. For specific maintenance, I recommend using a brush like the Balifriendly Cleaning Brush, which is designed to reach into tight spaces without damaging delicate components.
In addition, calibration tools such as a precision espresso scale allow me to dial in grind consistency and dosing with millimeter accuracy. This is especially crucial when switching between different beans or grind sizes. For those looking to upgrade their overall workflow, investing in a quality set of barista tools helps streamline shot preparation and maintenance routines.
Predicting where this trend is heading, I see a move toward smart machine diagnostics. Features that alert you to worn parts or misalignments before they cause failures will become standard, much like recent innovations in commercial machines. For instance, some high-end models now include sensors that monitor boiler pressure stability and notify you when calibration is needed, which you can learn more about in this detailed comparison.
How do I maintain my espresso equipment over time? I schedule bi-weekly cleanings using specialized tools, such as descaling solutions and burr cleaning brushes, and always keep spare gaskets and seals on hand for quick replacements. Consistency in maintenance prevents costly repairs and ensures every shot tastes just as good as the first.
Want to boost your grinder’s longevity? Try replacing the burrs with high-quality, market-reviewed ones. As experts recommend, high-grade burrs not only improve grind quality but also reduce strain on the motor, extending the life of your grinder.
Take action today! Incorporate a dedicated cleaning brush into your routine or invest in a precision scale to refine your dosing. Small upgrades like these can make a significant difference in your home brewing experience. If you’re unsure about identifying worn parts or need personalized advice, do not hesitate to contact professionals for support through this link. Keep your gear performing flawlessly, and enjoy endless perfect cups.
Clear Your Coffee Myths and Embrace Real Growth
One of the toughest lessons I learned about home espresso is that gear alone isn’t enough; technique, maintenance, and patience are the true keys to success. For instance, early on I believed upgrading to a fancy machine would immediately improve my shots—turns out, regular cleaning and calibration had a bigger impact. Recognizing that persistent issues like jams often stem from neglecting simple upkeep helped me unlock consistently better results, proving that inside knowledge beats high price tags every time.
Tools and Resources That Changed My Espresso Game
Over the years, I’ve relied on specific tools that make daily brewing smoother and more reliable. The best-quality coffee beans are fundamental, but using a precision grinder tailored for espresso shot consistency elevates your brewing. Additionally, the home barista toolkit simplifies maintenance and allows quick adjustments. Lastly, reading expert advice from trusted guides keeps my knowledge sharp and my equipment performing at its best.
Your Turn to Elevate Your Home Espresso Craft
Every great espresso journey starts with small, consistent steps. Whether it’s adopting a regular cleaning routine, tuning your grinder, or exploring new beans, these actions empower you to craft better cups every day. Remember, mastery isn’t about instant perfection but continuous improvement. Dive into your gear’s care, try new techniques, and don’t hesitate to reach out—your future self will thank you for it. Are you ready to take the next step in your home espresso adventure? Share your experiences and questions below, and let’s grow together.