Why Your Machine is Leaking Water from Underneath
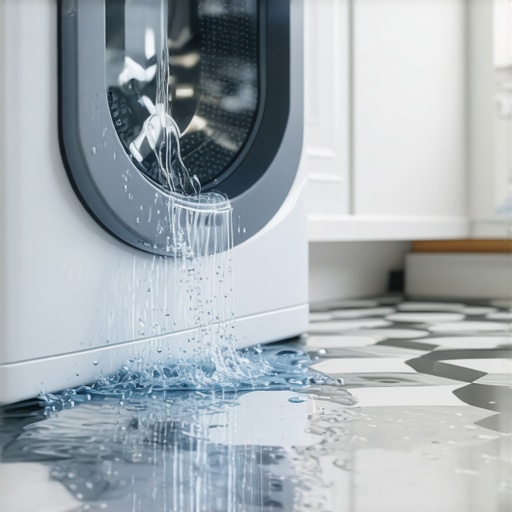
Ever found yourself brewing that perfect shot of espresso, only to notice a small puddle gathering beneath your machine? I recall the first time it happened to me—there I was, savoring my latest brew, when I spotted a damp spot on my countertop. My heart sank. It was a classic case of water leaking from underneath my beloved espresso machine, and honestly, I felt a mix of frustration and worry. That moment made me realize just how much I depend on my equipment, and how a simple leak can throw off my entire coffee routine.
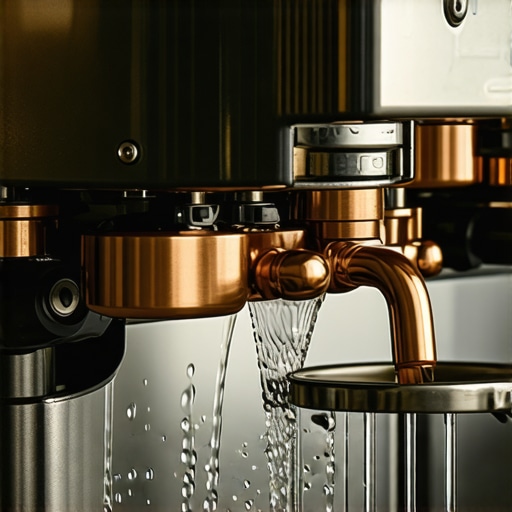
But here’s the thing: that leak isn’t just a minor inconvenience; it can be a sign of underlying issues that, if ignored, might lead to costly repairs or even total machine failure. When water starts leaking from under an espresso machine, it often points to problems like worn seals, loose connections, or clogged drainage systems. Ignoring these signs can escalate the problem, causing damage to internal components or electrical elements, which can be both dangerous and expensive.
So, today, I want to share with you the insights I’ve gathered from personal experience and expert advice. We’ll dive into the common causes of water leaks, how to identify the real culprit in your setup, and practical steps to resolve these issues effectively. Whether you’re a home barista or a coffee connoisseur, understanding what’s happening beneath your machine is crucial to keep your brew flowing smoothly.
Have you ever faced a leak that seemed to come out of nowhere, leaving you puzzled and a bit panicked? Well, you’re not alone. Many coffee lovers discover leaks during their morning routine, right when they least need the stress. But identifying the source of the leak isn’t as daunting as it looks. It’s often a straightforward fix once you know what to look for. Plus, addressing these problems early can save you both time and money in the long run.
Early on, I made the mistake of ignoring minor drips, thinking they’d stop on their own. Spoiler: they didn’t. Instead, they worsened, leading to a more complicated repair. This taught me an important lesson: Regular maintenance and timely troubleshooting are key to keeping your espresso machine in tip-top shape. For broader guidance on keeping your machine in perfect condition, you might find this [comprehensive maintenance guide](https://espressotechguide.com/mastering-the-art-of-home-espresso-tips-for-beginners) helpful.
Now that we’ve set the stage, let’s explore the common causes behind water leaks and how you can troubleshoot them yourself. Ready to troubleshoot your machine before calling in the pros? Let’s get started.
Assess the Leak Source
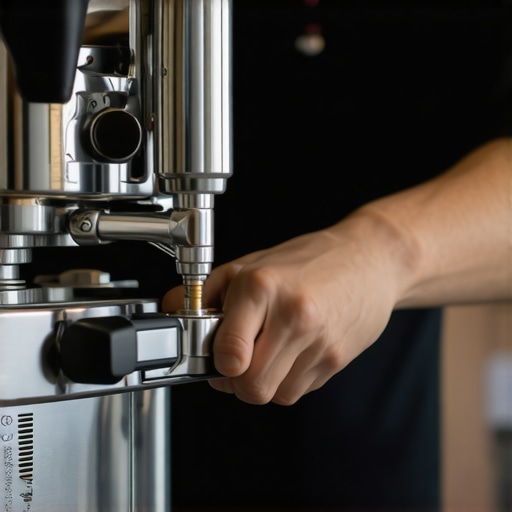
First, unplug your espresso machine and move it to a well-lit workspace. Carefully inspect the area beneath the machine to identify where the water is dripping. Think of your machine as a complex plumbing system—any tiny crack or loose connection can cause leaks. Check for visible drips from the water tank, steam wand, or the brew head. Remember, it’s often the small, overlooked parts that are the culprits—like worn gaskets or loose fittings.
Check the Water Reservoir and Hoses
Remove the water tank and examine it for cracks or mineral buildup. If the tank is damaged, water can leak out during operation. Also, inspect hoses and tubing for signs of wear or loose connections. Tighten any fittings as needed. If you notice mineral deposits clogging the drainage or water lines, perform descaling to clear obstructions, following the instructions in this guide. Be cautious—think of these hoses as the veins of your espresso machine; clogged veins can cause pressure build-up leading to leaks.
Inspect Seals and Gaskets
Examine all rubber seals and gaskets, especially around the brew head and steam wand. Worn or damaged seals are a common cause of leaks. Gaskets act like rubber rings sealing the joints—if they harden or crack, water escapes. To replace a gasket, consult your machine’s manual or visit this quick guide. When replacing, ensure the new gasket is properly seated to prevent future leaks. Think of it as replacing the rubber O-ring on a bicycle pump—it’s a small part, but crucial for a tight seal.
Test the Pump and Pressure System
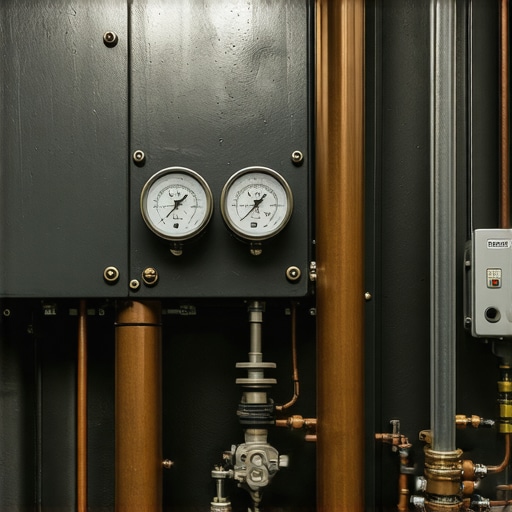
After addressing visible issues, run a test cycle. Listen for unusual sounds or irregular pressure gauge readings. A faulty pump or pressure leak can cause water to escape through unintended points. If your machine has a pressure gauge that flickers (see here), it indicates pressure instability—often linked to internal leaks or failed valves. To verify, you might check for any water escaping from the group head or drain valve during operation. Make sure all connections are tight, and valves are operating properly.
Reassemble and Monitor
Once you’ve replaced or tightened suspect components, reassemble your machine carefully. Refill the water tank and run a test shot or steam cycle. Observe closely for any leaks. If water still escapes, revisit the previous steps, double-checking each connection and seal. Keep a record of what you’ve checked to avoid missing hidden issues.
Remember, regular maintenance like cleaning the drain system (descaling) and inspecting gaskets can prevent leaks before they start. If leaks persist despite these efforts, consider consulting a professional technician through contact page. Addressing leaks promptly will keep your espresso machine running smoothly, ensuring perfect brews every time.
Many coffee enthusiasts jump into purchasing espresso machines and barista gear without understanding the nuanced requirements for optimal performance. A common misconception is that more expensive equipment automatically ensures better coffee, but in my experience, the true mastery lies in understanding how to use and maintain your tools correctly. For example, many believe that a high-end espresso machine eliminates the need for precise calibration, yet neglecting routine adjustments can lead to inconsistent shots regardless of price.
Is Your Coffee Grinder Truly Optimized for Precision?
One overlooked aspect is grinder calibration. Many users pick a grinder based solely on brand or price, but without proper calibration, even the best grinder can produce uneven grounds, leading to channelling or over-extraction. Regular calibration using a consistent method, like weighing grounds or measuring burr alignment, is essential for consistency. Remember, the grinder’s settings should match your preferred coffee profile, and neglecting this step can be one of the most costly mistakes, as detailed in this guide. The misconception that all grinders are suitable for espresso ultimately hampers shot quality. To avoid this, choose your grinder based on your brewing style. You can find top-rated options in this up-to-date list.
Another myth surrounds milk frothers. Many assume that any frother will do for quality microfoam, but this is far from the truth. The secret isn’t just in the frother, but in how you control steam and milk texture. Using subpar milk frothers can lead to uneven foam, which diminishes latte art and flavor. For serious home baristas, investing in a high-quality steam wand and understanding frothing techniques makes all the difference. Check out this resource for expert techniques.
Advanced baristas know that home espresso isn’t just about equipment but about mastering extraction nuances. For example, many focus solely on tamping pressure without considering brew temperature or pressure stability—factors that influence shot clarity and sweetness. A common mistake is believing that once calibrated, your machine requires no further adjustments, but in reality, environmental factors like humidity or water mineral content can subtly impact extraction. Studies suggest that maintaining a consistent brew temperature within narrow margins significantly improves shot quality, as supported by this study on environmental impacts. Fine-tuning these details elevates your home espresso from good to exceptional.
So, the hidden nuance is that every component—from grinder to steam wand—interplays within a complex chemistry that requires ongoing attention. Mastery comes from understanding these interconnected elements and avoiding oversimplifications. For those serious about elevating their coffee game, investing time in learning detailed maintenance and calibration procedures is non-negotiable. Want to delve deeper into optimizing your setup? Reach out through this contact page for personalized guidance.
Have you ever fallen into this trap? Let me know in the comments.Maintaining your home espresso setup isn’t just about cleaning occasionally; it’s about adopting a disciplined approach with the right tools and routines to ensure consistent quality over time. One of my go-to tools is a high-precision coffee scale, such as the calibrated digital scale. I rely on it every shot to weigh grounds and extract accurate data, which is pivotal for dialing in flavors and recreating perfect shots consistently. Without it, even the most expensive machine can’t compensate for uneven dosing or tamping errors, so investing in a quality scale is non-negotiable for serious enthusiasts.
Lessons I Wish I Kept Closer
One of the most valuable lessons I learned was that troubleshooting a leak isn’t just about quick fixes but about developing an intuitive sense of my machine’s behavior. Recognizing the subtle signs of seal wear before a puddle forms transformed my routine into a more mindful practice. This awareness extended to understanding how my daily habits—like regular descaling and gentle handling—preserve my espresso machine’s health, turning maintenance into a form of silent art. Additionally, I realized that patience during troubleshooting often reveals hidden issues others overlook, saving time and money in the long run. Embracing a proactive mindset means viewing each minor drip as a conversation with your machine—a sign to listen and learn rather than ignore and ignore until emergency strikes.
My Arsenal for a Coffee Routine That Lasts
Over the years, I’ve curated a collection of tools that genuinely elevate my espresso experience. A high-quality precision coffee scale helps me dial in everything from grind size to tamping pressure, ensuring consistency and preventing leaks caused by uneven pressure. When it comes to maintaining my machine’s internal health, I trust descaling liquids that dissolve mineral build-up gently but effectively. My go-to repair guide—step-by-step gasket replacement—empowers me to fix minor seal issues without waiting for professional service. Lastly, a set of quality barista tools helps me perfect my craft, making each shot a gratifying achievement rooted in proper maintenance and practice.
Your Coffee Journey Continues
No matter how seasoned you are, the world of home espresso is full of subtle mastery waiting to be discovered. Every leak avoided through mindful care is a victory, and every minor fix is a step closer to becoming your own barista engineer. Remember, cultivating a routine that combines education, patience, and the right tools transforms this craft from a chore into a joyful ritual. So, embrace the process, stay curious about your equipment, and don’t shy away from diagnostics—it’s part of the passionate journey to perfecting your coffee art. Ready to give your espresso setup the attention it deserves? Your future brews will thank you for it.
What’s the most surprising thing you’ve learned about maintaining your espresso machine? Share your story below!
,