The Easy Way to Descale a Commercial Heat Exchanger
I remember the first time I pulled a shot and tasted a bitter, off-flavored note that just didn’t sit right. After hours of troubleshooting, I finally realized the culprit was a neglected heat exchanger clogged with mineral deposits. That lightbulb moment made me realize how crucial regular descaling is—yet I used to dread the messy, complicated process. Sound familiar? You’re not alone.
Why Descaling Your Heat Exchanger Matters More Than You Think
For many baristas and home enthusiasts alike, descaling often feels like a chore—something that can be put off until it’s absolutely necessary. But neglecting this simple maintenance can lead to flavor degradation, inconsistent temperature regulation, and even damage to your espresso machine. Regular descaling is your best defense against these issues, ensuring every shot remains delicious and your machine runs smoothly. It’s like giving your gear a rejuvenating bath, and honestly, it’s easier than you think once you know how.
Is Descaling Really Worth the Hype or Just Another Waste of Time?
Early in my journey, I made the mistake of ignoring mineral buildup, thinking it wasn’t a big deal. Turns out, I was costing myself money and good coffee. According to industry experts, mineral deposits can cause a 10-20% decrease in heat transfer efficiency, which directly impacts your espresso’s temperature and extraction quality (source). That small oversight cost me valuable flavor and consistency. Now, I make sure to descale regularly, and it’s made a noticeable difference. So, if you’ve been hesitant about the process, I’ll walk you through an easy way to do it—no stress, just results.
Prepare Your Workspace and Gather Supplies
Start by turning off and unplugging your espresso machine. Remove the water tank and empty it. Gather descaling solution—either a commercial descaler or a mixture of equal parts water and white vinegar. Have a clean bucket, soft cloth, and safety gloves ready. This preparation makes the process smoother and safer, preventing spills and skin contact with cleaning agents.
Disassemble Critical Components for Cleaning
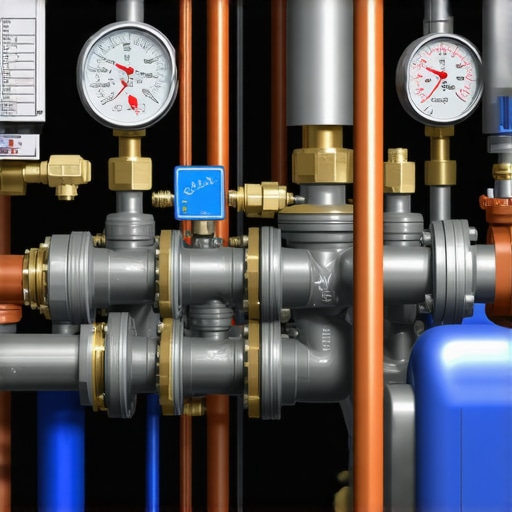
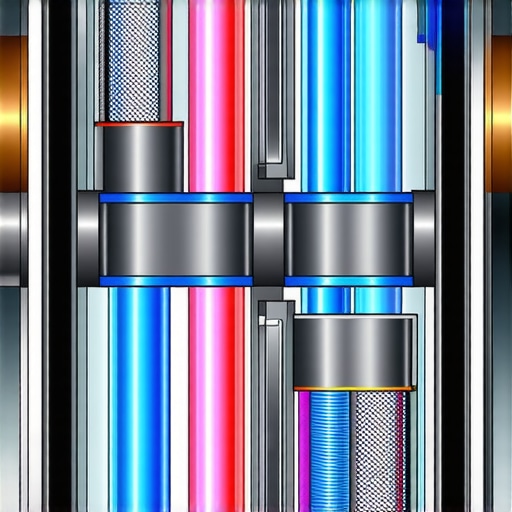
Remove the drip tray, portafilter, and shower screen. Carefully detach the water outlet hoses connected to the heat exchanger, usually accessible from the top or side panels. Remember, some models require unscrewing panels to access internal parts—you can find specific instructions in your machine’s manual or online tutorials. Taking these parts out exposes mineral deposits and allows for thorough cleaning, much like cleaning a coffee grinder’s burrs to maintain consistency.
Flush with Water to Remove Loose Debris
Before applying descaler, flush the heat exchanger with fresh water to clear out any loose residue. Attach the water outlet hose to a faucet or use a container to catch runoff. Run hot water through the system for a couple of minutes, similar to rinsing a milk frother before deep cleaning it. This step prevents diluting your descaling solution with dirt and ensures more effective mineral removal.
Apply Descaling Solution Precisely
Fill the water tank with your descaling solution or vinegar mixture. Reinstall the tank and reconnect hoses securely. Turn on the machine and run the descaling cycle if your model has one, or manually flush the solution through the heat exchanger. Think of it as giving your machine a spa day—it dissolves deposits just like steam loosens your pasta’s stubborn bits. During this, observe the flow; sluggish flow indicates heavy mineral buildup that’s now being broken down.
Monitor and Flush Out Residue
Once the descaling solution has circulated, turn off the machine and let it sit for 15-20 minutes. This soaking allows the solution to dissolve more stubborn deposits. Afterward, flush the system with several cycles of clean water, ensuring all vinegar or chemical residues are cleared. This is akin to rinsing a messy cup multiple times until no flavor lingers, restoring your brew quality.
Reassemble and Test for Performance
Reattach all removed parts securely—clean the portafilter, shower screen, and panels. Fill the water tank with fresh water and run a few shots or steam cycles, checking for consistent flow and temperature. If you notice sluggish extraction or uneven steam pressure, repeat the descaling process or inspect for other issues. Regular maintenance like this keeps your espresso machine in top shape, much like sharpening a grinder’s burrs or calibrating your scale for precise dosing.
Note on Safety and Follow-up
Always refer to your espresso machine’s manual for specific descaling instructions and safety precautions. After descaling, clean all removable parts and wipe down the exterior to prevent mineral residue buildup. Consider scheduling descaling every 3-6 months depending on your water hardness, similar to how you might clean your milk frother periodically to prevent mold and residue buildup. For ongoing guidance or troubleshooting, contact our team at Espresso Tech Guide, and explore other maintenance tips at our gear-selection guide to keep your setup optimal.
The Hidden Nuance Behind Good Coffee Equipment
Many coffee enthusiasts believe that investing in high-end gear guarantees perfect results every time. However, the truth is, **techniques and understanding your equipment’s nuances** matter just as much, if not more, than brand names or price tags. For example, a common misconception is that a more expensive grinder automatically produces better espresso. In reality, factors like grind consistency and burr design play critical roles. Industry expert **Scott Rao** emphasizes that correct burr geometry and consistent particle size distribution are key to optimal extraction (source). Simply put, knowing your gear’s quirks and maintaining it properly yields superior results over mere investment.
Another myth is that home espresso machines are less capable than commercial ones. While commercial machines offer features like increased stability and higher pressure ranges, many home models are perfectly capable of producing café-quality shots when properly used and maintained. The trick lies in mastering variables like shot timing, tamping consistency, and water temperature. For instance, understanding how to adjust your machine’s **brew temperature** can prevent common issues like sour or bitter shots (source), an advanced nuance often overlooked.
What Advanced Mistakes Trip Up Serious Home Baristas?
One frequent mistake is neglecting **equipment calibration**. Many think that once their machine is set, it remains consistent. In fact, machines can drift in temperature and pressure over time, especially if not recalibrated periodically. This can lead to uneven extraction and flavor imbalance. Regularly checking and calibrating your grinder and espresso machine—by comparing shot timings, extraction yields, and temperature—ensures your results stay on point. It’s a deeper layer of mastery that often separates casual enthusiasts from dedicated home baristas.
Moreover, many overlook the importance of **proper distribution and tamping techniques**, which affect grind uniformity and puck density. Inconsistent tamping can cause channeling, resulting in under-extracted or over-extracted shots. Advanced tools like the WDT (Weiss Distribution Technique) needle or a calibrated tamper help mitigate these issues (source). Learning to use such tools effectively prevents common pitfalls and pushes your espresso skills closer to professional levels.
In the era of precision brewing, understanding the hidden nuances—like pressure profiling or pre-infusion timing—can significantly elevate your coffee game. Don’t shy away from experimenting with these details; mastery often lies in small adjustments. Want to dive deeper into optimizing your setup? Check out our comprehensive guide on choosing the best gear for coffee enthusiasts (source) or reach out to our team for personalized advice (contact us). Have you ever fallen into this trap? Let me know in the comments.
Mastering Maintenance with Precision Tools
Having reliable, high-quality tools is essential for maintaining your coffee setup over time. I personally swear by a calibrated digital scale, like the precision scale, to ensure consistent dosing. For grinders, replacing burrs with OEM components based on your machine’s specific model keeps grind consistency sharp and reduces uneven extraction. Investing in a specialty cleaning brush for portafilters and shower screens helps me remove stubborn coffee oils that can affect flavor—a step often overlooked but crucial for long-term performance.
Routine Checks that Save You Money
Implementing regular inspections of pressure gauges and water filters can prevent costly repairs later. For instance, monitoring pressure levels ensures optimal extraction and prevents machine strain. Setting a schedule to descale every 3-6 months, especially in areas with hard water, preserves the longevity of your espresso machine. As Scott Rao notes in his technical guides, proactive maintenance reduces downtime and maintains consistent quality, so keep a maintenance log to stay on top of these tasks.
Scaling Up Your Gear: Growing Your Coffee World
When considering equipment upgrades, focus on tools that enhance your workflow. For example, a puck screen can improve shot clarity and facilitate cleaning, making daily maintenance easier. As your skills develop, integrating software like temperature profiling modules, which monitor brew temperature, allows for more nuanced control. Starting with small upgrades like these can make a noticeable difference without overwhelming your setup.
How do I maintain my equipment over time?
Consistent maintenance hinges on using the right tools and sticking to a routine. Initially, focus on acquiring quality replacement parts such as OEM burrs and seals, and use precision tools for calibration. Also, schedule routine checks to inspect for wear and mineral buildup—this proactive approach acts as a safeguard against unexpected breakdowns. For personalized advice, don’t hesitate to reach out through our contact page. Remember, detailed attention to maintenance will extend the lifespan of your gear and keep your coffee tasting exceptional—try setting a monthly maintenance checklist to stay ahead of the curve.
Lessons That Shook My Coffee Routine
- Sometimes, the smallest oversight—like neglecting your espresso machine’s heat exchanger—can throw off your entire brew. That lightbulb moment when I realized mineral buildup was causing inconsistent shots taught me that regular maintenance isn’t just a chore; it’s a game-changer.
- Investing in quality tools, such as calibrated scales or specialized cleaning brushes, transformed my approach. These simple yet powerful upgrades made me appreciate how mastery often comes from attention to detail, not just high-end gear.
- Understanding that even a humble grinder needs periodic calibration pushed me to look beyond appearances. Knowing my equipment’s quirks and embracing ongoing education turned me from a novice into a confident home barista.
The Nuts and Bolts That Elevated My Coffee Game
- Essential tools: My trusted digital scale from this guide has become indispensable for consistent dosing, ensuring every shot is spot-on.
- In-depth reading: Books like Mastering the Art of Home Espresso opened my eyes to techniques that aren’t obvious at first glance, fueling continuous improvement.
- Reliable sources: For expert tips, this collection offers curated insights that save me time and frustration.
- Practical tutorials: I often revisit step-by-step videos to refine my technique, especially when trying to troubleshoot a stubborn issue.
Your Next Coffee Adventure Starts Here
Now that you’ve seen how deep the rabbit hole of gear maintenance can go, I encourage you to take action. Mastery isn’t built overnight, but with curiosity and consistent effort, you’ll unlock flavors and efficiency you never thought possible. Dive into the world of precision tools and reliable techniques—your perfect cup awaits. Need personalized advice on your setup? Reach out any time through our contact page. Let’s elevate your coffee journey together!