Why Your Single Dose Grinder Is Still Retaining 1 Gram
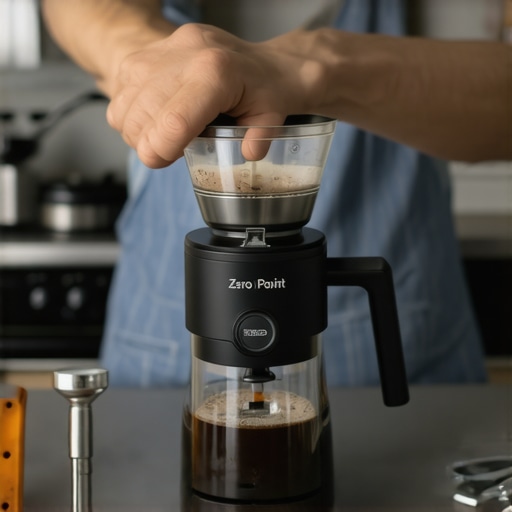
I remember the moment clearly—standing in my kitchen, coffee grinder in hand, frustrated that no matter how many times I tried calibrating or cleaning it, that stubborn 1 gram kept hanging around. It was like my grinder had a mind of its own, refusing to dispense the full dose I intentionally set. That tiny leftover gram was haunting me, making every espresso shot feel unpredictable and, honestly, a bit embarrassing when friends came over. Ever faced that too? That lingering residue seems trivial, right? But trust me, it’s a sign that something’s not quite right in your grinder setup.
The Real Reasons Your Grinder Holds Onto That Extra Gram
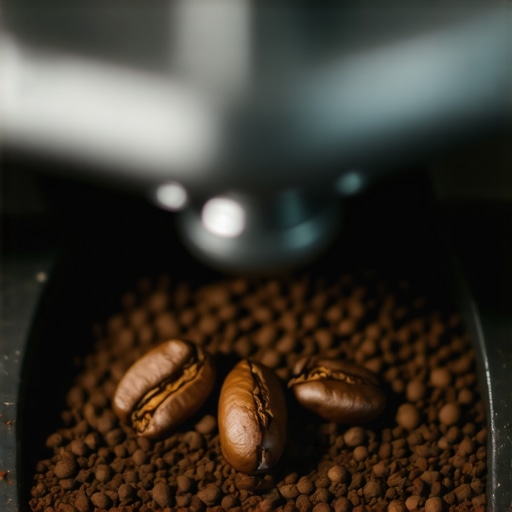
This issue isn’t just about a stubborn habit of your grinder; it’s often a symptom of underlying mechanical or calibration hiccups. When your single dose grinder retains a gram, it can be due to grind retention caused by factors like the grind path design, static buildup, or even calibration errors. I started with the mistake of thinking cleaning alone would fix it—spoiler: it only helps temporarily. Later, I discovered that adjusting the grind size or clearing out static buildup made a world of difference. If you’re tired of that tiny but persistent leftover, understanding these causes is your first step toward a cleaner, more consistent shot. And if you want practical tips, check out how a simple motor adjustment can solve common retention issues.
Is Static Buildup Really the Problem?
One sneaky culprit I overlooked early on was static electricity. It sounds fancy, but static can make grounds cling to the burrs and chute, preventing a full dose from dropping. In fact, static issues can increase when humidity drops—think winter months—making it worse. I used to blame clogged chutes or poor grind settings, but it turned out I just needed to ground myself and improve static control. Curious? Sometimes, a quick fix like wiping the chute with a damp cloth can temporarily ease the static woes. Meanwhile, learning how to prevent static buildup regularly can keep your grinder running smoothly and your doses precise.
Disassemble and Clean the Burrs Regularly
Start by turning off and unplugging your grinder. Remove the hopper and detachment burrs. Use a soft brush to clear out residual coffee inside the burr chamber, focusing on the grind path. I once spent an afternoon cleaning my grinder this way and immediately noticed a cleaner, more consistent dose—the difference was night and day. Regular cleaning prevents buildup that causes retention issues.
Calibrate for Precision and Consistency
Adjust your grind size first—make it slightly coarser or finer depending on your shots. Then, run a few grams of coffee through and check if the shot is even. Calibration aligns the grind delivery with your machine’s dosing chamber, reducing leftover grams. I recall fiddling with my settings, carefully measuring out doses, which finally eliminated that persistent residual. For detailed calibration, see this guide.
Address Static Buildup Effectively
Static causes grounds to cling, especially in dry conditions. To combat static, wipe the chute with a damp cloth before grinding, or install a grounding wire if static persists. During winter, static gets worse—trust me, a simple damp cloth saved my mornings. You can also try grounding yourself before grinding or using a humidifier nearby. Want a quick fix? Check out this static reduction technique for more tips.
Optimize Your Grind Path Design
Some grinders have a longer grind path that traps grounds. If yours does, consider upgrading or modifying the chute with smoother, anti-static materials. Alternatively, adjust the grind setting to reduce retention in the path. I replaced my plastic chute with a metal one and noticed a significant drop in residual grounds. For stubborn cases, explore professional modifications or consult this troubleshooting resource.
Many enthusiasts believe that investing in top-of-the-line equipment guarantees perfect espresso every time. However, the truth is more nuanced. For instance, some assume that upgrading to commercial-grade grinders immediately elevates home barista skills, but if your calibration isn’t set correctly, even the best grinder can underperform. Another widespread misconception is that static buildup in grinders is unavoidable—yet, simple static mitigation techniques like grounding the chute or wiping with a damp cloth can significantly reduce retention issues. Don’t fall for the trap of believing that frequent replacements of gear are the only solution; instead, focus on proper maintenance and understanding device-specific quirks.
One advanced mistake I see often is neglecting the importance of proper water chemistry. Hard water can cause scale buildup, impacting machine performance, yet many overlook regular descaling or water treatment. Moreover, many home baristas overlook the subtle effects of grind path design—longer paths can trap grounds and cause inconsistent dosing, which directly affects shot quality. As per a study published in the Journal of Coffee Science, optimizing grind flow reduces channeling and results in more uniform extraction, heightening the importance of gear design awareness.
Are your investments yielding the espresso you crave, or are you unknowingly sabotaging your efforts? Sometimes, just a few tweaks—like adjusting your grinder’s adjustment ring or properly cleaning your drip tray—can make monumental differences. For example, a dirty drip tray can lead to scale deposits that affect water flow, worsening your machine’s performance. Check out this detailed guide on why your drip tray may be filling up too fast and how to stop it.
Beyond equipment, honing your barista techniques—like perfecting milk steaming temperature and shot timing—is crucial. Static in grinders, improper tamping pressure, or inconsistent puck prep can all sabotage your brewing process, regardless of how advanced your machine is. To dive deeper into proper maintenance routines, consider reading about how you can free a stuck grinder adjustment ring safely. Remember, mastering your gear is an ongoing process—so keep questioning assumptions and refining your approach.
Being a home barista isn’t just about the initial investment in quality grinders and espresso machines—it’s about sustained maintenance and having the right tools at hand. Over time, the longevity and performance of your equipment depend heavily on specific practices and trusty gear. In this section, I’ll share my go-to tools and tips for keeping everything running smoothly, ensuring espresso excellence shot after shot.
Oil-Free Vacuum Pump for Descaling
One unsung hero in maintenance is a dedicated oil-free vacuum pump. I use this device for descaling my boiler and removing mineral build-up without risking oil contamination. It’s especially valuable if you have a complex plumbing setup or a vintage machine. With precision control and silent operation, it helps prevent scale issues that can compromise temperature stability—vital for consistent extraction. Regular descaling with this tool dramatically extends your machine’s lifespan and maintains optimal flavor.
Microfiber Cleaning Swabs and Tools
Gunk and coffee residues in tight spots can be stubborn. I rely on high-quality microfiber swabs, which are gentle yet effective at cleaning group heads, steam wands, and internal pathways. Keeping these parts free from old coffee oils prevents channeling and flavor degradation. Pairing them with specialized brushes for filters and screens, I find that routine cleaning minimizes buildup and ensures every shot is as fresh as the first. Remember, even the best grinder benefits from a clean grind path—don’t skip this essential step.
Precision Calibration Devices
Calibration matters, especially if you tweak grind sizes often. I highly recommend a digital scale with sensitivity down to 0.1 grams and a portafilter holder for precise dosing. For more advanced calibration, I use a dedicated puck checker device that measures tamping pressure and distributes coffee evenly. This investment allows me to reproduce perfect shots consistently, reducing waste and frustration. Think of calibration tools as your secret weapon for that razor-sharp extraction, night after night.
Smart Monitoring Software for Espresso Machines
Future trends point toward smarter kitchens, and I’m already integrating monitoring software that tracks temperature stability, pressure, and cycle times of my espresso setup. These systems alert me to anomalies before they cause bigger issues like scale or component failure. Not only does this software improve long-term results, but it also helps me understand machine behavior—crucial for tweaking and fine-tuning. As the tech evolves, expect even more personalized diagnostics and predictive maintenance, so staying ahead now pays dividends later.
How do I maintain these tools over time? Practical tips include keeping calibration devices calibrated with certified standards, regularly updating monitoring software, and cleaning tools after each use with appropriate solutions. For example, after daily cleaning, I rinse my microfiber swabs thoroughly and store them in sealed containers to prevent dust accumulation. Using the right tools consistently reduces wear and tear and ensures you can rely on your gear regardless of how often you brew.
Looking ahead, I believe modular, AI-integrated systems will become common, making troubleshooting even easier. But until then, having a curated set of quality, specialized tools—and knowing how to use and maintain them—remains the foundation for excellent coffee at home.
If you want to take your setup to the next level, try incorporating a precision calibration device into your routine. It’s a game-changer for consistency and flavor clarity, especially if you’re experimenting with different beans or brewing techniques. Regular maintenance combined with the right gear ensures your coffee experience stays top-notch for years to come.
In my journey as a home barista, I’ve discovered that premium equipment alone isn’t enough—sustained maintenance and subtle adjustments make all the difference. A crucial lesson I learned is that understanding the nuanced causes behind grind retention can elevate your espresso game significantly. Small tweaks, like addressing static buildup or refining calibration, can transform your mornings from inconsistent to consistently excellent. Remember, every residual grain holds a story about your setup’s health—listening to it unlocks the path to perfect shots every time.
The Hardest Lessons I Learned About coffee grinders, espresso machines, and home barista gear
- Patience is key: Rushing calibration or skipping regular cleaning only exacerbates retention issues. Taking time to fine-tune and clean can save you headaches down the line.
- Static matters more than you think: Especially in dry seasons, static can cling grounds stubbornly. Simple measures like wiping with a damp cloth or grounding the chute have been game-changers for me.
- Design influences performance: Upgrading or modifying grind paths can drastically reduce residual grounds. Sometimes, small hardware tweaks outperform expensive tech upgrades.
- Consistency over perfection: Regular routine maintenance, like cleaning burrs and calibration, sustains optimal performance far more than occasional deep cleanings.
- Water chemistry plays a silent role: Hard water can cause scale buildup, affecting your machine’s performance. Regular descaling—especially using tools like an oil-free vacuum pump—keeps everything running smoothly. For detailed tips, I recommend checking out this guide on preventing over-airing in milk.
My Essential Toolkit for Maintaining Perfect Coffee
- Microfiber cleaning swabs: Vital for internal cleaning, they prevent flavor degradation and channeling.
- Calibration devices: Digital scales and puck checkers help reproduce perfect shots consistently.
- Oil-free vacuum pump: An underrated hero for descaling and mineral buildup removal, extends your machine’s lifespan.
- Grounding wires and static mitigation tools: Keep grounds flowing freely and minimize static cling, especially in dry conditions.
Your Next Step Begins Now
Embracing these insights means embracing a more consistent, flavorful espresso experience. Remember, mastery isn’t about instant perfection but the daily commitment to small improvements. Whether you’re cleaning your grinder, adjusting calibration, or experimenting with static control, each step inches you closer to barista-level results at home. Don’t let residual grounds or static sabotage your efforts—take charge, fine-tune, and enjoy the rich, aromatic rewards of your dedication. Ready to refine your setup today? Share your biggest challenge below, and let’s troubleshoot together!
,