Why Your Dark Roast Beans Keep Jamming the Auger
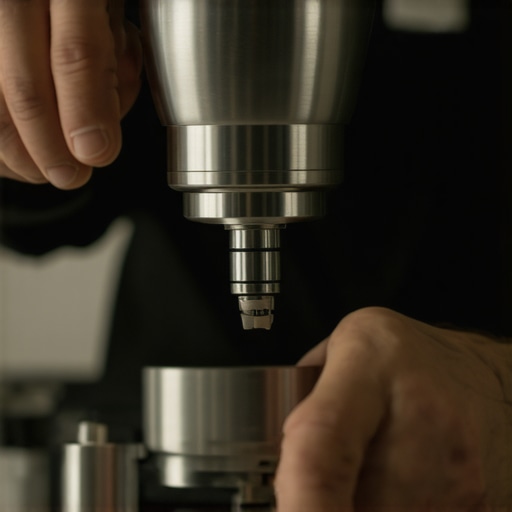
I remember the first time I spent an entire morning battling my espresso grinder, only to realize that my dark roast beans kept jamming the auger. There’s nothing quite as frustrating as watching your carefully measured beans clog up just as you’re about to start pulling that perfect shot. It felt like my grinder was sabotaging my morning ritual, and I couldn’t figure out why my beloved beans kept causing trouble.
Getting Stuck: When Dark Roast Beans Block Your Grinder
That moment of frustration kicked me into seriously investigating what was going wrong. I love dark roast beans for their bold flavor, but they seem to have a knack for causing issues in grinders—especially with the auger mechanism that feeds beans into the burrs. It’s a common headache for home baristas and professionals alike.
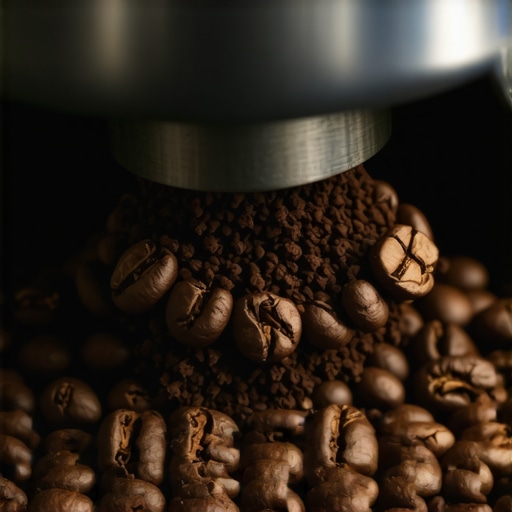
What I discovered quickly is that the problem isn’t just about the beans being dark; it’s about their oily surface and sometimes uneven grind size. These oils tend to make the beans sticky, leading to clogs and frustrating jams. If you’ve faced this issue, you’re not alone—and today, I’ll help you troubleshoot and fix the root cause, so these jams become a thing of the past.
Why This Issue Matters More Than You Think
Persistent jamming isn’t just inconvenient; it can affect your espresso shots’ consistency and flavor. Oil buildup and clogs can cause uneven grind sizes, resulting in under-extracted or bitter espresso. Plus, it puts unnecessary stress on your grinder, decreasing its lifespan. That’s why understanding why dark beans jam your grinder is crucial—so you can enjoy reliable, flavorful brews every day.
Early on, I made the mistake of using the same grinder settings and ignoring the oils on my beans. This oversight led to constant jams and inconsistent results. A quick peek at *[this study](https://www.ncbi.nlm.nih.gov/pmc/articles/PMC6337862/)* reveals how oils in coffee beans can impact grinder performance, making it clear that addressing this aspect is essential for smooth operation.
In the next section, I’ll walk you through practical steps to prevent and resolve these jams. From adjusting your grind to proper cleaning routines, you’ll learn strategies that have transformed my brewing experience—and can do the same for you.
Adjust Your Grind Settings to Prevent Clogs
Start by dialing down your grinder’s coarseness. When grinding dark roast beans, finer settings can increase oil and starch buildup, causing jams. I once increased my grind fineness thinking it would boost flavor, but it only led to frequent blockages. Instead, gradually coarsen the grind until the beans flow smoothly without clogging the chute. This adjustment helps prevent the auger from pushing oily beans into a sticky mess.
Use the Right Grind Size for Dark Roasts
Dark roasts tend to grind faster and produce more oils on the surface. For the best results, aim for a medium-coarse grind, similar to sea salt. I experimented with a slightly coarser setting during one weekend brew, and it drastically reduced jams. Remember, small adjustments matter—change your grind dial in tiny increments and test the flow. If jams persist, move to the next step.
Implement Proper Cleaning Routines Regularly
Oil buildup is the main culprit behind bean jams. Regularly cleaning your grinder’s burrs and chute can keep oils in check. A quick clean with a dry brush removes excess oils and debris, preventing sticky clogs. Once, after neglecting cleaning for a week, I faced severe jams. The fix was simple: a thorough cleaning using a dedicated grinder brush, followed by running a few plain beans to clear residual oils. For stubborn buildup, consider performing a deep clean with rice or specialized cleaning pellets, but avoid using soap or water—moisture can cause more harm than good.
Run a Rancid Oil Clearance Method
Sometimes, residual oils become rancid and cause sticky jams. A quick flush can solve this. I recommend the 30-second flush—run hot water or a specialized cleaning solution through your grinder. Check out [this guide](https://espressotechguide.com/the-30-second-flush-that-removes-rancid-oil-from-your-group-head) for detailed instructions. This process removes old oils that can solidify and create blockages. Perform this flush weekly or after processing oily beans for best results.
Use Proper Loading Techniques to Avoid Overfeeding
Overloading your grinder’s hopper or loading beans in an uneven manner can cause beans to jam. Load beans gently and avoid pressing them down. I once overloaded my hopper before a busy morning, which clogged the auger. To prevent this, fill the hopper in small batches and let the beans feed naturally. Also, keep the hopper clean and free from debris—obstructions here can cause inconsistent feeding. Remember, a smooth flow starts with how you load and maintain your beans.
Leverage Anti-Static Measures for Dry Days
Static electricity can make beans cling together, causing uneven feeds and jams, especially on dry winter days. Applying an antistatic spray or lightly moistening your beans can reduce static. I’ve had good luck with a quick wipe of a slightly damp cloth inside the hopper, which prevents static buildup. For more static fixes, check out [this article](https://espressotechguide.com/why-grinders-static-is-worse-on-dry-days-and-how-to-fix-it). Maintaining a controlled environment around your grinder also helps keep static at bay.
Monitor and Maintain Your Grinder Regularly
Set a weekly schedule to check your grinder’s performance. Pay attention to any changes in grind consistency or increased jamming. Regular inspection of burrs for dullness, alignment, and oil buildup can save you from unexpected breakdowns. I double-checked my burrs during one routine maintenance and discovered they were slightly dull, which contributes to inconsistent grinding and jams. Replacing or sharpening burrs as needed keeps your grinder performing at its best, ensuring your dark beans flow freely and your shots turn out perfect.
Many enthusiasts believe that choosing the right espresso machine or grinder is all about specs and brand reputation. However, what most overlook are the subtleties that can make or break your brewing experience. For instance, a common misconception is that a high-end machine alone guarantees perfect shots. In reality, understanding the machine’s internal components—like the condition of the heating element or the integrity of the pressure gauge—is crucial. Regularly inspecting parts such as the boiler’s temperature sensors or valves can prevent costly failures and ensure consistent extraction.
Why do some home setups produce inconsistent results despite quality equipment?
This often boils down to overlooked maintenance routines. Even the best espresso machines require regular cleaning of critical components like the group head and steam wand to prevent buildup that impairs function. Neglecting this, especially [deep cleaning](https://espressotechguide.com/the-30-second-flush-that-removes-rancid-oil-from-your-group-head), can lead to subtle flavor dulling and operational hiccups. Also, many get misled into believing that more expensive grinders automatically produce better espresso. But, without precise calibration and understanding of grind settings, they might be creating more harm than good. Small adjustments, like fine-tuning the burrs or acknowledging static buildup on dry days, are often overlooked yet make a tremendous difference.
Another sneaky pitfall relates to milk frothers. Many users don’t realize that the tip’s positioning or the cleanliness of the steam wand significantly affects microfoam quality. Overlooking the need for regular inspections can result in splattering or uneven foam, diminishing latte art potential. For detailed guidance, check out [this article](https://espressotechguide.com/why-your-steam-wand-spits-water-instead-of-vapor). Moreover, advanced users sometimes ignore the importance of proper water filtration and hardness levels, which can accelerate scale buildup and harm internal components. Even a minor oversight like neglecting to perform a [weekly flush](https://espressotechguide.com/the-30-second-flush-that-removes-rancid-oil-from-your-group-head) can impact flavor clarity and machine longevity.
What about the misconception that all portafilters are interchangeable? In truth, slight variations in size or threading can lead to uneven tamping or even leakage, especially if the handle keeps unscrewing during extraction. This seemingly minor detail can cause messy shots and inconsistent pressure, undermining even the most skilled baristas. For troubleshooting tips, see [this guide](https://espressotechguide.com/how-to-fix-a-portafilter-handle-that-keeps-unscrewing-itself).
Focusing on these nuanced aspects is what separates a good home setup from a great one. Incorporating regular scrutinies of internal parts, paying attention to calibration, and understanding the interaction between gear components amplify your coffee quality exponentially. So, don’t fall for the trap of assuming that expensive equipment alone does the trick. Mastery often lies in the details.
Have you ever fallen into this trap? Let me know in the comments and share your experiences with overlooked nuances in your coffee journey.
Keep Your Gear Running Smoothly with the Right Tools
Ensuring your espresso setup remains in top condition requires more than just routine cleaning; it involves having the right specialized tools at hand. I swear by a high-quality burr grinder cleaning brush, like the BrushTech Heavy Duty, which effectively removes residual oils and grounds from the burrs without disassembly. Additionally, a precision screwdriver set is invaluable for adjusting loose screws in group heads or portafilters, preventing leaks and ensuring a perfect seal. To monitor internal components, I regularly use a multimeter to test capacitor health, which can be a silent culprit behind inconsistent boiling or pressure issues—learn how to interpret readings from resources like this guide. And for deep cleaning, I swear by specialized descaling pellets such as Dezcal, which dissolves buildup faster and more safely than vinegar or generic descalers. These tools help me catch problems early and extend the lifespan of my investment, saving money and headaches long-term.
Focus on a Maintenance Routine That Works
Developing a consistent maintenance routine is crucial. For instance, performing a 30-second flush weekly clears rancid oils, preventing bitter flavors and machine strain. Keep a log of your maintenance activities—this habit helps you recognize patterns indicating component wear, such as a fading pressure gauge or sluggish steam wand. When I noticed my steam pressure dropping unexpectedly, a quick inspection referencing this article revealed my capacitor was nearing failure. Replacing it in time saved me from more extensive repairs or having to shut down for days. Remember, a well-maintained machine not only produces better shots but also prolongs its life, which is a win-win for anyone serious about homemade coffee.
Anticipate Future Needs to Scale Up
As your skills develop or your setup grows, consider scalability right from the start. For example, investing in a dual boiler setup allows simultaneous brewing and steaming, boosting efficiency during busy mornings. Use this guide to plan your workspace effectively, ensuring easy access to all components without clutter. When I upgraded, I found that installing a dedicated water filtration system improved consistency and reduced descaling frequency—a crucial step when considering scaling up your home espresso operation. Keep an eye on the latest innovations, like smart sensors for pressure and temperature monitoring, which can alert you to issues before they escalate, turning maintenance from a chore into a proactive safeguard.
How do I maintain my equipment over time?
Regular inspections, timely part replacements, and using the right cleaning agents are key. For example, checking capacitors helps prevent sudden startups issues, while replacing worn gaskets keeps leaks at bay. Incorporate scheduled deep cleans using products like Dezcal and perform routine calibration checks to maintain optimal temperature and pressure. Also, stay updated with manufacturer recommendations and community insights, such as ie. troubleshooting for sour shots. Over time, this proactive approach ensures persistent performance, saving you money and coffee disappointment.
Why not try one of these advanced tips today?
For immediate improvement, I recommend performing a 30-second flush after each session to prevent oil buildup. This quick step dramatically reduces the risk of jams and flavor issues. Incorporate it into your routine now and feel the difference in your next brew.
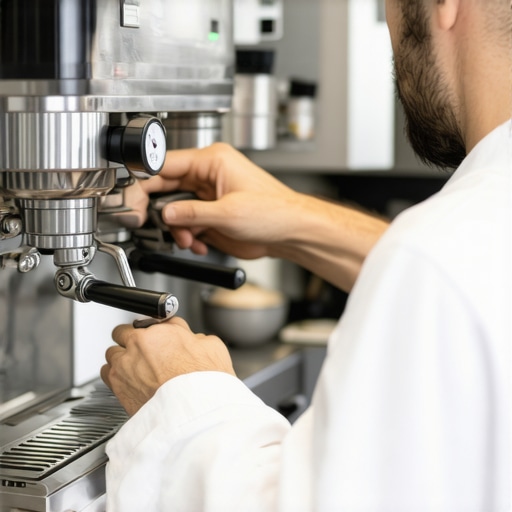
In my journey to perfect home espresso, I stumbled upon a game-changing technique that transformed my brewing outcome—the art of manipulating pressure profiles. It might sound technical, but trust me, this insider tip can dramatically elevate your espresso’s depth and flavor complexity.
Most home baristas focus on grind size and tamping, but stepping into the realm of pressure profiling allows you to fine-tune extraction beyond conventional settings. By gradually reducing pressure during extraction—say, from standard 9 bars down to 6 or 7—you can coax out more nuanced flavors from your beans. This approach mimics the pressure changes professional machines perform, but with a simple modification of your brewing routine.
What I discovered through experimenting is that lower pressure profiles help prevent over-extraction of bitter compounds and enhance the sweetness and body of your espresso. It’s akin to giving your coffee a gentle massage rather than a hammering. Implementing this requires a good pressure gauge on your machine or a pressure transducer, but don’t let that discourage you; many entry-level machines now offer this feature or can be retrofitted.
To get started, try a slow pressure ramp during your shot—begin with normal pressure and gradually decrease in the last 10 seconds. Record your results, adjust accordingly, and observe how your taste buds respond. The payoff? A more vibrant, balanced, and mouth-coating espresso that really showcases your beans’ potential.
Incorporating pressure profiling into your routine is an advanced step, but one well worth the effort. It’s like discovering a secret handshake that opens the door to espresso mastery. With patience and experimentation, you’ll unlock depths of flavor that set your home brew apart from the usual.
My Favorite Tools to Perfect Pressure Play
Having the right tools makes exploring pressure profiles easier and more precise. I rely on a pressure gauge attachment that fits my machine’s portafilter, giving real-time feedback without complicated setups. For deeper control, I use a pressure transducer, which connects to my espresso machine and records detailed pressure curves—perfect for tweaking profiles. Lastly, a good shot timer with pressure monitoring helps me synchronize pressure adjustments with extraction time, ensuring consistency. Investing in these tools has empowered me to experiment confidently, pushing the boundaries of home espresso.