How to Remove a Stuck Grinder Adjustment Ring Safely
Has this happened to you? You’re all set for the perfect espresso shot, your grind looks spot-on, but then—your grinder’s adjustment ring refuses to budge. It’s like trying to turn a rusty bolt with a worn-out wrench. Frustrating, right? I remember the first time I faced this battle; I thought a quick twist would do, only to hear a nasty snap or, worse, cause damage to my beloved grinder. That moment of panic was a lightbulb moment for me—there’s a proper way to handle a stuck adjustment ring, and doing it incorrectly can turn minor frustration into costly repairs.
Why You Should Care About Removing That Adjustment Ring Safely
Whether you’re a home barista experimenting with different grind settings or a seasoned coffee enthusiast, a stuck adjustment ring can halt your workflow. It affects your ability to fine-tune your grind, which is crucial for extracting the perfect shot. Ignoring the problem or forcing it can strip threads, damage the mechanism, or even void your warranty. Plus, learning to remove it correctly extends the life of your grinder and keeps your coffee experience smooth and enjoyable. I’d recommend checking out this article on grinder maintenance to understand what happens when components aren’t properly cared for.
Is Wrenching on It Actually Worth the Risk?
I’ll admit, I used to think that applying brute force was the only solution. Early on, I made the mistake of using tools that were too small or turning the adjustment ring without any lubrication. That only worsened the situation, leading to stripped threads or broken parts. Trust me, I learned the hard way that patience, proper tools, and the right technique are what really save the day. If you’re worried about damaging your gear, you’re not alone—but there are safe methods to get that stubborn ring free without turning your grinder into a paperweight. Curious about how to avoid common mistakes? You might find helpful tips in this guide.
So, if you’ve ever struggled with a stubborn grinder adjustment ring or just want to protect your investment, you’re in the right place. In the next section, I’ll walk you through the step-by-step process I’ve used successfully—and safely—to free that ring without a trip to the repair shop. Ready to master the art of gentle persuasion? Let’s dive in and make this frustration a thing of the past.
Grip the Adjustment Ring Firmly but Gently
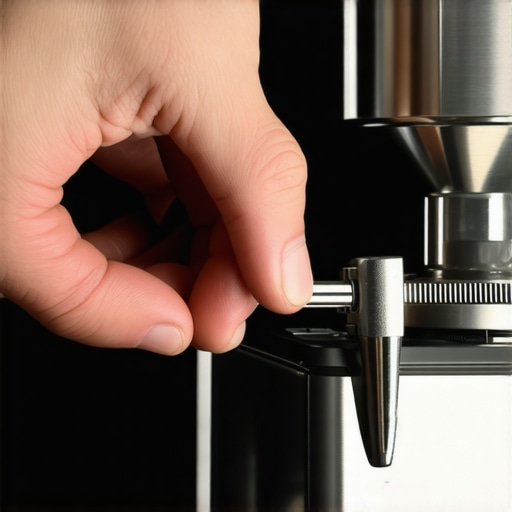
Recall the time I faced my first stuck adjustment ring—fingers trembling, I wrapped a rubber band around it to enhance grip. Using a rubber band or a silicone jar opener helps provide extra torque without slipping, much like getting a better grip on a slippery jar lid. Make sure your grip is firm yet controlled; sudden jerks can damage threads. I made the mistake of twisting too quickly, causing a slight scratch. Slow, steady pressure is key. Secure the grinder, hold the ring firmly, and turn counter-clockwise. If it resists, proceed to the next step.
Apply Controlled Heat to Loosen Metal Expansion
Metal parts expand with heat, reducing friction. I once used a hairdryer to warm the adjustment ring gently, avoiding direct heat contact with sensitive electronic components. Heat for about 30 seconds, focusing on the ring—think of it like warming a stubborn zipper. After warming, immediately try to turn the ring again, as the contraction when cooled can help free it. Remember, excessive heat can cause damage, so moderate warmth is best. This step can make a significant difference in easing stubborn rings.
Use Proper Tools to Leverage the Ring
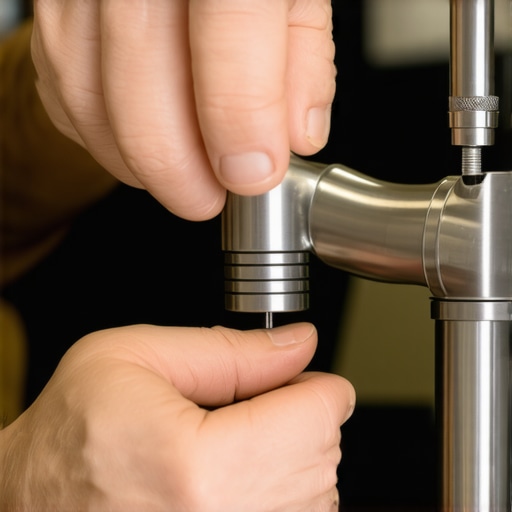
After warming and gripping, if the ring still won’t budge, a plastic or wooden handle tool, like a nylon prying tool or a small rubber mallet, can help increase leverage without damaging the metal. Think of it as using a non-marring tool similar to how baristas use specialized tamping mats—pressure applied uniformly. Gently tap around the ring’s edge to loosen any debris or corrosion causing resistance. Be cautious not to apply excessive force to avoid stripping threads or damaging the grinder body. In my experience, a light tap combined with steady twisting often does the trick.
Lubricate for Smooth Future Adjustments
Once free, applying a food-safe lubricant or light machine oil to the threads prevents future sticking. I used a tiny drop of mineral oil on the threads—just enough to coat and reduce friction without seeping into other parts. This proactive step ensures smoother turns next time. Remember, avoid harsh solvents orWD-40, which can contaminate coffee beans or damage plastics. Maintaining your grinder with proper lubrication extends its lifespan and keeps your grind adjustments precise and frustration-free.
Test and Reassemble Carefully
After freeing the ring, line up the threads carefully and turn gently to ensure smooth movement. Confirm the adjustment moves freely without resistance. If any resistance persists, reapply heat or lubrication slightly. During reassembly, be sure not to cross-thread the ring—align the threads visually and rotate slowly. I once hurried and cross-threaded, which required more extensive repairs. Take your time, and your grinder will thank you for it.
Incorporating these steps saved me from costly repairs, and I now approach stuck adjustment rings with confidence. Combining patience, controlled heat, proper tools, and lubrication mirrors the meticulous care of a seasoned barista, ensuring your grinder remains in top shape for perfect espresso shots every time.
When it comes to brewing the perfect espresso or mastering home coffee setups, many enthusiasts fall into common traps, often unaware of the subtle nuances that can make or break their cup. A frequent misconception is that selecting high-end equipment alone guarantees stellar results. In truth, understanding the specific quirks and limitations of your gear matters just as much as the brand reputation. For instance, many believe that all grinders are equal, but in reality, the precision of burr types and alignment can dramatically influence grind consistency and flavor extraction. Overlooking these technical details can lead to bitter or sour shots, regardless of how much you spend on your espresso machine. Furthermore, a prevalent myth is that high pressure always equals better extraction. However, expert baristas know that pressure profiles must be carefully managed; too high or too low can cause channeling or under-extraction, as highlighted in studies by leading coffee researchers.
Is It Better to Grind on the Coarser or Finer Side for Espresso?
Many think finer grind always yields a richer shot, but overly fine grounds can cause stuck puck problems and over-pressurization, damaging equipment over time. Conversely, a slightly coarser grind might reduce strain on your machine’s pump and improve shot clarity. Remember, dialling in grind size is a nuanced process that requires patience and careful observation—something many beginners overlook. Misjudging this can lead to a bland or overly intense flavor, wasting valuable beans and time. Did you know that inconsistent tamping pressure can also be a hidden culprit? Variations here can significantly affect extraction uniformity. It’s essential to develop a consistent tamping technique and understand how each variable interacts with your specific equipment. For advanced insights on optimizing extraction, explore resources like why your coffee smell matters. Remember, each component in your setup plays a role. Proper maintenance and calibration of your espresso machine, including regular descaling and pressure adjustments, help prevent common issues like scale build-up or inconsistent temperature delivery. Sadly, many hobbyists neglect these vital steps, leading to equipment failure or subpar brew quality. The key is to treat your gear as a precision instrument, not just a toy. So, the next time you’re brewing or upgrading, ask yourself whether you’ve considered these “hidden” factors—because mastering them can elevate your coffee experience from good to exceptional. Have you ever fallen into this trap? Let me know in the comments.
Maintaining your coffee equipment is key to preserving consistent quality and extending the lifespan of your gear. From grinders to espresso machines, having the right tools and a systematic approach can make all the difference. One indispensable item I rely on is a high-precision digital scale, like the espresso scale. I use it not only for dosing but also for timing extraction accurately, ensuring each shot is perfect. Regular calibration of your grinder after burr replacements is also vital; I recommend using a specialized grinder calibration technique to keep your grind consistent over time.
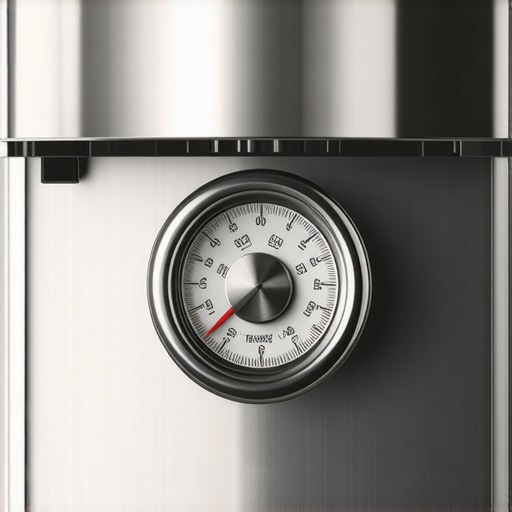
Keeping your espresso machine in top shape requires attention to internal components like the pump, valves, and boiler. For instance, inspecting the pressure gauge and understanding its readings can prevent many issues. Check out this guide for tips on pressure gauge interpretation. When it comes to cleaning, I suggest a thorough descaling routine every few months, especially if you have hard water, which can cause scale buildup and performance loss. A descaling solution combined with a cleaning brush designed for internal pipes can help maintain optimal flow and temperature stability.
How do I maintain my espresso gear over time?
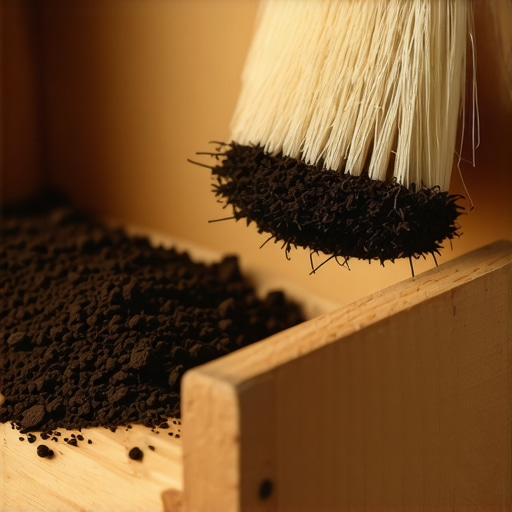
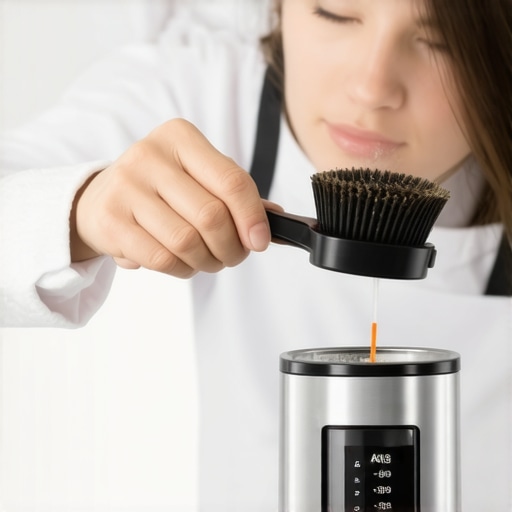
Consistency is essential—set a maintenance schedule that includes daily wipe-downs, weekly backflushing, and monthly deep cleans. Use tools like a proper grinder brush to clear out residual grounds and prevent clogging. For milk frothers, a fine wire brush and cleaning tablets can help maintain hygiene and performance. Investing in a quality milk frothing pitcher also ensures smooth, consistent microfoam every time.
Looking ahead, the trend of integrating intelligent diagnostics into espresso machines is promising. Manufacturers are now offering apps and software that monitor component health, alerting you early to potential issues. For example, some models include built-in temperature sensors connected to mobile apps, so you can preempt failures and schedule maintenance proactively. This tech evolution will likely make gear maintenance more accessible and less reactive, ultimately giving baristas and home enthusiasts more peace of mind.
Personally, I recommend trying a quick purge routine before every shot as a simple yet effective way to improve consistency. This small step clears the path for a stable extraction and prevents sour notes caused by residual old water or stagnant liquid. Incorporate these tools and practices into your routine, and you’ll enjoy reliable, high-quality coffee for years to come.
The Hidden Lessons That Transformed My Grinder Maintenance
Over time, I realized that my biggest breakthroughs in coffee preparation weren’t about buying new gear, but understanding how to care for what I already had. The most profound lesson was that patience and gentle techniques trump brute force every time when dealing with a stuck adjustment ring. I learned that warming the metal slightly, using the right grip, and lubricating carefully can prevent costly repairs and extend the lifespan of my grinder. These insights came from countless errors, but each mistake brought me closer to mastering my equipment and achieving that perfect espresso shot.
Tools, Tips, and Resources That Elevated My Coffee Game
My essential toolkit now includes a high-quality rubber grip to enhance torque, a heat gun for controlled warming, and food-safe lubricants like mineral oil. I also rely on detailed guides such as this guide to recalibrating your grinder, which ensures consistent results. Books like The Coffee Roaster’s Companion broaden my understanding of beans and roasting nuances. For ongoing learning, online forums and tutorials from trusted sources keep me informed about advanced maintenance and troubleshooting techniques. These resources have become the backbone of my coffee routine, making every shot better than the last.
Your Next Coffee Victory Awaits
Now that you’re equipped with insider wisdom and practical techniques, you’re ready to tackle stubborn adjustment rings with confidence. Remember, patience, gentle handling, and leveraging the right tools turn a frustrating obstacle into an opportunity for mastery. The journey to perfect coffee is as much about process as it is about passion—embrace each step and enjoy the aroma of your success. Keep experimenting, learning, and savoring each cup—you’re on the path to becoming your own barista hero.
What’s the biggest challenge you’ve faced with your grinder adjustment, and how did you overcome it? Share your story below—I’d love to hear about your coffee adventures!