Why Your Puck Screen Is Stuck to the Shower Screen
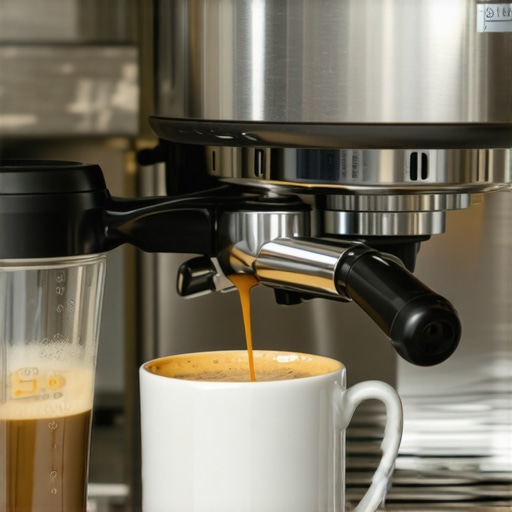
Have you ever pulled out your espresso puck after a perfect shot, only to find it stuck stubbornly to the shower screen? That frustrating, almost comical moment can leave you scratching your head, wondering what went wrong. I remember the first time it happened to me—it was during a busy weekend when I was rushing to serve a batch of friends. I tugged, then tugged again, until finally, the puck reluctantly released—half in my hand, half still stuck in the machine. Talk about a moment that makes you lose confidence in your setup! But, here’s the truth: this issue is more common than you think and often a sign that something needs attention.
Understanding Why Your Puck Sticks: The Hidden Culprit of Espresso Problems
That stubborn attachment between the puck and the shower screen isn’t just annoying—it can directly impact your espresso’s quality and consistency. If your puck refuses to release, you might notice uneven extraction or even channeling, which leads to bitter or sour shots. But what causes this adhesive-like bond? Generally, it’s a combination of coffee residue buildup, improper tamping, or residual oils that create a sticky, glue-like layer between the puck and the shower screen. Over time, these deposits develop into a stubborn layer that prevents easy removal.
Early in my espresso journey, I made the mistake of ignoring regular cleaning, thinking a quick rinse was enough. I didn’t realize that oils and minor coffee grounds could accumulate silently, much like a slow buildup of grime inside a kitchen sink pipe. It wasn’t until I experienced a puck that practically fused itself to the shower screen that I understood—I needed to be more diligent with my cleaning routine. If you’re experiencing this, I recommend checking out this guide for tips on keeping your machine pristine.
Fortunately, fixing this issue isn’t rocket science, but it does require understanding what’s happening behind the scenes. As we explore solutions, I’ll share some practical steps that have helped me finally conquer this issue once and for all.
Is Your Problem Just a Cleaning Oversight, or Is There More?
Some folks worry that a stuck puck means their machine is about to fail—that it’s a sign of a bigger, costly problem. I used to think the same! But, honestly, in most cases, it’s a matter of routine maintenance. Early on, I also made the mistake of skipping regular descale sessions, which can cause mineral deposits to complicate matters further. If you’d like to get a better handle on your cleaning routine, check out this helpful article to optimize your setup. Now, let’s get into how you can eliminate that stubborn sticky layer and keep your puck free every time.
Start with a Thorough Cleaning Routine
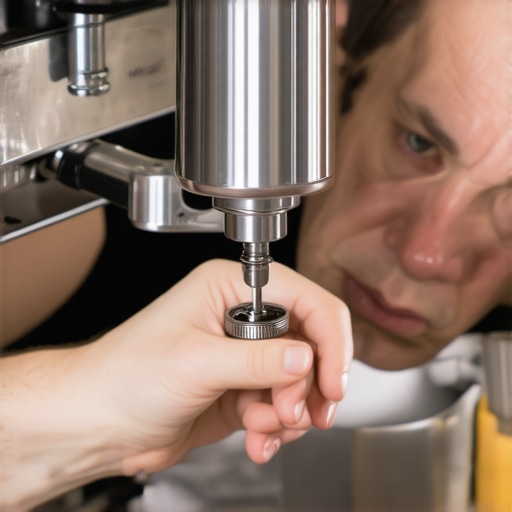
Remove your portafilter and disassemble the basket if possible. Rinse all components under hot water to loosen coffee oils and grounds. Use a soft brush or a paper clip hack to dislodge stubborn residue from holes. Remember, oils cling stubbornly—regular deep cleans prevent buildup that causes puck sticking.
Use Proper Tamping Techniques to Reduce Adhesion
Apply even pressure—about 30 pounds—using consistent force. A fiddly, uneven tamping can create weak spots where oils and grounds bond more tightly. Consider a tamper with a proper diameter to ensure uniform compression. I once used a wooden tamper that fit snugly, and my puck released smoother afterward, reducing cleaning time.
Adjust Your Grind Size for Optimal Extraction
Grind finer or coarser depending on your shot performance. Fine grinds tend to produce more oils, increasing stickiness, while coarse grinds can lead to uneven extraction. If your grinder stalls on coarse settings, check for a failing capacitor (learn more here). Optimize your grind to balance extraction quality and cleanability.
Implement Effective Backflushing and Regular Maintenance
Backflush your machine weekly with a cleaning detergent to clear oils inside the brew head and shower screen. For stubborn deposits, apply a metal paperclip or specialized brush to scrub hard-to-reach areas. Consistent maintenance prevents residual oils from acting like glue, ensuring the puck releases cleanly.
#{IMAGE_PLACEHOLDER_B}
Optimize Your Cleaning Environment and Workflow
Keep your workspace organized to minimize forgotten tools, which can lead to incomplete cleaning. Use specific containers for water and cleaning solutions to avoid cross-contamination. A cluttered station hampers thorough cleaning, leading to buildup that sticks the puck. For quick reference, explore this organizational tip.
Leverage The Power of Steam and Proper Pre-Pressing
Before pulling your shot, apply a quick steam purge using this 10-second steam to remove excess oils from the shower screen. Additionally, lightly pre-press your coffee to evenly distribute grounds, reducing oil leakage during extraction which causes sticking. Proper pre-pressing can be the difference between a clean release and a stuck puck.
Many home baristas believe that choosing the right machine or grinder is enough to produce perfect espresso, but there’s a lot more nuance that often gets ignored. For instance, a common misconception is that all milk frothers are created equal—many think that any handheld device will produce equally velvety microfoam. However, the type of frother impacts the milk’s temperature and texture more than most realize. Cheaping out on quality can result in froth that separates before you can pour latte art, which many beginner baristas blame on technique rather than equipment. For advanced enthusiasts, understanding the simple logic behind steaming small amounts of milk can dramatically improve results. Meanwhile, many overlook that coffee grinders are not just about grind size but also about burr quality and motor stability—an overlooked nuance that can cause uneven extraction or stalling on coarser settings. Some believe that a high-priced grinder guarantees perfect consistency, but in reality, motor health and maintenance play a vital role. When it comes to espresso machines, a frequent misconception is that all machines are equally easy to maintain. In truth, machines with fewer accessible components and poorly designed water pathways require more meticulous care, which often gets ignored until costly repairs are needed. An often-ignored but critical detail is the failing capacitor that can cause inconsistent boiler temp and pressure issues. Out of all, the biggest trap is believing that barista gear performance depends solely on the equipment, neglecting the importance of routine calibration, cleanliness, and understanding the physics involved. One advanced question many ask is: “How do I fine-tune my pressure profiling to optimize extraction?” The answer lies in understanding the interaction between machine mechanics and shot dynamics—details often skipped but vital for elevating your espresso game. Relying solely on equipment without grasping these nuances is like trying to sail without understanding the wind. By educating yourself on these hidden factors, you not only improve your shots but also extend the lifespan of your gear. Want to really level up your setup? Regularly check your machine’s vital parts and don’t forget that proper storage and workflow organization boost efficiency and consistency. Have you ever fallen into this trap? Let me know in the comments.
Prioritize Equipment Longevity with Sharp Tools and Routine Maintenance
Investing in quality tools isn’t just about immediate results; it’s about ensuring your espresso setup remains reliable over the years. For example, I personally swear by a high-precision calibration scale, which allows me to consistently dial in my doses and extraction times. Accurate measurements help prevent over-pressurized extractions that can damage your machine and create buildup issues, leading to sticky pucks.
In addition, regularly checking your machine’s vital parts, such as your capacitors, is crucial. A failing capacitor can cause temperature inconsistencies and pressure fluctuations, ultimately affecting shot quality. I recommend scheduling biannual inspections with a technician or, if you’re comfortable, learning to inspect these parts yourself by consulting detailed technical guides. Maintaining these components extends your equipment’s lifespan and keeps it performing at peak condition.
How do I keep my espresso tools in top shape over time?
The secret lies in a disciplined routine. Clear your grind chamber regularly with a simple paper clip trick to remove coffee grounds lodged in the burrs and channels. This prevents clogs and uneven distribution that contribute to puck sticking and poor extraction. Also, prevent static buildup in your grinder, especially on dry days, by implementing anti-static methods like wiping the chamber with a slightly damp cloth or using specialized anti-static brushes.
Steaming with Confidence into the Future
One small upgrade I highly recommend is refining your milk steaming technique. Implementing the 10-second purge before steaming can significantly reduce the oils and residual milk in the wand, minimizing spitting and improving microfoam quality. As steam wand technology advances, expect more integrated self-cleaning features, but manual care will remain essential for consistent results. In the future, I foresee smarter, app-controlled cleaning cycles that will simplify maintenance even further.
What’s the best way to keep your coffee station organized for longevity?
Keeping your station tidy isn’t just about aesthetics; it’s about efficiency and avoiding overlooked cleaning. Use dedicated containers for water and cleaning solutions, and organize your accessories, like brushes and tampers, for quick access. A well-organized space reduces the chance of forgetting important maintenance tasks, which can lead to residue buildup and equipment fatigue. For an optimized setup, check out this detailed organizational guide.
Scale Up and Prepare for Future Challenges
As your passion for espresso grows, so does your need for durable, scalable gear. Upgrading to a commercial-grade grinder with a robust motor and precise burr alignment will handle higher usage and reduce the risk of overheating, a common issue especially during busy mornings. Also, pay attention to water quality: investing in better filtration and softening systems can prevent mineral deposits that cause scale build-up, ensuring your machine remains efficient over the long haul.
Predictions for the future include smarter maintenance sensors integrated directly into espresso machines, alerting you to issues before they escalate. Until then, adopting a proactive maintenance mindset—regularly inspecting and cleaning your gear—will keep your setup running smoothly and your shots consistently excellent. Remember, integrating these advanced maintenance habits now will prevent costly repairs later. For example, routinely checking your machine’s vital parts is a proven method that can catch issues early, and detailed insights can be found at this resource.
So, why not try implementing a weekly deep clean of your grinder using a disassembly-free cleaning method? It’s a simple step with significant long-term benefits. Consistency in maintenance and tool quality will ensure your espresso journey remains a smooth, rewarding experience for years to come.
What I Wish I Knew About Puck Adhesion and Machine Care
One of the most eye-opening lessons I learned was that minute details—like the tamping angle or even the humidity in my kitchen—could drastically influence how easily the puck releases. Recognizing that the root cause isn’t just dirty equipment but subtle nuances in our technique has transformed my approach. For instance, I discovered that maintaining consistent tamp pressure prevents uneven oil distribution, which can cause the puck to stick stubbornly. Also, investing time to understand how residual oils and grounds interact with my machine’s materials revealed why some days are better than others. Embracing these insights helped me troubleshoot effectively instead of guessing, making my espresso experience more predictable and enjoyable.
My Go-To Tools for Elevating Home Espresso
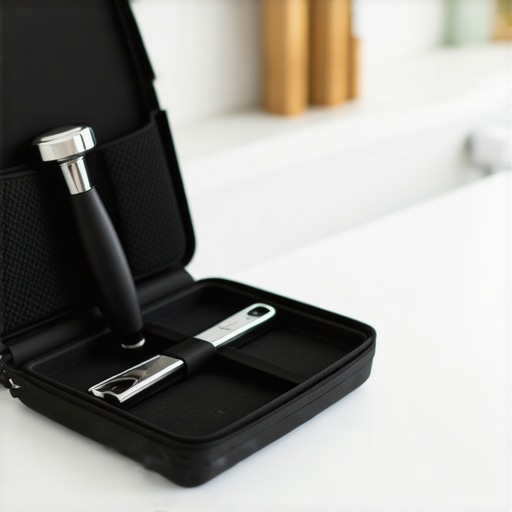
Over time, I’ve curated a toolkit that constantly elevates my brewing game. A high-precision digital scale ensures my doses are exact, reducing shot variability. My trusty disassembly-free cleaning brush keeps my brew head spotless without hassle. For organizing my workspace, I rely on a dedicated station setup—everything in its place saves me time and reduces errors. Each of these tools has been a game-changer because they address specific pain points, making my espresso routine smoother and more consistent.
Your Next Step to Barista Confidence
Remember, mastering the art of espresso isn’t about having the perfect machine—it’s about understanding and caring for your gear with intention. When you incorporate regular cleaning routines, proper maintenance, and attention to detail, you develop a sense of confidence that radiates into every cup you serve. With patience and curiosity, you’ll find yourself making shots that rival any café. So, why not take that next step today? Dive into routine tune-ups, experiment with your grind sizes, and embrace the joy of a well-maintained setup. The journey toward barista mastery is ongoing, but every effort pays off in richer flavors and happier mornings.