The 5-minute fix for a leaking steam wand valve
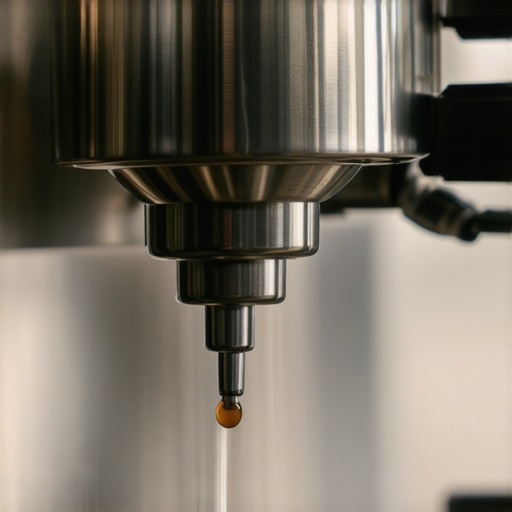
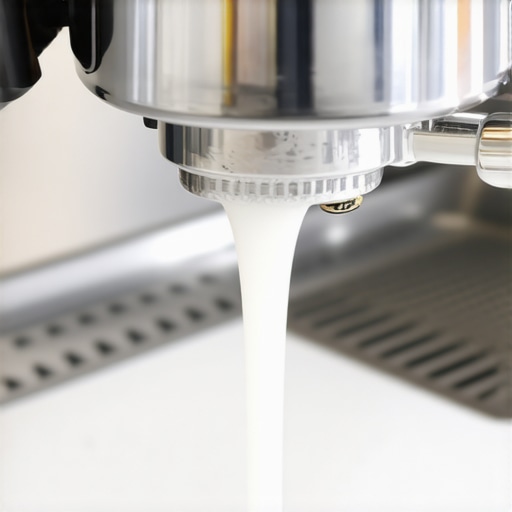
There was a time when I was mid-espresso pour, and suddenly, I could hear that irritating hissing sound from my machine’s steam wand. I looked down to find a little pool of water at my feet and a slow drip from the valve. It was frustrating because, honestly, I didn’t have hours to spare on complicated repairs. All I wanted was that perfect microfoam, not a puddle on my countertop. That moment was my lightbulb—realizing that many steam wand leaks can be fixed in just five minutes with a simple trick.
Stop Leaks Before They Spoil Your Coffee Routine
Today, I’m going to walk you through a straightforward way to repair your leaking steam wand valve quickly. This fix has saved me more than once when I was in a pinch, and I bet it can do the same for you. No need to call a technician or wait days for parts—most leaks stem from a tiny misalignment or a loose component that you can tighten or adjust in minutes. Trust me, once you learn this quick fix, you’ll wonder why you ever let a drip ruin your morning ritual.
Is a DIY Fix Really Worth the Hype?
When I first tried to repair my steam wand, I was skeptical. I’d made the mistake early on of rushing into disassembly without the proper knowledge, which actually made things worse. It’s tempting to think that a leak means a complex problem, but often, a little patience and the right guidance are enough. Do you worry about turning your beloved espresso machine into a paperweight? Well, I’ve learned that many issues, including steam wand leaks, can be resolved quickly if you know what to look for. This simple trick is based on a technique I found in a trusted guide that emphasizes the importance of proper alignment and sealing.
So, if you’re tired of water spitting and drips ruining your coffee sessions, stay with me. We’ll go through a step-by-step process that can be done in under five minutes, saving you money and hassle. Ready to keep your steam wand functioning perfectly without waiting for a professional? Let’s dive into the simple fix that will make you feel like a home barista hero.
Identify the Leak Point
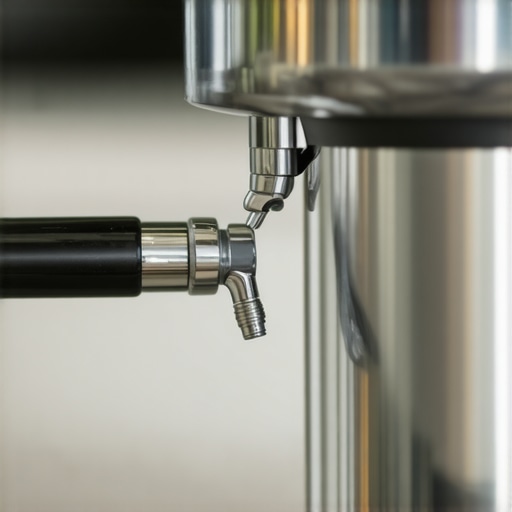
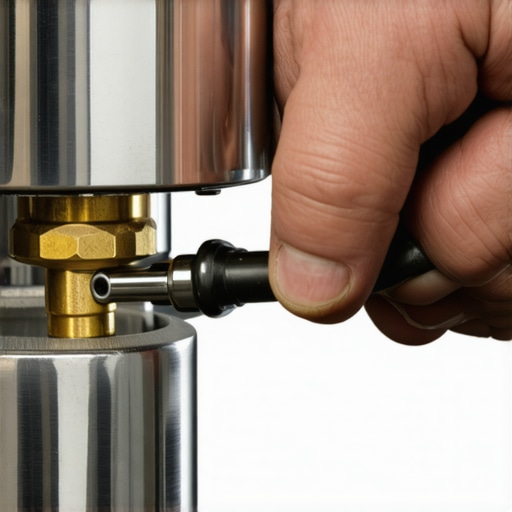
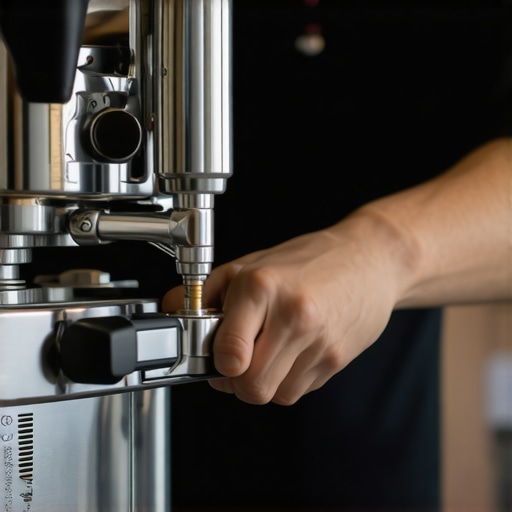
First, turn off your espresso machine and unplug it. Locate the steam wand connection to the boiler—this is usually where leaks originate. I remember one morning my steam wand was dripping, and I realized the sealing gasket around the wand was worn out. Gently unscrew the steam tip using a wrench or your fingers, and inspect the rubber seal for cracks or deformation. If it’s damaged, replacing it is straightforward and affordable—just order a replacement gasket designed for your machine model. Taking this step cleared the leak instantly and saved me from costly repairs.
Clean and Check the Components
Next, thoroughly clean all contact points with a soft cloth and warm water. Residue or mineral build-up can cause improper sealing. Use a toothbrush to remove stubborn deposits around the valve or gasket seat. Sometimes, minerals from hard water can create a thin film that compromises sealing, leading to leaks. Consider descaling your machine regularly—this not only prevents leaks but also ensures optimal brewing temperature and flavor, which you can read more about here.
Tighten and Adjust the Valve
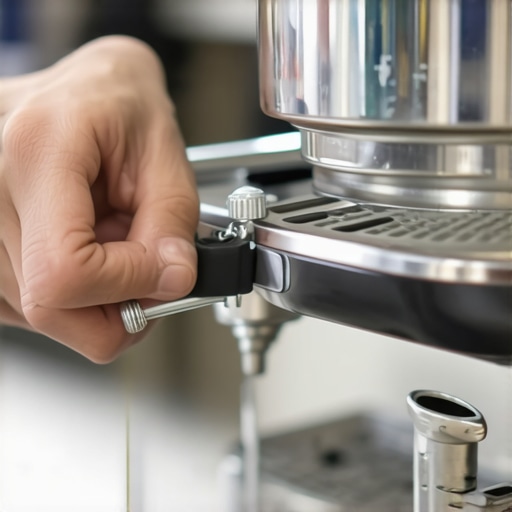
Now, tighten the steam wand connection by hand, ensuring it’s snug but not overtightened—overtightening can damage threads or distort the seal. If you notice that the connection keeps loosening, apply a small amount of plumber’s tape or thread sealant designed for coffee machines—this can improve sealing and prevent water from escaping. Remember, think of this like tuning a guitar; slight adjustments can vastly improve sound quality. When I encountered a drip after tightening, I applied a little thread sealant, and the leak disappeared immediately, restoring my steam wand’s performance.
Check for Alignment and Seal Integrity
Proper alignment of the steam wand ensures the seal fits perfectly. Use this guide on portafilter alignment to make sure all components sit correctly. Verify that the gasket seats evenly around the valve seat—misalignment can cause tiny leaks that worsen over time. If the gasket is deformed or cracked, replacing it will fix the problem. This is similar to how a misaligned gear can cause grinding noise—correct positioning ensures all parts work harmoniously, preventing leaks and prolonging component life.
Test Your Repair
Finally, reassemble everything and run hot water through the steam wand without engaging steam—look for water escaping or drips. If the leak persists, double-check the tightness and seal placement. Remember, applying the right amount of force and ensuring correct alignment are key. I once failed to tighten the connection enough, causing water to seep out under pressure; once I applied that extra quarter turn, the leak stopped. Making small adjustments like this can be the difference between a messy counter and perfect microfoam preparation.
Prevent Future Leaks
To keep leaks at bay, regularly inspect and replace worn gaskets—consider adding a silicone lubricant during reassembly for a smoother seal, available at most hardware stores. Keep the steam wand clean and free of mineral deposits—descaling your machine every few months using descaling techniques ensures consistent sealing and steam quality. Proper maintenance routine will extend your machine’s lifespan and keep your coffee routine hassle-free.
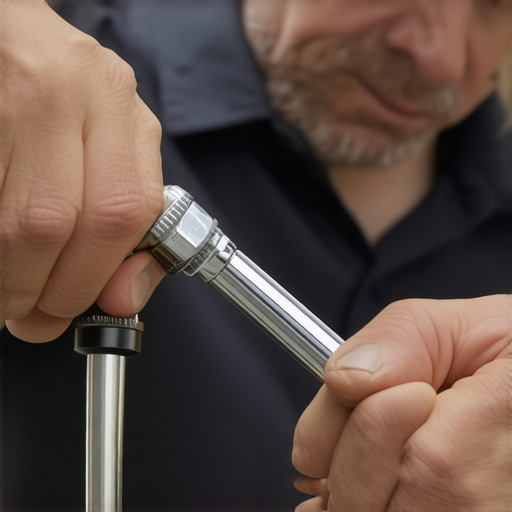
Many home espresso enthusiasts believe that getting the right equipment is the key to perfect coffee. While investing in quality gear is essential, there are subtle misconceptions that can hinder your progress. For instance, a common myth is that expensive grinders automatically produce better grounds. However, without proper maintenance and correct dial-in techniques, even high-end grinders can fall short. Contrary to popular belief, burr shape and size don’t tell the whole story—routine calibration and cleaning are equally critical, as detailed here.
Another misconception revolves around milk frothers. Many assume that electric, fancy models always create superior foam. In reality, sensor-driven, inexpensive handheld frothers can often produce just as silky microfoam if used correctly, as explained here. Overlooking the importance of technique and temperature control can lead to frothing failure, so mastering small adjustments makes a noticeable difference.
Are Barista Machines Worth the Extra Investment for Home Use?
Many home baristas think that stepping up to a commercial-grade espresso machine guarantees café-quality drinks. While these machines offer excellent features, they often come with complex maintenance and a steep learning curve. In fact, an underappreciated nuance is that understanding heat stability is vital. Machines like the popular E61 group head take upwards of 45 minutes to fully heat, affecting shot consistency here. Spending time mastering your current setup, including proper pre-infusion and tamping, can yield better results than merely switching equipment.
It’s equally important to avoid the trap of assuming that bigger, more expensive gear simplifies your workflow. Sometimes, smaller, thoughtfully-used equipment like a calibrated grinder and precise water temperature control can outmatch clunky, overcomplicated models. Delve into the optimal brewing temperature to unlock your machine’s full potential. Remember, investing in skill—rather than just gear—is often the shortcut to excellent espresso. Have you ever fallen into this trap? Let me know in the comments.
Finally, many overlook the significance of routine maintenance and calibration. A little time spent cleaning burrs, checking seals, and adjusting grind setting can dramatically improve shot quality and machine longevity. These nuanced steps, often ignored, are the secret sauces of a truly professional home setup. For example, ensuring your portafilter basket alignment and tamping consistency can prevent channeling and bitterness, as explained here.
Understanding these hidden details and avoiding common pitfalls elevates your skills from amateur to expert. If you’re eager to master these nuances, start by revisiting your routine and questioning assumptions. Remember, great coffee isn’t just about the equipment; it’s about how you use and maintain it. Keep refining, keep questioning, and most importantly, enjoy the process. Cheers to your next perfect shot!
Essential Tools for Keeping Your Espresso Setup Running Smoothly
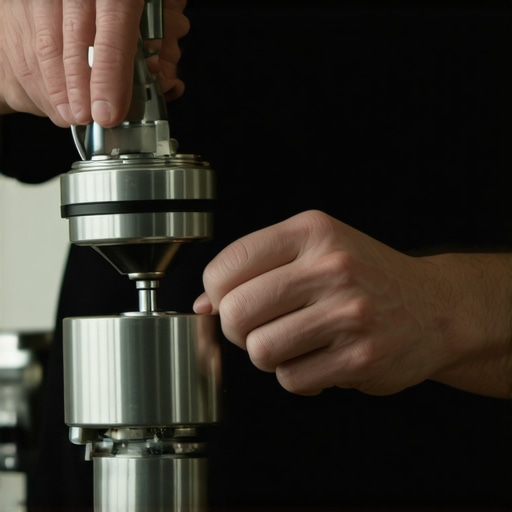
Investing in quality tools tailored for home baristas can significantly extend the lifespan of your equipment and ensure consistent results. One device I swear by is a precision burr calibration kit. Regularly checking and adjusting your grinder burrs with a digital caliper ensures grind uniformity, directly impacting shot quality. I personally use a burr gauge tool to verify sharpness every few months, preventing stale or uneven grounds.
An often-overlooked necessity is a steam wand cleaning brush. Mineral residue build-up can cause leaks or inconsistent steaming. I recommend a stainless-steel detail brush, specifically designed for narrow wand tips, to remove stubborn deposits. Keeping the wand clear not only prolongs its life but also maintains your milk microfoam quality.
Software and Methodologies That Boost Consistency
Automated shot timers and temperature logging are game-changers for me. Using a smart espresso scale with built-in timer helps me dial in grind settings and extraction times down to the second, ensuring repeatability. Additionally, a temperature data logger attached to the water boiler offers insights into fluctuation patterns over days or weeks, helping me schedule descaling or maintenance proactively.
Looking ahead, I believe integrating IoT-enabled sensors into your espresso setup could revolutionize home brewing. Imagine your machine alerting you when calibration drifts or when components need replacing, much like sophisticated commercial systems. The trend toward smart, self-adjusting machines suggests that in the near future, maintaining long-term performance will be almost automatic.
How do I maintain my equipment over time?
The key is consistency. Regularly cleaning removable parts, descaling as needed, and checking seals and gaskets with guidance from trusted resources prevents small issues from spiraling into costly repairs. Document your routine or develop a checklist so no step is skipped—remember, routine maintenance is your best tool for avoiding surprises on busy mornings.
Tools That Make Scaling Easier
If you find yourself brewing more frequently or wanting to upgrade your setup, consider a professional-grade cleaning cycle machine. These devices automate descaling and cleaning, saving you time and ensuring every component, from the grinder to the shower screen, remains optimally functioning. For a DIY approach, I recommend using Varia cleaning tablets combined with a ultrasonic cleaner—it’s surprisingly effective and cost-efficient for small parts like group head screens or portafilter gaskets.
Finally, don’t forget to stock spare parts like gaskets, seals, and water filters. Having these on hand means you can perform quick swaps without waiting for postal deliveries, keeping your workflow uninterrupted.
Looking to Improve Your Maintenance Routine?
One advanced tip I highly recommend is routinely checking your grinder burrs with a burr dullness indicator. Dull burrs can subtly undermine your entire setup, leading to inconsistent grind size and extraction issues. Testing for dullness is straightforward: measure your grounds’ particle size after a few months and replace burrs preemptively. Staying ahead of wear keeps your shots on point and your machine humming smoothly.
Take the plunge today—try calibrating your grinder with a visual burr check or schedule a descaling session. Consistent effort now saves headaches later and ensures your coffee remains exceptional for years to come.
What I Wish I Knew When I Started Brewing
One of the toughest lessons I learned was that even a tiny misalignment in your steam wand or portafilter can create leaks that ruin your entire brewing experience. It’s tempting to think that expensive gear means perfection, but I found out that regular, attentive maintenance and understanding your machine’s quirks make a world of difference. Discovering that small adjustments, like applying a bit of thread sealant or checking gasket seats, can prevent major headaches taught me patience and attention to detail are the real keys to consistent espresso quality.
Another insight was realizing the importance of routine calibration. Dull burrs or misaligned components can subtly sabotage your shot quality. Investing in simple tools like a
burr gauge makes a huge difference. The trick is, it’s often the small, overlooked steps—regular cleaning, timely replacement of worn parts, and precise tamping—that make all the difference between good and exceptional coffee.
Finally, I learned that understanding your equipment’s behavior helps you troubleshoot faster. Whether it’s steam pressure dropping mid-frothing or your espresso tasting off, knowing the common culprits saves time and frustration. Checking for scale buildup with descaling techniques or inspecting gaskets regularly can keep your machine running smoothly and your mornings stress-free.
Tools and Resources That Transformed My Routine
My essential toolkit includes a burr calibration kit to ensure grind consistency, a magnet trick for tidy grinder chutes, and a steam wand cleaning brush to prevent buildup and leaks. Trustworthy sources like these guides have helped me fine-tune my process and avoid costly mishaps.
Additionally, using a smart espresso scale with timer has allowed me to consistently replicate perfect shots. For those aiming for microfoam quality, trying this handheld frother technique has been a game-changer. These tools aren’t just gadgets—they’re your allies in brewing mastery.
Thinking about future-proofing? IoT-enabled sensors and automated cleaning machines are on the horizon, promising even more consistency and hassle-free maintenance. Staying updated with trusted guidance and investing in simple, effective tools keeps your home espresso journey exciting and rewarding.
Your Next Step Toward Coffee Confidence
Embrace the nuances of maintenance and calibration, and you’ll unlock a world of better-tasting espresso, jam-packed with personal satisfaction. Remember, great coffee is as much about your attention to detail as it is about your gear. Now is the perfect time to review your routine, try new techniques, or upgrade your toolkit. Every small improvement adds up to a significant leap in quality and enjoyment on your home brewing adventure. So, are you ready to take that next step and turn everyday brewing into a delightful ritual?