The Zip Tie Fix for Loose Espresso Machine Tubing
Ever had that sinking feeling when your home espresso shot turns to watery disappointment because something’s just not sealing right? I remember the frustration vividly—diligently tamping, pulling the lever, only to be greeted with strange leaks or uneven pressure. It was a harsh wake-up call that my beloved machine wasn’t performing at its best, and I needed a simple fix, fast. That moment of realization hit me hard: sometimes, the smallest parts can cause the biggest headaches.
Finding a Simple Solution for Loose Tubing
After some trial and error, I discovered the power of a humble item—zip ties. Sounds trivial, right? But a secure, snug strap around those loose espresso machine tubes made all the difference. It’s a quick, inexpensive fix that anyone can implement, and I’m here to show you exactly how to do it, so your machine operates smoothly again without costly repairs or fiddling with complicated parts.
This Might Surprise You: Is a Zip Tie Fix Actually Worth the Hype?
Initially, I was skeptical. It seemed too simple to fix such a critical component. Early on, I made the mistake of neglecting the issue—thinking a repair kit or calling in a professional was the only way out. That was a costly misstep because delays can lead to bigger damage or inconsistent coffee. However, once I tried wrapping a few zip ties around the loose tubing, I realized just how effective this quick fix can be. Remember, sometimes, it’s the straightforward solutions that save your day—and your wallet.
So, if you’ve faced similar struggles, wondering if a quick, DIY fix could save your morning brew and extend your machine’s life, stick around. I’ll walk you through the simple steps to tighten those troublesome tubes, prevent leaks, and get back to enjoying the perfect espresso shot in no time.
|
Properly Tighten Loose Tubing to Prevent Leaks
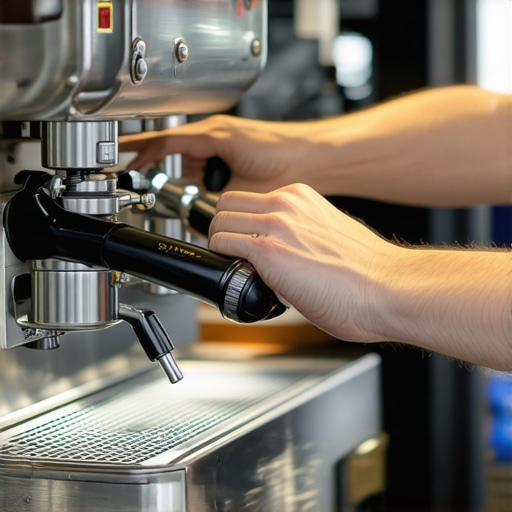
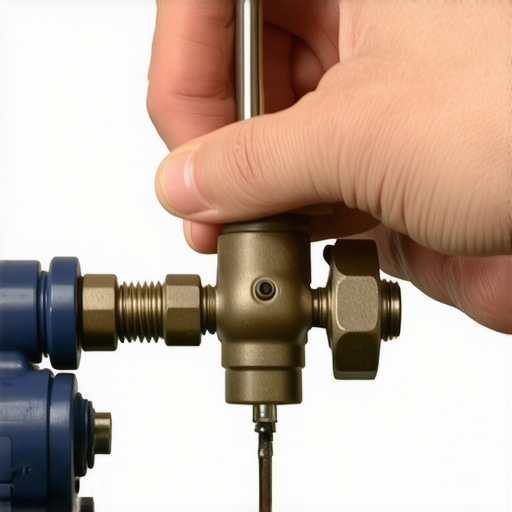
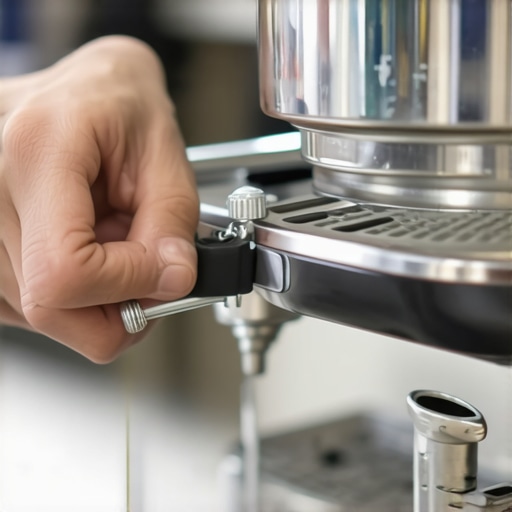
First, unplug your espresso machine to ensure safety. Locate the loose tubing inside the machine—often near the pump or the group head. Carefully remove any panels or covers that give you access, using a screwdriver if necessary. Once exposed, identify the section of tubing that’s slipping or wobbly. Wrap a zip tie snugly around the tubing, just after the fitting or connector, to hold it firmly in place. Use a pair of pliers to tighten the zip tie evenly, avoiding over-tightening that could damage the tubing or kink it. Reassemble your machine, plug it back in, and run a test shot to verify the leak has stopped.
Tips for a Secure Fit During the Fix
Apply the zip tie closer to the connector—this minimizes movement and enhances the seal. If you’re working with flexible silicone tubing, be cautious not to distort its shape with too tight a zip tie. Instead, use multiple ties spaced out along the tube’s length for extra reinforcement. Remember, the goal is a firm hold, not strangulation. If you notice the tubing is cracked or excessively worn, replacing it entirely might be necessary, especially since worn hoses can cause inconsistent pressure or leaks. For detailed guidance on replacing parts, check out this comprehensive guide on home espresso tips.
Applying the Fix in Practice
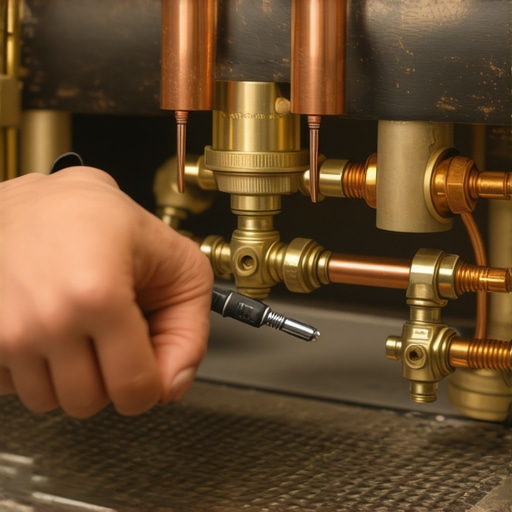
Once, I encountered a situation where my steam wand started dripping water during frothing. After unplugging the machine, I carefully removed the panel to access the tubing after the pump. The tubing had slid partially off its connector, causing leaks. I used two zip ties, one just after the connector and another further along the tube for reinforcement. Tightening them ensured a snug fit without kinking the lines. Reassembling the panel and turning on the machine, I prepared a milk froth, noticing immediate improvement—no leaks and consistent pressure. That quick action saved me from expensive repairs and kept my morning routine on track. Remember, always review barista gear alignment tips to prevent future issues.
Additional Precautions and Maintenance
Periodically inspect all tubing connections for signs of loosening or cracking. Keep a set of spare zip ties and replacement hoses on hand for emergencies. If you’re unsure about handling internal repairs or replacing hoses, contact professionals through this contact page. Regular maintenance not only prolongs your machine’s life but also ensures every shot of espresso is perfect, as discussed in this maintenance guide. Properly securing internal tubes is your first line of defense against leaks and pressure issues that compromise flavor and efficiency.Many home baristas fall into the trap of thinking that owning high-end gear automatically guarantees professional-quality espresso. But the truth is, equipment choice is just one piece of the puzzle; mastering advanced nuances and understanding common pitfalls is what truly elevates your brew. A prevalent myth is that expensive machines or grinders guarantee perfect shots without proper technique. While top-tier gear provides the potential, neglecting precise calibration and maintenance can lead to disappointing results regardless of price. For example, even the most expensive espresso machine can produce subpar coffee if the brew pressure isn’t correctly dialed in or if the machine isn’t regularly descaled—an often overlooked step that experts like here emphasize.
A common mistake is assuming that more grind size crunching or tamping pressure leads to better extraction. In reality, variables like consistent tamping, machine stability, and proper pre-infusion are far more critical. Many enthusiasts overlook the importance of uniform coffee distribution, which can cause channeling and uneven extraction. Using tools such as a distribution tools helps mitigate this, but only if users understand their purpose deeply.
Furthermore, the misconception that milk frothers—especially handheld or low-cost models—can’t produce café-quality microfoam is misleading. Advanced baristas know that, with the right technique and milk temperature control, even modest equipment can yield silky microfoam essential for latte art. This guide breaks down these advanced techniques, debunking myths around frothing equipment.
A trap many fall into involves neglecting the intricacies of grinder calibration. An optimal espresso shot depends on consistent grind size and retention. If your grinder’s burrs aren’t perfectly aligned or if static buildup causes uneven grind distribution, your espresso will suffer—all without realizing it. Regularly inspecting and calibrating your grinder is crucial; experts suggest checking your burrs’ sharpness and alignment at least once every few months.
What about the often underestimated role of water quality? Hard water can lead to scale buildup, damaging your boiler and affecting taste. Regular descaling and water filtration are mandatory maintenance steps that many overlook, risking long-term harm to their machines. For more detailed tips, see this comprehensive guide.
In essence, elevating your home espresso game requires understanding these nuanced details—beyond just owning the best gear. Don’t fall into the trap of believing that equipment alone makes great coffee; master the advanced techniques, maintenance routines, and troubleshooting strategies that distinguish an amateur from a seasoned home barista.
Have you ever fallen into this trap? Let me know in the comments, and share your own experiences or questions about refining your home setup.
Keeping Your Home Espresso Gear in Peak Condition
To ensure consistent, high-quality espresso shots at home, investing in the right tools and establishing a solid maintenance routine is crucial. I personally rely on a few specialized items that make ongoing upkeep much more manageable. For example, a small ultrasonic cleaner has become indispensable for deep-cleaning grinder burrs and group head components, effectively removing stubborn oils and residues that soap alone can’t tackle. Using such a device regularly not only prolongs equipment lifespan but also maintains flavor clarity in your brews.
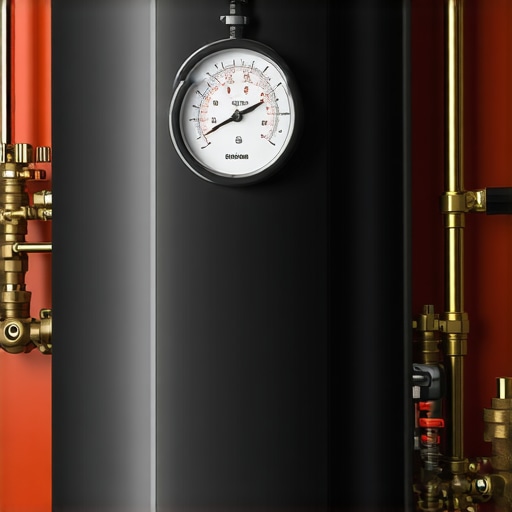
Another game-changer is a dedicated digital pressure gauge attachment. While many machines have built-in gauges, external digital adapters offer higher accuracy and allow for precise pressure profiling—especially useful when troubleshooting pressure inconsistencies. I recommend the simple method to monitor pump pressure that I adopted early on; it’s surprisingly straightforward and has prevented many scaled-down issues before they become serious.
How do I keep my equipment performing over time?
Regular descaling is non-negotiable; mineral buildup can insidiously impair performance—check out this detailed guide on scaling for best practices. Also, routinely inspect rubber gaskets, hoses, and seals for signs of wear, as worn components often lead to leaks or pressure drops. Replacing them before failure occurs saves both time and money in the long run.
For grinder maintenance, I suggest scheduled burr replacement aligned with usage—typically every 500–1000 pounds of coffee. When burrs dull, grind consistency drops, and extraction suffers. A handy calibration routine ensures your grind remains uniform and an integral part of your recipe.
Tools I Recommend for Smooth Operation
Beyond cleaning brushes and towel sets, I swear by a magic wand-style cleaning tool that effortlessly clears out grinder crevices. Additionally, a high-quality lubricant-safe cleaning solution keeps your brew path smooth and prevents buildup. Having an organized workspace, using proper tool storage strategies, accelerates workflows and minimizes errors during busy mornings.
Looking ahead, smart integration of IoT-enabled sensors and apps could revolutionize maintenance routines, offering real-time alerts for descale times or component wear. Devices like Bluetooth-connected pressure sensors are already gaining popularity, so expect to see more intelligent monitoring in the near future.
Try adopting a monthly check routine with a simple pressure check—it can prevent most common pressure-related issues and ensure your machine stays reliable. Remember, a well-maintained setup isn’t just about longevity; it’s about consistently crafting excellent espresso every day.
The Hardest Lesson I Learned About Home Espresso, Barista Gear, Espresso Machines, Milk Frothers, Coffee Grinders
In my journey towards caffeinated excellence, one truth became painfully clear: overlooking small details can sabotage even the fanciest setup. I used to believe that owning top-tier equipment automatically guaranteed perfect shots, but I was mistaken. The real lesson was that consistent maintenance and deep understanding of each component are what truly elevate your home brewing game.
3 Myths About Home Espresso, Barista Gear, Espresso Machines, Milk Frothers, Coffee Grinders That Held Me Back
Myth one: Expensive gear equals perfect coffee. Not true—without proper calibration, even premium machines fall flat. Myth two: Fancy frothers produce microfoam effortlessly. The reality is technique matters more than device price. Myth three: Grinder size doesn’t affect flavor. In fact, static buildup and burr dullness can cause uneven extraction if neglected. These misconceptions slowed my progress until I focused on mastering basic, yet essential, maintenance routines.
What Experts Won’t Tell You About Home Espresso, Milk Frothers, and Equipment Care
Beyond the usual tips, seasoned baristas know that internal tube securing with simple tools like zip ties can prevent leaks and pressure issues. They also understand that regular descaling, calibration, and component inspections are non-negotiable. If you’re eager to deepen your knowledge, consider exploring this comprehensive beginners’ guide, which sheds light on often overlooked maintenance essentials that can dramatically improve your shots.
My Essential Toolkit for Home Espresso Excellence
Over time, I’ve curated a set of tools that keep my machine humming: a small ultrasonic cleaner to deep-clean burrs, a precise digital pressure gauge to monitor pump performance, and high-quality replacement hoses. These items, trusted through personal experience, help me catch issues early and ensure every shot is as good as the last. When choosing tools, I always look for durability and proven effectiveness—never underestimate the power of a well-maintained setup.
The Future of Brewing: A Call to Action for Every Home Barista
Embarking on this journey in home brewing isn’t just about making coffee; it’s about crafting moments. Every tweak, inspection, and upgrade brings you closer to that perfect shot. So, take charge of your setup, invest in the right tools, and don’t shy away from embracing the maintenance routines that keep your espresso experience exceptional.
What’s the one small maintenance habit you’ve found makes the biggest difference? Share your insights below—I’m eager to learn from your experiences!
,