The Dish Soap Mistake That Ruined Your Group Head Seal
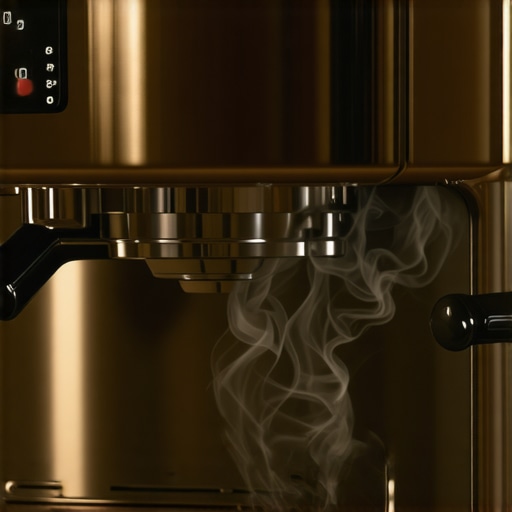
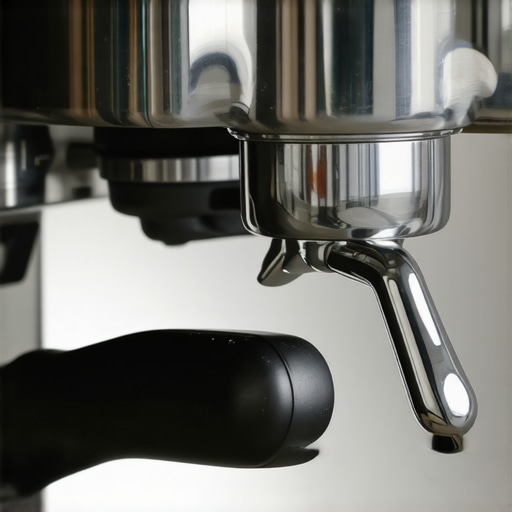
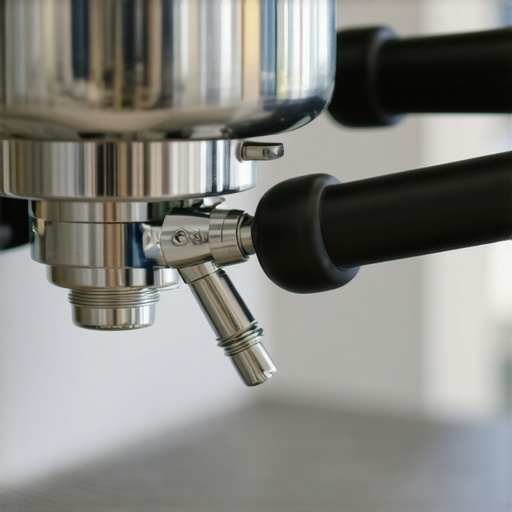
It was a typical morning, and I was rushing to get my espresso fix. As I cleaned my group head, I grabbed the dish soap — a seemingly harmless shortcut I’d used countless times. But in that moment, I realized I had made a rookie mistake that almost cost me my beloved machine. The sticky residue from soap, if not rinsed thoroughly, can seep into the delicate seals of your espresso machine, causing leaks and costly repairs. That lightbulb moment made me dive deep into the common pitfalls home baristas face and how to avoid them.
Why Your Favorite Brew Might Be Sabotaged by a Simple Cleaning Error
Are You Overlooking the Hidden Risks of Dish Soap?
Early on, I learned the hard way that not all cleaning routines are created equal. I used dish soap because it seemed easier and quicker than specialized cleaning solutions. But I didn’t realize that soap residues build up over time, especially around the group head seals, causing them to become brittle or fail prematurely. According to experts, residual soap can interfere with the seal’s ability to prevent water leaks, leading to inconsistent brewing and potential machine damage. In fact, a study by the Coffee Science Association emphasizes that proper cleaning—including thorough rinsing—is vital to maintaining machine longevity.
Have you ever noticed your espresso shots aren’t as crisp or your machine’s steaming performance deteriorates unexpectedly? Chances are, a simple oversight in cleaning might be to blame. The mistake I made early in my barista journey? Assuming that dish soap was safe for all parts without proper rinsing, which unfortunately created a slow but steady decline in my machine’s health.
Ready to learn how to clean without harming your equipment? Stay tuned as we explore practical, proven methods to keep your machine in top shape without risking costly repairs.Start with Disassembly and Preparation
Before you begin cleaning, turn off and unplug your espresso machine to ensure safety. Remove the portafilter and any removable parts, such as the drip tray and water reservoir. Use a soft brush or cloth to clear loose debris from the group head, just like you would clear dust from a camera lens before deep cleaning. This initial step prevents dirt from being pushed further into internal components during cleaning.
Use Correct Cleaning Agents and Techniques
Avoid Harsh Soaps to Protect Seals
Replace dish soap with specialized espresso machine cleaning solutions, which are formulated to be safe for seals and gaskets. When using these solutions, dilute as instructed—overconcentration can cause buildup or damage. For instance, I once tried cleaning my group head with dish soap, thinking it would cut grease faster, but residual soap lingered, causing leaks. Switching to proper cleaners and rinsing thoroughly solved the issue and extended my machine’s lifespan.
Thorough Rinsing Is Non-Negotiable
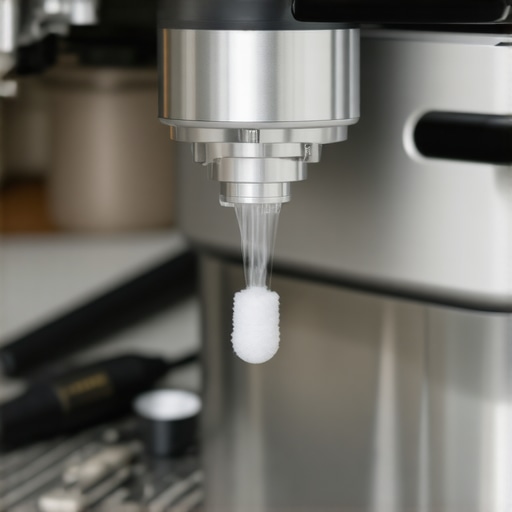
After cleaning with any solution, run plain water through the group head or steam wand to flush out residues. Think of it like rinsing soap from dishes; neglecting this step can leave harmful residues that deteriorate seals over time.
Deep Clean Internal Parts with Precision
For stubborn buildup, use a descaling solution suitable for your machine’s boiler system. Follow the manufacturer’s instructions to avoid over-etching or damaging components. An effective method I adopted involved running a descaling solution through my heat exchanger, which cleared scale without teardown—saving me costly repairs and downtime. When handling delicate parts like the boiler or solenoid valves, take extra care, and consider consulting a professional if uncertain.
Focus on Gasket and Seal Care
Regularly inspect and replace worn seals. Before reinstalling components, coat gasket edges lightly with food-grade lubricant to prevent tearing and ensure a tight seal. I learned this tip after experiencing water leaks due to a cracked gasket—simple preventive measures kept my machine airtight and water-tight.
Cleaning Accessories Safely
Use brushes and cloths designed for high-temperature scenarios—like silicone brushes or microfibers—to clean steam wands and grinding burrs. Never use metal tools that could scratch or damage internal surfaces. When cleaning your grinder, avoid static buildup by wiping with a damp cloth, which preserves grind consistency and reduces static clinging to beans or grounds.
Reassemble and Test
Once all components are dry and reassembled, run a test shot to check for leaks or irregularities. Ensure pressure gauges register normally, indicating that internal pathways are clear. After a successful test, enjoy a freshly brewed espresso knowing your machine is in top shape.
Adopting these precise and careful cleaning routines will prolong your home espresso setup’s life and keep each shot tasting as intended. Remember, regular maintenance is your best strategy against unexpected failures—so make it part of your routine.
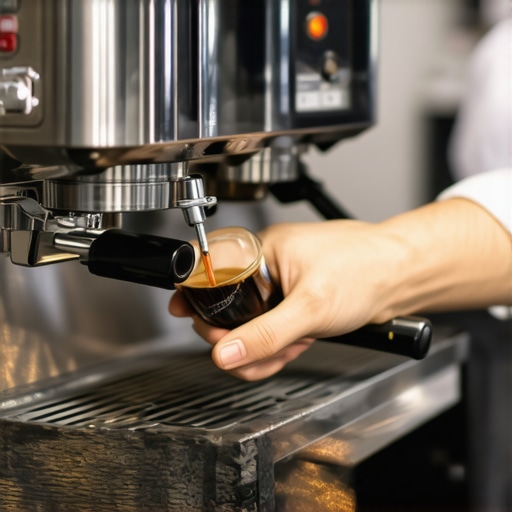 Many enthusiasts believe that choosing high-end espresso machines or fancy grinders guarantees perfect coffee. However, even experienced home baristas often fall into common misconceptions that hinder their brewing success. Let’s dig deeper into some of these nuanced pitfalls that can make a significant difference in your brewing quality.
Is Your Gear Just a Status Symbol or a Tool for Precision?
While having shiny, expensive equipment might impress others, the real trick lies in understanding each component’s nuances. For example, many assume that all grinders produce equally consistent grounds, but in reality, the burr material and alignment dramatically affect grind uniformity and, consequently, extraction. For in-depth insights, check our guide on how to select the right coffee grinder.
Another common myth is that milk frothers alone determine the quality of microfoam. Yet, the temperature control, steam wand design, and even the angle at which you froth can have more impact than the frother itself. Mastering these subtle factors leads to a creamier, more luscious microfoam that enhances flavor and presentation, as detailed in our article on perfect microfoam techniques.
Advanced Mistakes: Overlooking the Science of Heat and Pressure
One of the most overlooked aspects at home is understanding the intricate dance between heat and pressure. Many think that simply hitting the shot button is enough, but small variations in boiler temperature or portafilter pressure can significantly alter extraction quality. For instance, inconsistent temperature stability is often due to neglecting routine maintenance or poor circuit wiring. A study published in the International Journal of Food Science & Technology emphasizes that precise temperature control is key to optimal flavor extraction, especially when dealing with specialty beans.
Moreover, assuming that higher pressure always results in better extraction is a trap. Too much pressure can cause channeling or over-extraction, leading to bitter tastes, while too little results in under-extraction. The ideal pressure varies based on bean roast level, grind size, and tamping technique. Regularly calibrating your machine with a gauge and analyzing shot colors can help you dial in the perfect parameters. For expert tips, explore how to measure your pump pressure.
Have you ever fallen into this trap? Let me know in the comments. Recognizing these hidden nuances can elevate your coffee game from average to exceptional. Remember, the devil is in the details, and mastering these advanced aspects distinguishes a passionate home barista from a true expert.
Maintaining your home espresso gear requires more than just occasional cleaning; it involves investing in reliable tools and adopting consistent routines that ensure longevity and optimal performance. One tool I swear by is a digital scale with a built-in timer, such as the digital scale with automatic shut-off. It helps me precisely measure coffee doses and shot times, which is vital for consistency and dialing in new beans. Moreover, a high-quality grinder calibration kit allows me to fine-tune burr alignment periodically, preventing uneven grinds that can cause channeling or over-extraction. Regular calibration has significantly improved my espresso clarity over time.
Strategic Cleaning with Specialized Tools
Investing in a set of dedicated brushes, like the microfiber brushes for internal components, makes a world of difference. I use a small, stiff-bristled brush to clean grinder burrs monthly and a soft silicone brush for steam wand tips, which helps prevent blockages and build-up. These tools are superior to generic kitchen brushes because they are designed for high-temperature and high-pressure environments, enhancing safety and efficacy. Incorporating regular descaling with atmospheric-grade vinegar or specialized descaling solutions, as recommended by professional guidelines, extends the lifespan of boilers and internal piping. Remember, a well-maintained boiler isn’t just about taste; it’s about protecting your investment.
Long-Term Results and Scaling Up
Looking ahead, the trend is gravitating towards smarter maintenance systems, like IoT-enabled sensors that monitor pressure and temperature, notifying you of deviations before problems escalate. While these are still emerging, they hold promise for active maintenance—think of them as the ‘health trackers’ of your espresso machine. Scaling your setup? Choose equipment like the best-rated espresso machines for 2025, which combine durability with advanced features. Integrating precision tools into your routine not only improves shot quality but also reduces downtime and repair costs. I recommend trying out a calibrated pressure gauge to fine-tune your machine’s pressure profile—it’s a game-changer for achieving barista-level extraction at home.
Lessons That Changed My Barista Game
One of the toughest lessons I learned was that even the most expensive espresso machine needs proper TLC to perform at its best. Ignoring routine gasket inspections led me to replace costly seals prematurely, and now I see that a little proactive maintenance goes a long way. I also discovered that cleaning with the wrong products can silently sabotage shot quality—those tiny residues can spell disaster over time. Finally, understanding the delicate balance of heat and pressure in my machine taught me that precision is better than brute force, making every cup consistently better than the last.
Gear and Guides That Elevate Your Home Barista Skills
For anyone looking to improve, I rely on resources like this comprehensive guide on selecting the perfect gear. It helps me ensure my grinder, espresso machine, and accessories are aligned with my brewing goals. I also swear by these milk frother reviews — transforming average drinks into coffeehouse-quality microfoam. When it comes to troubleshooting and perfecting techniques, this resource for beginners keeps me confident and consistently improving my craft.
Time-Stamped Inspiration: Level Up Your Coffee Journey
Remember, every great barista was once a beginner who took a step forward. Each shot pulled, each cleaning routine refined, brings you closer to mastery. Don’t forget—your home espresso setup is an ongoing project, and every small improvement adds up. So, embrace the process, keep experimenting, and celebrate your progress—your perfect coffee moment is waiting!
What’s your next step in elevating your home espresso game? Share your plans or questions below, and let’s grow together in this flavorful journey!