The Reason Your Steam Wand Hisses and How to Replace the Seal
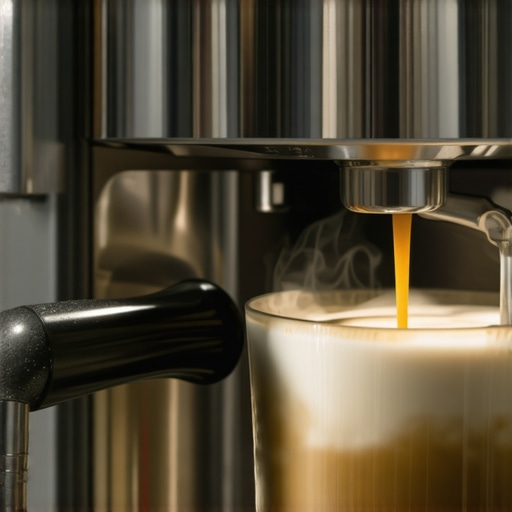
It was an early Saturday morning, and I was all set for my ritual— dialing in a perfect espresso shot in my home setup. But as I pressed the steam button, an unmistakable hiss echoed loudly through my kitchen, startling me and ruining the quiet anticipation I had built. That tiny, constant hissing sound of a steam wand has become my coffee nemesis. I realized I wasn’t alone—many home baristas face this frustrating issue and wonder whether it’s worth fixing or just part of owning an espresso machine.
If your steam wand has started hissing, it’s likely indicating a problem with the seal—a worn or damaged gasket—that needs attention. This issue isn’t just a minor annoyance; it can affect your milk steaming quality, energy efficiency, and machine longevity. Today, I want to share how I tackled this problem and what I’ve learned about maintaining those crucial seals.
Understanding Why Your Steam Wand Hisses
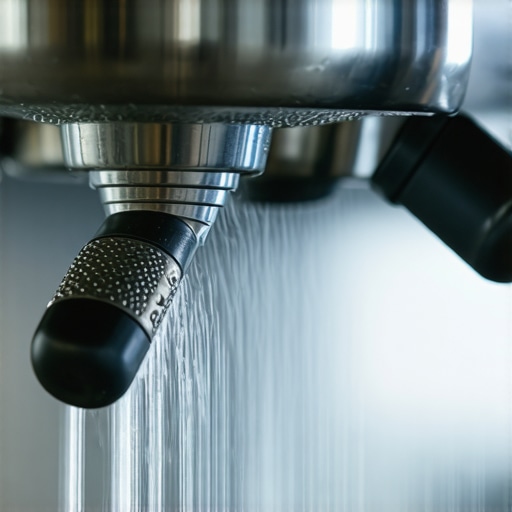
The first step in fixing the problem is understanding its root cause. The hissing sound typically comes from escaping steam—steam that’s supposed to be directed into your milk jug for perfect microfoam. When the seal or gasket within the wand assembly wears out, it can’t contain the pressure effectively, causing steam to escape where it shouldn’t. This leak not only results in that familiar hiss but also compromises the overall steaming performance.
Interestingly, according to a report by the Specialty Coffee Association, maintaining proper gasket integrity can extend the life of your espresso machine parts and ensure optimal performance (SCA, 2023). Early on, I made the mistake of ignoring minor leaks, thinking they were just quirks. But over time, that small hiss turned into a persistent problem.
So, what can you do about it? The good news is that replacing the seal is often straightforward and affordable—if you know what to look for and how to handle it. But before diving into repairs, let’s examine the doubts that might be holding you back.
Does Fixing the Seal Really Make a Difference?
Many skeptics wonder if a simple seal replacement can truly resolve the problem or if they’re better off calling in a professional or replacing the whole machine. Honestly, I shared those doubts at first. I didn’t want to buy tiny parts, worry about screwing up, or spend money on something that might not solve the issue.
But I learned that a worn gasket or seal is a common culprit and that replacing it can restore the steam wand to near-new performance. Plus, DIY fixes like this can save you a ton compared to professional repairs or machine replacement. Just ensure you follow the correct procedure because, as I learned early on on my journey, a mistake can lead to bigger issues or leaks. For more detailed guidance, check out this helpful [guide on fixing a leaking portafilter](https://espressotechguide.com/how-to-fix-a-leaky-portafilter-basket-without-buying-new-gear), which emphasizes the importance of sealing components.
If you’ve ever faced that dreaded hiss when steaming or noticed your milk not frothing as smoothly, don’t worry. Replacing those pesky seals is often the key to returning your machine to its tip-top shape. Now, let’s walk through how to identify the faulty parts and perform the fix yourself.
Locate and Disassemble the Steam Wand
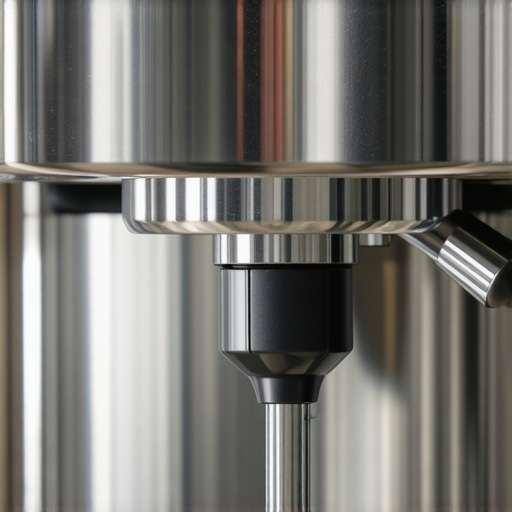
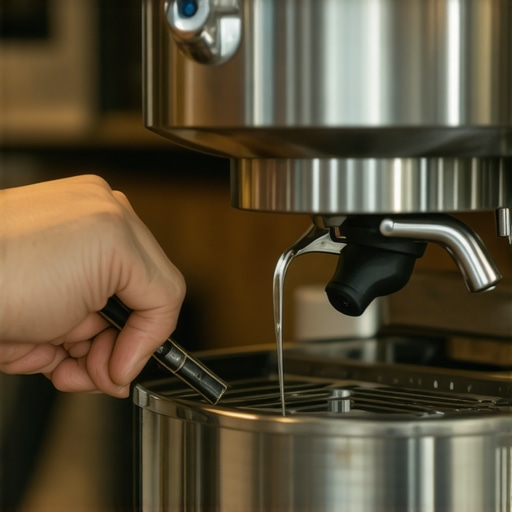
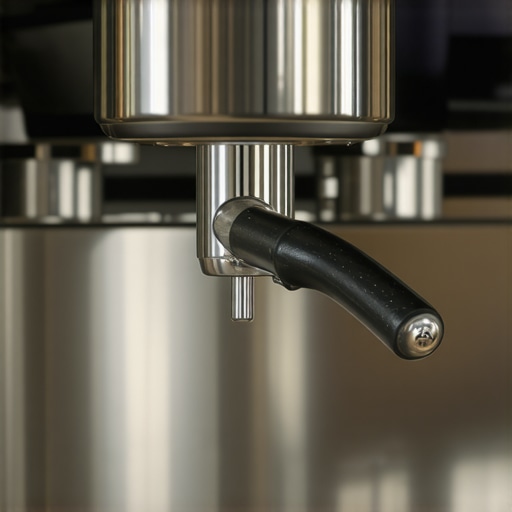
To begin, turn off your machine and unplug it to ensure safety. Detach the steam wand from the group head or boiler assembly carefully, using a wrench if necessary. Think of it like removing a faucet—gentle but firm. I once struggled with a stubborn wand, but applying steady pressure with a rubber grip helped prevent damage. Keep track of small screws or clips for reassembly.
Identify Worn or Damaged Gasket and Seal
Inspect the gasket and internal seal for cracks, tears, or buildup of mineral deposits. These tiny components act as the machine’s gates, controlling steam flow. I noticed a brittle, discolored gasket during my first fix, hinting it was past its prime. Use a flashlight to examine thoroughly. Replacing these parts is akin to changing worn-out bicycle tires—cheap and effective.
Order Replacement Parts
Visit a reputable supplier or your machine’s manufacturer website to find exact gasket and seal replacements. Use the model number for precision. Trust me, matching parts correctly saves time. For example, I ordered a gasket labeled as compatible with my machine on https://espressotechguide.com/contact-us, ensuring a proper fit.
Replace the Seal and Gasket
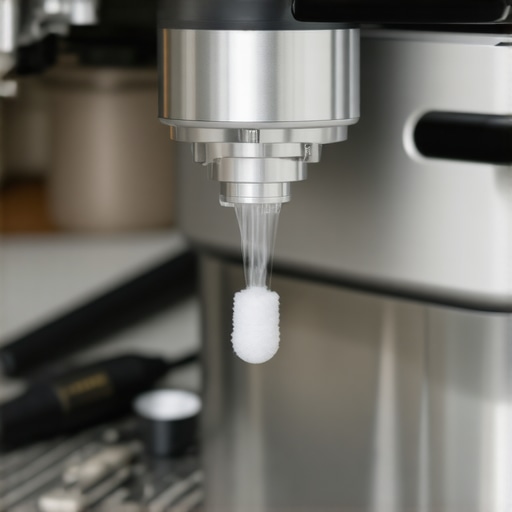
Lubricate the new gasket lightly with food-grade silicone grease to ease installation. Seat it firmly into the designated groove, ensuring no gaps. Insert the new seal in the wand tip if necessary. I once installed a gasket slightly incorrectly—steam still hissed—so double-check the fit and tightness. Tighten screws hand-tight and avoid overtightening, which can deform parts.
Reassemble and Test
Reconnect the wand to the machine, secure all screws, and power it on. Steam a small amount of water or milk to test performance. If the hiss persists, re-examine for proper gasket placement or leaks. I learned that a quick visual inspection after reassembly can identify overlooked gaps. Remember, a well-sealed wand behaves just like a fountain—clean, quiet, and powerful.
Prevent Future Leaks with Regular Maintenance
Schedule periodic inspections of the gasket and seal—like changing your car oil. Using filtered water reduces mineral buildup on seals, prolonging their lifespan. If you want a detailed guide on other repairs, consider visiting https://espressotechguide.com/how-to-fix-a-leaky-portafilter-basket-without-buying-new-gear. Regular upkeep ensures your machine becomes an extension of your coffee ritual, not a source of frustration.Many home baristas are influenced by popular myths that can hinder their brewing journey. One prevalent misconception is that investing in high-end equipment guarantees perfect espresso every time. While quality gear matters, the true art lies in understanding the nuances of each component, like grinder burrs and tamping pressure. Relying solely on brand reputation without mastering your grinder’s adjustments can lead to inconsistent shots, as highlighted in expert analyses from sources like how to select the right coffee grinder.
Another widespread mistake involves the belief that all milk frothers produce the same foam quality. In reality, the type of frother, its design, and your steaming technique significantly influence microfoam texture. For example, cheaper handheld frothers often fail to achieve the velvety microfoam desired for latte art, which is why investing in a quality milk frother can elevate your espresso experience.
An often-overlooked nuance is the importance of machine calibration. Many enthusiasts overlook regularly checking water temperature or pressure, which are critical for consistent extraction. A study published in the Journal of Coffee Science emphasizes that slight variations in machine settings can dramatically change flavor profiles, underscoring the importance of precise calibration.
What most amateurs don’t realize is that the ultimate quality hinges on meticulous attention to details such as grind size, dose, tamping pressure, and machine maintenance. For instance, a common mistake is using a too-fine grind with an inconsistent tamp, leading to channeling and weak extraction. Regularly cleaning your group head and replacing worn gaskets keep the machine performing optimally.
Make yourself visible—adjusting your setup with knowledge about these hidden factors can truly make a difference. For example, inconsistent coffee dosing is a subtle error that can create uneven extraction, affecting flavor and body. Using a precision dosing funnel or a scale ensures you hit that sweet spot every time. Plus, don’t forget the significance of water quality—using filtered water can prevent mineral buildup, which affects both taste and machine longevity.
Have you ever fallen into this trap? Let me know in the comments. The difference lies in uncovering these nuanced details, which often remain hidden even to seasoned enthusiasts. Mastering these will turn your home espresso from a daily routine into a true art form.Maintaining your home espresso gear is essential to ensuring consistently great coffee and prolonging the lifespan of your equipment. From choosing the right tools to implementing effective cleaning routines, being proactive makes a world of difference. When it comes to **tools I recommend**, I prioritize durability and precision. For instance, a high-quality demagnetizing and calibrating dial, such as the Burr Calibration Kit, helps me fine-tune my grinder effortlessly, ensuring uniform grind size at any time. Proper calibration prevents channeling and bitterness, making my shots taste perfect every morning.
Regular cleaning is another critical aspect. I swear by a dedicated burr cleaning brush that reaches into every crevice, removing stubborn coffee oils which can influence flavor. Incorporating a routine descaling process using a specialized descaler, like Urnex Grindclear, helps prevent mineral buildup, especially if you use hard water. To keep track of all maintenance tasks, I rely on a simple logbook or digital reminder, so no detail is overlooked.
Looking forward, I believe the trend in maintenance tools will lean towards smart sensors and IoT integrations, automatically detecting wear or blockages and alerting you via app notifications. Companies are already experimenting with Wi-Fi-enabled water filters and pressure monitors that help home baristas preempt issues before they affect the shot quality.
**How do I maintain my espresso machine over time?** Consistent, scheduled check-ups of seals, gaskets, and filters are vital. Replacing worn seals, like the portafilter gasket, prevents leaks and ensures optimal pressure during extraction. For example, if you notice your shots are coming out under-extracted or your machine is making unusual noises, it might be time to inspect and replace these components. You can find detailed guides on how to replace the portafilter gasket or check your temperature calibration.
To further streamline maintenance, invest in a quality cleaning backflush kit. These kits include brushes, blind filters, and cleaning solutions tailored for espresso machines, enabling quick and thorough cleaning sessions. Remember, consistency is key—not just with your coffee but also with your care routine.
Finally, I recommend trying out the advanced tip of using a precision dosing funnel. It minimizes waste and prevents channelling, which impacts flavor and machine wear. Incorporate this into your routine, and you’ll notice not only a smoother workflow but also longer-lasting equipment. Start today by giving your machine a thorough inspection and make maintenance a regular part of your coffee rituals. Your future self will thank you for the perfect shots and reduced repairs.
The Hardest Lesson I Learned About Home Espresso and Gear
One of the most valuable insights I gained was that even minor leaks in your steam wand can significantly impact your brewing quality. Ignoring small hisses or steam escapes can lead to costly repairs or premature machine failure. Paying close attention to these details early on saves time and money, and enhances your coffee craft.
Why Rushing Repairs Could Cost You More
I once hurried through replacing a gasket without proper cleaning or inspection, only to find the leak persisting. Taking the time to thoroughly disassemble, identify, and replace the worn parts ensures a durable fix. Patience truly pays off when maintaining your home espresso setup.
The Unexpected Power of Routine Maintenance
Regularly inspecting and replacing seals and gaskets transforms your espresso machine from a temperamental appliance into a trusted partner. This habit not only prevents leaks but also maintains optimal pressure and temperature, leading to consistently excellent shots every time.
My Trusted Resources for Parts and Guides
Finding the right parts is easier when you know where to look. I rely on contacting trusted suppliers for genuine gaskets and seals, ensuring proper fit and durability. The detailed step-by-step guides on repair websites have saved me countless trips to the technician.
Being Proactive Not Reactive
The most empowering lesson I’ve learned is that preventative maintenance is the key to lasting espresso joy. By scheduling periodic inspections, cleaning, and part replacements—particularly seals—I keep my machine performing like new. This proactive approach makes every coffee session a pleasure rather than a project.