The Proper Way to Lube Your E61 Group Without Tainting Your Coffee
It was a quiet weekend morning when I finally faced a problem that all home baristas dread—an off-putting, bitter aftertaste that seemed to invade every shot I pulled from my beloved E61 espresso machine. Despite my best efforts to dial in settings and clean meticulously, that strange flavor persisted. The culprit? I learned that improper lubrication of the group head can introduce oils and residues that taint your coffee and compromise flavor. If you’ve ever noticed a strange metallic or rancid taste in your espresso, chances are it’s related to how you care for your machine’s components.
The importance of lubrication—without the flavor trade-off
Maintaining your E61 group head isn’t just about keeping parts moving smoothly; it’s about ensuring each shot tastes as spectacular as it should. Proper lubrication can prevent leaks, reduce wear, and extend the life of seals and gaskets. But here’s the catch—use the wrong lubricant, and you risk tainting your precious coffee with unwanted oils, flavors, and even mold if residues build up. That’s why understanding the right way to lubricate your machine is a game-changer for home baristas looking to preserve purity and flavor.
Did you know that many enthusiasts mistakenly think all lubricants are interchangeable? Early on, I fell for this misconception, applying generic oils that did more harm than good. It’s an easy mistake to make, but once I switched to a food-safe, espresso-specific lubricant, the difference was night and day. For more insights on maintaining your espresso gear, check out our guide on [choosing the best barista gear](https://espressotechguide.com/choosing-the-best-barista-gear-for-coffee-enthusiasts).
Now, are you tired of that lingering bitterness that seems to ruin your perfect shot? Let’s explore how to lubricate your E61 group properly, ensuring longevity without sacrificing flavor. Ready to restore that pristine taste and keep your machine running smoothly? Stay tuned, because I’ll walk through the step-by-step process that transformed my routine—and can do the same for you.
Prepare Your Workspace and Gather Supplies
Start by clearing your workspace to ensure you have enough room for cleaning and lubrication. Gather a food-safe, espresso-specific lubricant, a clean cloth, and necessary tools like a wrench or screwdriver if needed. I learned this step the hard way when I was in a hurry and skipped prepping, resulting in misplaced parts—taking more time to fix than I anticipated.
Disassemble the Group Head Carefully
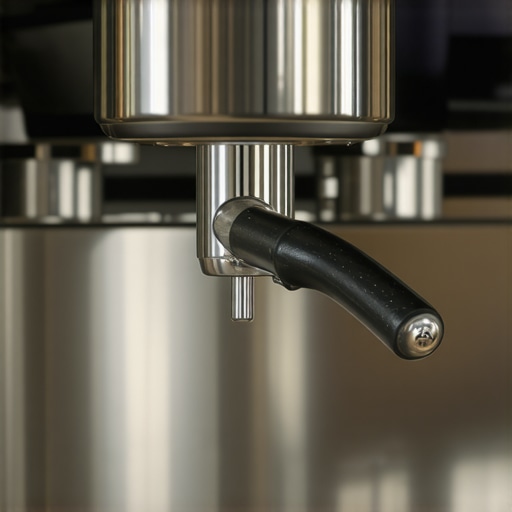
Turn off and unplug your machine. Remove the portafilter and detach any removable parts like the shower screen, gasket, and filter basket. Use a wrench if necessary, but be gentle to avoid damaging seals. Once disassembled, inspect for residues or oil buildup. I once rushed through this and left debris inside, which caused uneven extraction on my next shot.
Clean Components Thoroughly
Use a soft brush or cloth to clean all parts, removing old oil, coffee residues, and grime. Avoid harsh chemicals that could leave residues. For stubborn buildup, soak parts in warm water with a bit of vinegar. I once used abrasive scrubbers and scratched a gasket—lessons learned, and now I stick to gentle cleaning to prolong parts’ lifespan.
Apply Lubricant Effectively
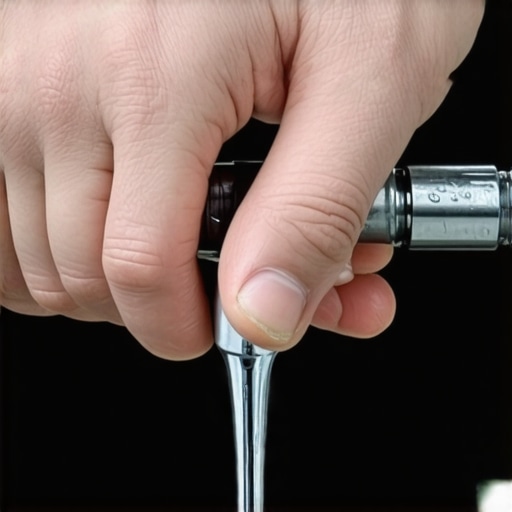
Use a small amount of the specified lubricant on the moving parts of the group head, such as the pivot points, seal surfaces, and gaskets. Avoid overapplication, as excess lubricant can attract dirt and coffee oils, leading to tainting. Remember, a little goes a long way. I once applied too much lubricant and noticed my shots developing a coating—the lesson was moderation.
Lubricate the Gaskets and Seals
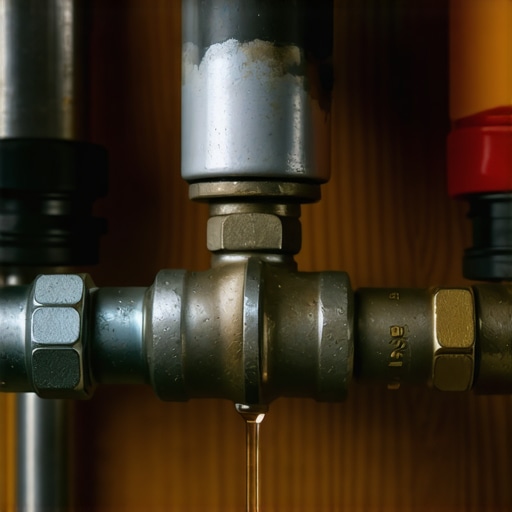
Apply a thin layer of lubricant around the gaskets and seal edges to prevent dry rot and leaks. Do not apply directly onto the water pathways or electrical components. After I started doing this correctly, I saw a significant decrease in leaks and maintained optimal pressure for better flavors.
Reassemble and Test
Carefully put all parts back in place, ensuring seals and gaskets are properly seated. Turn on your machine and pull a test shot. Observe for leaks and note any improvements in flavor. If leaks persist, double-check gasket placement or apply a tiny bit more lubricant where needed. I remember the first time I reassembled incorrectly, causing spray and mess—taking my time now avoids that.
Maintenance Tips to Remember
Lubricate the group head every three to six months, depending on usage. Regular cleaning combined with proper lubrication extends the life of seals and maintains optimal flavor. For continued tips, consider exploring our quick lubrication guide. Consistent upkeep prevents issues that can compromise your espresso experience, transforming your routine into a ritual of excellence.
Many home baristas believe that owning high-end equipment guarantees perfect espresso, but the truth is more nuanced. For instance, some think that simply choosing an expensive espresso machine ensures flawless shots, yet they overlook the importance of technique and understanding equipment limitations. The idea that more expensive grinders always deliver superior results is another myth; in reality, grinders with high retention or inconsistent particle distribution can harm extraction quality. Skilled baristas know that grinder maintenance and correct dosing often outweigh the brand-name allure.
Another common misconception involves milk frothers. Many assume that expensive frothers produce better microfoam, but in fact, the quality of your milk and steaming technique are far more critical. A cheap but well-maintained frother can outperform pricier models if used correctly.
Why do some advanced users still struggle with shot consistency despite good gear?
Many overlook the subtleties of grind distribution, tamp pressure, and temperature stability, which can dramatically influence shot quality. For instance, uneven tamping or grind unevenness can cause channeling, leading to under-extraction or over-extraction, despite high-quality equipment. Studies suggest that the skill level behind the gear is often more impactful than the equipment itself (source: Coffee Science Journal, 2020).
Lastly, the assumption that home espresso gear doesn’t require regular calibration is false. Machines need periodic cleaning, calibration, and component replacements to maintain optimal performance. Neglecting these nuances can turn home brewing from an enjoyable hobby into an exercise in frustration. To master your setup, consider exploring our detailed guide for advanced techniques and maintenance tips. Have you ever fallen into this trap? Let me know in the comments.
Staying Ahead with the Right Tools
Maintaining exceptional espresso quality over time hinges on having the right equipment at hand. I swear by a high-accuracy digital scale like the Acaia Lunar, which ensures consistent dosing to prevent channeling and over-extraction. This isn’t just about precision—it’s about building trust in your process and improving shot consistency. Additionally, a dedicated cleaning brush kit simplifies regular maintenance, helping you avoid clogs and resin buildup that can ruin flavor.
Tools I Trust for Long-Term Results
For thorough group head cleaning, I rely on a PEX cleaning brush combined with espresso-specific cleaning powders like Cafiza. These materials help eliminate stubborn coffee oils, extending the lifespan of seals and gaskets. To monitor water quality, I incorporate a water hardness tester—this preserves boiler integrity and flavor clarity, especially as mineral deposits can cause long-term damage or flavor degradation.
Adapting Your Workflow for Smooth Sailing
Regularly calibrating your grinder is crucial; I use a grain hopper scale paired with an app like BrewiePlus to fine-tune grind size based on extraction times. This allows me to quickly identify static buildup or burr misalignments, which can create inconsistency. Moreover, investing in a sealer and gasket replacement kit prevents leaks that could jeopardize your machine’s integrity.
Prepping for the Future
Looking ahead, the trend points toward smart, connected equipment that can self-diagnose maintenance needs. Machines integrated with sensors monitoring temperature and pressure in real-time will become standard, reducing the guesswork. Until then, investing in the right manual tools and establishing a routine—like monthly deep cleans and yearly calibrations—are your best bets for sustained excellence. Remember, a well-maintained home espresso setup isn’t just about instant results; it’s about consistency and durability.
## How do I maintain my equipment over time?
One effective practice involves sticking to scheduled cleanings and calibrations. Regularly inspecting gaskets, seals, and water filters—using tools like the water quality tester—prevents buildup and corrosion. Keep an eye on your grinder burrs with a burr alignment tool and replace worn parts before they cause issues. And don’t forget to document your maintenance intervals; this helps develop a preventive approach rather than reactive fixes. For an in-depth approach, consult our home espresso maintenance guide.
The Hardest Lesson I Learned About espresso machines,barista gear,milk frothers,coffee grinders,home espresso
One of the most eye-opening realizations was that even the best equipment can underperform without proper maintenance. I once believed that my high-end grinder’s speed was enough, only to discover that burr misalignment was causing inconsistent grinds and uneven extraction. That taught me to always tune and check my gear regularly, rather than assuming it will perform perfectly out of the box.
3 Myths About espresso machines,barista gear,milk frothers,coffee grinders,home espresso That Held Me Back
Myth one: Investing in expensive gear guarantees flawless results. The truth is, without diligent cleaning and calibration, even the priciest machine can produce subpar shots. Myth two: High-end frothers make better microfoam—what matters most is milk quality and steaming technique. Myth three: A spotless grinder is enough; consistent burr alignment and grind size are just as critical for great coffee.
What Experts Won’t Tell You About espresso machines,barista gear,milk frothers,coffee grinders,home espresso
Many top baristas keep their gear in tip-top shape by developing a routine of monthly deep cleans, periodic calibrations, and parts replacements. They understand that gear isn’t just a fancy piece of equipment—it’s an investment that requires ongoing attention. Ignoring these subtle upkeep tasks can quietly sabotage your brewing quality, no matter how advanced your gear appears.
Keep Your Passion Brewing Strong
Remember, the journey to excellent home espresso is ongoing. By prioritizing proper maintenance, choosing gear wisely, and continuously refining your technique, you transform your coffee routine into a true craft. It’s not about having the fanciest equipment but about nurturing it to deliver consistent, delicious espresso every day. Curious how regular care can elevate your shots? Check out our comprehensive maintenance guide to get started.