How to Check if Your Portafilter Gasket Is Actually Sealed
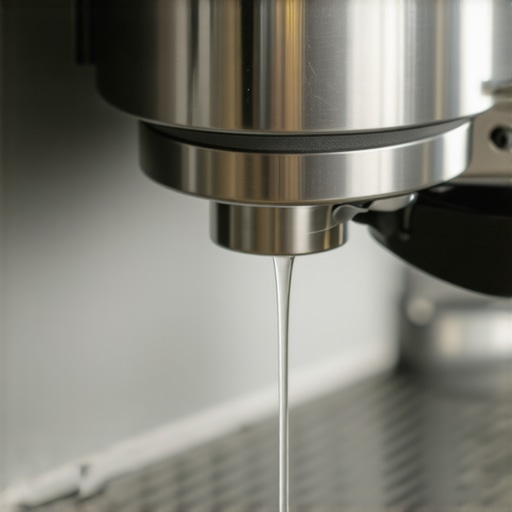
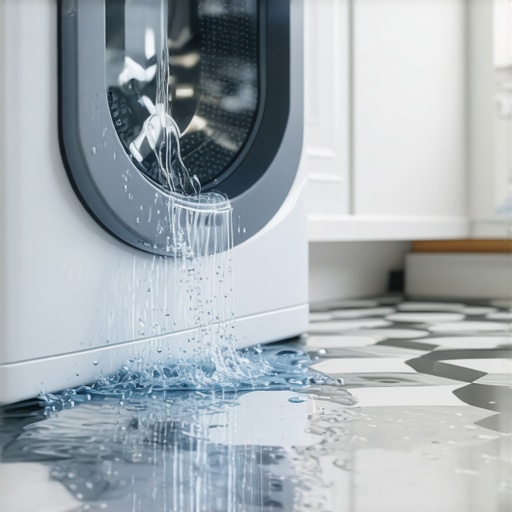
I’ll never forget the Tuesday morning my espresso machine decided to treat my kitchen like a splash park. I was half-asleep, reached for one of those top-rated espresso machines for coffee lovers in 2025, and locked in the portafilter. I hit the button. Instead of a beautiful, tiger-striped shot, I got a violent ‘hiss’ and a fountain of boiling water spraying across the counter. My cat wasn’t happy, and neither was I. I had just changed the gasket the week before, so I assumed everything was fine. I was dead wrong. It turns out that just because you’ve cranked the handle doesn’t mean you’ve achieved a true vacuum. We’ve all been there—doubting if that extra ‘oomph’ on the handle is helping or just destroying the rubber. Today, I’m going to show you how to stop guessing and start brewing with confidence.
The Ghost in Your Group Head
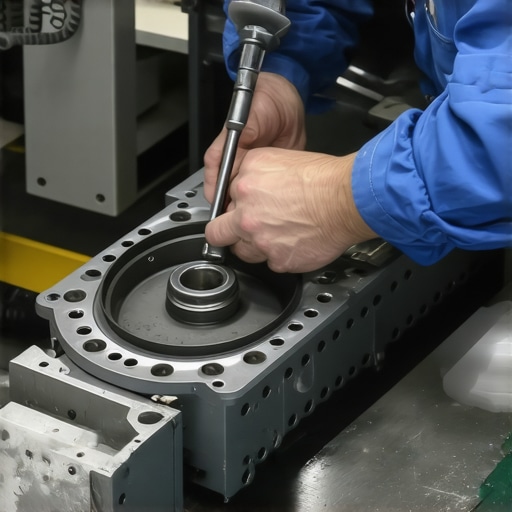
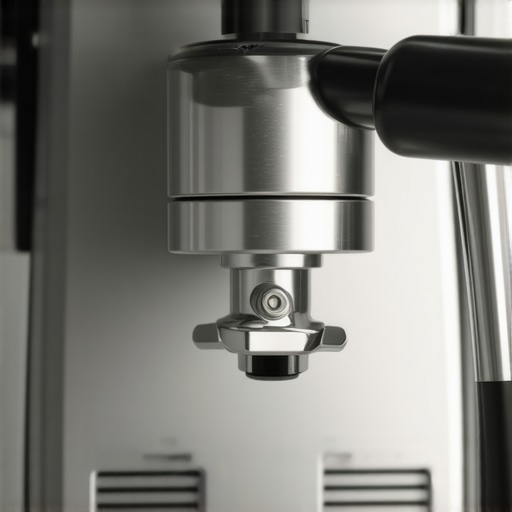
When I first started mastering the art of home espresso, I thought gaskets were invincible. I’d jam the portafilter in as hard as possible, thinking tighter was always better. That’s a rookie mistake I’m still paying for in wrist fatigue. A bad seal isn’t always a dramatic explosion; sometimes it’s a subtle pressure drop that ruins your extraction. According to data from espresso equipment specialists like Clive Coffee, a hardened rubber gasket can require up to 40% more torque to achieve a seal than a fresh silicone one, which is why your old machine feels like a workout. If you’re seeing drips, you might be dealing with the simple fix for a portafilter that leaks from the top or something more annoying buried in the group head assembly.
Is a tiny hiss actually ruining your shot?
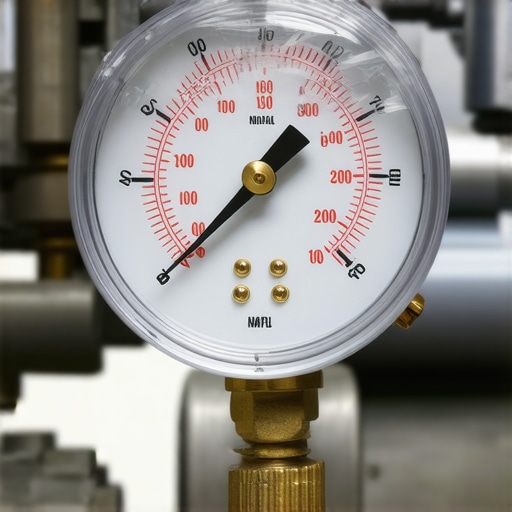
You bet it is. Even a microscopic gap allows pressure to escape, meaning your 9 bars of glory drops to a pathetic 6 or 7. You’ll end up with a sour, watery mess. Have you ever noticed water pooling in the rim of your portafilter after a shot? That’s the first sign of a ‘silent’ leak. It’s frustrating because it’s so easy to ignore until it’s too late. Tell me, have you ever had a gasket fail on you right when you were trying to impress a guest? It’s a rite of passage, really. If your setup is acting up, you should check why your group head gasket is leaking after just one month because it’s usually an installation error or a bit of grit rather than a faulty part. Let’s get into the practical ways we can diagnose this without getting soaked.
Master the Dry Fit Test Every Morning
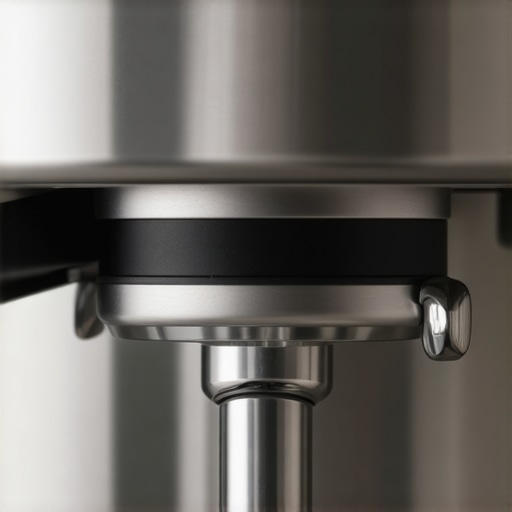
The first step to a perfect extraction is a simple ‘dry fit’ before you even touch your coffee grinder. Lock your portafilter into the group head empty. You want to feel the point where the metal ears meet the resistance of the gasket. If you find yourself cranking the handle past the center point just to feel a grip, your gasket is either worn thin or you need the simple shim fix for a loose portafilter handle. I learned this lesson during a chaotic Saturday brunch for six friends. I kept overtightening the handle until I heard a sickening crack. While the machine didn’t explode, I had compressed the rubber so much it lost all elasticity, turning a five-minute fix into a week-long wait for parts.
Six O’Clock is the Magic Number
Ideally, your portafilter handle should point straight at you—the 6 o’clock position—when it’s fully sealed. If it’s stopping at 7 or 8 o’clock, you’re likely fighting a build-up of old coffee grounds or using a gasket that is too thick for your specific machine model. Learning the trick for aligning your portafilter ears every time ensures that the pressure is distributed evenly across the basket.
Why Silicone is the Secret Weapon
When you finally decide to replace that old rubber ring, go for silicone. Unlike traditional black rubber, which turns into a rock-hard, brittle mess over time, silicone stays supple for years. It’s like switching from wooden wagon wheels to modern tires. If you are currently choosing the best barista gear for coffee enthusiasts, prioritize these small internal upgrades. A silicone seal requires less physical force to create a vacuum, which helps prevent the sudden disappointment of why your espresso pressure drops suddenly during the shot.
Don’t Let Coffee Oils Glue Your Gasket in Place
Cleaning isn’t just about flavor; it’s about mechanical integrity. When coffee oils and microscopic grounds bake onto the seal, they create a sandpaper-like surface that slowly grinds down the metal ears of your portafilter. This grit is often the main reason why your espresso shot is extracting from only the edges of the basket. The water takes the path of least resistance around the side of the puck because the gasket can’t form a flush seal against the rim. You should also frequently check why your group head shower screen is getting clogged so fast, as a blocked screen forces water toward the edges, putting unnecessary hydraulic stress on the gasket.
How Tamping Affects the Gasket Life
It sounds strange, but your tamping technique can actually save your seal. If you tamp at an angle, the coffee puck sits unevenly, causing the portafilter to sit slightly ‘off’ in the group head. Utilizing the best angle for tamping to avoid wrist strain isn’t just for your health; it ensures the basket enters the group head perfectly level. I once spent an entire morning thinking my pump was failing, only to realize a crooked tamp had created a micro-gap on the left side of my group head, letting all my precious pressure bleed out silently.While we’re talking about maintenance, let’s tackle the biggest lie in the coffee world: that a shiny new machine will fix your bad technique. I see so many people thinking that upgrading to one of those top-rated espresso machines for coffee lovers in 2025 will magically stop their shots from channeling. It won’t. In fact, more powerful machines are often less forgiving. If you haven’t spent time mastering the art of home espresso, a high-pressure rotary pump will just find the weak spots in your puck faster than a cheap vibratory pump ever could.
Stop Blaming Your Machine for Bitter Shots
The real culprit is usually hidden inside your grinder. Most enthusiasts focus on burr size, but the hidden nuance is ‘thermal drift.’ As your burrs grind, they create friction and heat. This heat causes the metal to expand slightly, which changes your grind size without you ever touching the dial. This is precisely why your grinder settings feel like they changed overnight or even between your first and second shot of the morning. When how to select the perfect coffee grinder for your brew becomes the goal, look for low-RPM motors that minimize this heat. You can also try the freezer trick for cleaner grinding on hot days to keep temperatures stable.
Why does the second shot always run faster than the first?
This is the question that keeps serious baristas up at night. It’s not just the grinder; it’s the ‘heat soak’ of the group head. If you don’t let your machine reach a true thermal equilibrium—which can take 30 minutes even for small boilers—the first shot is pulled through a slightly cooler group head, increasing the water’s resistance. By the second shot, the metal is truly hot, the water flows faster, and suddenly your perfect 30-second shot is finishing in 22 seconds. Experts at the Specialty Coffee Association (SCA) have noted that water temperature fluctuations as small as 1.5°C can dramatically alter the extraction yield and perceived acidity of a shot.
The Secret Maintenance Step Everyone Skips
If you have an E61 machine, you probably think backflushing with detergent is the gold standard of care. It’s necessary, but it’s a trap if done too frequently without mechanical follow-up. Harsh cleaners strip the food-safe lubricant from the internal cam. If your lever feels ‘crunchy’ or stiff, you’re grinding metal on metal. You need to know how to properly lubricate your E61 group head cam to prevent permanent damage. I once ignored this until the lever actually seized during a morning rush. It’s a classic mistake for those choosing the best barista gear for coffee enthusiasts: focusing on the exterior shine while neglecting the internal friction.
Don’t Let Your Water Kill Your Flavor
Lastly, stop using distilled or ‘zero-TDS’ water thinking it’s better for your machine. While it prevents scale, it actually makes for terrible coffee. Espresso needs mineral content to effectively ‘extract’ flavor compounds from the beans. If your water is too pure, the coffee will taste sharp and thin. However, you must also check how to tell if your water is too soft for brewing, as certain soft water profiles can actually be aggressive toward the metal in your boiler. Have you ever fallen into the trap of over-complicating your accessories while ignoring the chemistry of your water? Let me know in the comments.I’ve spent thousands of dollars on gadgets only to realize that the most important tool in my arsenal costs exactly fifty cents: a pipe cleaner. We get so caught up in choosing the best barista gear for coffee enthusiasts that we forget these machines are essentially high-pressure plumbing systems. If you aren’t looking at the ‘bones’ of your setup once a month, you’re just waiting for a breakdown.
Kill the Static Before it Ruins Your Workflow
My biggest frustration used to be why your coffee grounds are clumping together. I thought my burrs were dull, but it was just static electricity and a clogged exit path. Now, I use a tiny spritz of water—the RDT method—and once a week, I’m cleaning your grinder’s discharge chute with a pipe cleaner. This prevents that ‘old coffee’ funk from polluting your fresh beans. If your grinder is still making too much noise during this process, you can learn how to quiet a loud grinder using only a rubber mat. It’s a game-changer for early morning brewing when the rest of the house is asleep.
Stop Scrubbing Burnt Milk Every Morning
We’ve all seen that nasty brown crust on the steam wand. It’s not just ugly; it’s a bacterial hazard. If you’re struggling with how to stop your milk frother from burning the bottom of the jug, the secret is all in the purge. A steam wand that isn’t purged immediately after use sucks milk back into the arm, which is usually why your steam wand loses pressure halfway through frothing. 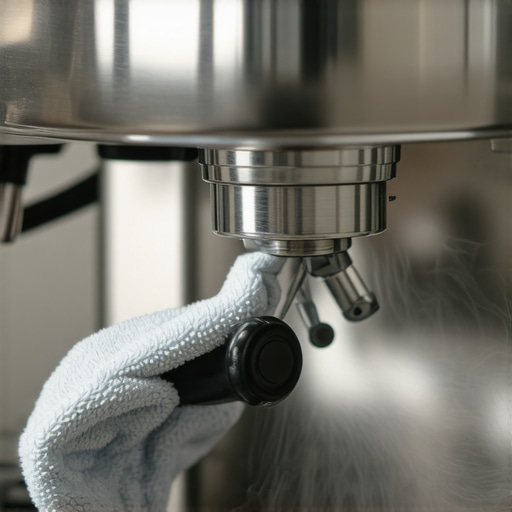
How do I keep my gear running for a decade?
The answer is preventative replacement. Don’t wait for your machine to stop heating. According to the La Marzocco Linea Mini Technical Manual, scale accumulation is responsible for over 70% of solenoid valve failures in home environments. In the future, I expect we will see ‘smart’ machines that can analyze water conductivity in real-time and alert you to descaling needs before the first sign of trouble. For now, you need to stay ahead of it by learning how to fix a broken boiler temperature sensor or at least recognizing the symptoms of scale. If you really want to level up your maintenance game, I challenge you to pull your shower screen tonight and give it a deep soak. You’ll likely find a layer of coffee ‘tar’ that’s been ruining your flavor for weeks. It’s time to stop treating your machine like an appliance and start treating it like a precision instrument.I’ll never forget the Tuesday morning my espresso machine decided to treat my kitchen like a splash park. I was half-asleep, reached for one of those top-rated espresso machines for coffee lovers in 2025, and locked in the portafilter. I hit the button. Instead of a beautiful, tiger-striped shot, I got a violent ‘hiss’ and a fountain of boiling water spraying across the counter. My cat wasn’t happy, and neither was I. I had just changed the gasket the week before, so I assumed everything was fine. I was dead wrong. It turns out that just because you’ve cranked the handle doesn’t mean you’ve achieved a true vacuum. We’ve all been there—doubting if that extra ‘oomph’ on the handle is helping or just destroying the rubber. Today, I’m going to show you how to stop guessing and start brewing with confidence.
The Ghost in Your Group Head
When I first started mastering the art of home espresso, I thought gaskets were invincible. I’d jam the portafilter in as hard as possible, thinking tighter was always better. That’s a rookie mistake I’m still paying for in wrist fatigue. A bad seal isn’t always a dramatic explosion; sometimes it’s a subtle pressure drop that ruins your extraction. According to data from espresso equipment specialists like Clive Coffee, a hardened rubber gasket can require up to 40% more torque to achieve a seal than a fresh silicone one, which is why your old machine feels like a workout. If you’re seeing drips, you might be dealing with the simple fix for a portafilter that leaks from the top or something more annoying buried in the group head assembly.
Is a tiny hiss actually ruining your shot?
You bet it is. Even a microscopic gap allows pressure to escape, meaning your 9 bars of glory drops to a pathetic 6 or 7. You’ll end up with a sour, watery mess. Have you ever noticed water pooling in the rim of your portafilter after a shot? That’s the first sign of a ‘silent’ leak. It’s frustrating because it’s so easy to ignore until it’s too late. Tell me, have you ever had a gasket fail on you right when you were trying to impress a guest? It’s a rite of passage, really. If your setup is acting up, you should check why your group head gasket is leaking after just one month because it’s usually an installation error or a bit of grit rather than a faulty part. Let’s get into the practical ways we can diagnose this without getting soaked.
Master the Dry Fit Test Every Morning
The first step to a perfect extraction is a simple ‘dry fit’ before you even touch your coffee grinder. Lock your portafilter into the group head empty. You want to feel the point where the metal ears meet the resistance of the gasket. If you find yourself cranking the handle past the center point just to feel a grip, your gasket is either worn thin or you need the simple shim fix for a loose portafilter handle. I learned this lesson during a chaotic Saturday brunch for six friends. I kept overtightening the handle until I heard a sickening crack. While the machine didn’t explode, I had compressed the rubber so much it lost all elasticity, turning a five-minute fix into a week-long wait for parts.
Six O’Clock is the Magic Number
Ideally, your portafilter handle should point straight at you—the 6 o’clock position—when it’s fully sealed. If it’s stopping at 7 or 8 o’clock, you’re likely fighting a build-up of old coffee grounds or using a gasket that is too thick for your specific machine model. Learning the trick for aligning your portafilter ears every time ensures that the pressure is distributed evenly across the basket.
Why Silicone is the Secret Weapon
When you finally decide to replace that old rubber ring, go for silicone. Unlike traditional black rubber, which turns into a rock-hard, brittle mess over time, silicone stays supple for years. It’s like switching from wooden wagon wheels to modern tires. If you are currently choosing the best barista gear for coffee enthusiasts, prioritize these small internal upgrades. A silicone seal requires less physical force to create a vacuum, which helps prevent the sudden disappointment of why your espresso pressure drops suddenly during the shot.
Don’t Let Coffee Oils Glue Your Gasket in Place
Cleaning isn’t just about flavor; it’s about mechanical integrity. When coffee oils and microscopic grounds bake onto the seal, they create a sandpaper-like surface that slowly grinds down the metal ears of your portafilter. This grit is often the main reason why your espresso shot is extracting from only the edges of the basket. The water takes the path of least resistance around the side of the puck because the gasket can’t form a flush seal against the rim. You should also frequently check why your group head shower screen is getting clogged so fast, as a blocked screen forces water toward the edges, putting unnecessary hydraulic stress on the gasket.
How Tamping Affects the Gasket Life
It sounds strange, but your tamping technique can actually save your seal. If you tamp at an angle, the coffee puck sits unevenly, causing the portafilter to sit slightly ‘off’ in the group head. Utilizing the best angle for tamping to avoid wrist strain isn’t just for your health; it ensures the basket enters the group head perfectly level. I once spent an entire morning thinking my pump was failing, only to realize a crooked tamp had created a micro-gap on the left side of my group head, letting all my precious pressure bleed out silently.While we’re talking about maintenance, let’s tackle the biggest lie in the coffee world: that a shiny new machine will fix your bad technique. I see so many people thinking that upgrading to one of those top-rated espresso machines for coffee lovers in 2025 will magically stop their shots from channeling. It won’t. In fact, more powerful machines are often less forgiving. If you haven’t spent time mastering the art of home espresso, a high-pressure rotary pump will just find the weak spots in your puck faster than a cheap vibratory pump ever could.
Stop Blaming Your Machine for Bitter Shots
The real culprit is usually hidden inside your grinder. Most enthusiasts focus on burr size, but the hidden nuance is ‘thermal drift.’ As your burrs grind, they create friction and heat. This heat causes the metal to expand slightly, which changes your grind size without you ever touching the dial. This is precisely why your grinder settings feel like they changed overnight or even between your first and second shot of the morning. When how to select the perfect coffee grinder for your brew becomes the goal, look for low-RPM motors that minimize this heat. You can also try the freezer trick for cleaner grinding on hot days to keep temperatures stable.
Why does the second shot always run faster than the first?
This is the question that keeps serious baristas up at night. It’s not just the grinder; it’s the ‘heat soak’ of the group head. If you don’t let your machine reach a true thermal equilibrium—which can take 30 minutes even for small boilers—the first shot is pulled through a slightly cooler group head, increasing the water’s resistance. By the second shot, the metal is truly hot, the water flows faster, and suddenly your perfect 30-second shot is finishing in 22 seconds. Experts at the Specialty Coffee Association (SCA) have noted that water temperature fluctuations as small as 1.5°C can dramatically alter the extraction yield and perceived acidity of a shot.
The Secret Maintenance Step Everyone Skips
If you have an E61 machine, you probably think backflushing with detergent is the gold standard of care. It’s necessary, but it’s a trap if done too frequently without mechanical follow-up. Harsh cleaners strip the food-safe lubricant from the internal cam. If your lever feels ‘crunchy’ or stiff, you’re grinding metal on metal. You need to know how to properly lubricate your E61 group head cam to prevent permanent damage. I once ignored this until the lever actually seized during a morning rush. It’s a classic mistake for those choosing the best barista gear for coffee enthusiasts: focusing on the exterior shine while neglecting the internal friction.
Don’t Let Your Water Kill Your Flavor
Lastly, stop using distilled or ‘zero-TDS’ water thinking it’s better for your machine. While it prevents scale, it actually makes for terrible coffee. Espresso needs mineral content to effectively ‘extract’ flavor compounds from the beans. If your water is too pure, the coffee will taste sharp and thin. However, you must also check how to tell if your water is too soft for brewing, as certain soft water profiles can actually be aggressive toward the metal in your boiler. Have you ever fallen into the trap of over-complicating your accessories while ignoring the chemistry of your water? Let me know in the comments.I’ve spent thousands of dollars on gadgets only to realize that the most important tool in my arsenal costs exactly fifty cents: a pipe cleaner. We get so caught up in choosing the best barista gear for coffee enthusiasts that we forget these machines are essentially high-pressure plumbing systems. If you aren’t looking at the ‘bones’ of your setup once a month, you’re just waiting for a breakdown.
Kill the Static Before it Ruins Your Workflow
My biggest frustration used to be why your coffee grounds are clumping together. I thought my burrs were dull, but it was just static electricity and a clogged exit path. Now, I use a tiny spritz of water—the RDT method—and once a week, I’m cleaning your grinder’s discharge chute with a pipe cleaner. This prevents that ‘old coffee’ funk from polluting your fresh beans. If your grinder is still making too much noise during this process, you can learn how to quiet a loud grinder using only a rubber mat. It’s a game-changer for early morning brewing when the rest of the house is asleep.
Stop Scrubbing Burnt Milk Every Morning
We’ve all seen that nasty brown crust on the steam wand. It’s not just ugly; it’s a bacterial hazard. If you’re struggling with how to stop your milk frother from burning the bottom of the jug, the secret is all in the purge. A steam wand that isn’t purged immediately after use sucks milk back into the arm, which is usually why your steam wand loses pressure halfway through frothing.
How do I keep my gear running for a decade?
The answer is preventative replacement. Don’t wait for your machine to stop heating. According to the La Marzocco Linea Mini Technical Manual, scale accumulation is responsible for over 70% of solenoid valve failures in home environments. In the future, I expect we will see ‘smart’ machines that can analyze water conductivity in real-time and alert you to descaling needs before the first sign of trouble. For now, you need to stay ahead of it by learning how to fix a broken boiler temperature sensor or at least recognizing the symptoms of scale. If you really want to level up your maintenance game, I challenge you to pull your shower screen tonight and give it a deep soak. You’ll likely find a layer of coffee ‘tar’ that’s been ruining your flavor for weeks. It’s time to stop treating your machine like an appliance and start treating it like a precision instrument.
Hard Truths from a Decade of Burnt Fingers and Sour Shots
Over the years, I’ve realized that the glossiest espresso machines in the showroom don’t stay that way without a little grit. First, your palate will always outpace your technique; don’t get discouraged when a shot you loved yesterday tastes ‘off’ today, it simply means you’re getting better at tasting the nuances. Second, “clean enough” is the lie we tell ourselves right before our solenoid valves fail. If you’re serious about mastering the art of home espresso, you have to embrace the routine cleaning. Lastly, the best upgrades aren’t always mechanical. Sometimes, the move for better espresso without buying a new machine is simply slowing down and paying attention to the sounds your pump makes before things go wrong.
The Gear That Actually Earned a Permanent Spot on My Counter
If you are currently choosing the best barista gear for coffee enthusiasts, focus on the items that make maintenance a breeze. I swear by silicone group gaskets because they are more resilient than rubber and provide a better seal with less wrist force. I also recommend keeping a dedicated pipe cleaner for cleaning your grinder’s discharge chute to prevent stale buildup from ruining fresh beans. For those looking to level up their texture, checking out milk frothers that transform your coffee experience can provide a great backup when you don’t want to fire up the big boiler.
Your Path to a Lifetime of Perfect Mornings
The beauty of making coffee at home is that it’s a craft that rewards patience and curiosity. Don’t feel like you need the most expensive barista gear to enjoy a world-class latte. By respecting the mechanics of your coffee grinders and keeping your group head clean, you’re maintaining a ritual that brings joy to every day. The technical hurdles, like the secret to getting consistent shots on a dual boiler, will become second nature as you gain experience. Keep experimenting, keep tinkering, and most importantly, keep enjoying the process of the perfect pour. What was the most surprising thing you found under your shower screen the last time you pulled it for a deep soak? Let me know below.