How to Fix a Broken Boiler Temperature Sensor
I remember it like it was yesterday—the quiet, early morning sun hitting my kitchen counter and the crushing disappointment when I touched the group head and felt it stone cold. My machine was on, the lights were glowing, but there was no steam, no hiss, and absolutely no espresso. I had just finished browsing the top-rated espresso machines for coffee lovers in 2025, thinking my current setup was invincible. Instead, I was staring at a dead boiler. After a bit of poking around, I realized the culprit was a tiny, stubborn component: the temperature sensor. It’s a frustratingly common failure that can make even the most expensive gear feel like a paperweight. Today, I am going to show you exactly how to diagnose and swap out that sensor so you can get back to your routine without paying a technician $150 just to show up.
The Moment You Realize Your Boiler is Stone Cold
When your machine stops heating, your mind immediately goes to the worst-case scenario. Is the heating element fried? Is the motherboard toast? Often, the problem is much simpler. I’ve noticed that why your espresso machine takes longer to heat up lately often boils down to a sensor that is slowly drifting out of spec before it finally dies. Early in my journey of mastering the art of home espresso, I made the classic rookie mistake of trying to ‘clean’ a thermistor with a wire brush while the machine was still plugged in. I saw a spark, heard a pop, and learned a very expensive lesson about safety and delicate electronics. Don’t be like younger me. We are going to do this the right way: safely and methodically.
Is it actually worth trying to fix this yourself?
You might be worried that you’ll crack the boiler or mess up the wiring beyond repair. I get it. It feels like open-heart surgery for your coffee machine. But here is a secret: most temperature sensors (NTC thermistors) are just screw-in plugs with two wires. If you can change a lightbulb and turn a wrench, you can do this. According to technical data from components manufacturers like Amphenol, NTC thermistors have a predictable failure rate often linked to moisture ingress or thermal cycling, which is exactly what happens inside a steam boiler. Have you ever opened up your machine only to feel completely overwhelmed by the ‘spaghetti’ of wires inside? Trust me, once we identify the specific sensor, the rest is a breeze.
Signs Your Sensor Has Finally Given Up the Ghost
Before you start ordering parts, you need to be sure the sensor is the problem. Sometimes the issue is just a bit of scale buildup—I’ve seen the best way to descale a boiler without using harsh vinegar solve ‘sensor’ issues that were actually just scale insulating the probe. However, if your PID display is showing ‘ERR’ or jumping from 50 degrees to 200 degrees in a second, your sensor is definitely shot. It’s also worth checking if your easy way to check if your boiler is actually empty reveals a dry boil, which can fry a sensor instantly. We are looking for consistency here; a good sensor provides a steady resistance reading, while a broken one is as erratic as a toddler on a sugar rush. Ready to dive in? Let’s grab the tools and get to work.
Getting Under the Hood Without Breaking Anything
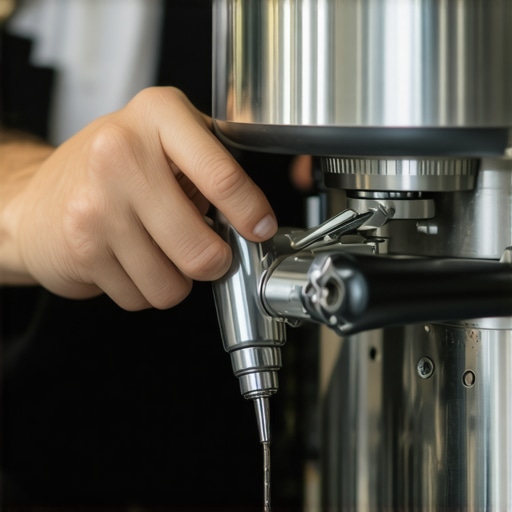
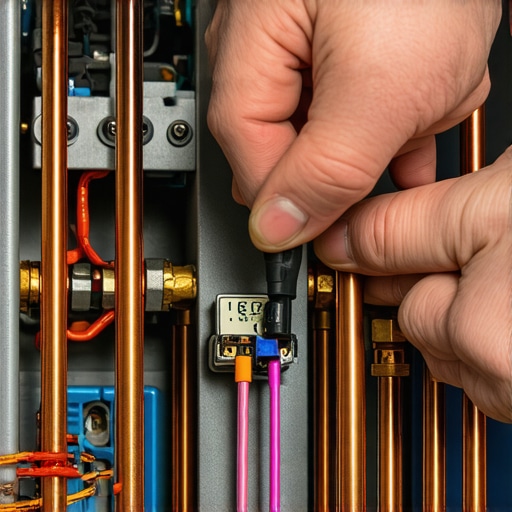
Before you touch a single screw, unplug the machine. This sounds obvious, but you’d be surprised how many people skip it. You also need to bleed the steam wand. I once made the mistake of loosening a sensor while the boiler was still under pressure; it sounded like a gunshot and sprayed hot water all over my counter. Once the machine is cold and depressurized, remove the top panel. You are looking for a small component, usually brass or stainless steel, with two thin wires coming out of it. It’s often located right on top of the boiler or threaded into the side. If you’re still in the process of choosing the best barista gear for coffee enthusiasts, knowing how to maintain it is just as important as the purchase itself.
Grab Your Multimeter and Start Testing
You can’t just eyeball a bad sensor. You need a multimeter set to the Ohms (Ω) setting. Most espresso machine sensors are NTC thermistors, which means their resistance changes based on the temperature. At room temperature (around 20-25°C), a healthy sensor usually reads somewhere between 10k and 100k ohms depending on the brand. If your meter shows ‘OL’ (open loop) or a big fat zero, the internal circuit is broken. #IMAGE_PLACE_PLACEHOLDER_B# I remember troubleshooting a friend’s machine where the sensor looked pristine, but the multimeter showed wild fluctuations—one second it was 50k, the next it was 2k. That instability was the hidden reason your machine is taking forever to heat up, as the PID controller was getting ‘confused’ and cutting power to the heater prematurely.
The Right Way to Swap the Old Probe Out
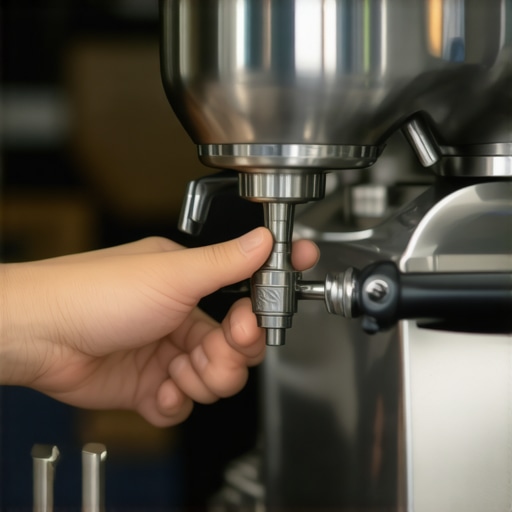
Removing the sensor requires a deep socket or an adjustable wrench. Be careful not to snag the surrounding wires. It’s a lot like trying to how to stop the squeak in your manual coffee mill—you need the right leverage without using brute force. If the sensor is stuck due to scale, don’t force it. Use a tiny bit of penetrating oil or a descaling solution around the threads. When you finally pull it out, check the hole for any debris. A clean seat is vital for a good seal. This is also a great time to how to check your espresso machines group head flow rate while the top is off, just to ensure there aren’t other clogs lurking in the lines.
Seal It Tight But Don’t Strip the Threads
When you screw the new sensor in, use a bit of food-grade Teflon tape or the specific O-ring that came with the part. Do not overtighten! I’ve seen people crack boiler lids because they thought they needed to crank it down like a lug nut on a truck. It only needs to be snug enough to prevent leaks. Think of it like the simple o-ring fix for a leaky portafilter spout; the seal does the work, not the torque. Once it’s seated, reconnect the wires. If the connectors feel loose, give them a tiny squeeze with some needle-nose pliers so they ‘bite’ the sensor terminals. Don’t ignore the wiring harness itself. Over years of heat cycles, the insulation on those tiny wires can become brittle and crack. If you see bare copper, you’re looking at a short circuit waiting to happen. I once spent three hours replacing a sensor only to realize a mouse had nibbled on the loom inside the machine. Now, I always do a visual sweep of the entire ‘internal nervous system’ before I call the job done.
Now that the hardware is in, let’s talk about the lie we all tell ourselves: “The display says 200°F, so my water is 200°F.” This is the biggest trap in the world of mastering the art of home espresso tips for beginners. Even if you’ve perfectly installed a new sensor, you might still experience why your espresso machine takes longer to heat up lately or find that your shots taste thin. The sensor only tells you the temperature inside the boiler. By the time that water travels through the group head and hits your puck, it can lose significant heat. I see so many enthusiasts obsessing over PID settings while ignoring the massive cold hunk of brass that is their group head. This thermal offset is why your shot might have the reason your espresso tastes like vinegar—it isn’t a bad sensor; it’s a cold machine.
Why does the display show the right heat but the coffee tastes cold?
This is where we get into the “Oops” factor of thermal mass. If you don’t pull a “blank shot” to preheat your portafilter and the group head, that new sensor won’t save your flavor profile. Think of it like the move for better espresso without buying a new machine; it’s about the workflow, not just the electronics. Many people believe that more expensive gear is more “set and forget,” but in reality, choosing the best barista gear for coffee enthusiasts often means dealing with more sensitive components that require tighter water specs. 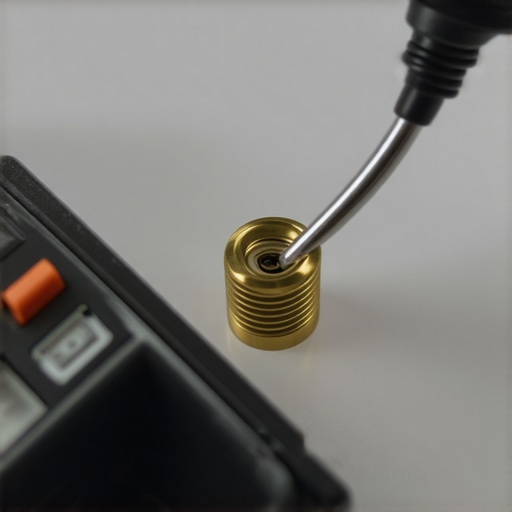 A technical bulletin from the Specialty Coffee Association (SCA) regarding water standards notes that excessive calcium carbonate doesn’t just cause leaks—it creates a “thermal blanket” around your new sensor. Even a micron of scale can cause a significant delay in how fast the sensor communicates with the heating element. This lag is the hidden reason your machine is taking forever to heat up. I once helped a home barista who replaced three sensors before realizing their how to tell if your water is too soft for brewing check revealed water so hard it was “armoring” the probe within weeks.
Don’t Ignore the Wiring Harness Ghost
One advanced mistake to avoid is using high-pressure steam or harsh sprays to clean the area around the boiler probes. You risk pushing moisture into the wiring harness, leading to erratic behavior like why your steam wand loses pressure halfway through frothing because the motherboard is receiving faulty resistance data. Precision is key. When you are choosing the best barista gear for coffee enthusiasts, remember that you are an operator, not just a consumer. If your machine is still acting up after a sensor swap, check for oxidation on the spade connectors. Have you ever fallen into this trap where you fixed a part but the problem stayed? Let me know in the comments.
Once you’ve successfully swapped that temperature sensor, you start to realize that your espresso machine isn’t just a kitchen appliance; it’s a high-precision hydraulic system. If you want to avoid that ‘stone-cold boiler’ nightmare ever again, you need to curate a maintenance kit that goes beyond a simple rag and some soap. For me, a decent multimeter is non-negotiable. I use a compact Fluke because it’s reliable, but any basic unit that reads Ohms will save your sanity. It’s the difference between guessing and knowing exactly which component is failing. While you have the top panel off for a repair, I always suggest you learn how to check your espresso machines group head flow rate. If you see a sudden drop in milliliters per second, your new sensor might be working, but you likely have a scale blockage or a failing pump starting to manifest.
Why a $20 Multimeter is Better Than a $200 Service Call
I’ve helped dozens of people who were ready to throw away their gear, only to find a loose spade connector or a $10 thermistor was the culprit. Beyond the electronics, you have to look at the mechanical stability of your workspace. I’ve found that how to stop your grinder from bouncing on the counter is just as important for long-term component health as descaling. Excessive vibration can actually loosen internal wiring over hundreds of shots. According to research by coffee technologist Greg Scace, temperature stability is the ‘holy grail’ of extraction, and even minute fluctuations—often caused by sensor lag or poor thermal contact—can drastically alter the chemical extraction of coffee oils. 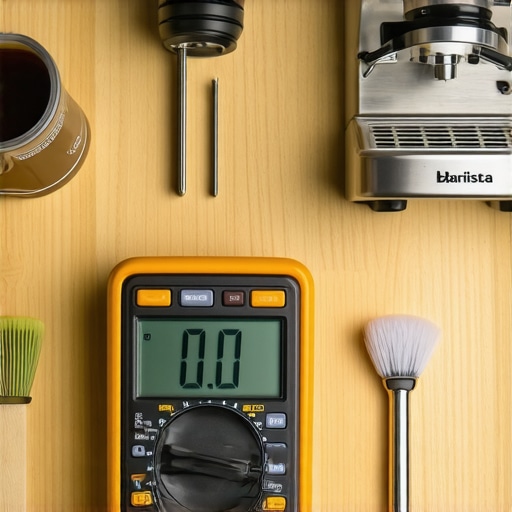 This is why I advocate for a ‘systems’ approach to choosing the best barista gear for coffee enthusiasts: don’t just buy the machine, buy the tools to keep it alive.
How do I maintain my espresso machine’s performance over the long haul?
Consistency isn’t a fluke; it’s a schedule. I’ve seen beautiful top-rated espresso machines for coffee lovers in 2025 turn into scrap metal within three years because the owner ignored their water chemistry. You need to know how to tell if your water is too soft for brewing just as much as you need to know when it’s too hard. Overly soft water can actually be corrosive to copper boilers, leading to pinhole leaks. I predict that within the next five years, we will see consumer machines with integrated AI-driven diagnostic suites that monitor sensor drift in real-time. Until then, you are the first line of defense. Don’t neglect your grinder either; understanding why your coffee grinder retains more grounds than it should is vital. Old, oily grounds trapped in the chute will go rancid and ruin the flavor of even the most perfectly heated shot. I personally use the best way to clean a grinder without taking it apart every Sunday evening. If the weather is particularly humid, I’ll even use the freezer trick for cleaner grinding on hot days to manage static. My big tip for you today? Don’t wait for a breakdown. Tomorrow morning, open your machine, take a high-resolution photo of the wiring for reference, and measure the resistance of your boiler sensor while it’s healthy. Having that ‘baseline’ data is the most powerful tool in your barista arsenal.
Hard Truths About Sensor Failures I Learned the Hard Way
The biggest lightbulb moment for me was realizing that a sensor isn’t always ‘dead’ or ‘alive.’ It often drifts slowly, giving you a false sense of security while your coffee profile slowly turns sour. Another lesson? Never trust a visual inspection; a sensor can look brand new but be completely corroded internally from poor water quality. I’ve also learned that heat is the enemy of cheap wiring. If you don’t secure those cables away from the boiler using high-temp zip ties, you’ll be doing this repair every six months when the insulation melts. Finally, I’ve found it’s vital to learn how to tell if your machine boiler is accumulating lime scale, as scale is the #1 silent killer of even the highest quality NTC thermistors.
The Troubleshooting Kit I Take to Every Repair
I never open a machine without a reliable digital multimeter; it’s the only way to get a real ‘heartbeat’ on your electronics without guessing. I also recommend keeping a specific set of deep-well sockets to avoid stripping the soft brass of the sensor housing. If you are looking to round out your maintenance skills, checking how to fix a steam wand that only blows out weak air is the perfect companion task for when the top panel is already off. For those who want to dive deeper into the hobby, I always point people toward mastering the art of home espresso tips for beginners because it covers the foundational physics of what we are trying to achieve with all this hardware. #IMAGE_PLACEHOLDER_E# I also keep a roll of food-grade Teflon tape and a small tub of Molykote 111 to ensure every seal I touch stays watertight for years.
Don’t Let a Dead Boiler Stop Your Morning Shot
There is a profound sense of satisfaction that comes from hearing that boiler hiss back to life after you’ve tucked the panels back in. You’ve moved past being a simple consumer and become a true steward of your craft. When you take the time to understand the internals of your espresso machines, you aren’t just saving money on a technician—you’re ensuring that every shot you pull is a reflection of your skill. Don’t be afraid to get your hands dirty; the reward is a perfect, steaming cup of coffee that tastes better because you made it happen from the ground up.
Have you ever had a repair go completely sideways, or did your sensor swap go smoothly? Let me know in the comments below!