Why Your Coffee Grinder Retains More Grounds Than it Should
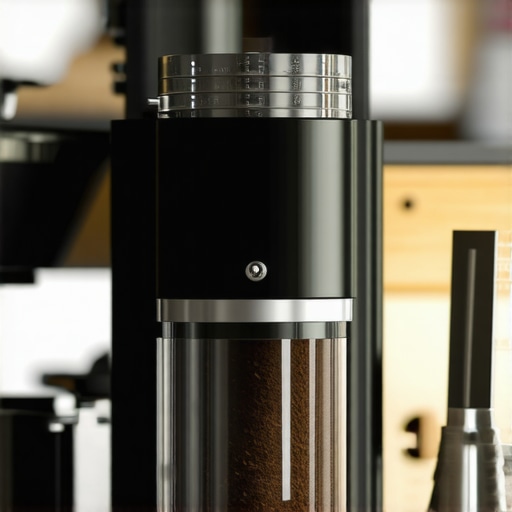
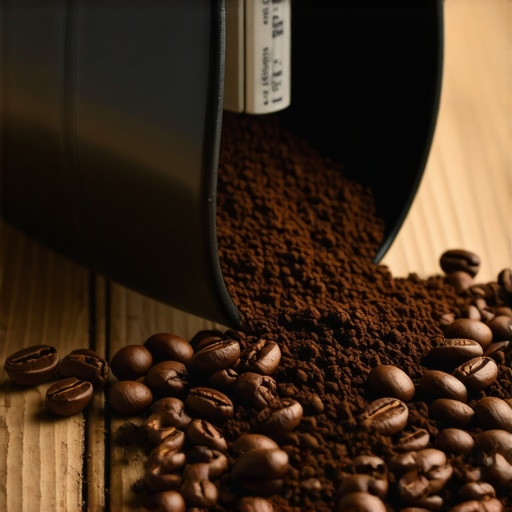
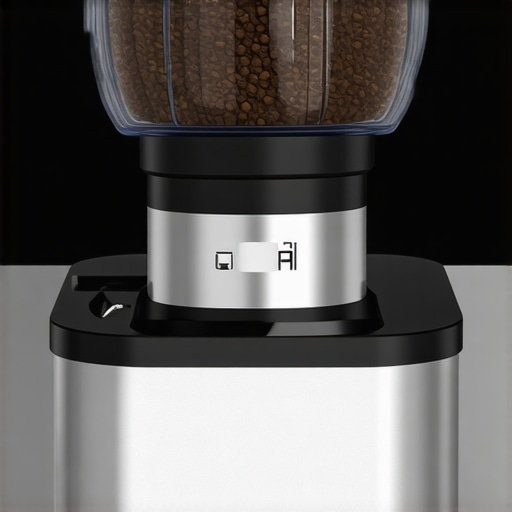
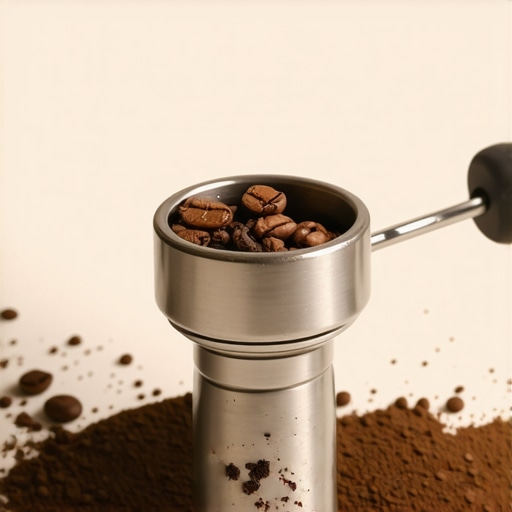
I remember the morning I almost threw my favorite burr grinder out the kitchen window. I had precisely weighed 18 grams of an expensive Ethiopian Yirgacheffe, but my scale insisted I only had 16.8 grams in the basket. That missing 1.2 grams wasn’t just a number; it was a stale, flavor-muting ghost that would haunt my next shot. I spent months thinking my scale was broken before I realized the ugly truth: my grinder was a greedy hoarder. Retention is the silent killer of consistency. Today, I am going to show you exactly why your machine is holding onto those precious grounds and how to force it to let go so every shot tastes as fresh as the beans you just bought.
Stop Losing Your Expensive Beans to the Machine Chute
When I first started mastering the art of home espresso, I thought retention was just a minor quirk. I was wrong. It’s actually a physics problem. Between static electricity and the physical layout of the internal chute, coffee has a million places to hide. I once made the mistake of trying to ‘scrub’ the internals with white rice because I heard it worked online, but all I did was create a starchy mess that jammed the burrs. You can read about why you should never use rice to clean your high-end grinder to avoid the heartbreak I felt that day. The real culprits are often things we overlook, like why your coffee grounds are clumping together due to humidity or static buildup. When you grind, the friction creates a charge that makes those tiny particles cling to every metal surface they touch. Have you ever found yourself violently shaking your grinder just to get that last half-gram out? Drop a comment and tell me I’m not the only one.
Does an Expensive Grinder Actually Eliminate This Mess?
You might think throwing more money at the problem is the only way out. While how to select the perfect coffee grinder involves looking for ‘zero-retention’ designs, even the best gear needs help. Research conducted at the University of Oregon, published in the journal Matter, suggests that the moisture content of the bean and the ambient temperature play a massive role in how much coffee stays trapped inside. This is why some enthusiasts swear by the freezer trick for cleaner grinding on hot days. The goal isn’t just to buy your way out of the problem, but to understand the environment of your kitchen and the quirks of your specific burr set. We’re going to dive into the mechanical reasons for this buildup and how a few simple habits can save you grams of coffee every single week.
Stop the Static Cling with One Drop of Water
The most effective way to fight retention starts before you even turn the motor on. It is called the Ross Droplet Technique (RDT), and it is essentially a lightning rod for your beans. When coffee passes through the burrs, the friction creates a massive static charge. This charge is why you see why your coffee beans are sticking to the sides of the hopper and the internal chute walls. By adding a single, tiny drop of water to your beans and stirring them before grinding, you neutralize that charge. I learned this the hard way one Tuesday morning when I was in a rush. I decided to give my beans three heavy spritzes of water instead of one light mist. Within thirty seconds, the moisture turned the coffee dust into a thick, clay-like paste that completely seized my burrs. It took me forty minutes to learn how to clear a jammed chute without damaging your grinder. The lesson? Use a tiny spray bottle and only one click of the nozzle. You want a hint of humidity, not a swamp.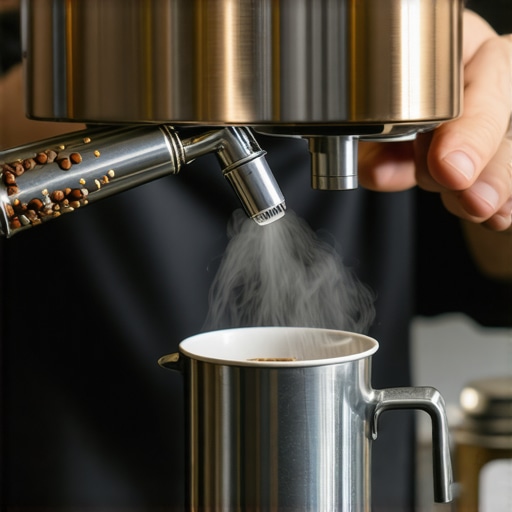
Flush Out the Stale Coffee Trapped in the Chute
Even with zero static, some coffee will always stay behind because of the ‘dead space’ between the burrs and the exit. Think of it like a garden hose; even when you turn the tap off, there is still water sitting in the line. To solve this, you need to ‘purge.’ Before you pull your actual shot, grind about 1 or 2 grams of fresh beans and throw them away. This sacrificial lamb pushes out the stale, oxidized grounds from your last session. If you are worried about wasting beans, this is why choosing the best barista gear for coffee enthusiasts often means looking for grinders with a straight-through path. If your machine has a long, horizontal chute, it is basically a storage unit for old coffee.
Force the Last Bit of Coffee Out Using Air
Many modern single-dose grinders now come with bellows. This is a rubber accordion-style cap that you slap at the end of the grinding cycle. It creates a puff of air that acts like a leaf blower for your internal components. If you find why your single dose hopper is catching your beans is due to a lack of pressure, a firm, rhythmic slap on the bellows can often dislodge that final 0.5 grams that usually hides behind the sweepers. Just be careful not to hit it so hard that you cause the machine to vibrate. I once slapped mine so aggressively that I had to research how to stop your grinder from bouncing on the counter because I had loosened the mounting feet.
Clean the Hidden Crevices Without Losing Your Settings
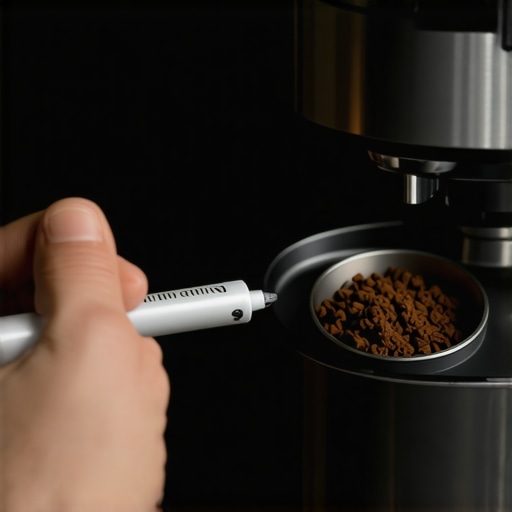
At least once a week, you need to go deeper than just air and water. Coffee oils are sticky, and they act like glue for fine particles. Use the cotton swab trick for cleaning hidden grinder crevices to reach the areas where a brush cannot go. This is especially important for the exit chute and the threads of the adjustment collar. When these areas get gunky, your grind size will start to drift. Always use the best way to clean a grinder without losing your settings by marking your current position with a piece of painter’s tape before you disassemble the top burr carrier. This ensures that when you put it back together, your espresso is still dialed in perfectly.
The Myth of the Set-and-Forget Grinder
Most home baristas believe that once they find that ‘sweet spot’ on their dial, the hard work is over. In my years behind the counter and at home, I have found that the ‘perfect setting’ is actually a moving target. If you think your equipment is failing because your shots are running faster by Thursday than they did on Monday, you aren’t alone. The reality is that coffee is a living, breathing organic product. As beans age, they lose CO2, which changes the internal pressure during extraction. You might notice why your grinder settings feel like they changed overnight is simply the result of the beans degassing. To combat this, I recommend a ‘micro-adjustment’ habit: if the shot is two seconds faster than yesterday, tighten the burrs just a hair before you even taste it. Experience teaches you to anticipate the bean’s behavior rather than reacting to a bad shot.
Why does my shot taste different at 3 PM than it did at 8 AM?
This is one of the most frustrating nuances for enthusiasts. You dial in a beautiful, syrupy extraction in the morning, but by the afternoon, the same setting produces a bitter, muddy mess. The culprit isn’t usually the machine; it is the ambient temperature and humidity. According to a study by computational chemist Christopher Hendon of the University of Oregon, the way coffee shatters into ‘fines’ (micro-particles) changes significantly based on the temperature of the burrs and the beans themselves. When your kitchen warms up in the afternoon sun, the beans become more pliable, changing the particle size distribution. This is exactly why some pros use the freezer trick for cleaner grinding on hot days. Have you ever fallen into this trap of chasing the dial all day long? Let me know in the comments.
The ‘Oops’ Factor of Over-Grooming Your Puck
There is a dangerous trap in the world of high-end choosing the best barista gear for coffee enthusiasts: the obsession with puck preparation. While tools like the Weiss Distribution Technique (WDT) are helpful, I’ve seen many beginners actually ruin their extraction by over-stirring. If your needles are too thick or if you spend sixty seconds ‘grooming’ the bed, you are actually encouraging the fines to settle at the bottom of the basket. This creates a ‘clogged’ layer that leads to why your espresso shot slows down midway through the pull. I’ve found that why your wdt tool pins are too thick for light roasts is a major reason for channeling; you want needles around 0.3mm to 0.35mm. Anything thicker acts like a plow, creating furrows instead of a fluffy, even bed.
Stop Relying Solely on Spring-Loaded Crutches
Another common misconception is that a specialized tamper will solve all your consistency issues. While the truth about using spring-loaded tampers for even shots is that they provide a repeatable floor for pressure, they cannot fix a slanted puck if your initial distribution is poor. Many home baristas fall into the trap of thinking ‘more pressure’ equals a better seal. In reality, once you’ve compressed the air out of the grounds, additional weight does nothing but strain your wrist. If you see why your espresso shot is spraying the back of your cup, the issue is likely a microscopic gap at the edge of the basket, not the force of your tamp. Focus on keeping the tamper level rather than pushing until your face turns red. Mastering these tiny, boring details is the move for better espresso without buying a new machine. It isn’t about the flashiest gear; it’s about understanding the physics of the water and the bean.I’ve learned through painful experience that the biggest threat to your home barista setup isn’t a bad bag of beans; it’s the invisible buildup inside your machine’s pipes. If you aren’t careful, you’ll eventually find out how to tell if your machine boiler is accumulating lime scale the hard way—usually when your steam pressure dies mid-latte. I once ignored my descaling light for two months, and by the time I finally acted, the flow was so restricted I had to research the best way to descale a boiler without using harsh vinegar just to save the heating element from burning out. Maintaining a high-end machine requires a shift from ‘making coffee’ to ‘managing an appliance.’
How do I maintain my espresso gear over time?
Consistency is built on boring, repetitive habits. My non-negotiable is the 2-minute habit that prevents clogged steam wands, which simply involves a quick purge and wipe immediately after every use. If you let milk protein bake onto that stainless steel, it doesn’t just look gross; it eventually creates a blockage that can cause how to fix a steam wand that only blows out weak air to become your top search query. Beyond the wand, I always check why your group head shower screen is getting clogged so fast by backflushing with water daily and using a specialized detergent once a week. This prevents rancid oils from tainting your fresh 18-gram dose. 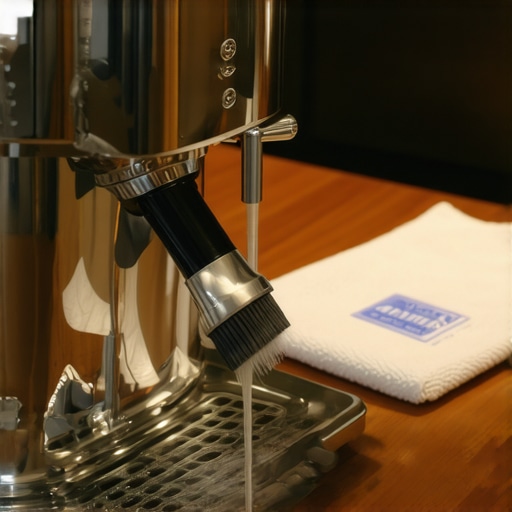
Better Controls Mean More Consistent Extractions
As you move deeper into this hobby, you might realize that basic buttons aren’t enough. I personally found that the secret to getting consistent shots on a dual boiler machine is the ability to decouple your brewing temperature from your steaming power. When you’re using top-rated espresso machines for coffee lovers in 2025, look for PID controllers that allow for one-degree adjustments. Even more practical for daily use is switching to tactile upgrades; for example, I’m a huge advocate for why you should switch to a lever handle for your steam wand. Standard knobs can be slow to turn and lead to over-stretched milk, whereas a lever gives you instant, binary control over your steam flow. To ensure your internals are safe, follow the gold standard for water: As La Marzocco notes in their official water specification technical documentation, keeping your total hardness between 90-150 ppm is vital for preventing the ‘creeping death’ of mineral deposits while maintaining the magnesium levels needed for a sweet extraction.
What the Future of Home Espresso Looks Like
We are rapidly moving toward a world where sensors do the heavy lifting. I predict that within the next five years, AI-integrated scales and grinders will communicate in real-time, automatically adjusting your grind size as the beans age in the hopper. We are already seeing the first steps of this with Bluetooth-connected gear, but the fully automated ‘closed-loop’ system is the next frontier. For now, the best way to improve is to use your eyes. I highly recommend you try the flashlight move for finding hidden channeling paths during your next shot. It’s a low-tech way to see exactly where your puck prep is failing before you spend another dollar on gear.
The Brutal Lessons I Learned While Chasing the God Shot
After a decade of tinkering, I have realized that the ‘perfect’ workflow is often just a defense mechanism against the inherent chaos of the bean. One of the biggest shifts in my mindset occurred when I stopped treating my machine like a microwave and started treating it like a musical instrument. I learned that your first shot of the day is almost always a liar because the internal temperature of the metal hasn’t fully stabilized, regardless of what the PID says. I also discovered that the simple paper filter trick for better bottomless shots can compensate for minor grinder inconsistencies better than any expensive distribution tool. Don’t be afraid to fail; a ‘sink shot’ is just the tuition you pay for a better palate.
#IMAGE_PLACEHOLDER_E#
My Personal Arsenal of Reliable Resources
I don’t rely solely on my gut; I trust tools and sources that have survived the hype cycles of the coffee world. When you are choosing the best barista gear for coffee enthusiasts, prioritize items that are easy to disassemble and service. I highly recommend keeping a copy of the SCAA Water Standards nearby, as water chemistry is the silent partner in every extraction. If you ever find your shots tasting ‘chemically’ or sharp after a cleaning cycle, bookmark my guide on the reason your espresso tastes metallic after descaling to help you flush the system properly. These technical resources are the difference between a frustrating morning and a transcendent one.
Why Your Best Coffee Is Still Ahead of You
The beauty of mastering the art of home espresso is that there is no true ‘end’ to the journey. Every new bag of beans is a fresh puzzle to solve, and every subtle change in your kitchen’s humidity is an opportunity to refine your technique. Don’t let the search for the perfect 1:2 ratio steal the joy of simply drinking a warm, delicious beverage you made with your own hands. Your kitchen is now a laboratory, and you are the head scientist. What is the one ‘weird’ trick you have found that actually improved your morning routine? Let me know in the comments below!