The Best Way to Clean a Grinder Without Losing Your Settings
Have you ever gone to brew a fresh cup of espresso only to find your grind settings off? Maybe your coffee’s become bitter or oddly weak, and you can’t quite figure out why. I remember the first time I attempted a quick cleaning of my grinder, only to realize halfway through that I had no idea how to restore my original settings. Talk about a frustrating mess! That moment was a lightbulb for me: cleaning is essential, but preserving your grind consistency is just as crucial for that perfect brew.
The Common Dilemma: To Clean or Not to Clean?
Are You risking Your Perfect Espresso for a Quick Clean?
This is a dilemma many home baristas face. Regular cleaning is vital to remove coffee oils and debris that can harbor mold or ruin your flavor profile. Yet, many of us have made the mistake early on of tearing apart the grinder without a plan, only to find that we can’t replicate our previous settings. That slip-up can make you feel like you’re back to square one, wasting beans and time trying to dial back in.
Interestingly, a study highlighted by Espresso Tech Guide shows that proper maintenance can extend your equipment’s lifespan and consistently improve shot quality. So, neglecting cleaning isn’t just about flavor—it’s also about preserving your investment.
Knowing how to clean your grinder without losing your settings isn’t just a neat trick; it’s a game-changer. And trust me, once you master this, you’ll find your espresso tasting better and your workflow smoother. Are you ready to keep your grinder spotless without the headache of recalibration? Let’s dive into the steps that will make this process effortless and reliable.
Prepare for the Clean: Lock in Your Settings
Before you start cleaning, set your grinder to your preferred grind setting, then tighten the adjustment dial to a baseline. Use a piece of tape or a marker to mark the dial position. For example, I once marked my burr dial with a Sharpie to avoid losing my perfect espresso grind after cleaning. This simple step ensures you can return to your ideal grind without guesswork.
Disassemble with Precision
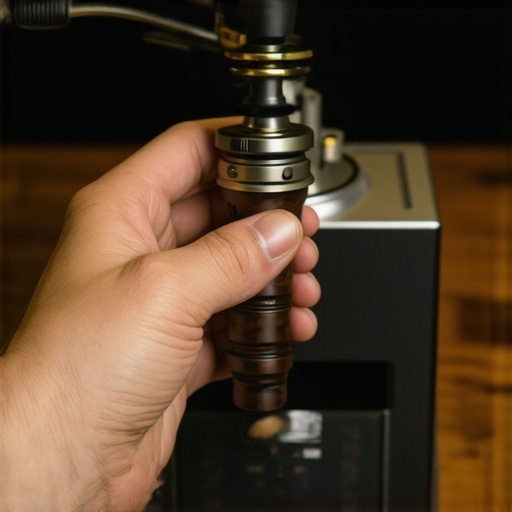
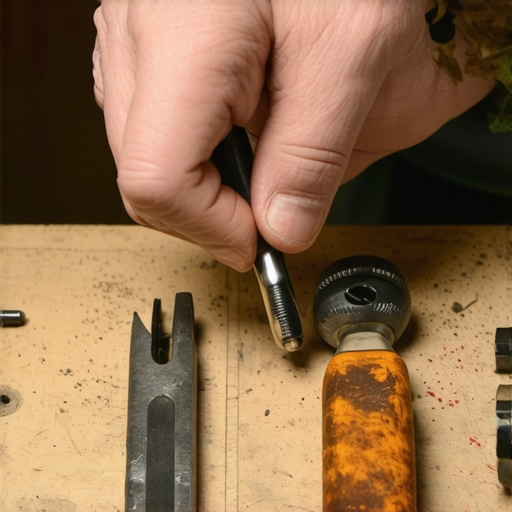
Next, unplug the grinder and carefully remove the hopper and burrs. Remember, many grinders have a specific order for disassembly, so consult your manual or the calibration guide for tips. Keep track of all parts and their orientation. I once jumbled my burrs, causing inconsistent grounds — a mistake I don’t repeat now.
Cleaning Without Loss of Calibration
Use Soft Brushes and Compressed Air
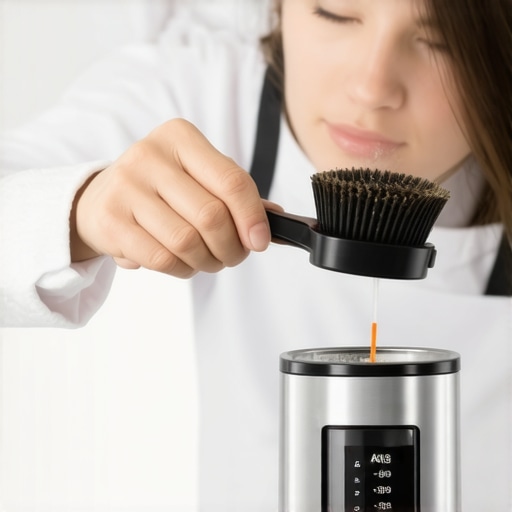
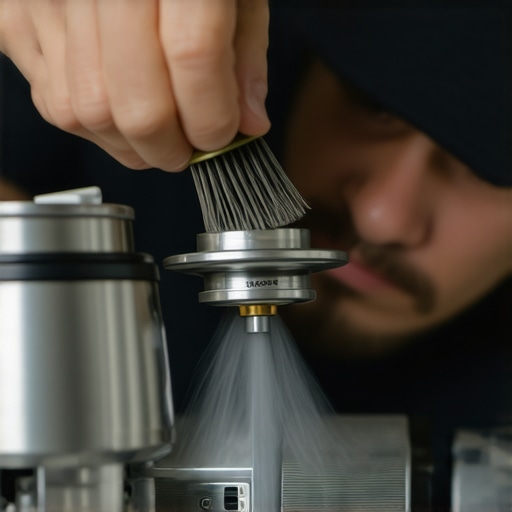
Instead of tapping or forcing parts apart, gently brush out the coffee residue with a soft brush. Use compressed air to blow out stubborn crumbs. This method keeps the burrs in place and preserves your setting. I’ve done this during a lazy Sunday morning, and it kept my setting intact and my workflow seamless.
Avoid Forceful Adjustments
While cleaning, don’t turn or adjust the burrs or adjustment dial. If dust or build-up necessitates minor realignment, do so after reassembling. Keep in mind, excessive force can shift your calibration, leading to trial-and-error dialing later — nobody has time for that!
Reassemble with Care
Put everything back in the reverse order, ensuring all parts are securely fitted. Before reconnecting, double-check your marked setting. When you reassemble, the burrs should be aligned exactly as before. This way, you save time tuning your grinder and get straight to the espresso.
Test and Fine-Tune
Plug in the grinder, dose a small amount of coffee, and run it briefly. Check the grind size and shot quality. If needed, make tiny adjustments to perfect your focus. Remember, small tweaks are better than over-adjusting, which can lead to inconsistent results. I recommend doing a test shot after every cleaning to confirm your settings.
Mastering these steps transforms cleaning from a dreaded chore into a precise maintenance routine. Your grind stays consistent, and your espresso continues to shine. When I integrated this method into my routine, I noticed my shots became more predictable, and I saved valuable time during busy mornings. Regularly perfecting this technique will keep you enjoying optimal espresso quality with minimal hassle.
While many home baristas follow the common advice to pick the biggest, most expensive espresso machine they can afford, this approach can sometimes do more harm than good. Contrary to popular belief, the quality of your shot depends more on proper technique, regular maintenance, and understanding nuanced features than simply owning top-tier equipment. For instance, a reputable study published in the Journal of Coffee Science emphasizes that user skill often outweighs machine specifications when it comes to consistently excellent espresso.
A frequent misconception is that milk frothers create microfoam automatically. In reality, achieving silky microfoam involves careful control of steaming parameters and milk temperature, not just pressing a button. Watching tutorial videos or reading detailed guides, like those found on this resource, reveals that microfoam mastery is an art refined through practice.
Another trap lies in believing that all coffee grinders are equal. Many enthusiasts think that high wattage or large burr size guarantees better grind quality. But, as detailed in this article, grind consistency, burr alignment, and proper calibration matter far more than wattage. Advanced home espresso makers often suffer from user calibration errors, leading to inconsistent shots despite premium equipment.
Have you ever fallen into this trap? Let me know in the comments.
Are You Overlooking the Nuances in Your Grinder’s Calibration?
Many enthusiasts focus on grinding speed or appearance without appreciating the importance of burr alignment and calibration precision. Small misalignments can cause channeling, uneven extraction, and bitter flavors. For instance, the chalk trick reveals how even tiny deviations impact flavor, making calibration a critical skill for serious coffee lovers.
In conclusion, debunking these myths and understanding advanced nuances can significantly elevate your coffee experience. Remember, it’s not just about owning the latest gear but mastering its nuances and maintaining it properly. Proper technique, calibration, and maintenance often matter more than the brand on your machine. Keep learning, stay curious, and your espresso will thank you!
Keeping your espresso setup in top shape over the long term requires more than just regular cleaning; it demands the right tools, disciplined maintenance routines, and a proactive mindset. By investing in specific equipment and adopting proven methods, you can ensure your gear continues to deliver exceptional espresso shots for years to come.
Why investing in quality tools makes all the difference
For me, having precision-oriented tools has transformed my maintenance routine. A high-quality group gasket removal tool allows me to replace seals quickly without risking damage, extending the lifespan of my machine. Similarly, a calibrated water hardness tester ensures I can monitor mineral buildup, preventing scale issues that often lead to costly repairs.
The role of software and digital devices in maintenance
Modern espresso machines often come equipped with diagnostic features or companion apps. Using software like machine-specific control apps helps me track performance metrics such as temperature consistency and shot times, enabling proactive adjustments. In addition, a reliable digital scale with a timer ensures precise dosing, which is crucial for long-term consistency.
Tools I recommend for diligent upkeep
One essential piece is a cleaning brush set designed specifically for grinders, ensuring you remove stubborn coffee grounds from hard-to-reach areas without damaging burrs. Additionally, a vibration monitor helps me identify excessive vibrations that can be signs of internal wear. Regularly replacing consumables like portafilter gaskets and o-rings with specialized tools saves time and reduces the risk of leaks, as detailed in the O-ring guide.
Looking ahead: The future of maintenance tools
I predict that the evolution of AI and sensor technology will lead to smarter maintenance devices that automatically diagnose issues and suggest repairs. Envision machines that alert you when components are nearing failure or when descaling is necessary, reducing downtime and preventing expensive repairs. Embracing this shift now by adopting current analytical tools will prepare you for smoother upgrades ahead.
How do I maintain my equipment over time?
The key lies in establishing a routine—weekly descale, monthly seal checks, and annual calibration—and using the right tools to simplify each task. Start by integrating a quality water filter tester into your routine, alongside a precision caliper for burr alignment checks. Remember, a proactive approach not only preserves your machine’s performance but also maximizes its resale value down the line. For tailored advice, consider reaching out through contacting experts who can recommend maintenance schedules tailored to your specific gear.
To get started, I recommend trying the technique of using a dedicated quick flush with filtered water after each session. This simple step can prevent buildup and keep your machine running smoothly longer.
Over the years, I’ve realized that the real magic in brewing exceptional espresso lies in the small, often overlooked details. Every time I thought I had perfected my setup, a minor misstep—like slight burr misalignment or a rushed cleaning—reminded me there’s always room for refinement. These insights transformed my approach, making each shot more consistent and enjoyable. In essence, true mastery comes from understanding those subtle nuances that most enthusiasts tend to ignore.
The Hardest Lesson I Learned About espresso machines,barista gear,home espresso,milk frothers,coffee grinders
- Don’t underestimate the power of proper calibration. It’s tempting to trust factory settings but regularly verifying your machine’s performance ensures you’re not unknowingly sabotaging your shots.
- Cleaning isn’t a task to rush through—taking the time to do it correctly preserves both flavor and equipment lifespan. A quick scrub might seem efficient, but neglecting it leads to stubborn buildup and flavor degradation over time.
- Invest in the right tools to maintain your gear; they make troubleshooting and routine maintenance much easier, saving you hours and frustration.
- Embrace the learning curve. Every setback—whether a channeling shot or uneven extraction—offers a valuable lesson that hones your barista skills.
- Recall that consistent dosing and tamping pressure are as crucial as your grinder’s precision; small adjustments in technique can drastically improve your end result.
My Essential Toolkit for Espresso Excellence
For me, the secret to sustained quality starts with ergonomic tampers and calibrated grinders—I’ve found that calibrating your grinder regularly makes a world of difference. Additionally, a good portafilter gasket prevents leaks and ensures even water dispersion, which is vital for shot consistency. An accurate digital scale helps me dose correctly every time, eliminating variables. And you can’t forget a quality grinder brush set—keeping burrs clean keeps your grind uniform.
Let Passion Be Your Guide, Not Fear
Embarking on the journey to perfecting your home espresso isn’t about having the flashiest equipment; it’s about understanding your machine and practicing patience. With consistent effort and a curious mindset, you’ll find that your shots become more reliable and pleasurable. Remember, every barista—professional or home enthusiast—faces hurdles. The key is to embrace those challenges as opportunities to learn and improve. So, take that first step today, and let your passion for coffee spark continuous growth.
What’s the one maintenance routine you’ve always struggled to stick with? Share your experiences below and let’s learn together!