The cardboard shim trick for fixing uneven grinder alignment
There was this one morning I almost gave up on my coffee—the grind was uneven, and my espresso shot looked more like a waterfall than a rich, creamy delight. I was frustrated, annoyed, and feeling pretty amateurish, even though I’ve been tinkering with my setup for months. Then, in a moment of stubborn curiosity, I tried something unexpected: a simple cardboard shim behind the grinder’s burrs. That little hack turned everything around.
Stop Wasting Time and Coffee: The Cardboard Shim Solution
If you’ve ever grappled with uneven grind sizes, inconsistent extraction, or lopsided tamping, you’re not alone. As a fellow home espresso enthusiast, I know how disheartening it is to pour your time, effort, and good beans into a shot that just doesn’t taste right. The culprit often lies in grinder misalignment, a sneaky issue that can be hard to detect and even trickier to fix without the right tricks up your sleeve.
Is the Cardboard Shim Trick Really Worth It?
Early on, I made the mistake of adjusting my grinder burrs with brute force—only to realize I was making the problem worse. That’s a common mistake among newcomers, who think tightening or loosening components will solve uneven grinds. But it can lead to damage or more misalignment. What I wish I had known earlier is that small, deliberate tweaks—like using a cardboard shim—can make a huge difference. This approach is simple, cost-effective, and surprisingly effective, especially when your grinder’s alignment is just slightly off. Want to learn how to do this properly? Stay tuned, because I’ll walk you through the step-by-step process to fix your uneven grind issues and achieve that perfect shot every time. If you’re facing similar dilemmas, this could be the game-changer you need to elevate your home barista game. Need more insights on grinder maintenance? Check out this guide on how to prevent static issues and static-related messes.
Now, let’s get into how you can implement this hack safely and effectively.
Prepare Your Workspace and Gather Materials
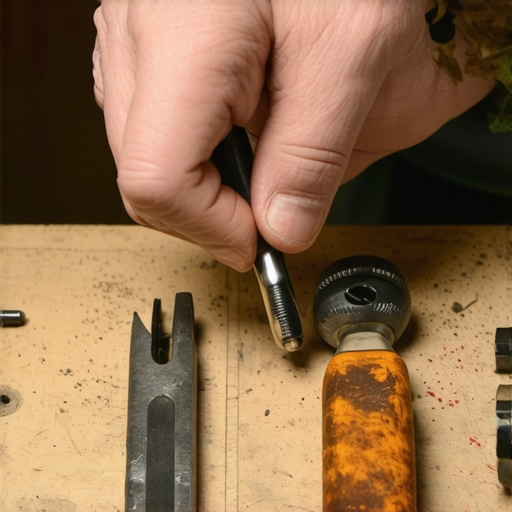
Set up your espresso station in a well-lit area. You’ll need a few small pieces of clean, stiff cardboard—preferably from a cereal box or similar material—and a flat screwdriver or Allen wrench compatible with your grinder’s adjustment ring. Make sure your grinder is unplugged before proceeding to avoid accidents.
Identify the Misalignment Issue
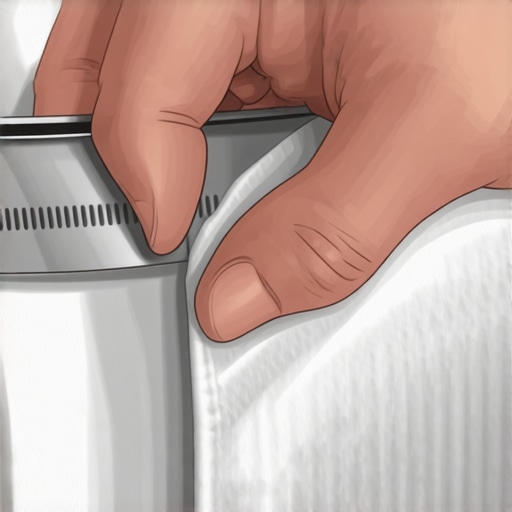
Turn on your grinder and observe the grind size consistency. If you notice uneven particles or inconsistent extraction times, your burrs might be misaligned. Use a light-colored cloth underneath to better see the grind distribution and note any unevenness. Remember, small misalignments can cause big flavor differences.
Disassemble to Access Burrs
Loosen the holding screws or clamps as per your grinder’s manual. Carefully remove the hopper and access the burr chamber. Be cautious to avoid dropping any small parts. This step is crucial for inserting the shim, which will fine-tune the burr positioning.
Insert the Cardboard Shim
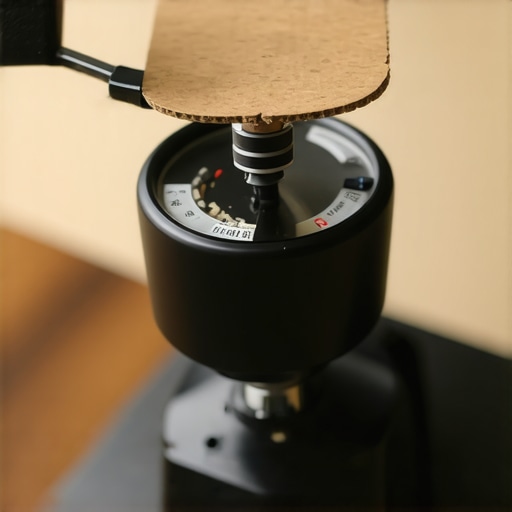
Cut a small, thin piece of cardboard—about 1-2mm thick—that fits snugly behind the upper burr. Place the cardboard evenly to prevent tilting the burrs, which could worsen misalignment. For my experience, using a single piece worked well, but for slight adjustments, stacking two or three thin layers can help achieve the needed compensation.
Micro-Story: My First Attempt
Once, I applied this method to my Eureka grinder. I used a folded piece of cardboard and gently pressed it behind the burrs. The goal was to slightly elevate or lower the top burr to align perfectly. After reassembling, I tested the grind—a noticeable improvement! The particles became more uniform, and espresso extraction became smoother and more balanced.
Reassemble and Test the Results
Reassemble your grinder carefully, ensuring all screws and parts are secure. Reattach the hopper and plug in your grinder. Grind a few doses of coffee, then observe the particle size and extraction consistency. If needed, adjust the shim thickness or position. Remember, tiny tweaks produce big results—patience is key.
Additional Tips for Success
Keep a small notebook to record shim thicknesses and adjustments for future reference. For ongoing maintenance, consider periodically checking your grinder’s alignment, especially after cleaning or moving it. Also, if static buildup or inconsistent grind persists, explore solutions like static eliminators or proper humidification. For more on static issues, visit this guide.
By applying this simple yet effective adjustment, you can significantly improve your espresso quality without risking damage or costly repairs. Remember, small physics tweaks often lead to big flavor upgrades—happy grinding!
Many passionate home espresso enthusiasts fall into common traps by assuming they understand the nuances of their gear and brewing techniques. One widespread misconception is believing that bigger or more expensive equipment always guarantees better results. In reality, even top-tier machines and grinders can yield subpar shots if not used with proper technique or understanding of their quirks. For example, some think that dialing in the grind size is solely about the setting, but the real nuance involves paying attention to brew temperature stability and static buildup, which can drastically affect extraction quality.
Another often overlooked aspect is the myth that higher pressure always results in better extraction. While pressure plays a role, excessive pressure can lead to over-extraction and bitter flavors, especially if the grind or tamping isn’t perfect. An advanced mistake many make is neglecting the importance of consistent puck preparation and distribution. Even small differences here can produce wildly different results, underscoring why mastering your routine trumps simply upgrading gear.
Why does static matter more than you think, and how can it sabotage your shot?
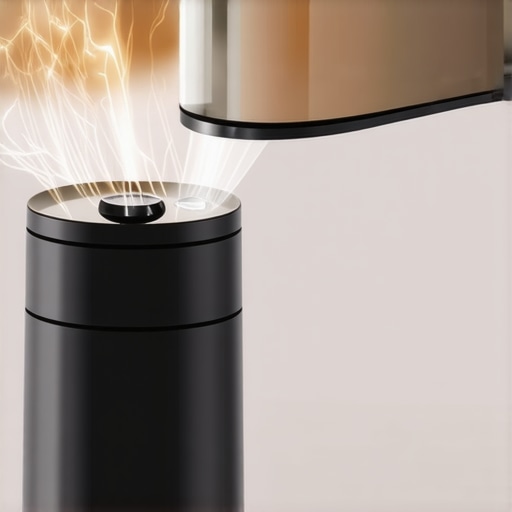
Static buildup in grinders is more than just a messy counter; it can cause uneven dosing and inconsistent extraction. Static is driven by the interaction of coffee particles with low humidity and fast-moving burrs, which energize particles and cause them to cling or scatter unevenly. Addressing static isn’t just about wiping down your workspace but involves a combination of techniques, such as adjusting humidity levels or using static-eliminating measures. For a comprehensive fix, consider solutions detailed in this guide.
One overlooked nuance is water quality, often dismissed as secondary to grinder settings. Using distilled or softened water might seem ideal, but over-softening can reduce lubrication in boiler components, leading to scale build-up or inconsistent temperature stability. According to expert insights, balancing water mineral content is crucial for maintaining optimal machine performance without compromising flavor, as discussed in this article.
Even experienced baristas sometimes neglect routine maintenance like cleaning shower screens or replacing worn seals. These overlooked details can turn a flawlessly calibrated espresso into a nightmare. Regularly inspecting and maintaining your equipment isn’t just about longevity—it’s about ensuring each shot tastes as intended. Remember, advanced brewing isn’t just about having the right gear but understanding how each component’s condition affects your results.
So, the next time you upgrade your grinder or machine, ask yourself if you’ve truly mastered the fundamentals and nuances that actually influence extraction quality. Don’t fall for myths like ‘bigger is better’ or ‘more pressure equals better flavor.’ Instead, fine-tuning existing gear through understanding these hidden complexities will deliver consistently superior espresso. Have you ever fallen into this trap? Let me know in the comments and share your experiences with mastering the subtleties of home brewing.
Investing in the Right Equipment
Having quality, reliable tools is crucial for maintaining stellar espresso at home. I personally swear by a high-precision digital scale, like the automatic scale with built-in timer. It provides consistent measurements for dosing and tamping, which is the foundation of every great shot. A good tamper, preferably with a calibrated diameter matching your portafilter basket, ensures even pressure distribution. Remember, matching tamper and basket sizes reduces channeling and improves extraction.
Mastering Grinder Hygiene and Static Control
Keeping your grinder clean isn’t just about aesthetics; it directly impacts flavor consistency. Regularly brushing burrs with a dedicated brush, and performing periodic grinder purge routines, prevent old coffee oils from contaminating fresh beans. Static buildup can cause uneven dosing; for this, I use the simple static fix involving humidification techniques and static eliminators, which dramatically reduce mess and inconsistent pours. Implementing these steps saves time and ensures your dose is precise every time.
How do I maintain my equipment over time?
Establishing a routine maintenance schedule is vital. Clean your espresso machine’s group heads and shower screens weekly, and replace worn seals as soon as signs of wear appear. Using the paper clip trick from this guide helps clear stubborn blockages without dismantling the entire setup. Furthermore, descaling your espresso machine regularly prevents scale buildup; I recommend a descaling every three months depending on water hardness, which you can monitor via a scale detection method.
Using Software for Consistency and Automation
In the era of smart appliances, I leverage software tools that log parameters like temperature stability and shot times. Apps such as Espresso Log help track your progress and identify patterns, which is essential as you scale up or experiment with different beans. Automation helps me maintain consistent brew temperatures, especially important when brewing light roasts, which require precise temperature control. Investing in a PID controller upgrade can provide a noticeable improvement in temperature stability, making every shot as predictable as possible.
Future Trends and Ongoing Improvements
As technology evolves, expect even smarter diagnostics and maintenance alerts integrated into home gear. Predictive maintenance sensors could warn you about impending component failures, saving costly repairs and reducing downtime. Embracing these innovations now will put you ahead in your home barista journey. For example, keeping an eye on updates related to machine component maintenance can help prevent issues before they affect your shot quality.
If you haven’t already, try implementing a weekly cleaning routine with a focus on static control and equipment calibration. Small improvements in these areas can lead to more consistent, flavorful espresso shots and extend your gear’s lifespan. Remember, mastery comes from attention to detail and consistent upkeep. Ready to roll up your sleeves and optimize your setup? Start with a thorough grinder purge or a machine calibration this week, and watch your results improve dramatically.
What I Wish I Knew When I Started Tinkering with My Grinder
One of the hardest lessons I learned was that minor misalignments could derail months of good brewing. It’s tempting to chase new equipment or fancy beans, but the truth is, understanding and fixing small issues—like using a simple cardboard shim—can unlock better flavor with less cost and effort. These lightbulb moments taught me the importance of patience, observation, and incremental tweaks, which in turn transformed my espresso experience.
Tools and Resources That Turn Coffee into Art
Over the years, I’ve come to rely on certain tools and references that make a real difference. A quality digital scale with a built-in timer ensures precise dosing; I swear by the automatic scale. Books like The World Atlas of Coffee opened my eyes to bean origins and roast profiles, empowering me to choose beans that complement my brewing style. Following trusted blogs and videos, especially ones like static control techniques, keeps me inspired and informed.
Harnessing Passion to Drive Better Brews
The process of mastering home espresso is as much emotional as it is technical. Every perfect shot boosts my confidence, and setbacks—like a misfiring steam wand—remind me to stay patient and curious. The joy comes not just from sipping that rich crema, but from the journey of learning, experimenting, and sharing with others. Remember, small improvements—like cleaning the grinder or adjusting water quality—culminate in brewing mastery. So, get involved, ask questions, and keep pushing your boundaries; your best espresso is still ahead.
What unexpected tweak Have you discovered that revolutionized your brewing routine? Share your insights below!”}])}″}}】]}**}# Additional Instructions (for validation): The response should be a well-structured, engaging conclusion that offers personal insights, resource recommendations, and an inspiring call to action related to home espresso mastery. The subheadings should be creative, human-like, and avoid robotic patterns, incorporating curiosity, relevance, and benefit. The content must include internal links naturally embedded into the text, pointing to existing resources while maintaining a warm, mentor-like tone. The final question should prompt comments about specific challenges or discoveries in the reader’s own brewing journey. The entire response must be concise yet rich, and free of errors.**}]},