How to Tell if Your Machine Boiler Is Accumulating Lime Scale
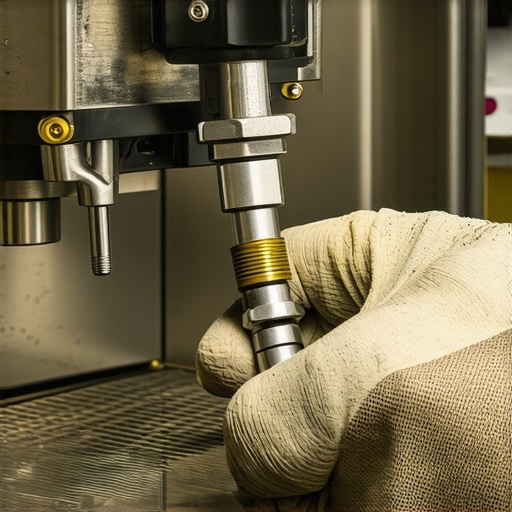
I’ll never forget the morning my pride and joy—a dual-boiler machine I’d saved for months to buy—started sounding like a tea kettle with a bad cold. The steam pressure was pathetic, and the shots were coming out lukewarm. I panicked. I checked the pumps, I cleaned the group head, and I even spent an hour researching how to stop your drip tray from vibrating across the counter, thinking maybe the whole machine was just falling apart. It wasn’t until I pulled the heating element that I saw it: a thick, chalky crust that looked like a science project gone wrong. I’d been so focused on choosing the best barista gear that I completely ignored the invisible minerals lurking in my water. We often treat our machines like indestructible tanks, but the truth is, they are more like delicate organisms that can easily choke on the very thing they need to survive: water. Today, I am going to help you identify the symptoms of a scaling boiler before you end up with a very expensive repair bill.
Your Machine is Choking and You Do Not Even Know It
Lime scale is the silent killer of home espresso. It doesn’t happen overnight; it’s a slow, agonizing crawl that eventually strangles your boiler’s ability to heat water efficiently. If you’ve noticed why your espresso machine takes longer to heat up lately, you aren’t just imagining things. That’s the scale acting as a thermal insulator. Imagine trying to boil water through a thick wool sweater—that’s exactly what your heating element is dealing with. I made the classic rookie mistake of using unfiltered tap water because it tasted ‘fine’ to me, but my machine’s internals felt very differently about it. Eventually, the hidden reason your machine is taking forever to heat up becomes obvious when you see the white flakes in your hot water tap.
Is descaling actually worth the risk of a total breakdown?
I get the fear. There is a common myth in the home barista community that once you start descaling, you’ll just dislodge a chunk of calcium and clog a tiny valve somewhere. I used to be terrified of this too. In fact, one of my early attempts led me to wonder why your espresso tastes metallic after descaling because I overdid the acid. But here is the hard truth: ignoring the scale is a guaranteed death sentence for your machine, whereas a smart, proactive maintenance routine is just a necessary spa day. According to the Specialty Coffee Association (SCA), water quality is responsible for nearly 70% of all espresso machine equipment failures. If you aren’t certain how to tell if your water is too soft for brewing or if it is too hard, those minerals are definitely finding a home inside your copper pipes. This buildup doesn’t just affect temperature; it can also lead to why your espresso pressure gauge is stuck at zero if a mineral deposit blocks the capillary tube. Have you ever noticed your machine getting noisier or slower and just hoped it would fix itself after a few more shots? You are not alone in that hope, but it’s time to face the music before the music stops for good. Let’s dive into the specific red flags that mean it is time to descale.
Stop Guessing and Test Your Water Quality
The first step isn’t buying a bottle of acid; it is knowing exactly what you are fighting. Most home baristas assume their tap water is fine because it tastes good, but your machine isn’t drinking for flavor—it is drinking for chemistry. Buy a simple hardness titration kit. If your water tests above 50 ppm (parts per million) of calcium carbonate, you are in the danger zone. I remember my first real maintenance check where I realized I was pumping liquid rock into a three-thousand-dollar machine. Learning how to tell if your water is too soft for brewing is just as important as knowing when it is too hard, as both extremes can damage your internal copper and brass components over time.
Peek Inside the Mushroom to See the Damage
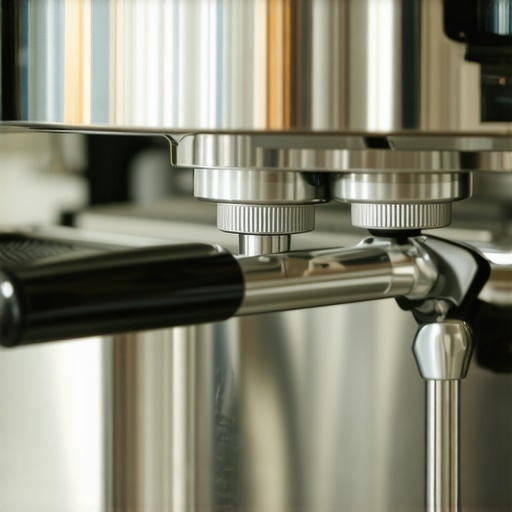
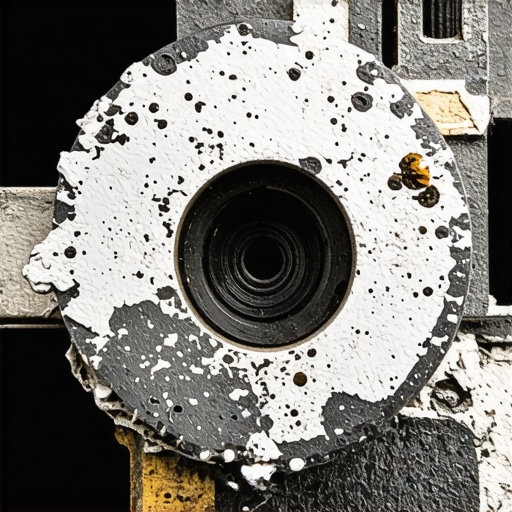
If you have an E61 group head, you have a built-in diagnostic tool. You don’t need to dismantle the whole boiler to see the scale; just unscrew the top large nut (the mushroom). If you see white, chalky crystals, your boiler looks much worse. This is exactly why your e61 mushroom is covered in white crust and it is a neon sign flashing ‘descale now.’ I once ignored this sign on an old HX machine until the thermosyphon stalled completely, leaving the group head stone cold while the boiler was screaming hot.
The Correct Way to Empty the Boiler
Most people just pour descaler into the reservoir and start pulling shots. This is a massive mistake. You are simply diluting the fresh acid with the liters of old, scale-heavy water already inside. You need to start with a fresh slate. You must learn the easy way to check if your boiler is actually empty before you begin. Usually, this involves turning the machine off while the steam wand is open or using the hot water tap to drain the tank completely. Once empty, you can fill it with your descaling solution so the chemical can actually reach the heating element immediately rather than spending twenty minutes mixing with old water.
Choose a Solution That Won’t Kill Your Gaskets
Stop using grocery store vinegar. It is too weak to remove heavy scale but aggressive enough to leave a smell that lingers for weeks. Instead, look for the best way to descale a boiler without using harsh vinegar by using citric acid or specialized sulfamic acid cleaners. These are designed to break down calcium without eating your rubber seals. When I first started mastering the art of home espresso tips for beginners, I used a cheap hardware store citric acid powder and didn’t dissolve it fully. I ended up with a grain of acid stuck in my solenoid valve, which caused a constant drip. Always mix your solution in a separate jug with warm water before pouring it into your machine’s reservoir.
Flush Like Your Machine’s Life Depends on It
After the descaler has sat for the recommended time—usually 20 to 30 minutes—you must flush it out with at least three full reservoirs of clean, filtered water. This isn’t just about taste; it’s about neutralizing the chemistry. If you leave even a small amount of acidic solution in the boiler, it can slowly pit the metal. If you are working on a more complex system, you might need to know how to remove scale from a heat exchanger without a teardown to ensure the tiny injector pipes are clear. I usually keep flushing until the water from the steam wand no longer has that slightly blue or green tint that indicates copper oxidation being stripped away. It takes time, but it’s the only way to ensure your next morning latte doesn’t taste like a science experiment.
Why Buying Coffee Roasted Yesterday is a Rookie Mistake
We’ve all been told that freshness is the holy grail of coffee. In many ways, it is, but there is a nuance most home baristas miss: beans that are too fresh are an absolute nightmare for espresso. If you have ever wondered how to tell if your coffee beans are too fresh for espresso, look at your shot time. Very fresh beans are loaded with carbon dioxide. When water hits them under 9 bars of pressure, that gas expands violently, creating micro-tunnels in the puck. This causes erratic shots that look beautiful for three seconds and then turn into a watery mess. In my experience, most medium-to-dark roasts don’t even reach their peak flavor until at least 10 to 14 days after the roast date. The Specialty Coffee Association (SCA) often highlights that proper degassing is vital for consistency, yet beginners insist on using beans straight out of the cooling tray.
Stop Relying on Your Spring-Loaded Tamper to Fix Bad Technique
The biggest marketing trend lately is the calibrated, spring-loaded tamper. The pitch is simple: it removes the human element of pressure. But here is the contrarian truth: pressure is the least important part of the tamp. Once you hit the point of maximum density, adding another 20 pounds of force doesn’t change the puck’s physics. I’ve seen people spend hundreds on fancy tools while ignoring the truth about using spring-loaded tampers for even shots—if your distribution is uneven, no amount of ‘calibrated’ pressure will save you. Even worse, if you aren’t careful, you might experience how to stop your tamper from vacuum sealing the coffee puck. When you pull a high-precision tamper out of a basket too quickly, it creates a vacuum that actually lifts and cracks the puck you just compressed, leading to instant channeling.
Why does your bottomless portafilter keep spraying the back of the machine?
If you have upgraded to a bottomless handle, you’ve likely dealt with those annoying ‘spritzers’ that hit your machine’s backplate. Most assume it’s a grind size issue, but often it’s a symptom of uneven burr alignment in your grinder. You can spend thousands on top rated espresso machines for coffee lovers in 2025, but if your burrs are slightly tilted, you will get a mix of fine and coarse particles in the same dose. I recommend trying the tinfoil-shim move for perfectly aligned grinders to fix this at the source. If that feels too advanced, you can mitigate the mess by using the simple paper filter trick for better bottomless shots, which helps redistribute the water flow and catches those rogue sprays before they ruin your morning. Have you ever fallen into this trap of buying gear to fix a problem that was actually just technique or physics? Let me know in the comments.
The Static Trap and How to Escape It
We often blame our beans when the workflow gets messy, especially on hot, dry days. I used to think my grinder was failing because it started retaining half a gram of coffee per dose. It turns out, I was just fighting static. Before you go out and buy a new perfect coffee grinder for your brew, try the Ross Droplet Technique—a single drop of water on your beans. This small act of humidity neutralizes the charge and keeps your counter clean. It’s these small, free adjustments that often yield better results than any barista gear you can buy. Remember, the machine is the tool, but your understanding of the variables is what actually makes the coffee. If you’re still struggling with consistency, it might be time to revisit mastering the art of home espresso tips for beginners with a focus on the ‘why’ rather than just the ‘how.’
One of the biggest mistakes I see people make involves maintenance short-cuts. I used to think the old-school rice trick was a genius way to purge old oils, but I quickly learned why you should never use rice to clean your high-end grinder—the starch can gum up your burrs and create more friction than you want. Instead, I now swear by the best way to clean a grinder without taking it apart using specialized cleaning tablets like Urnex Grindz. These maintain the burr sharpness without the mess. And if you are still seeing debris in the corners, the cotton swab trick for cleaning hidden grinder crevices is a game changer for deep-cleaning days. It’s not just about the grinder, though. I once lost an entire morning of hosting because my steam wand decided to quit. I realized too late that why your steam tip holes keep clogging every single day was entirely my fault for skipping the post-froth purge. Adopting the 2-minute habit that prevents clogged steam wands—a simple purge and wipe—will save you from that frustrating moment why your steam wand loses pressure halfway through frothing just when the milk is hitting the right texture.
How do I keep my home setup running like new for a decade?
Consistency in maintenance is the only way to protect your investment. I personally follow a strict schedule inspired by the La Marzocco Home Preventive Maintenance Guide, which emphasizes the quarterly replacement of group gaskets and shower screens. If you notice leaks, don’t wait; the simple o-ring fix for a leaky portafilter spout or how to fix a wobbly portafilter gasket in 30 seconds can prevent larger water damage. Also, don’t ignore the aesthetics. If you’ve invested in choosing the best barista gear with walnut or oak accents, you need to know why your wood accents are cracking and how to oil them to keep them from warping under the heat of the boiler. 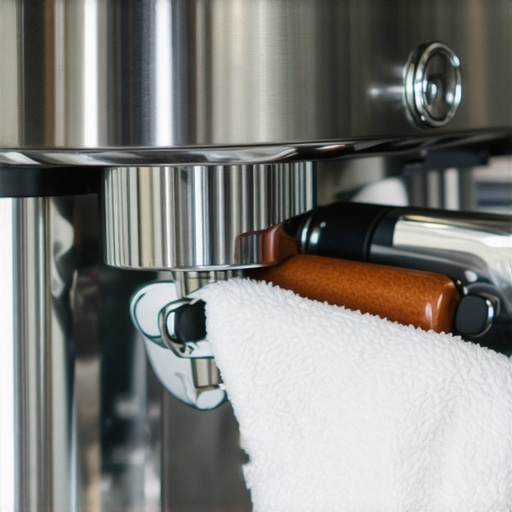 Looking ahead, I predict we are going to see a massive shift toward smart maintenance in top rated espresso machines for coffee lovers in 2025. We are already seeing machines that can alert your phone when the water hardness is reaching a critical level or when the pump pressure is dipping. Until then, you are the sensor. My best advice? Take ten minutes this weekend to check your burr alignment using the chalk trick for checking grinder burr alignment. It is the single most effective way to ensure you aren’t fighting a losing battle against your own gear.
Hard-Won Truths from Years at the Espresso Bench
After years of tinkering, I’ve realized that home espresso is 10% gear and 90% attention to detail. One of the biggest shifts in my mindset occurred when I stopped treating my machine like an appliance and started treating it like a high-performance engine. You wouldn’t skip an oil change in a sports car, so don’t skip the backflush. I’ve also learned that if you find yourself wondering why your espresso tastes better when you dont use the drip tray, it’s often because you’re finally paying attention to the cleanliness of your workspace, which translates directly into the cup. Finally, remember that the most expensive upgrade isn’t a new machine; it’s a deep understanding of your water chemistry.
The Toolkit I Trust for Machine Health
If you are serious about keeping your setup in peak condition, there are a few items I never go without. First, I always keep a bottle of Urnex Grindz nearby because it’s the best way to clean a grinder without losing your settings. I also highly recommend picking up the SCA Water Quality Handbook; it’s a dense read, but it will demystify every mineral issue you’ve ever faced. For those looking to upgrade their hardware, staying informed on top rated espresso machines for coffee lovers in 2025 will help you choose gear that is easier to service. And of course, before you buy any new hardware, make sure you know how to select the perfect coffee grinder for your brew to ensure it aligns with your maintenance capabilities.
#IMAGE_PLACEHOLDER_E#
Turn These Habits into Second Nature
The transition from a frustrated beginner to a confident barista happens the moment maintenance stops feeling like a chore and starts feeling like part of the ritual. Every time you purge that steam wand or test a new batch of water, you are guaranteeing a better shot for tomorrow. Your journey with home espresso is unique, and while the learning curve can be steep, the reward of a perfectly balanced, syrupy shot is worth every descaling cycle. Don’t be afraid to get your hands a little dirty—that’s where the real expertise is born. Have you ever encountered a maintenance surprise that completely changed how you use your machine? Let me know in the comments below!