Why Your E61 Mushroom Is Covered in White Crust
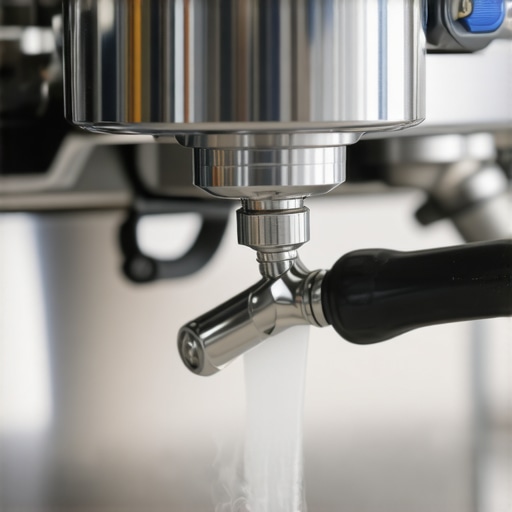
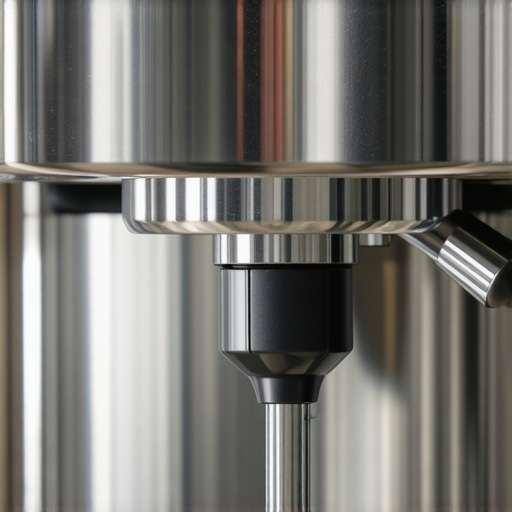
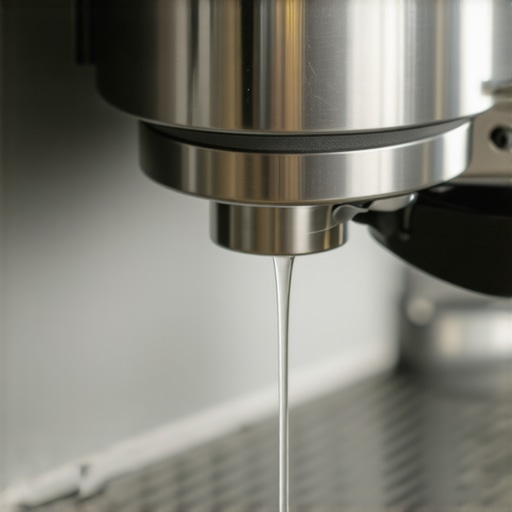
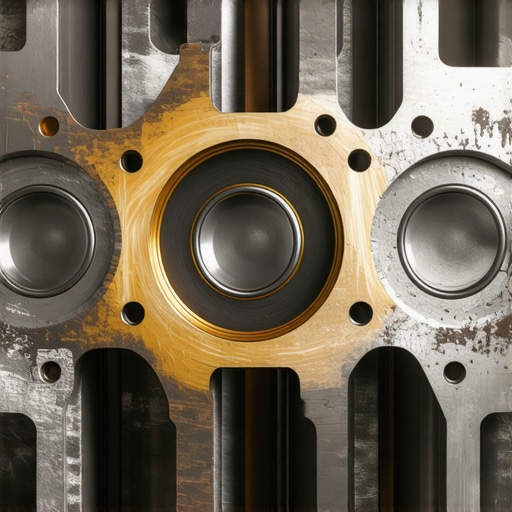
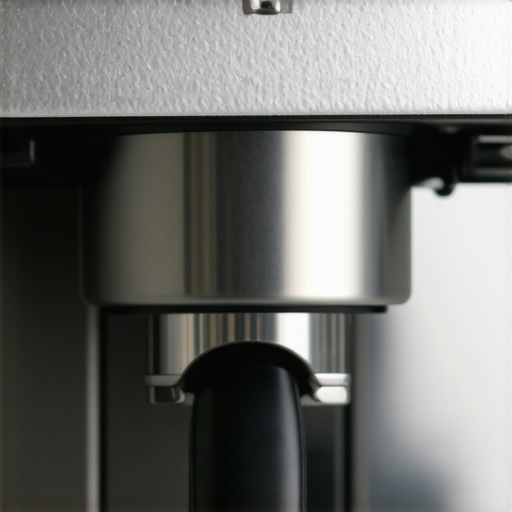
One morning, I fired up my beloved espresso machine, eagerly anticipating that rich, velvety shot I crave. But instead of the smooth crema I was used to, I noticed a strange white crust forming around the E61 group head. It looked like some kind of bizarre mushroom had decided to grow right on my espresso machine! Frustration set in instantly. I had always thought mineral deposits and cleanliness were separate issues, but this crust was a clear sign that there was more happening beneath the surface.
Discovering the Hidden Culprit Behind That White Crust
If you’ve ever faced this peculiar buildup, you’re not alone. That crust isn’t just a superficial annoyance; it indicates mineral deposits, dried condensate, or perhaps organic matter accumulating over time. Many home baristas dismiss it as harmless or simply wipe it off without understanding the root cause. But ignoring it can lead to diminished performance, uneven heat transfer, and even damage to your precious machine. Today, I’ll share what I learned from my own mishap and how you can prevent this crust from taking over your espresso routine.
Could This Be Harmful To Your Machine Or Your Coffee?
Well, early on, I made the mistake of thinking that just wiping the crust with a cloth was enough. Turns out, that only cleaned the surface temporarily. The real issue is mineral buildup from hard water, which can form a crust similar to white calcium deposits. According to industry experts, mineral deposits can impair thermal conductivity and lead to uneven brewing temperatures (source: Espresso Tech Guide). Recognizing the problem early is crucial for maintaining both your machine’s longevity and your coffee’s flavor profile.
Have you noticed this kind of crust on your machine but weren’t sure what it meant? If yes, then you’re in the right place. Understanding the cause allows us to take proper steps—beyond just cleaning—to ensure our gear runs smoothly and provides the best shots possible. Stay tuned, because the solutions aren’t as daunting as they seem, and they can save you a lot of hassle down the line.
Now, let’s get to the root of the problem and explore practical ways to protect your machine from this pesky white crust.
Flush Regularly to Clear Mineral Deposits
Start by flushing your machine with a third of a descaling solution mixed with water. Turn on your espresso machine and run the solution through the group head and steam wand, just like you would with water during regular use. This helps dissolve any existing mineral buildup inside the boiler and heating elements. I once neglected this step for weeks; after a thorough flush, I saw an immediate reduction in crust formation and improved temperature stability.
Use a Descaling Solution Designed for Coffee Equipment
Buy a descaler specifically made for espresso machines, not household vinegar, which can damage rubber seals. Follow the manufacturer’s instructions carefully—usually, this involves mixing the descaler with water in a specific ratio. Run the mixture through your machine as you would during a brew cycle. This step actively dissolves calcium deposits that cause crusting. I found that regularly descaling every 1-3 months kept the crust at bay and extended my machine’s lifespan.
Scrub Group Head and Shower Screen Properly
Disassemble your portafilter and remove the shower screen. Use a soft brush or cloth dipped in hot, soapy water or a special espresso machine cleaner to scrub away dried residues. Pay special attention to the shower screen holes—clogged ones cause uneven water flow, which worsens crust formation. To make this easier, I use a small pin or a needle to clear blocked holes, ensuring consistent extraction and preventing buildup. Regular disassembly and cleaning are essential for optimal performance.
Implement Filtered or Soft Water Supply
Hard water supplies mineral content that accelerates crust formation. Invest in a water filtration system or use bottled, filtered water for your espresso machine. I installed a charcoal filter at my water line, which noticeably reduced mineral deposits within a month. This not only keeps the crust away but also improves flavor clarity in your coffee. Check your water hardness with test strips to determine if you need additional treatment.
Maintain Routine Cleaning and Preventative Measures
Incorporate daily wipe-downs of the group head and steam wand with a damp cloth. Use a cleaning solution recommended by the manufacturer weekly to prevent organic matter buildup. After each use, purge the steam wand to release residual milk and avoid internal crusting. I set a weekly cleaning schedule and stick to it religiously; over time, my machine runs smoother with less crust formation, saving me from costly repairs. Consistent maintenance is your best bet for a crust-free machine.
Monitor and Adjust Your Water Hardness
If you notice persistent crust despite cleaning, consider having your water tested professionally or use home water softening devices. Soft water drastically reduces mineral deposits, ensuring a cleaner, more reliable operation. I once switched to a softer water source and saw a dramatic drop in crust and scale build-up, making my weekly cleaning sessions quicker and more effective.
When to Seek Professional Help
If despite systematic cleaning and water treatment the crust persists or thickens, schedule a professional descaling service. Technicians can disassemble and descale internal components that are inaccessible during routine cleaning. I learned this the hard way when I ignored stubborn crusts—eventually, I needed professional help to fully restore my machine’s performance and prevent damage to sensitive parts.
Many home baristas dive into gear selection with enthusiasm but often fall prey to misconceptions that hinder their progress and sometimes even damage their equipment. One prevalent myth is that investing in the most expensive machine guarantees great espresso, but in my experience, understanding the nuances of your specific gear and how to optimize its performance matters far more. For instance, a high-end espresso machine won’t perform at its best without proper maintenance and suitable accessories. It’s a common trap to focus only on equipment cost, neglecting the importance of compatible grinders and proper tamping techniques, which are crucial for extracting balanced shots.
Why Overlooking Grinder Compatibility Can Wreck Your Coffee
Many beginners assume any grinder will do once they’ve purchased an espresso machine. However, grinder quality directly impacts shot quality, and misaligned burrs or inappropriate grind size can lead to under or over-extraction, even with a top-tier machine. Regularly calibrating your grinder and choosing one with burrs suited for espresso ensures consistency. I recommend reading about how to select the perfect coffee grinder here. Ignoring this often-overlooked detail can be an expensive mistake that hampers taste and ruins beans prematurely.
Another misconception is that expensive milk frothers automatically create barista-quality foam. The truth is, technique and milk temperature are just as critical. Many jump straight into buying fancy frothers without mastering basic steaming skills, which leads to dry or uneven foam. For tips on mastering milk texturing, see this guide. Overemphasizing gear over technique results in wasted money and subpar drinks.
Advanced Tip: Do You Know When Your Brew Pressure Is Off?
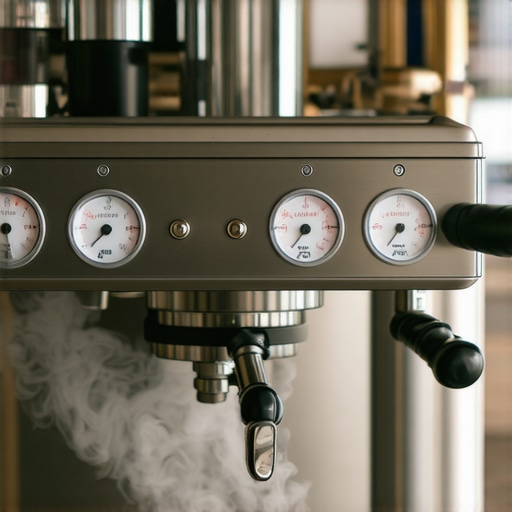
For seasoned enthusiasts, understanding the subtle impacts of brew pressure is a game-changer. An improperly set pump pressure can cause channeling, uneven extraction, and bitter or sour flavors. Many assume that once their machine heats up, pressure is automatically correct—all machines have adjustable pressure settings, but they’re often overlooked. Knowing how to read your pressure gauge and calibrate it properly can elevate your espresso game. Tech experts note that even small variations in pressure can significantly affect flavor, so investing in a gauge and learning to interpret it is worth the effort. Check out detailed pressure calibration tips at here. Skipping this advanced step is a common mistake that prevents true mastery.
So, what’s the real takeaway? Don’t be lulled into believing that gear alone makes perfect coffee. Focus on understanding nuanced factors like grinder compatibility, technique finesse, and pressure calibration. Mastering these details transforms your home setup from average to pro-level. Remember, continuous learning and experimentation are the keys to brewing excellence. Have you ever fallen into this trap? Let me know in the comments, and share your experience with gear misconceptions.
How Do I Keep My Equipment Running Smoothly Over Time?
Maintaining your espresso gear is vital for consistent quality and longevity. I personally rely on a few specialized tools that make regular upkeep much easier. For instance, I use a burr grinder calibration tool to ensure my grinder maintains optimal particle size—calibration can drift over time, impacting shot quality. To check and adjust, I follow detailed guides like this calibration process. Investing in a digital moisture and hardness tester helps me monitor water hardness levels, which directly affects scale buildup and crust formation, as discussed earlier. For deep cleaning the coffee pathway, I utilize a group head cleaning brush that reaches into the tight spaces of the E61 and shower screens. Regular use of these tools ensures my machine stays responsive and produces flavorful espresso long-term.
Software and accessories also play a significant role in maintenance. I’ve integrated a water filtration system to reduce mineral deposits, advancing from basic tap water to filtered, soft water—an upgrade that aligns with the advice to use selecting the right water treatment. Additionally, I set recurring reminders to descale every 1-3 months, preventing scale from impairing heat transfer and flow. Using a timed cleaning schedule not only extends the lifespan of my espresso machine but also ensures consistent flavor extraction.
What Are the Best Tools for Long-Term Results?
Beyond basic tools, I recommend a few game-changers. A pressure gauge allows me to monitor brew pressure accurately, ensuring that my shots are dialed in perfectly—a step that can significantly improve extraction consistency. For grinders, I prefer models with adjustable burrs with clear calibration markings, making tweaks straightforward. To track routine maintenance, I keep a log on a dedicated app, which reminds me to clean or replace parts before issues develop. As technology advances, I expect smart sensors embedded in espresso machines will soon provide real-time data on scale buildup, temperature fluctuations, and component wear—pushing us toward more self-maintaining setups.
Keep It Going: Regular Checks and Upgrades
Consistent attention to your gear means periodically reassessing your setup. Upgrading filters when their capacity is reached or replacing worn group gaskets prevents leaks and maintains water temperature stability. For example, I upgraded my espresso machine’s water filtration system to a dual-stage filter, drastically reducing descaling frequency. Don’t shy away from testing different accessories; sometimes, a small upgrade can make a big difference in your coffee quality and machine reliability.
Take your maintenance to the next level by integrating advanced tools and routines. For an immediate upgrade, try calibrating your grinder with an easy calibration kit—it’s a straightforward step that can significantly improve your espresso consistency.
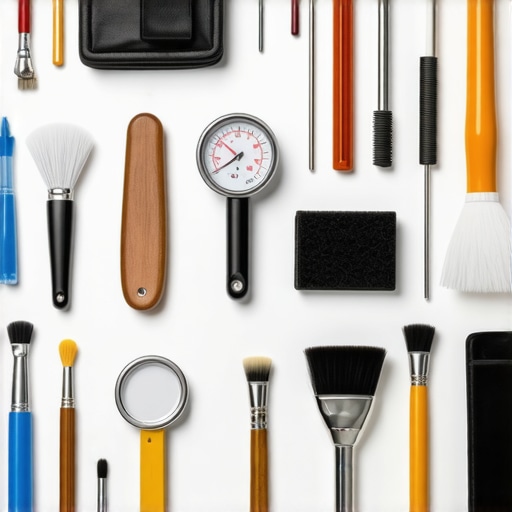
Image Description: A close-up of various espresso maintenance tools laid out neatly, including a burr grinder calibration tool, group head brush, and water testing kits.
As I concluded my latest cleaning ritual, a realization struck me: the journey to perfect home espresso isn’t just about buying top-tier gear—it’s about understanding and maintaining it. That white crust on my machine, once a mere nuisance, became a catalyst for deeper knowledge and better brewing habits. Recognizing these hidden signs and acting early saves not only your equipment but also elevates your coffee’s flavor to a new level.
Lessons From My Journey That Changed Everything
- The Seen Is Not Always The Whole Story: The crust visually seemed minor, but it signaled serious mineral deposits beneath the surface. Regular internal flushing and descaling prevented future issues I didn’t realize were looming.
- Patience Trumps Quick Fixes: Wiping it off wasn’t enough. Diving into proper descaling routines saved my machine from costly repairs and kept my shots tasting consistent.
- Water Quality Matters More Than You Think: Filtering my water was a game-changer, dramatically reducing scale buildup and improving overall brew quality.
- Maintenance Becomes Meditative: Developing a routine made the process almost therapeutic—transforming cleaning from a chore into a ritual of care that rewards my palate.
- Knowledge Empowers Your Coffee: Understanding how each component impacts flavor helped me make smarter choices about upgrades and techniques, leading to a more satisfying espresso experience.
My Go-To Resources for Espresso Excellence
- Choosing the Best Barista Gear: This comprehensive guide has been my cornerstone in selecting equipment that truly suits my brewing style and needs.
- Milk Frothers That Transform Your Coffee: Mastering milk texture has brought my lattes from good to café-quality, making every cup a pleasure.
- Mastering Home Espresso: Tips and tricks from seasoned baristas helped me troubleshoot common issues and refine my technique.
- Choosing the Perfect Coffee Grinder: An essential read that clarified the critical role of grind size and consistency in my brewing success.
Now It’s Your Turn to Elevate Your Espresso Game
Every shot you pull and every ounce of effort you invest cultivates a deeper connection with your craft. Remember, the path to outstanding home espresso is paved with curiosity, patience, and consistent maintenance. Don’t shy away from experimenting, learning, and upgrading—your future self will thank you for the satisfying moments of a crust-free brew and the joy of mastering your machine.
What’s the first step you’re excited to try in your journey toward better espresso? Share your plans below and join the community of passionate home baristas!