The Best Way to Clean a Grinder Without Taking it Apart
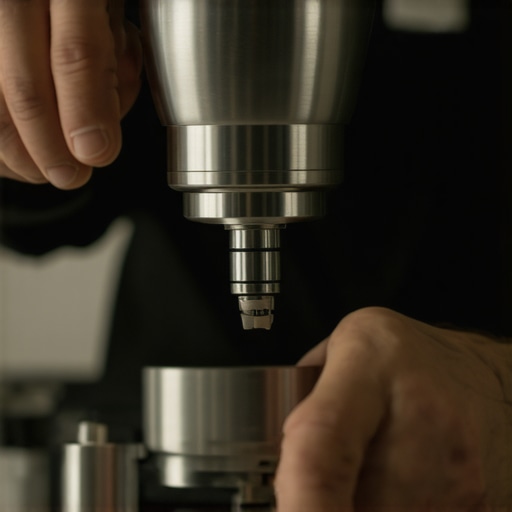
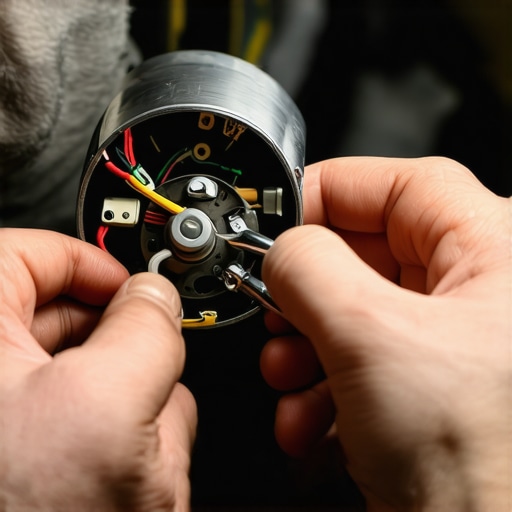
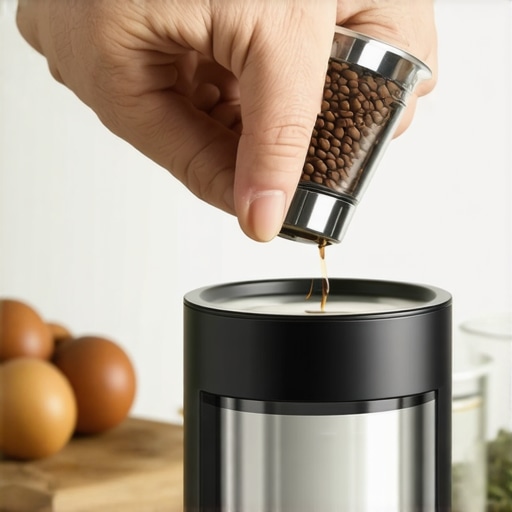
I remember the exact moment I realized I was doing it all wrong. It was a Tuesday morning, 6:00 AM, and my kitchen floor was covered in tiny, oily springs and a very confused-looking washer. I’d decided to ‘deep clean’ my grinder by taking the whole thing apart—a task I thought was mandatory for any serious coffee lover. But there I was, caffeine-deprived and holding a screwdriver, while my wife asked if we were having metal for breakfast. It was a nightmare. The smell of old coffee is wonderful—until it’s not. There is a specific, sharp, almost metallic stench that comes from old grinds trapped in your machine’s internals. It’s the ghost of beans past, and it ruins your $20 bag of specialty roast. If you’ve ever felt that pit in your stomach when you realize you might not be able to put your barista gear back together, this is for you. Today, I’m going to show you how to get that ‘factory fresh’ taste back without ever touching a tool kit. [image_placeholder]
Why I Stopped Taking My Grinder Apart Every Weekend
The truth is, modern coffee grinders are precision instruments. Every time you wrench them open, you risk stripping a screw or, worse, losing your zero point. I learned this the hard way when I spent three hours trying to dial in decaf after a botched reassembly. Rancid coffee oils are the enemy, yes, but you don’t need a surgical theater to defeat them. I’d spend my Saturday mornings scrubbing burrs with a toothbrush, only to find my espresso machines still producing bitter shots because I hadn’t actually addressed the root cause: the hidden oils. According to a study by the Specialty Coffee Association, coffee oils begin to oxidize almost immediately upon contact with air, which is why your shots might taste like burnt rubber even if your technique is perfect. I used to think using rice was a clever hack, but that was a huge mistake that almost seized my motor and left a dusty residue everywhere. I once even jammed my chute trying to poke a pipe cleaner where it didn’t belong. It was a mess, and frankly, it took the joy out of the hobby.
Does skip-the-teardown cleaning actually work?
You might be thinking, ‘Can a few pellets really replace a physical scrub?’ I was skeptical too. I thought if I didn’t see the metal shining, it wasn’t clean. But after switching to a ‘no-teardown’ routine using specialized cleaning tablets, my home espresso has never tasted cleaner. These pellets are designed to absorb the oils that a brush just smears around. It’s about maintenance, not just repair. Have you ever spent an entire morning trying to put your grinder back together only to have it sound like a box of rocks? Leave a comment and let me know—I need to know I’m not the only one who’s been there.
Empty the Hopper Before You Begin
To start, you need a clean slate. If you notice why your coffee beans are sticking to the sides of the hopper, use a microfiber cloth to wipe away any visible residue. You don’t want old, oily bean debris mixing with your cleaning agent. This is the foundation of the best way to clean a grinder without losing your settings. Once the hopper is empty, run the motor for a few seconds to purge any loose beans hiding in the throat.
Let the Cleaning Pellets Do the Heavy Lifting
This is where the magic happens. These pellets are usually made from grain-based binders that act like a magnetic sponge for coffee oils. Measure out the recommended dose—usually about 35 to 40 grams—and toss them in. Set your grinder to a medium-coarse setting. If the setting is too fine, the pellets can turn into a dense paste; too coarse, and they won’t make enough contact with the burrs to scrub the oils away. 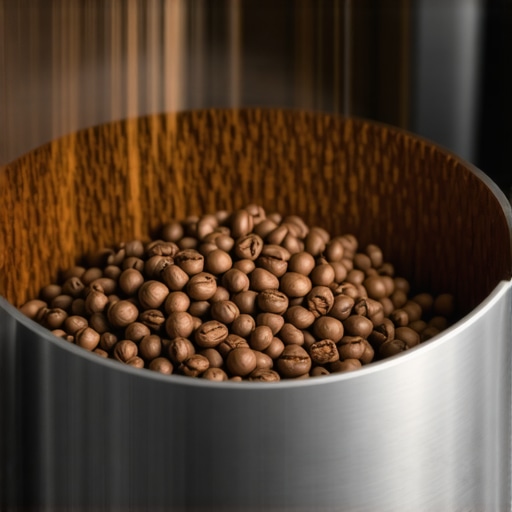
Why the Medium Setting Matters
I remember the first time I tried this; I had my grinder set to a superfine espresso grind. The machine started to groan, and I realized why your grinder keeps turning off in the middle of a dose—the motor was struggling to push the compressed pellet dust through the burrs. I had to back it off immediately. Now, I always aim for something that looks like sea salt.
Don’t Skip the Sacrifice Beans
Once the pellets have vanished into the abyss, you’ll see a yellowish-white dust coming out of the chute. This is completely normal, but you definitely don’t want to drink it. To ensure your next shot doesn’t taste like a bowl of plain oatmeal, you need to run a handful of ‘sacrifice’ coffee beans through the system. This effectively ‘re-seasons’ the burrs with fresh oils and pushes out every last molecule of cleaning dust. If you skip this, you might wonder the real reason your espresso tastes like burnt rubber or cardboard during your morning brew.
Keep the Dust Under Control
During this purge, you might notice how to stop your portafilter from sneezing coffee grounds by using a dosing cup or a damp paper towel over the exit. The fine dust from the pellets can be static-heavy and tends to fly everywhere.
Clean the Chute with Surgical Precision
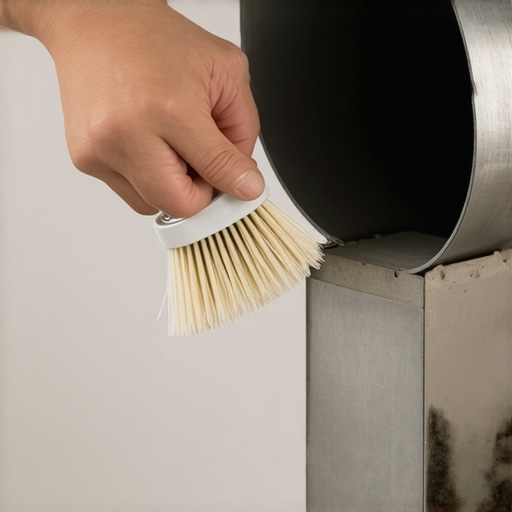
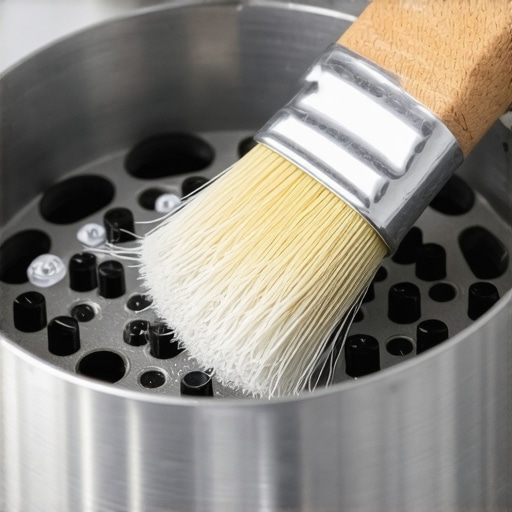
Even with the best pellets, some gunk can get trapped in the ‘elbow’ of the exit chute. Instead of poking a metal paperclip in there—which is a recipe for disaster—use the cotton swab trick for cleaning hidden grinder crevices. It is gentle enough not to damage any plastic flaps but effective enough to pull out the dark, sticky residue that pellets might miss. While you are at it, check your machine’s exterior; if you have a premium unit, you should also know why your wood accents are cracking and how to oil them to keep the whole setup looking as good as it performs.One of the biggest lies we are told in the coffee world is that a ‘squeaky clean’ grinder is always a happy grinder. In reality, there is a delicate sweet spot between a rancid oil factory and a sterile laboratory. When you use cleaning pellets, you are stripping away the layers of ‘seasoning’ that actually help stabilize your flow rate. A study by the Specialty Coffee Association (SCA) suggests that the interaction between coffee oils and the metal surface of the burrs significantly affects the friction coefficient during grinding. This means that immediately after a deep clean, your grinder might actually produce more fines than usual, leading to a muddy cup. 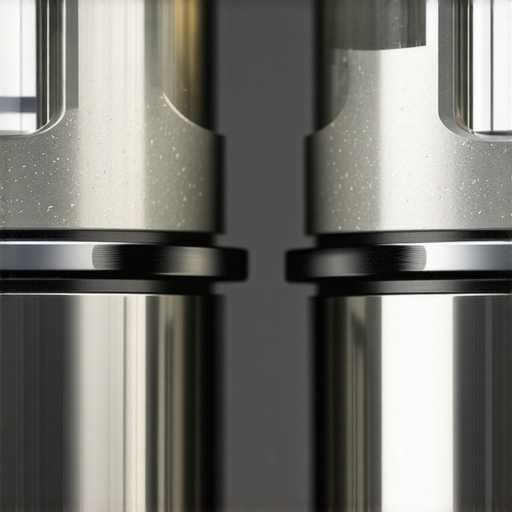
The Clean Grinder Paradox and the Fines Trap
This leads to the most common ‘oops’ factor I see: over-adjusting your coffee grinders right after maintenance. People clean their machine, pull a shot, see it’s running too fast or slow, and immediately crank the dial. Stop! You need to let those sacrifice beans do their job to re-coat the metal. If you don’t, you will be chasing your tail all morning. I have seen enthusiasts get so frustrated they think they need to troubleshoot how to tell if your espresso machine solenoid is failing, when in reality, the burrs just haven’t settled back into their groove. Have you ever fallen into this trap of over-cleaning and then losing your mind trying to find your zero point again? Let me know in the comments.
Why do my shots run fast after a thorough cleaning?
It is not just your imagination; it is physics. When you remove every trace of oil, the surface of the burrs is ‘naked.’ This can lead to increased static and a change in particle distribution. If you are a light roast lover, you might even notice why your wdt tool pins are too thick for light roasts because the texture of the grounds has shifted post-cleaning. Advanced users often find that the tinfoil shim move for perfectly aligned grinders is necessary because the act of cleaning can slightly shift the burr carrier if you aren’t careful with your reassembly torque.
Heat Friction and the Hidden Variable
Another nuance people miss is thermal expansion. If you are running large amounts of cleaning pellets and then sacrifice beans back-to-back, you will notice why your grinder burrs are getting hot during a single dose. Heat expands metal. If your burrs expand, your grind size effectively gets finer even though you haven’t touched the dial. This is why professional baristas purge and then wait for the metal to reach an equilibrium temperature. While focusing on the internal mechanics, do not ignore the rest of your barista gear. A clean grinder is useless if why your steam wand pressure cuts out after 10 seconds or if your why your group head gasket is leaking after just one month because you used harsh chemicals instead of gentle maintenance. For those with premium setups, remember that why your wood accents are cracking and how to oil them is just as vital as the internal burr health for the longevity of your equipment. For more technical deep dives, explore our guide on mastering the art of home espresso tips for beginners to ensure every variable is under your control.
Stop the slow death of your steam wand
It’s easy to focus solely on the grinder, but your espresso machine is a complex ecosystem where water and milk are the biggest threats. I used to be lazy with my cleaning, only to wonder why your steam tip holes keep clogging every single day. The reality is that milk proteins bake onto the metal almost instantly. I’ve adopted the 2-minute habit that prevents clogged steam wands, which essentially involves a three-second purge before and after every use. If you’ve ever noticed why your steam wand loses pressure halfway through frothing, it’s likely due to internal scale or a partial blockage that a simple purge could have prevented. Maintenance isn’t about the big deep cleans; it’s about these tiny, non-negotiable rituals.
Little fixes that make your machine feel high-end
Sometimes, the difference between a budget feel and a luxury experience is just a bit of DIY ingenuity. For instance, I couldn’t stand the vibration noise on my machine until I discovered how to stop your drip tray from rattling on every shot using small adhesive silicone pads. Internally, I’ve even used the zip tie fix for loose espresso machine tubing to ensure that high-pressure lines don’t rub against the frame and cause a leak. These are the specific, unglamorous tasks that the manuals don’t tell you about, but they keep your gear out of the repair shop. Even if you are using milk frothers that transform your coffee experience, you need to know how to fix a milk frother that wont spin by checking for magnetized debris at the base of the whisk. 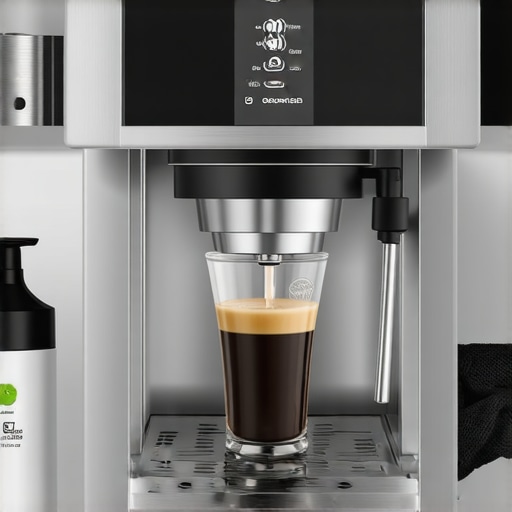
How do I maintain my espresso setup for the long haul?
True longevity comes down to chemical safety and mechanical lubrication. Many beginners make the dish soap mistake that ruined your group head seal, not realizing that harsh detergents strip away the essential oils that keep the rubber supple. According to Chris Coffee’s technical documentation on E61 group head maintenance, neglecting to lubricate the lever cam with food-grade Molykote 111 every few months can lead to irreversible scoring on the internal brass components. This is why I keep a small kit of Molykote and a set of pick tools nearby. If you want your top-rated espresso machines for coffee lovers in 2025 to actually last until 2035, you have to treat them like the precision engines they are.
Where the home espresso world is heading
Looking ahead, I predict we are going to see a massive shift toward ‘self-diagnostic’ barista gear. We are already seeing machines that can detect scale buildup and notify your phone. However, no sensor can replace a human who knows the sound of a healthy pump. As you continue mastering the art of home espresso tips for beginners, don’t just rely on the lights and beeps—use your senses. If you hear a high-pitched whistle, check your gaskets. If the shots are suddenly cold, look at your heating element. My best advice for you today? Go check your steam wand holes right now with a flashlight; if even one is partially blocked, clear it out and see how much better your microfoam becomes instantly.
Hard-Won Truths from My Coffee Counter
I’ve learned that a perfectly clean grinder is often a moody one. If you find your shots are flowing too fast after a deep clean, don’t panic. You likely just need to run more beans through to re-establish that micro-layer of oil that provides the necessary friction. Also, keep an ear out for changes in pitch; if you notice why your rotary pump sounds like it is grinding rocks, it’s usually an early warning sign of scale or cavitation rather than an immediate mechanical failure. Lastly, never underestimate your water. If you aren’t sure how to tell if your water is too soft for brewing, your machine might be struggling to produce the body and crema you expect, regardless of how clean the burrs are.
My Daily Survival Kit for Perfect Espresso
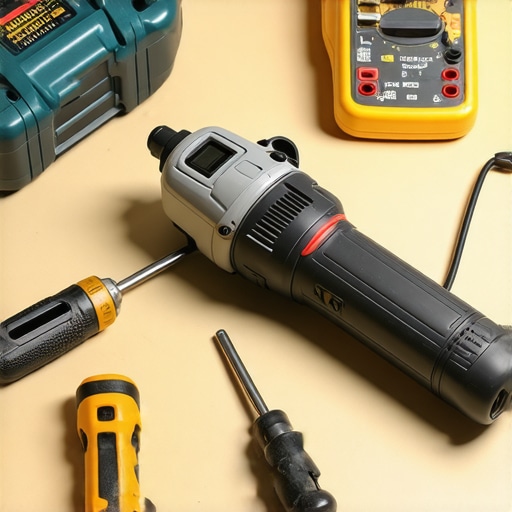
First, I always keep food-grade lubricant like Molykote 111 on hand. It’s the secret to keeping your lever smooth and your gaskets from drying out too soon. Second, I recommend upgrading to high-quality barista gear like VST or IMS precision baskets; but you must learn how to tell if your basket is too large for your dose to avoid a muddy puck and inconsistent extraction. Finally, a simple jeweler’s loupe or a high-powered flashlight is your best friend for inspecting burr wear and finding hidden clogs in the chute that pellets might miss. [image_placeholder]
Turning Ritual into Mastery
At the end of the day, your gear is an extension of your passion. Don’t let the technical side overwhelm the simple joy of that first morning sip. Every time you clean a sensor, purge a wand, or season your burrs, you’re becoming a better home barista. Keep refining your skills and expanding your knowledge by mastering the art of home espresso tips for beginners, and soon the maintenance will feel as natural as the tamping process itself. What’s the one part of your grinder or machine that always gives you trouble when you try to clean it? Let’s swap tips in the comments below!