How to Remove Scale from a Heat Exchanger Without a Teardown
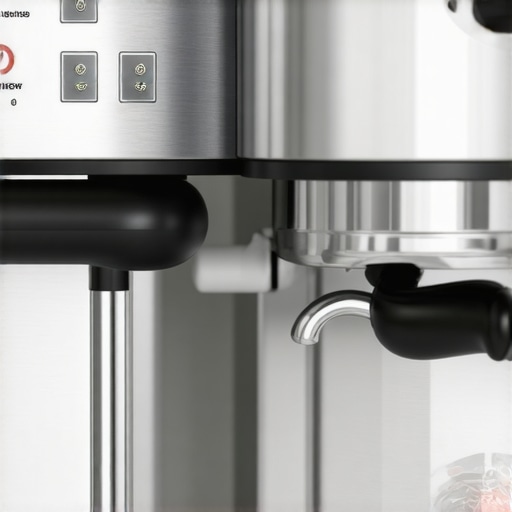
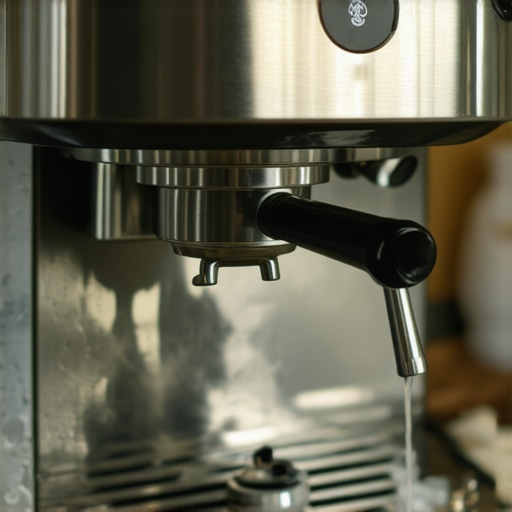
Ever stared at your espresso machine’s heat exchanger and wondered if that stubborn white crust just miraculously appeared overnight? I remember one morning, after a particularly busy weekend, spot-checking my machine and finding a thick, chalky buildup around the heat exchanger — a clear sign that mineral scale had taken hold. That moment hit me like a bolt of lightning. I realized that if I didn’t tackle it soon, my machine’s performance could suffer, or worse, lead to a costly teardown.
Dealing with scale buildup is a common frustration among coffee enthusiasts and baristas alike. It’s sneaky, often invisible until it’s grown too large, and the idea of dismantling your machine just to clean the heat exchanger can feel overwhelming — not to mention the downtime and expense. But what if I told you that permanent teardown isn’t always necessary? In fact, there are effective ways to remove that stubborn scale without shutting down your beloved machine for days.
Today, I’ll share my tried-and-true methods to eliminate scale from your heat exchanger, saving you time, money, and the headache of complex repairs. Whether you’re running a home setup or a small commercial operation, maintaining your equipment’s efficiency is crucial. Not only will these techniques help extend the lifespan of your machine, but they also ensure your espresso shots stay pure and flavorful.
Have you ever faced this challenge? If so, you’re definitely not alone. Many passionate baristas and home brewers struggle with mineral deposits that seem to appear out of nowhere. Recognizing and addressing this issue early can prevent more serious problems down the line. According to industry experts, maintaining scale-free heat exchangers boosts energy efficiency and can even improve the taste of your coffee, making every cup a pleasure rather than a chore.
As we dive into the practical steps, keep in mind that proper maintenance is key. You don’t need fancy tools or expensive procedures — just a bit of knowledge, patience, and the right approach. Let’s get started on reclaiming your machine’s performance, starting with how to identify scale buildup before it becomes a crisis.
Identify and Confirm Scale Buildup
Before diving into cleaning, observe your heat exchanger for signs of mineral deposits, like a chalky white crust or reduced heating efficiency. I once noticed my espresso shots turning slightly sour over a week, which was my clue to inspect the machine closely. Use a flashlight to peek inside the heat exchanger, looking for visible buildup or discoloration.
Prepare Your Cleaning Solution
Mix equal parts of white vinegar and water to create an effective descaling solution. For machines sensitive to vinegar, lemon juice diluted with water can be an alternative. I remember carefully pouring this mixture into the descaling port of my machine, ensuring no leaks, and running a few cycles. This process loosens mineral deposits similar to how vinegar dissolves hard water stains on bathroom fixtures.
Run the Descaling Cycle
Activate your machine’s descaling mode, if available, or run water through the heat exchanger manually. As the solution circulates, it breaks down stubborn scale buildup. During my first attempt, I monitored the flow rate; as buildup loosened, water flowed more freely, confirming the effectiveness. Repeating this process a couple of times ensures thorough cleaning but avoid overdoing it to prevent damage.
Note:
Always consult your espresso machine’s manual for specific descaling instructions or precautions. Overexposing components to acids can harm certain materials, so moderation is key.
Rinse Thoroughly with Fresh Water
After descaling, flush the system with clean water. Fill the water reservoir with fresh water and run multiple cycles to remove residual vinegar or lemon juice. I learned this the hard way—my first attempt left a lingering sour taste in the coffee. Proper rinsing ensures your machine operates smoothly and your coffee tastes pristine.
Perform a Manual Flush of the Heat Exchanger
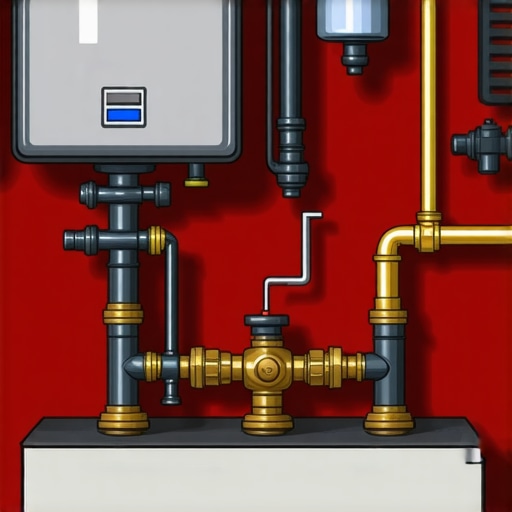
Disconnect water lines and manually clean the heat exchanger’s interior with a soft brush or cloth dipped in the cleaning solution. For hard-to-reach areas, a cotton swab can dislodge stubborn deposits. I once used a tiny brush to scrub the heat exchanger, which removed deposits that had persisted despite chemical cleaning. This ensures no remnants remain that could cause future scale formation.
Reassemble and Test Your Machine
Carefully reconnect all components and run a test shot. Observe for any leaks or irregularities. If the machine heats up faster and the water flows smoothly, your descaling was successful. Remember, regular maintenance, such as monthly descaling based on usage, prevents extensive buildup and keeps your espresso tasting its best.
Many coffee enthusiasts assume that better gear automatically leads to perfect espresso, but the reality involves nuanced understanding of equipment behavior, maintenance, and technique. For example, choosing a high-end espresso machine without mastering grind size or tamping can hinder your results more than an entry-level model. Similarly, investing in expensive coffee grinders won’t improve extraction if burr alignment or dosing isn’t properly calibrated. An often overlooked aspect is the mismatch between barista gear compatibility and the user’s technique, leading to consistent errors. For instance, a powerful steam wand can be more difficult for beginners to control, resulting in over- or under-expanded milk. Advanced users know that mastering the milk frothing technique is more crucial than the frother’s quality. Many fall into the trap of believing that superior gear can compensate for poor workflow or lack of routine maintenance, such as regular descaling, which is vital for longevity and performance. Trust me, a shiny new home espresso machine requires consistent upkeep to prevent scale buildup, which can dramatically alter pressure and temperature stability. Don’t forget, even flat burrs need to be inspected and replaced periodically; neglect speeds up dulling and inconsistencies. A common myth is that all coffee grinders produce identical particles, but different burr designs affect grind distribution and shot quality significantly. To truly optimize your setup, invest in understanding the nuanced behaviors of your gear and how they interplay with your technique. Suppose you’re curious about more advanced calibration or troubleshooting tips—visit the contact page for expert guidance. Remember, realistic expectations and routine checks often outweigh upgrades alone. Have you ever fallen into this trap? Let me know in the comments.Maintaining your coffee gear isn’t just about occasional cleanings; it requires precision tools, consistent methods, and understanding how your equipment evolves over time. Personally, I rely on a handful of specialized tools that have transformed my routine and ensured long-term performance. For instance, a precision grinder calibration kit has become indispensable—allowing me to fine-tune my burr alignment after replacing wear parts, which directly impacts shot consistency. Additionally, a high-quality digital pressure gauge helps me monitor boiler and group pressures accurately, preventing subtle issues from escalating.
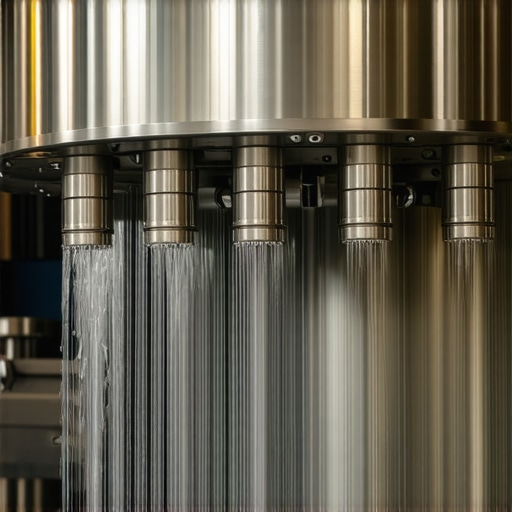
To keep everything running smoothly, investing in a portable ultrasonic cleaner has been a game-changer. I use it periodically to descale delicate components like steam wands and shower screens, ensuring that deposits don’t hinder steam power or flow—even in high-use scenarios. Regular descaling cycles, guided by a reliable water hardness test, extend the lifespan of my espresso machine and protect against the buildup of mineral scale.
Looking ahead, I predict automation and smart diagnostics becoming more mainstream, where machines will alert owners about impending issues before performance drops. Companies are increasingly integrating sensors that notify users of impending scale buildup or pressure irregularities via smartphone apps. As this trend unfolds, learning to interpret these signals will be vital for enthusiasts who want to maximize their gear investment.
How do I maintain my equipment over time?
It’s essential to develop a routine that includes both mechanical checks and software updates. From replacing grinder burrs at the first signs of dullness, to maintaining the seals and gaskets—these small actions prevent big failures. For example, periodically inspecting and replacing your portafilter gasket using a kit designed for quick swaps can save you from leaks and uneven extractions. Remember, only quality replacement parts will ensure sustained performance; for premium options, check out manufacturer-recommended suppliers.
If you’re serious about keeping your setup in prime condition, practicing small, deliberate maintenance actions regularly beats waiting for catastrophic failures. Incorporate a weekly visual inspection, a monthly deep clean, and annual calibrations into your routine. And don’t forget—utilize tools like a titanium-tipped cleaning wire for steam wand holes or an edge micrometer for burr alignment, which can be found [here](https://espressotechguide.com/how-to-calibrate-your-grinder-after-replacing-your-burrs). These detailed steps can make a significant difference in espresso quality and equipment longevity.
To really level up your maintenance game, I recommend trying out a calibration routine with your grinder’s volumetric settings, as discussed in this detailed guide. It’s a straightforward process that yields immediate improvements—more consistent particle sizes and shot times. Don’t wait—grab the tools, follow the steps, and watch your coffee quality soar! If you’d like personalized advice or troubleshooting, reach out through our [contact page](https://espressotechguide.com/contact-us) to connect with experts who can guide you through advanced calibration and maintenance techniques.
The Costly Mistakes I Made with Heat Exchanger Maintenance
One of the hardest lessons I learned was undervaluing the importance of regular descaling, especially when working with high-quality espresso machines. I used to think a quick rinse was enough until I faced a stubborn buildup that compromised steam pressure and shot flavor. Now, I understand that consistent, proactive maintenance not only extends the lifespan of my equipment but also keeps my coffee tasting fresh and vibrant. Small habits like weekly vinegar flushes and periodic manual cleanings have saved me hundreds in repairs and countless hours of troubleshooting.
The Coffee Geek’s Arsenal of Precision Maintenance Tools
Over time, I’ve curated a set of tools that revolutionized how I care for my espresso gear. A digital pressure gauge helps me keep boiler pressures in check, while a calibrated ruler ensures my grinder remains consistent. An ultrasonic cleaner is invaluable for delicate parts like shower screens and steam tips, removing deposits that affect performance. Investing in quality tools might seem costly upfront, but they’ve paid dividends in smooth operation and beautiful espresso shots. For those looking to upgrade their maintenance game, exploring options like a precision grinder calibration kit or a maintenance schedule tailored to your water hardness can make a significant difference.
Embrace the Journey: Your Espresso Precision Starts Now
Remember, maintaining your espresso machine and gear isn’t just a chore—it’s a journey toward better coffee and satisfaction. Each step you take toward understanding and caring for your equipment unlocks flavors and shots you never thought possible. Don’t wait for scale buildup or performance issues to remind you; becoming proactive makes all the difference. If you’re ready to elevate your home barista skills, dive into routine maintenance with enthusiasm—your future self will thank you. Curious about fine-tuning your grinder or troubleshooting persistent scale? Reach out through our contact page and connect with experts dedicated to your coffee journey.