Why Your Espresso Pressure Drops Suddenly During the Shot
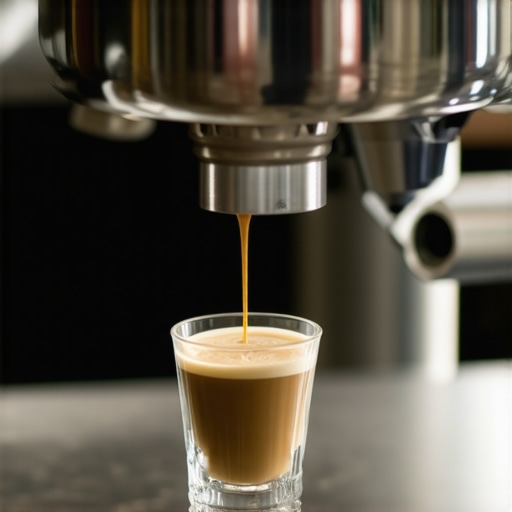
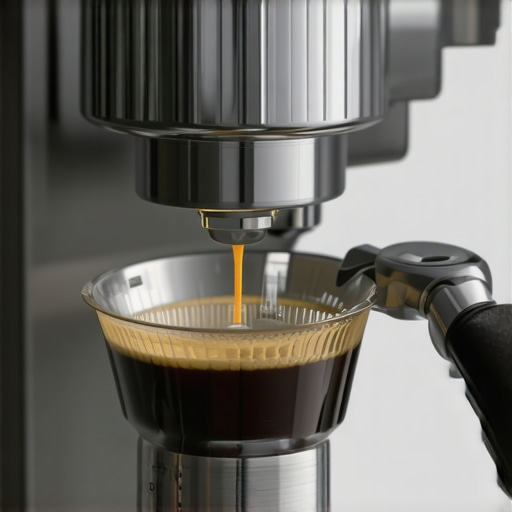
The sun was barely up, the kitchen was quiet, and I was about to pull what looked like the ‘God Shot.’ The crema was tiger-striped, the aroma was filling the room, and the needle on my gauge was pegged at a perfect 9 bars. Then, halfway through, it happened. The needle plummeted like a lead weight, settling at a weak 3 bars while the stream turned into a watery mess. I stood there, portafilter in hand, feeling like I’d just watched a soufflé collapse in a drafty kitchen. It is a gut-punch for any home barista, and if you have been staring at your machine in confusion, I want you to know you are not alone. Today, we are going to get to the bottom of why your pressure vanishes mid-extraction and how to keep those shots rock-solid from start to finish.
The Moment Your Pressure Gauge Takes a Dive
When I first started mastering the art of home espresso, I made the classic rookie mistake of thinking that if the pump was humming, the pressure was guaranteed. I spent weeks blaming my machine’s internals, convinced I had a faulty valve or a dying pump. But more often than not, a sudden drop in pressure isn’t a mechanical tragedy; it is a structural failure inside your coffee puck. Think of your coffee grounds as a dam. If the dam develops a crack, the water doesn’t just leak; it carves a path, and the resistance—which is what creates that pressure—disappears instantly. If you have noticed why your espresso shot slows down midway through the pull, you are seeing the opposite problem, but both come down to how the water interacts with your grind.
Is my expensive machine actually broken?
This is the fear that keeps us up at night, right? We spend a paycheck on top-rated espresso machines only to have the needle dance around like a caffeine-charged squirrel. While a failing solenoid can cause issues, the most common culprit is ‘channeling.’ This happens when the water finds a weak spot in your tamping and blasts a hole through it. According to research on espresso extraction dynamics, the physical structure of the coffee puck changes drastically as soluble solids are removed, which can lead to a sudden decrease in flow resistance if the puck integrity fails. You might even need to try the flashlight move for finding hidden channeling paths to see if your puck is literally disintegrating under the heat. Have you ever seen your pressure gauge drop mid-shot and felt that immediate urge to just walk away and drink tea instead? It is frustrating, but it is also a signal that your preparation needs a little neighborly advice. We are going to look at everything from your grind consistency to the way you lock that portafilter in place.
Stop the Mid-Shot Collapse with Better Puck Prep
To fix a plummeting pressure gauge, we have to look at the ‘puck’—that compressed disc of coffee. If the water finds an easy way through, it will take it every single time. Here is how you stop that from happening and keep your home espresso shots flowing beautifully.
Your Grinder Might Be Throwing Clumps
Many enthusiasts don’t realize that even high-end coffee grinders can produce static-filled clumps. If those clumps aren’t broken up, they create density pockets. Imagine building a wall with bricks of different sizes; eventually, the structure fails because the load isn’t distributed. If you have wondered why your coffee grounds are clumping together, it is usually a mix of humidity and static. These clumps leave microscopic air gaps that the pressurized water exploits, carving out a channel and leading to that sudden pressure drop.
The Distribution Trick That Saves Your Shot
I learned this the hard way one Tuesday morning. I was rushing to a meeting, skipped my usual distribution routine, and just jammed the tamper down. Five seconds into the extraction, a literal jet of espresso sprayed my white shirt while the pressure gauge bottomed out instantly. It was a mess. Now, I never skip using a WDT (Weiss Distribution Technique) tool. By stirring the grounds with thin needles, you ensure the density is identical from the center to the edges. When you are learning how to select the perfect coffee grinder for your brew, look for one with low retention and minimal clumping to make this process even smoother.
Stop Tipping Your Tamper
If your tamper isn’t perfectly level, one side of the puck will be thinner or less dense than the other. Water is naturally lazy; it will rush to the thin side, blow a hole through the coffee, and your pressure will vanish into thin air. I used to struggle with a slight ‘lean’ in my tamping until I looked into the truth about using spring-loaded tampers for even shots. These tools provide a physical guide or a ‘stop’ that ensures a level surface every time, preventing the lopsided erosion that causes mid-shot failure.
Watch Your Headspace
The gap between the top of your coffee and the shower screen of your espresso machines is critical. If there is too much room (too much headspace), the water crashes onto the puck like a tidal wave instead of a gentle, controlled flow. This impact can shatter the surface of the coffee. You can usually how to tell if your basket is too large for your dose by checking the puck after the shot—if it is soupy and has a crater in the middle, you probably have too much headspace. Aim for just a couple of millimeters of clearance so the puck stays intact under the full force of the pump.
Let’s dig deeper into the physics of what is happening under that group head. While we often talk about the basics of tamping, there is a whole layer of nuance that separates a decent home barista from a true expert. If you have been following the standard advice and still find your shots collapsing, it is time to look at the factors that the ‘intro to espresso’ guides usually gloss over.
The Nine-Bar Obsession is Actually Killing Your Nuance
Everyone tells you that 9 bars is the magic number, but in my experience, chasing that rigid benchmark is a trap. When you force water at such high pressure through a puck, you are actually increasing the likelihood of structural failure. Think of it this way: the harder you push, the faster a small flaw becomes a massive crater. In fact, many professional baristas are now advocating for 6 or 7 bar extractions to achieve a more forgiving, sweeter shot. This is the move for better espresso without buying a new machine that most people ignore because they are too focused on the gauge hitting that specific 9-bar line. High pressure can compress the coffee so tightly that it creates ‘fines migration,’ where tiny particles clog the bottom of the basket, leading to an uneven flow that eventually bursts through the side of the puck.
Don’t Let ‘Ultra-Fresh’ Beans Sabotage Your Pressure
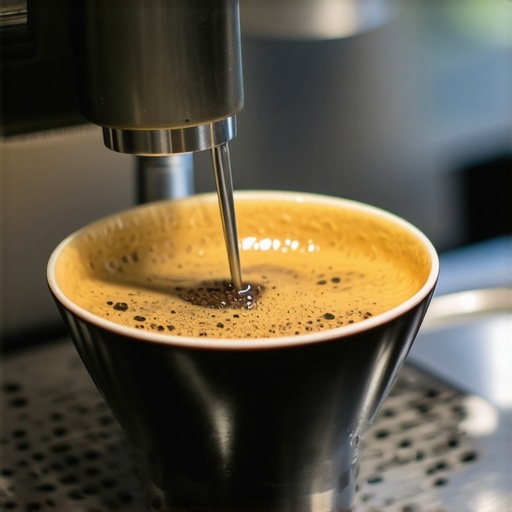
We are told that fresh is best, but there is a massive ‘oops’ factor here. If your beans were roasted yesterday, they are packed with CO2. During extraction, that gas wants to escape. This creates turbulence inside the puck that can literally push the coffee grounds apart from the inside out. If you have ever wondered how to tell if your coffee beans are too fresh for espresso, look for excessive bubbling in the crema and a pressure gauge that refuses to stay steady. The off-gassing disrupts the water’s path, leading to that dreaded mid-shot drop as the gas pockets collapse and leave holes in your preparation.
Why do your grinder settings feel like they changed overnight?
It is the most common frustration in the hobby. You dialed in the perfect shot at 8 PM, but at 7 AM, the exact same setting produces a watery mess. This isn’t your machine playing tricks on you; it is a matter of hygroscopy. Coffee beans are sponges for moisture. A study on the computational modeling of espresso extraction, published in the journal Matter, highlights how particle size distribution and environmental humidity significantly alter how water moves through the puck. When the humidity shifts, the beans grind differently, and the way they pack together changes. If you are struggling with this, understanding why your grinder settings feel like they changed overnight will save you more beans than any expensive gadget ever could.
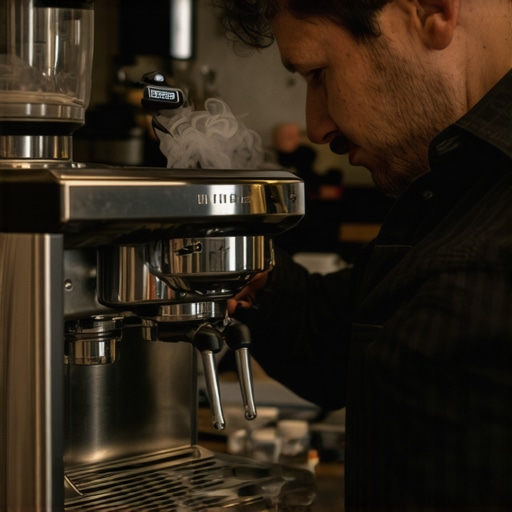
The Paper Filter Trick You’re Probably Ignoring
If you want to stabilize your pressure and stop the collapse, consider the simple paper filter trick for better bottomless shots. By placing a small paper circle at the bottom of your basket, you provide a consistent secondary resistance layer. This prevents those microscopic ‘fines’ from clogging your basket holes and ensures the pressure remains even across the entire surface area. It is a pro-level move that addresses the ‘trap’ of relying solely on metal filters, which can have manufacturing inconsistencies. Also, be wary of using a puck screen as a band-aid. While they help with water distribution, they can often mask poor tamping, leading you to ignore the fact that why your puck screen keeps falling into the knock box might be because your puck is actually soupy and under-extracted underneath. If the needle still dives and you’ve ruled out the puck, it is worth checking how to tell if your espresso machine solenoid is failing, though mechanical failure is rarely the first place you should look. Have you ever fallen into the trap of blaming your gear when it was actually the humidity or the bean age? Let me know in the comments below!
It is easy to get caught up in the ‘it is the wizard, not the wand’ debate, but let us be honest: a wizard with a broken wand is just a guy in a pointy hat. To keep that pressure gauge steady month after month, you need a maintenance routine that is as disciplined as your puck prep. I have found that the best way to clean a grinder without taking it apart involves using specialized cleaning tablets once a week to strip away the rancid oils that cause friction and heat. When you are choosing the best barista gear for coffee enthusiasts, do not just look at the shiny exteriors; look at how easy the machine is to backflush and service. My personal rule is to treat the group head like a holy site; it gets a brush and a flush after every single session, no exceptions.
How can I keep my machine running like new for years?
The secret is not a magic chemical; it is consistency. I swear by the 2-minute habit that prevents clogged steam wands, which simply involves a thorough purge and wipe immediately after every use. If you neglect this, the milk sugars bake onto the metal, eventually restricting the airflow. This same logic applies to your boiler. If you have noticed why your espresso machine takes longer to heat up lately, you are likely seeing the first signs of scale buildup. I personally use a specialized water filter jug to ensure my hardness levels stay low, which is the ‘goldilocks zone’ for both taste and machine safety. For those of you using milk frothers that transform your coffee experience, remember that even a small motor can burn out if you do not know how to fix a milk frother that wont spin by checking for dried residue under the whisk.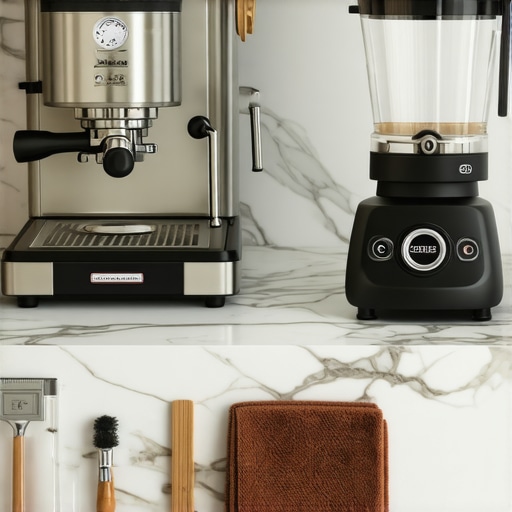 I truly believe we are entering an era of ‘smart extraction.’ In the next five years, I predict we will see home espresso machines equipped with acoustic sensors that ‘listen’ to the density of the puck and adjust the pump flow rate mid-shot to prevent channeling before it even happens. This technical evolution is already being hinted at in the work of experts like Christopher Hendon, a computational chemist at the University of Oregon, who argues in his research on water-coffee interactions that the future of the industry lies in extreme precision and chemical control. Until that AI takes over, my best advice is to focus on the variables you can control today. Try this: Spend one week using a third-party mineral packet in distilled water. It is the single most effective way to stabilize your extraction pressure and reveal the true flavor profile of your beans without fighting your machine’s plumbing.
The Hard Truths I Discovered About Espresso Puck Integrity
After years of wrestling with barista gear, I’ve realized that the pressure gauge is a storyteller, not just a dial. One major lesson is that chasing the ‘perfect’ number often leads to over-tamping, which paradoxically creates the very channels we’re trying to avoid. I also learned that if you don’t rinse your system properly, you’ll encounter the reason your espresso tastes metallic after descaling which can ruin your palate for the next shot. Lastly, small mechanical annoyances matter—learning how to fix the annoying drip after your espresso shot stops helped me realize that consistent backpressure is key to a clean finish.
Tools That Actually Moved the Needle for Me
I don’t believe in buying every gadget on the market, but certain pieces of espresso machines hardware are game-changers. A bottomless portafilter is the best diagnostic tool you can own; it forces you to use the flashlight move for finding hidden channeling paths so you can actually see the disaster happening in real-time. If your hardware feels a bit wobbly, I highly recommend the simple shim fix for a loose portafilter handle to ensure your seal is airtight every single time. Finally, trust your coffee grinders more than your luck—consistent particle size is the foundation of everything we’ve discussed.
#IMAGE_PLACEHOLDER_E#
Don’t Let One Bad Shot Stop Your Journey
The road to home espresso perfection is paved with sink shots and watery messes. Each time that needle drops, it’s not a failure; it’s the machine giving you data. Take a breath, check your puck, and try again. The satisfaction of finally locking in that rock-solid 9-bar flow is worth every ounce of wasted coffee. Have you ever found a specific bean that just refuses to hold pressure no matter what you do? Let me know below!