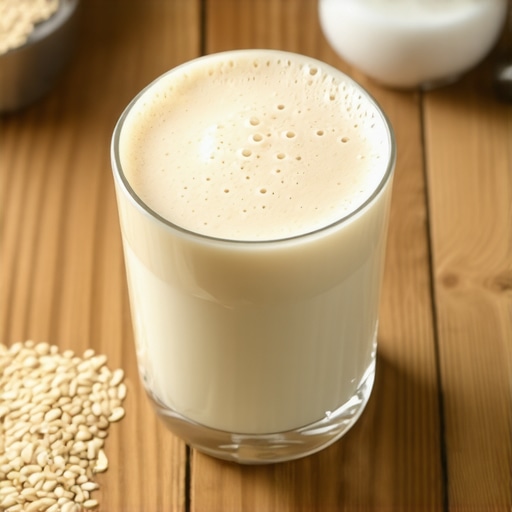
How to Stop Your Milk Frother from Burning the Bottom of the Jug
There I was, proud as a peacock with my brand-new setup, only to realize my kitchen suddenly smelled like a burnt pancake house. I looked down, and my beautiful stainless steel pitcher had a nasty, brown ring of crust fused to the bottom. It wasn’t just a mess; it was a total flavor killer. My first instinct back then was to grab a metal scrubber and go to town—big mistake. I ruined a perfectly good piece of barista gear by scratching the finish, and the next batch of milk still tasted like singed hair. If you’ve struggled with that stubborn brown residue, I promise we can fix it today without buying a new kit every month. It’s all about heat management and a few simple habits I wish someone had told me years ago.
That Burnt Ring Kills Your Coffee Flavor Fast
When I first started mastering home espresso, I assumed heat was always a good thing. I figured more steam meant faster foam and a hotter drink. I was wrong. The reality is that milk proteins are incredibly sensitive to temperature spikes. According to dairy research from the University of Guelph, milk proteins like whey and casein begin to denature and physically bond to metal surfaces at temperatures exceeding 170°F (77°C). Once that happens, you aren’t frothing anymore; you’re essentially frying the milk onto the bottom of your jug. It’s a common trap for beginners. I spent weeks thinking my expensive beans were going stale when the real culprit was the scorched layer in my jug acting like a bitter, acrid spice. This isn’t just about the pitcher, either. If you aren’t careful, that burnt residue can lead to bigger problems, like steam tip holes clogging every single morning. I used to spend my Saturdays poking out dried milk chunks with a paperclip because I didn’t understand the science of the sear.
Can You Actually Save a Scorched Pitcher?
You might think your pitcher is a goner, or that you need harsh chemicals to strip it back to its former glory. I used to reach for the heavy-duty industrial cleaners, which is a classic mistake that can even ruin your machine seals if you’re not careful. The truth is, once the surface is compromised, it becomes even easier for the next batch to burn. It’s a vicious cycle. Have you ever found yourself staring at a scorched pitcher and wondering if you should just switch to cold brew and give up on lattes? I’ve been there, and I know how frustrating it is to feel like your gear is working against you. But before you throw that jug in the bin, let’s talk about why it happens and how a simple 2-minute habit can change your morning routine forever. We’re going to dive into the exact technique shifts and temperature checks that will keep your milk sweet, silky, and—most importantly—off the bottom of the jug.
Start with a Cold Surface Every Single Time
The most effective way to prevent that brown crust is to treat your milk pitcher like a high-performance engine: it needs a cooling system. If your pitcher is sitting on top of your machine’s cup warmer, it’s already halfway to the ‘burn zone’ before the milk even touches it. I once tried to steam a latte with a pitcher that had been baking on my E61 group head for an hour. The milk hit the metal, hissed instantly, and before I could even turn the steam knob, I had a localized scorched spot on the bottom. Now, I keep my pitchers in the fridge or rinse them with cold water before every use. This gives you more time to integrate air and reach that perfect texture before the proteins start to cook onto the steel. This is especially important for milk frothers and manual pitchers alike.
The Three Second Rule for Cleaning
You have to be faster than the heat. As soon as you turn off the steam, that thin film of milk inside the wand and on the bottom of the jug begins to dehydrate. If you wait even thirty seconds to admire your latte art, you’ve basically baked a ceramic coating of milk onto your gear. I call it the ‘Three-Second Rule.’ Within three seconds of finishing your foam, you need to wipe the wand and purge it. If your steam wand pressure cuts out or feels weak, it might already be too late. Purging forces out any milk that got sucked back into the tip, which is the main cause of those nasty odors. I once neglected this during a busy brunch, and by the afternoon, my steam wand smelled like an old gym bag.
Use Your Hand as a Temperature Sensor
Most people burn their milk because they rely on a slow-reacting analog thermometer. By the time the needle hits 160°F, the actual milk temperature is often closer to 175°F because of the lag. I learned to use my palm as a sensor. Hold the bottom of the pitcher; the moment it becomes too hot to touch comfortably, you are at roughly 140°F. Turn it off then. If you push past that, you lose the reason your milk tastes sweet without adding sugar—the lactose begins to break down into bitter compounds. I’ve ruined countless drinks by trying to get them ‘extra hot,’ only to find my milk foam is too dry for latte art and smells like a sulfur pit. 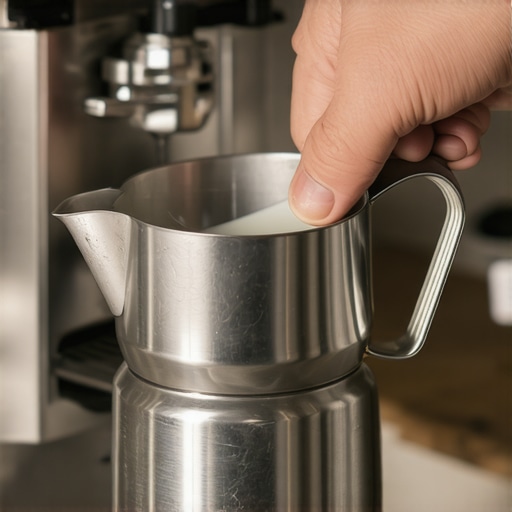
Rescue Your Pitcher Without Scratches
If you already have that brown ring, don’t reach for the steel wool. You’ll create micro-scratches that act like anchors for future burnt milk. Instead, use a specialized dairy cleaner or a soak of hot water and espresso machine detergent. I once spent an hour scrubbing a jug with a green scouring pad, only to find that it burned even faster the next day. The smooth surface of your barista gear is your best defense. A simple 20-minute soak will lift the proteins without damaging the finish. If you’re using high-end espresso machines, treat your accessories with the same respect as the boiler. A clean pitcher ensures every shot is a clean slate.One of the biggest lies told to home baristas is that you need massive commercial-level steam pressure to get professional results. When you’re looking at top-rated espresso machines for coffee lovers in 2025, it’s easy to get seduced by huge boilers and four-hole steam tips. But here’s the contrarian truth: high pressure is actually a liability when you’re still perfecting your technique. If your wand is a fire-breathing dragon, you have about three seconds of ‘stretch’ time before the milk hits the danger zone. I’ve found that slightly lower pressure—the kind found on mid-range machines—gives you the window needed to create that wet-paint texture rather than a scorched, chunky mess. If you find your milk foam is too dry for latte art, it’s usually because the heat outpaced your ability to integrate the bubbles correctly. When choosing between various types of barista gear for coffee enthusiasts, many focus only on the aesthetics of the pitcher. However, the wall thickness of the stainless steel determines how much heat it retains. A thicker wall is more durable, but it acts as a heat battery that keeps cooking your milk even after you’ve stopped steaming.
Why Does My Milk Foam Collapse So Fast?
It’s not just about the burn; it’s about the underlying chemistry. Advanced baristas know that if you’ve been leaving your milk on the counter even for five minutes, you’ve already lost the battle. There’s a specific ‘oops’ factor where milk won’t foam after being left out too long because free fatty acids start to break down the proteins needed for stable bubbles. According to a study by the Specialty Coffee Association (SCA), the stability of microfoam is directly tied to the initial temperature and the speed of the ramp-up. If you start with lukewarm milk, you end up with a structure that looks great for ten seconds and then dissolves into a watery mess. Most people think they need more ‘air,’ but they actually need more ‘cold’ to start with. 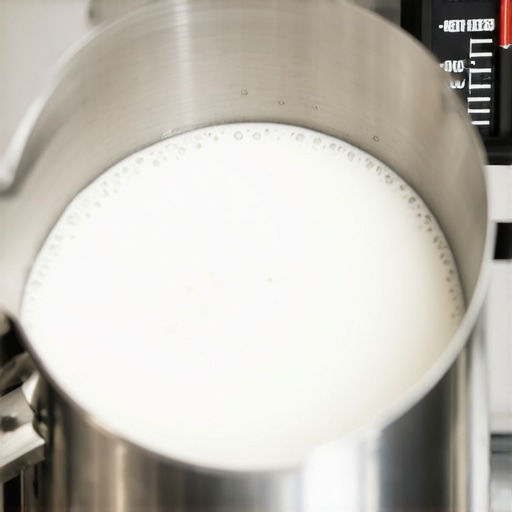
Stop Ignoring the Thermal Coasting Trap
Here is the nuance no one tells you: the metal of the pitcher and the wand itself hold a surprising amount of energy. If you shut off the steam exactly at your target 145°F, the temperature will often climb to 155°F or 160°F within seconds just from the residual heat in the heavy-duty stainless steel. This ‘thermal coasting’ is what causes that sneaky brown ring to form after you’ve finished the pour. I’ve seen enthusiasts get frustrated because they did everything right, yet still found a stain the next morning. You have to anticipate the curve and kill the power early. If you’re working with plant-based options, this is even more critical; mastering the secret to steaming alternative milks without the bubbles requires stopping a full five or ten degrees earlier than dairy because their proteins tend to separate and ‘break’ at much lower thresholds. Have you ever fallen into this trap of ‘thermal coasting’? Let me know in the comments if you’ve noticed your milk getting hotter while it sits! Before you worry about how to select the perfect coffee grinder for your brew, make sure you aren’t literally cooking your drink to death in the final three seconds of the process. Mastering these heat nuances is what separates a hobbyist from a true home pro.
Fight the Scale Before It Clogs Your Boiler
Beyond the pitcher, your actual machine needs a ‘cooldown’ ritual too. I’ve seen so many people panic when their steam wand pressure cuts out after 10 seconds, only to find that years of mineral buildup have finally throttled the boiler. Scale is the true enemy of flavor and longevity. I learned how to remove scale from a heat exchanger without a teardown specifically because I wanted to avoid the massive cost of a professional overhaul. It’s not just about the machine itself; choosing the best barista gear for coffee enthusiasts means buying tools that are designed for easy maintenance from the start. When you are mastering the art of home espresso tips for beginners, you should spend as much time learning about descaling as you do learning how to pull shots.
The Two Cleaning Tools I Refuse to Live Without
I’ve tried every gadget on the market, but I always come back to two essentials: a dedicated Pallo brush and a stack of ultra-fine microfiber cloths. I use the Pallo brush because the bristles are angled to reach into the group head crevice without forcing my hand into the splash zone of boiling water. As noted in the maintenance protocols from La Marzocco, failing to clear the group head of oils causes a chemical breakdown of the rubber gaskets, leading to premature leaks and spray. This is why you should avoid the dish soap mistake that ruined your group head seal. For my electric milk frothers that transform your coffee experience, I use a soft-bristled bottle brush rather than a sponge. I’ve had to learn how to fix a milk frother that wont spin simply because a tiny, invisible layer of burnt protein jammed the magnetic drive. 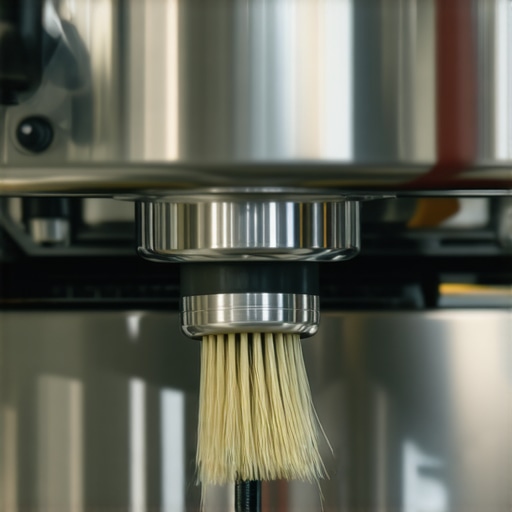
How do I maintain my espresso setup over time?
The secret is consistency over intensity. I follow a ‘Deep Clean Sunday’ routine where I pull the shower screen and soak my portafilter baskets in a coffee-specific detergent to dissolve stubborn oils. It’s also the perfect time to check if your grinder burrs are holding onto old, rancid grounds. I’ve found that the best way to clean a grinder without taking it apart involves using specialized cleaning pellets that absorb those oils without ruining your grind settings. If you neglect this, those oils will eventually turn your sweet espresso into something that tastes like old pennies. Part of learning how to select the perfect coffee grinder for your brew is identifying which models allow you to clear the exit chute with a simple vacuum or brush.
Automatic Sensors are the Future of the Perfect Pour
Looking at the top-rated espresso machines for coffee lovers in 2025, we are seeing a massive shift toward automation in the steam wand assembly. I predict that within the next few years, infrared sensors built into the wand itself will become standard even on mid-range machines. These sensors solve the ‘thermal coasting’ problem by shutting off the steam based on the actual liquid temperature in real-time, rather than relying on a manual hand-check. It’s a game-changer for anyone who wants café-quality microfoam without a three-month learning curve. Before you go, try this advanced move tomorrow morning: use the ‘cold-rinse’ method. Rinse your pitcher in ice-cold water for a full thirty seconds before you even pour the milk. You’ll be shocked at how much more time you have to ‘stretch’ the milk before it hits that 140°F danger zone. It’s the easiest way to level up your latte art game instantly.
Hard-Won Truths from My Years in the Espresso Trenches
Reflecting on my journey, I realize that the most expensive equipment won’t save you from a basic lack of hygiene. When you are mastering the art of home espresso tips for beginners, you have to treat your steam wand with as much respect as your portafilter. Here are a few lightbulb moments I had: First, the ‘sound’ of the steam is your best thermometer; if it starts to scream, you’ve already scorched the milk. Second, a dry cloth is your enemy because it creates static and doesn’t lift oils. Third, and most importantly, microfoam is a delicate emulsion of air and protein that heat absolutely loves to destroy. These small realizations changed my morning routine from a battle with residue to a seamless flow.
My Personal Arsenal for a Pristine Coffee Station
To keep my workflow efficient and my gear spotless, I rely on a few non-negotiable items. When choosing the best barista gear for coffee enthusiasts, don’t just look at the machine; look at the maintenance tools. I swear by my Pallo Steamin’ Billy for scrubbing the tip and a stack of dedicated milk cloths that never touch anything else. For my coffee grinders, I always keep cleaning tablets on hand because the best way to clean a grinder without taking it apart is using these pellets once a month. This mindset applies even if you use specialized milk frothers that transform your coffee experience. Even if you own one of the top-rated espresso machines for coffee lovers in 2025, these small additions to your kit will make your daily ritual significantly smoother and much more hygienic.
Your Next Latte Should Taste Like Success
Don’t let a few burnt pitchers or a stubborn brown ring get you down. Every barista you admire has ruined a gallon of milk (or ten) while learning the ropes of home espresso. The beauty of this hobby is that you have the time to slow down, feel the temperature shift in your palm, and perfect the dance between steam and steel. Take these heat management tips into your kitchen tomorrow morning, give that pitcher an ice-cold rinse, and watch your milk textures transform into liquid silk. Have you ever accidentally ‘fried’ your milk pitcher beyond recognition? Let me know your biggest barista fail in the comments below!