The Simple Way to Get Better Microfoam From a Handheld Frother
Ever been in the middle of crafting your morning latte only to realize your milk foam is more like whipped cream—thick, uneven, and far from silky smooth? I remember the frustration vividly. One morning, after several failed attempts, I finally had that lightbulb moment: it’s not just about the frother itself but *how* you use it. That small tweak transformed my microfoam game completely.
The Power of Technique Over Equipment
When I first started, I thought I needed a fancy steam wand or an expensive espresso machine with built-in frothing capabilities. Turns out, even a modest handheld frother can produce barista-quality microfoam—if you know the tricks. Microfoam is that velvety, tiny-bubble milk that makes all the difference in a beautifully crafted cappuccino or latte. But achieving it consistently often feels like an elusive art, especially with the simple handheld devices I had on hand.
Many coffee enthusiasts stumble because they focus solely on the frother’s brand or power—believing that a higher wattage automatically equals better foam. Spoiler: it’s not. The real secret lies in technique, patience, and understanding the milk’s behavior. I wasted quite a few dollars trying different gadgets before realizing that my approach was the bottleneck. Early on, I made the mistake of immersing the frother all the way to the bottom of the milk, spinning it wildly without a plan. That just whipped the milk into a frothy mess, and I was left with unappealing, uneven foam.
What I finally discovered is that by positioning the frother correctly and maintaining a gentle stable motion, I could coax out those tiny, glossy bubbles that define microfoam. This insight was a game-changer, and I want to share it with you. Because if I can do it, so can you.
But beware—there’s skepticism out there. Some folks believe that handheld frothers can’t possibly match the quality of steam wands. That’s simply not true. In fact, many top-rated [milk frothers that transform your coffee experience](https://espressotechguide.com/milk-frothers-that-transform-your-coffee-experience) are portable and surprisingly effective when used correctly.
Before we dive into the practical techniques, let’s address a common doubt: Is this all just hype? Or can you really get professional-level microfoam at home? I’ll admit, I was skeptical too—until I cracked the code myself. And if you’re anything like I was, you might have faced the same hurdles. Well, stick around. The following insights will change how you froth forever.
Position the Frother Correctly
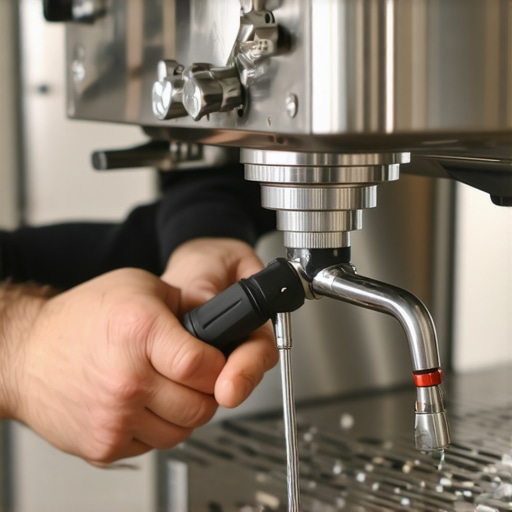
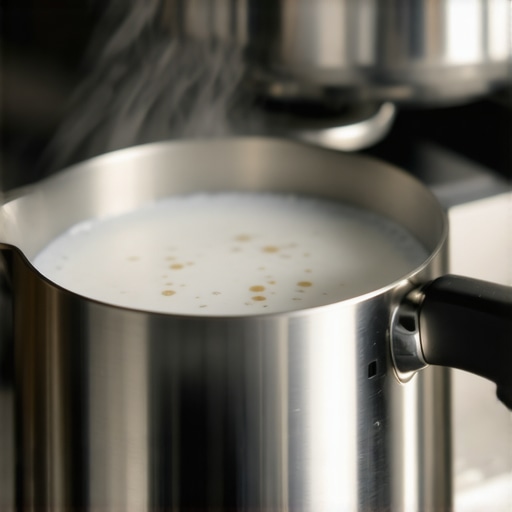
First, keep the milk pitcher at a slight angle, with the frother just below the surface of the milk. I recall one morning when I kept the frother too deep; the foam was thin and bubbly. Instead, gently immerse the tip so that it hovers just beneath the surface, creating tiny bubbles essential for microfoam.
Maintain a Consistent Depth
Use your hand to feel the depth and keep the frother steady. Any sudden movements disturb the formation of microbubbles. During my second attempt, I locked my wrist and maintained a gentle, steady motion, which led to velvety foam instead of a messy froth.
Master the Gentle, Circular Motion
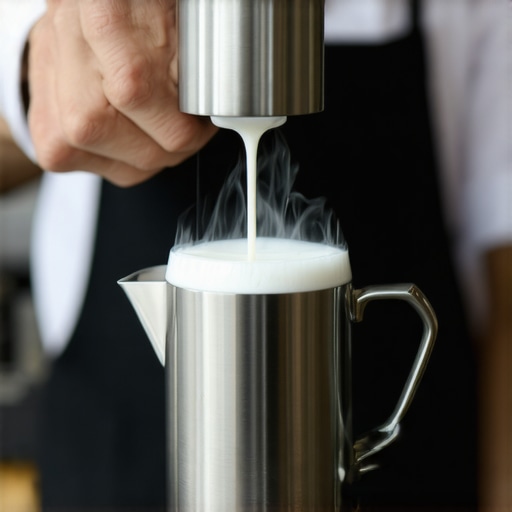
Move the frother in a slow, circular pattern around the inside of the pitcher, slightly tilting it to keep the bubbles uniform. This is akin to stirring a delicate sauce—too vigorous and you break the bubbles; too slow, and you don’t aerate enough. I once experimented by moving the frother faster; the result was larger bubbles and uneven foam. Slow and steady wins the microfoam race.
Control the Milk Temperature
Heat the milk gradually to around 140°F (60°C). Overheating destroys the delicate microbubbles. I used to rush the process, causing the foam to collapse quickly. Using a thermometer, I learned to stop just as the temperature hits the target, ensuring the microfoam remains glossy.
Practice Listening and Observation
Pay attention to the sounds and visual cues. Initially, I relied solely on timing but noticed a subtle hissing sound when microfoam forms. The milk’s surface begins to shimmer, indicating microbubbles are developing perfectly. With practice, my ears and eyes became my best indicators.
Bottom Line: Patience and Precision
Quick, erratic movements wreck microfoam. Take your time—think of it like tuning a guitar string; gentle, deliberate adjustments produce harmony. Remember, every early attempt might look messy, but persistence refines your technique. Controlled movements and patience reflect the craftsmanship seen in professional barista work, whether you’re using an affordable handheld frother or contemplating an upgrade from the [top-rated espresso machines for coffee lovers in 2025](https://espressotechguide.com/top-rated-espresso-machines-for-coffee-lovers-in-2025). Keep practicing, and your milk will thank you!
Many dedicated home baristas believe that owning high-end equipment guarantees perfect espresso and microfoam, but in my experience, that’s a myth. The real game-changer often lies in understanding the nuances of technique and setup. For instance, some assume that a top-tier espresso machine is a necessity, yet even budget models can produce excellent shots when properly calibrated and maintained. The *hidden nuance* here is the importance of consistent temperature and pressure control, which many neglect. According to expert baristas, factors like water temperature stability and pressure profiling significantly impact shot quality, sometimes more than the machine’s brand itself. This is supported by research from coffee science labs emphasizing that precise calibration can elevate even entry-level machines to professional standards (see [the comprehensive guide on selecting equipment](https://espressotechguide.com/top-rated-espresso-machines-for-coffee-lovers-in-2025)).Maintaining your home espresso setup is crucial to ensuring consistent, high-quality brews that match professional standards. The right tools, coupled with diligent maintenance routines, can extend the lifespan of your equipment and elevate your coffee game. One essential piece of gear I swear by is a high-precision espresso scale, such as the [Escali Primo](https://espressotechguide.com/why-your-espresso-scale-is-giving-inconsistent-readings). It helps me dial in dose accuracy and shot timing, which are vital for reproducibility.
Another critical tool is a dedicated cleaning brush designed specifically for portafilters and baskets. Regular cleaning prevents oil buildup that can lead to bitter flavors. I use a brass brush with fine bristles, as it’s gentle yet effective at removing residual coffee oils without scratching surfaces. Incorporating weekly cleaning with a recommended descaling solution, like Keurig descaling packets, ensures that the internal components stay free of mineral deposits that impair temperature stability.
For long-term results, investing in a PID temperature controller can be transformative. It modulates your machine’s boiler temperature, maintaining consistency shot after shot, and helps prevent burnout. Proper calibration following [professional guidelines](https://espressotechguide.com/how-to-calibrate-your-pid-for-better-temperature-stability) has significantly improved my espresso quality.
Regarding scaling your setup, it’s tempting to upgrade to a fancy espresso machine or grinder, but often the key is proper tool maintenance. Regularly replacing worn grinder burrs, checking seals, and lubricating moving parts can prevent more severe issues down the line. For instance, my commercial grinder’s performance owes much to replacing burrs every 200 hours of use, which keeps grind uniformity at its peak.
Looking ahead, I predict automation and smart calibration will dominate the scene, with IoT-enabled coffee gear providing real-time diagnostics and maintenance alerts. This integration will make home espresso more about convenience and precision than ever before.
**How do I keep my espresso equipment in top shape?** The answer lies in establishing a routine—daily rinsing, weekly deep cleans, biannual descaling, and regular part replacements. Use tools like a high-quality portafilter brush and a calibrated scale to ensure every shot is as good as the last. Remember, consistent maintenance saves time and money, and it guarantees those beautiful, delicious espresso shots you aim for every morning.
If you’re serious about elevating your home barista skills, I recommend trying out a PID controller setup or upgrading your grinder’s burrs next. These tweaks may seem advanced but offer immediate benefits in shot consistency and flavor clarity. For detailed instructions on calibration, check out the comprehensive guide on [calibrating your PID](https://espressotechguide.com/how-to-calibrate-your-pid-for-better-temperature-stability). Improving your setup is an investment—one that pays off with every cup. Happy brewing!
Through my journey with home espresso, I’ve uncovered that the tiniest adjustments in techniques can elevate your coffee game to professional levels. The most profound lessons weren’t found in fancy gadgets but in understanding the nuanced dance between steam, milk, and patience. Remember, every great barista started where you are now—embracing trial, error, and an eagerness to improve.
Lessons the Coffee World Won’t Tell You
- I’ve realized that focusing solely on high-end equipment may blind you from mastering fundamental techniques. Investing in quality tools is important, but understanding milk behavior and frothing methods has more dramatic impacts on your microfoam quality.
- It’s tempting to believe that more powerful steam wands automatically produce better milk texture. However, I found that gentle handling, patience, and technique outweigh raw power, especially in the comfort of your home setup.
- One breakthrough moment was discovering how milk temperature and positioning of the frother can make or break your microfoam. Small, mindful adjustments consistently yield velvety foam that complements your espresso perfectly.
- Consistency comes from learning to observe visual cues and sounds—like the delicate shimmer on the milk’s surface or the subtle hissing when microbubbles form. Trusting these signs transforms your practice from guesswork to finesse.
My Top Tools for Home Barista Success
- Precision Espresso Scale: Essential for dialing in accurate doses and shot timing, leading to repeatable results and better flavor extraction.
- Cleaning Brush for Portafilters: Keeps your equipment spotless, ensuring that residual oils don’t taint your brew or impede steam quality.
- PID Temperature Controller: Maintaining stable temperature during extraction increases consistency and flavor clarity in every shot.
- Proper Coffee Storage: Preserves bean freshness, ensures optimal grind and extraction, and ultimately delivers richer coffee experiences.
Keep Brewing, Keep Improving
Don’t be discouraged by initial struggles—each attempt refines your skill and deepens your appreciation for the craft. Embrace your journey, experiment with techniques, and remember that even the most seasoned baristas are forever students of coffee. Whether you’re considering upgrading your espresso machine or learning to perfect your milk foam, persistence pays off. Passion and patience will turn your home brewing into a daily celebration of flavor and artistry.
What has been your biggest breakthrough in mastering home espresso or microfoam? Share your experiences below—I’d love to hear and learn from your journey!