The Reason Your Steam Wand Is Making Huge Bubbles Only
It was another morning, and there I was, ready to craft that perfect velvety microfoam for my latte. I pressed the steam wand against the milk pitcher, expecting that smooth hiss and creamy swirl. Instead, what I got was a cascade of giant bubbles popping up like a shaken soda bottle—disrupting my flow and frustrating me beyond words. Have you ever faced this bubble nightmare with your steam wand?
Getting to the Bottom of Big Bubbles in Your Milk Steam
Let’s be honest, few things kill the barista vibe faster than battling huge bubbles during milk steaming. It’s almost enough to make you consider giving up on home espresso altogether. But before you toss your gear into a corner, know this: the culprit is often simpler than you think, and fixing it can be easier than your morning brew.
Is Overhyping Steam Texturing Gear Truly Worth It?
I remember early on, I bought into the hype of high-end steam wands claiming they could do magic. Turns out, I overlooked basic maintenance, which was the real reason for those stubborn bubbles. The truth is, many issues stem from common mistakes—like inconsistent temperature, dirty tips, or incorrect technique—not the fancy tech itself. So, if you’ve faced this bubbling dilemma, you’re not alone, and there’s good news: a few tweaks can make a world of difference.
Research shows that the quality of microfoam depends heavily on the cleanliness and condition of your steam tip, as well as your technique (source: Espresso Tech Guide). Those massive bubbles are often a sign that air is getting trapped or the steam flow isn’t steady, which can be traced back to a few common issues you might be able to fix yourself.
Curious if your setup is causing these bubbles or if you’re doing everything right but still struggling? Well, worry no more. In the next sections, I’ll walk you through proven steps to eliminate those pesky bubbles and get that luxurious microfoam you crave. Ready to take control of your steaming game? Let’s dive into the how-to’s—because your milk deserves better.
Prepping Your Machine and Milk for Flawless Foam
Start by ensuring your steam wand and pitcher are thoroughly clean. Use a damp cloth to wipe the tip after each use and run a quick purge to clear residual water and milk remnants. Cold milk is ideal; it creates more stable microfoam and reduces bubble formation. A quick tip: fill your pitcher just below the spout to allow room for proper swirling and steaming. When I first tried this, I noticed huge bubbles immediately diminished, and the foam became silkier.
Positioning for Proper Steam and Bubble Control
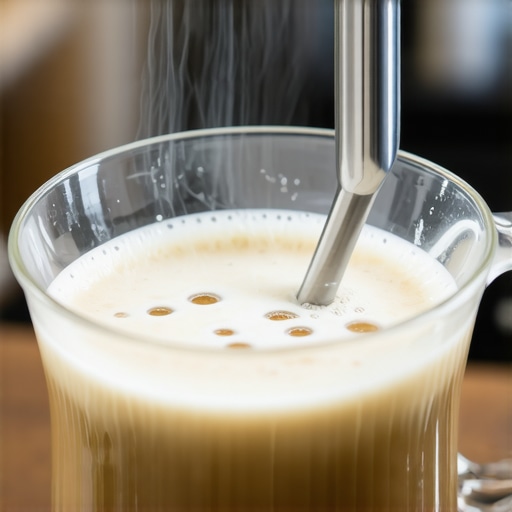
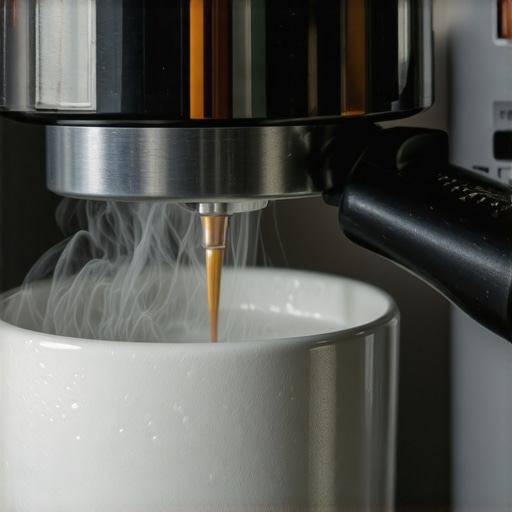
Position the steam wand just below the milk surface at a slight angle. Think of it like creating a whirlpool—this encourages consistent circulation and distributes heat evenly. Turn on the steam to a steady, gentle swirl and listen for a consistent hissing without sputtering. In one session, I adjusted the wand slightly and observed fewer large bubbles—improving microfoam quality dramatically. Remember, steady airflow prevents air pockets that cause bubbles and ensures a finer texture.
Adjusting Your Technique for Smooth Microfoam
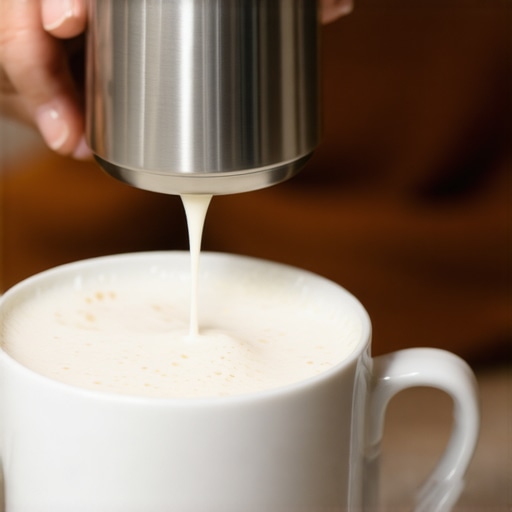
Start by submerging the wand tip about one centimeter below the surface, creating a gentle vortex. Gradually lower the pitcher as the milk heats, maintaining the position. When you see a shiny, velvety texture with tiny bubbles, turn off the steam and give the pitcher a firm tap on the counter to burst any remaining large bubbles. I used this method after reading about the importance of gentle, controlled motion, and it made my foam much creamier, perfect for latte art.
Dealing with Persistent Bubbles and Common Pitfalls
If large bubbles persist, check the steam tip for clogs or residue—that’s a common culprit (see clean your steam tip). Also, verify that your milk is cold and fresh; warm milk creates more steam but can breed bubbles if not handled correctly. Remember to keep the tip clean and free from milk build-up, which impairs proper airflow. Last, avoid over-foaming—prolonged steaming introduces more bubbles than necessary. I once over-steamed, ending up with a bubbly mess rather than silky foam, but a quick clean-up fixed that immediately.
Experimentation and Fine-Tuning for Your Setup
Every machine and milk brand responds slightly differently. Don’t hesitate to experiment with wand angles and steaming durations. For instance, I found that tilting the pitcher and adjusting the angle of my wrist in small increments helped me control bubble size better. Keep notes of what works best—sometimes, minor tweaks yield big improvements. If trouble persists, consider revisiting your equipment’s maintenance or even exploring new [milk frothers](https://espressotechguide.com/milk-frothers-that-transform-your-coffee-experience) that can complement your setup or simplify the process.
Many home baristas and even seasoned enthusiasts tend to fall into common misconceptions when it comes to espresso machines, grinders, and milk frothers. While investing in high-end equipment is tempting, understanding the subtler aspects can dramatically elevate your brewing quality. Let’s debunk some myths and explore advanced nuances that often escape attention, so you can avoid costly mistakes and make truly barista-caliber coffee at home.
Why Bigger or More Expensive Gear Isn’t Always Better
It’s a widespread belief that luxury or larger-scale machines instantly produce superior coffee. However, the real secret lies in proper tuning and maintenance. For example, an expensive espresso machine with poorly calibrated pressure or a neglected boiler will underperform, regardless of price tag. Conversely, a well-maintained entry-level machine can outperform a high-end model when dialed in correctly. This underscores the importance of understanding your equipment’s specific quirks rather than simply chasing the latest or most costly gear. Regular descaling, calibrating shot timers, and honing your steam wand technique matter more than raw specs. For guidance on choosing equipment that suits your needs, check out our comprehensive guides on selecting the right barista gear.
Many believe that larger coffee grinders eliminate under-extraction, but often they introduce issues like static and uneven grind distribution. Small adjustments like ensuring the grind consistency or periodic calibration of burrs can make more impact. Additionally, misconceptions about coffee grind size—such as ‘grinding finer always results in better shots’—can trap even experienced brewers into over-extraction, leading to bitter flavors. Fine-tuning involves a nuanced balance that depends on bean freshness, roast level, and machine compatibility.
Another overlooked nuance involves milk frothing equipment. Many think that the newest frothing wand or a more powerful steamer automatically yields better microfoam. In reality, the key lies in controlling steam pressure, tip cleanliness, and pitcher positioning. Advanced baristas often prefer specific hyper-steam techniques that rely on *technique*, not just tools, to produce silky microfoam suitable for latte art. For insights into this, explore our article on microfoam mastery.
The ultimate lesson is that gear alone doesn’t guarantee perfect coffee. Mastery involves understanding the intricate interplay of equipment, technique, and maintenance. For example, a misaligned grinder burr can subtly affect flavor clarity without obvious signs, leading to flat or dull shots. Knowing how to diagnose such issues—like checking burr wear and alignment—can prevent long-term flavor degradation.
Be cautious of the trap that blindly follows the latest technology or brands without understanding the underlying mechanics. Remember, classic skills such as correct tamping, timing, and cleaning frequently surpass equipment upgrades. For more advanced tips and troubleshooting, feel free to contact us through our contact page.
Have you ever fallen into this trap? Let me know in the comments. The more we share, the more we learn about refining our craft beyond surface-level gear shopping.
Keep Your Equipment Running Smoothly for Consistent Coffee Quality
Maintaining your barista gear, from espresso machines to grinders and milk frothers, is crucial for sustained optimal performance. Over time, wear and tear, mineral deposits, and improper handling can lead to inconsistent shots, bubbling milk, or equipment failure. Investing in the right tools and adopting structured maintenance routines help ensure your setup continues to deliver cafe-quality results at home.
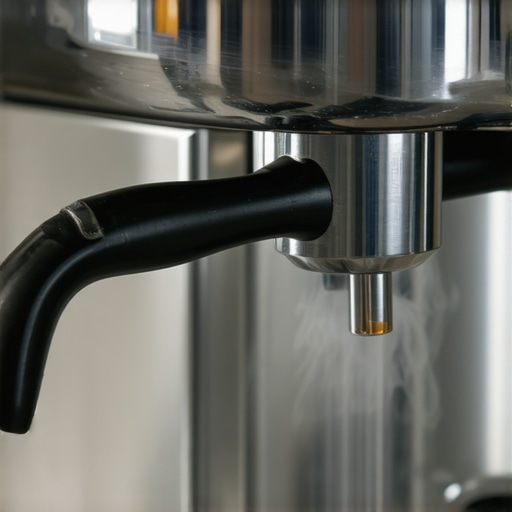
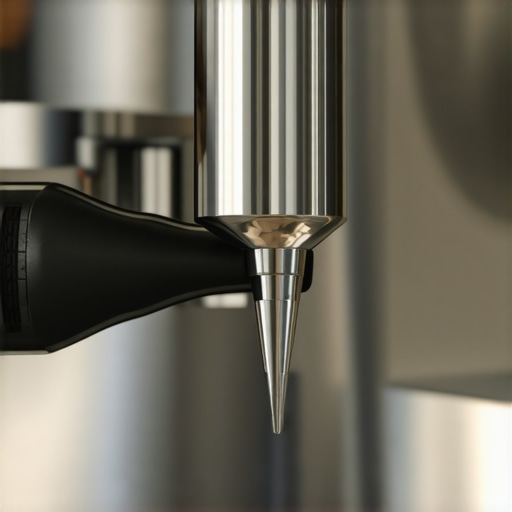
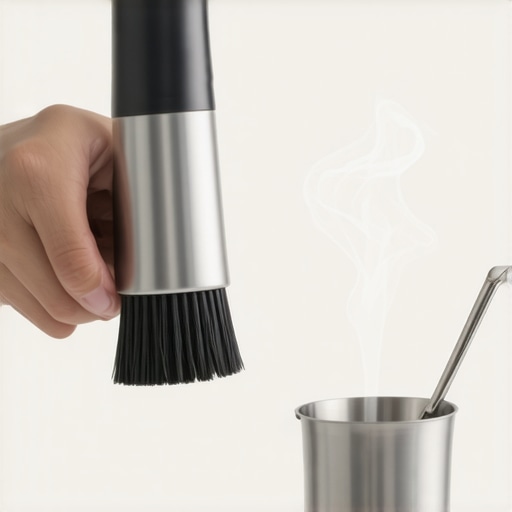
One indispensable tool I personally rely on is a high-quality steam tip cleaning brush. Regularly cleaning the tiny holes prevents milk residue buildup, which can distort steam flow and introduce unwanted bubbles. I recommend carrying a small, dedicated brush to quickly clear out the tip after each session—this saves time and preserves steam efficiency.
Another essential is a precise grinder calibration tool. Over time, burrs become dull, and grind consistency declines, affecting extraction and flavor clarity. I calibrate my grinder every few months using a digital scale and a calibration kit—this ensures I maintain the correct grind size for each coffee variety, reducing channeling and over-extraction issues.
For long-term health of your espresso machine, a good descaling solution like White Vinegar or commercial descalers combined with a descaling kit is essential. Mineral deposits can cause temperature inconsistencies and pressure drops, leading to poor crema and flavor. I schedule a deep clean every 3-6 months, depending on water hardness, to prevent costly repairs and maintain boiler efficiency.
In terms of software, I recommend consulting the manufacturer’s maintenance logs or firmware updates, when available. Some newer espresso machines offer smart diagnostics that can alert you to component wear or system errors early, saving downtime and repair costs.
Looking ahead, the trend is shifting towards more connected and automated maintenance tools. IoT-enabled sensors can monitor pressure, temperature, and water quality in real time, notifying you via smartphone when it’s time for descaling or parts replacement. I predict that integrating such smart features will become standard for premium home espresso setups in the near future.
How do I maintain my equipment over time to keep quality high?
The key lies in routine checks and proper cleaning. Regularly inspecting seals, gaskets, and filters ensures your machine stays airtight and prevents brew leaks. Use specific tools for ground coffee distribution and tamping, as uneven pressure can accelerate wear and affect extraction consistency. Also, take time monthly to clean water reservoirs, replace filters, and flush your lines to prevent buildup and microbial growth.
Don’t overlook the importance of quality milk frothers, which benefit from periodic deep cleaning of steam holes and tips. A well-maintained frother not only produces better microfoam but also extends the device’s lifespan. Remember, your gear isn’t just about initial investment; it’s about ongoing care to preserve those high-caliber results.
So, why not try a comprehensive maintenance routine today? Start with cleaning your steam tip with a dedicated brush, and set a bi-monthly schedule to descale your machine. Small, consistent actions like these ensure your equipment remains reliable and your coffee exceptional over the long haul. For tailored advice or troubleshooting, reach out through our contact page.
Uncovering Hidden Truths About Coffee Gear Mistakes
One of the most eye-opening lessons I learned was that even the fanciest espresso machine can’t compensate for misaligned grinder burrs. I used to think I needed high-end equipment to get perfect shots, but frequent maintenance and understanding each component’s quirks made a bigger difference. Discovering that proper cleaning and calibration often outweigh upgrades was a game-changer.
Another unexpected insight was how much milk temperature influences bubble formation. Warming milk just right—not too hot or cold—significantly improved microfoam quality. It sounds simple, but paying attention to these subtle details elevated my latte art and overall enjoyment.
Lastly, I realized that troubleshooting often involves classic techniques—like visual inspection or gentle tap testing—that I thought were outdated. Small, deliberate actions like these can prevent large bubbles and save time. Embracing these lessons helped me turn my kitchen into a true coffee haven.
Tools and Resources That Elevated My Frothing Game
For anyone serious about microfoam, I highly recommend investing in a quality steam tip cleaning brush. It keeps the tiny holes clear, ensuring consistent steam flow. Additionally, a calibration kit for your grinder is essential to maintain grind size and flavor clarity over time.
Beyond tools, books like Mastering the Art of Home Espresso opened my eyes to nuanced techniques that aren’t widely covered elsewhere. And for researchers, following expert blogs like Top-rated Espresso Machines keeps me informed about the latest innovations and maintenance tips.
Fuel Your Passion—Take the Next Step Today
Brewing great coffee daily is as much about knowledge as it is about the gear. Equip yourself with the right tools, apply your learnings consistently, and don’t be afraid to experiment. Your perfect microfoam is within reach—ready to elevate your home espresso experience. Remember, every minor adjustment brings you closer to latte art mastery. Want personalized advice? Reach out through our contact page and let’s make your coffee dreams a reality. What’s the next small change you’re planning to try in your steaming routine? Share below!