Why Your Steam Wand Is Spitting Water Instead of Dry Vapor
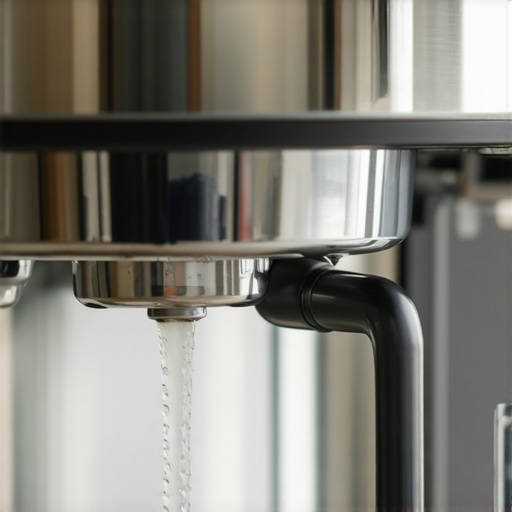
Have you ever stepped up to your espresso machine, eager to create that perfect silky milk foam, only to be met with a startling splash of water from the steam wand? It’s that inconvenient moment when, instead of the fluffy, dry vapor I crave, I get a constant spitting of water that ruins my entire ritual. For a long time, I thought it was just a quirk of my machine, or maybe I was doing something wrong. But after countless troubleshooting attempts and a few lightbulb moments, I realized this problem is more common than I thought—and surprisingly fixable.
Understanding Why Your Steam Wand Might Be Spitting Water
When I first encountered this issue, I felt a bit frustrated. I’d spent good money on my equipment, and here I was battling water instead of steam. It turns out, this problem usually stems from a simple but often overlooked cause: dried milk crusts or mineral buildup blocking the steam nozzle. This creates pressure and causes excess water to be pushed out during steaming sessions. Early on, I made the mistake of ignoring simple maintenance tasks, like regular cleaning, which only worsened the problem. Learning from that, I now make sure to keep my steam wand clear, and it’s made all the difference.
Is Steam Wand Spitting Water Really Troublesome or Just Annoying?
Some might dismiss spitting water as a minor nuisance, but it impacts the quality of your milk and the entire espresso experience. Plus, if left unaddressed, it could signal underlying issues, like a faulty pressure release or dirty components. My own journey included a few experiments—like temporarily soaking the wand or just wiping it after each use—and I quickly realized these weren’t long-term solutions. Instead, a proper cleaning routine and understanding the mechanics behind the problem are key. Did you know that mineral deposits can cause significant pressure imbalances, leading to water spitting? This knowledge motivated me to dig deeper, and I discovered some practical fixes. For more tips on cleaning and maintenance, check out this guide.
Now, I want to help you avoid the months of frustration I faced. We’ll explore easy, actionable steps that will restore your steam wand to its dry, frothing glory. Whether it’s removing stubborn crusts or calibrating your machine, I’ve got you covered. Ready to turn that water splatter into creamy perfection? Let’s dive in.
Rinse and Disassemble the Steam Wand Thoroughly
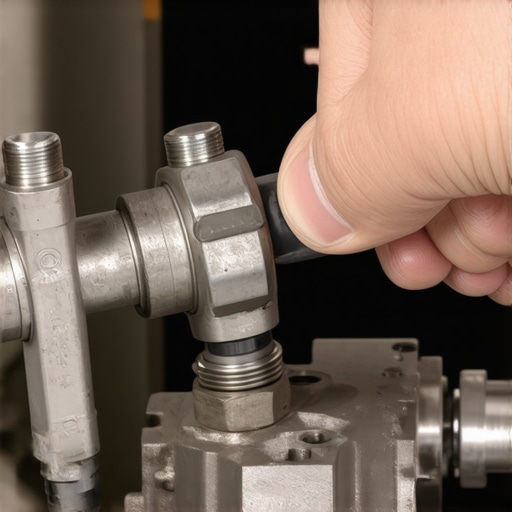
Begin by shutting off your machine and allowing it to cool. Detach the steam wand from the main unit carefully, as if you’re peeling a stubborn sticker from a surface. Use a small brush or pin to dislodge dried milk crusts or mineral deposits blocking the nozzle. When I first did this, I soaked the wand in a mixture of vinegar and water for 15 minutes, which loosened stubborn buildup. After reassembling, I noticed a significant reduction in water spitting because clean openings allow proper steam flow.
Clear Obstructions with Steaming and Flushing
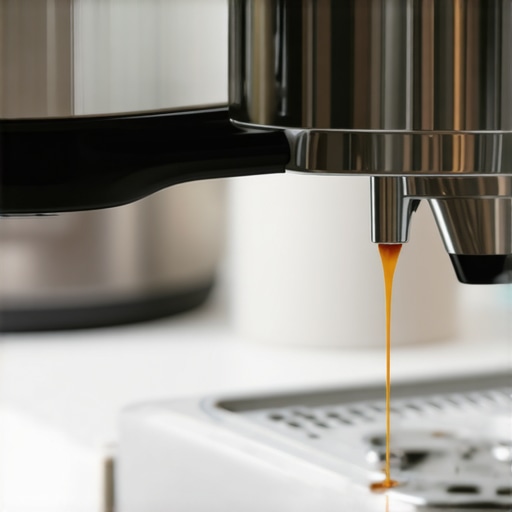
Reconnect the wand and run water through it without steam—think of this as rinsing your hair after a deep conditioning. Then, activate the steam function briefly, aiming it into a towel or sink. This process flushes residual blockages. To ensure no internal buildup persists, I periodically perform a more aggressive flush using a small pipe cleaner or a dedicated cleaning brush. If mineral deposits are persistent, consider descaling your machine as per manufacturer instructions; mineral buildup inside the boiler can create pressure imbalances causing water to eject during steaming.
Modify Your Maintenance Routine for Consistent Results
Regular Cleaning After Every Use
After each steaming session, wipe the wand with a damp cloth to remove milk residues immediately. This prevents crusts from hardening and clogging the nozzle over time. Once I incorporated this habit, I reduced the frequency of deep cleanings needed.
Weekly Deep-Cleaning with Vinegar Solution
Every week, soak removable parts in a vinegar solution to dissolve lime and mineral deposits, similar to how a chef soaks cast iron pans. Run a vinegar rinse through the wand to clear internal tubing, minimizing blockages. Be aware that overuse of vinegar can erode rubber gaskets—consult your machine’s manual for acceptable cleaning agents. For detailed descale tips, visit this descaling guide.
Keep Your Nozzle Clear During Steaming Sessions
Apply a gentle tap or wiggle of the wand if you notice sputtering mid-process—this dislodges small crusts that might cause water to be forced out uncontrollably. When I felt water spitting suddenly, I quickly shut off the machine, cleaned the nozzle tip with a pin, and restarted, which restored normal steam flow. Remember, consistent maintenance prevents accumulated crusts from restricting airflow, similar to how clogged air filters affect engine performance. For more on maintaining your equipment, check this quick fix.
Adjust Machine Settings and Use Proper Techniques
Many espresso machines allow pressure and temperature adjustments. Ensuring the boiler isn’t over-pressurized can prevent water spitting. When I calibrated my machine according to the manufacturer’s recommendations, the steam became dry and consistent. Also, use the right steaming angle—aim the wand slightly downward to allow water to escape easily, much like pouring water downhill to prevent backpressure. If pressure issues persist, consider calibrating the pressure sensor or replacing faulty parts. Troubleshooting guides like this guide can help you fine-tune your machine’s performance.Many home espresso enthusiasts dive into gear selection with enthusiasm, believing that the most expensive or popular equipment guarantees perfect results. However, the real mastery lies in understanding the intricacies and limitations of that gear. For instance, there’s a common misconception that high-end grinders automatically produce consistent espresso shots. While superior burrs help, factors like grinder burr alignment and RDT (Ross D. Tamping) methods play crucial roles—overlooking these nuances can lead to inconsistent extraction even with premium equipment. Additionally, many assume that milk frothers, especially those marketed as “automatic,” require minimal maintenance. In reality, even the best frothers on the market, like the 2026 Smart Milk Frother, can fail or produce subpar foam if their internal mechanisms aren’t periodically cleaned and calibrated, particularly when using plant-based milks like soy—this is a trap many fall into, as discussed in this guide. The misconception that espresso machines are foolproof performers is equally pervasive. Many believe that simply setting temperature and pressure is enough; however, advanced users know that calibration, such as sensor adjustments detailed in expert guides, is vital for peak performance.
A sophisticated nuance often missed involves the pressure profiling systems in multi-boiler setups. Relying solely on factory presets can impede extraction quality, especially with light roasts where subtle pressure changes during extraction can unlock more nuanced flavors—see the detailed calibration tips here. Don’t forget that even routine maintenance like descaling can influence shot clarity and consistency; a neglected boiler scale can choke flow and produce sour shots, as outlined in dedicated descaling guides.
If you’re serious about elevating your home barista game, consider that mastering your gear involves more than just initial setup. It demands ongoing attention to internal components, calibration, and understanding the limitations of each piece. This knowledge prevents common pitfalls and ensures your equipment operates at its best. Have you ever fallen into this trap? Let me know in the comments. For deeper insights on maintaining your gear, explore this in-depth guide on fixing common flow and calibration issues.
Invest in Precision with a Quality Scale
Having a reliable espresso scale is non-negotiable for consistent shots. I personally prefer the 2026 Smart Scale because it offers rapid response times and high accuracy, enabling me to dial in my grind and tamp pressure precisely. Regularly calibrating your scale using calibration weights, as advised in this guide, ensures your measurements stay spot-on over time. With consistent weighing, you’ll notice improved shot clarity and extraction consistency, saving you from costly waste and disappointment.
Optimize Your Grinder for Peak Performance
My daily grind involves a respected 2026 flat burr grinder fitted with freshly settled burrs, which typically need around 5kg of beans to stabilize for best results. To maintain this, I execute regular cleanings with a dedicated burr brush and avoid static build-ups using specific anti-static hacks found in this article. Dull burrs can cause uneven extraction and muddy flavors, so I replace them every 6 to 12 months, depending on usage. Also, checking RPM speeds ensures you’re not over-spinning, which can cause bitterness. This detailed maintenance fosters consistent bean-to-brew results and keeps your grinder humming smoothly.
Streamline Your Milk Frothing with the Right Tools
For flawless milk foam, I swear by my 2026 Smart Milk Frother, which allows precise temperature control. However, soy-based milks often cause failures, leading to inadequate froth. To combat this, I perform routine internal cleans using this method. Regular cleaning prevents dried milk crusts and internal blockages, extending the device’s life. Additionally, I recommend a microfiber cloth and a gentle vinegar rinse for external parts, which I do weekly to keep everything sanitary and optimal. Combining these practices ensures dense, velvety foam every time, elevating your home espresso experience.
Maintain Your Classic Espresso Machine for Longevity
Daily use necessitates a proactive approach to maintenance. For example, descaling your machine every few months prevents mineral buildup inside the boiler, which can cause pressure inconsistencies, leading to shots that are sour or flat. I follow the specific descaling routines laid out in the manufacturer’s manual but supplement with mineral deposits removal using vinegar solutions, as described in this article. Also, inspecting gasket seals and replacing worn parts prevent leaks and maintain steam quality. Performing routine backflushing with appropriate cleaning agents keeps the coffee head free of clogs. These small but consistent efforts extend the lifespan of your machine and preserve the quality of every shot.
Where Do I Keep My Equipment in Top Shape Over Time?
Establishing a dedicated, clutter-free workspace facilitates regular maintenance. Keeping tools like brushes, calibration weights, and cleaning solutions close at hand encourages routine checks. Scheduling weekly deep cleanings and monthly calibrations makes all the difference, saving you troubleshooting time down the line. Looking ahead, I believe the trend is moving toward smarter, self-diagnosing appliances that streamline maintenance even further—imagine machines that alert you when components need attention or calibration. Until then, committing to specific routines and using the right tools will give your setup the longevity it deserves, ensuring every cup you make is just as good as your first. Want to make a noticeable upgrade today? Try recalibrating your grinder following the RPM tips outlined here and watch your extraction precision jump significantly.
Lessons the Barista World Won’t Tell You
One of the most overlooked truths I learned is that maintaining your gear isn’t just about cleaning—it’s about understanding each component’s story. I used to believe wiping after each use was enough, but discovering the impact of mineral buildup inside the steam wand was eye-opening. That lightbulb moment made me realize that regular disassembly and descaling are the real game changers. Additionally, I found that calibrating pressure sensors isn’t just for precision—it prevents water spitting and prolongs machine life, a detail many ignore. Lastly, investing time in small, consistent maintenance routines saved me hours of troubleshooting, transforming my routine from reactive to proactive. These lessons have truly elevated my espresso craft and can do the same for you.