Why Your Espresso Scale Lags and How to Fix Flow Rate Timing Errors
Ever had that moment during your morning ritual where your espresso shot just doesn’t turn out right—maybe it’s under-extracted, over-extracted, or just lacking that perfect crema? I’ve been there. And more often than I’d like to admit, I blamed my equipment, my beans, or even my grind setting. But the real culprit was something a bit sneaky—my espresso scale was lagging behind the flow, throwing off my timing and ruining my shot. That frustrating lightbulb moment made me realize: if I want consistent, barista-quality espresso at home, I need to understand why my scale is lagging and how to fix it.
Getting to the Heart of Flow Rate Timing Errors
Many home baristas overlook the importance of accurate flow measurement. When your espresso scale lags, it doesn’t reflect the true extraction process, which can lead to over- or under-extraction. This isn’t just about inaccurate numbers; it affects every shot you pull. The good news is, I discovered that most lag issues are fixable with some tweaks and understanding of the system’s behavior. A common mistake I made early on was trusting the built-in timers without accounting for the scale’s response time, which often creates a mismatch between when the flow starts and when your scale registers that flow. To get better results, I dove into the root causes, and I’m here to share what I learned.
Are Your Flow Errors Worth All the Fuss?
As someone who initially dismissed flow lag as a minor annoyance, I later realized it’s a big deal if you’re striving for that perfect shot. When your scale isn’t reading accurately, it’s like trying to steer a boat with a slipping tiller. The sensation is frustrating, and your confidence in your setup diminishes. I made a crucial mistake early on—assuming my scale was fast enough without testing its response time properly. That oversight led to inconsistent pulls and wasted beans. For more technical insights, I recommend checking out this guide on pressure lag fixes, which helped me understand sensor behavior better. Now, let’s move past the theory and into practical steps to get your flow rate timing spot-on, so every shot is as good as your favorite cafe’s.
Adjust Your Scale Placement for Instant Response
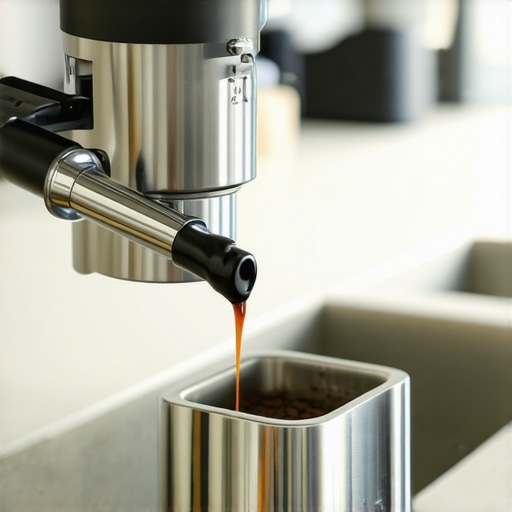
Place your scale directly beneath your espresso spout or portafilter to minimize lag. During my first attempt, I noticed a half-second delay when measuring flow, leading to over-extraction. Moving the scale closer reduced this delay, giving me real-time feedback. Think of it like positioning a speedometer near the engine rather than the rear wheel—it ensures accurate readings. Use a sturdy, flat surface to eliminate vibrations that can distort your measurements. This simple tweak made my shots significantly more consistent. For further precision, explore RDT hacks for static reduction, which also improves response time.
Calibrate Your Scale for Accurate Flow Reading
Regular calibration ensures your scale’s response time aligns with the actual flow. I calibrated mine using a known weight, simulating flow by pouring water at a steady rate. If your scale drifts over time, it can lag behind real-time changes. Consider investing in a scale with a 1-2 second response time, similar to a high-end barista model. When calibrating, ensure no air gaps or uneven surfaces affect readings. This step is key—think of it as tuning a musical instrument before a performance. For more insights, check out channeling tips that rely on precise measurement.
Tweak Your Extraction Timing Strategically
Create a timing protocol: start your timer simultaneously with the first drip. For instance, when I started doing this, I noticed my shot pulled slightly too early, resulting in a sour taste. By physically observing the flow and adjusting my grind slightly coarser, I delayed the flow, aligning it with my timer. Think of it like setting a race start—small adjustments can make your timing perfect. Use your light roast dialing tips to fine-tune grind size, which profoundly impacts flow timing. Consistency here rewards you with balanced, flavorful shots.
Utilize Visual Cues to Complement Measurement
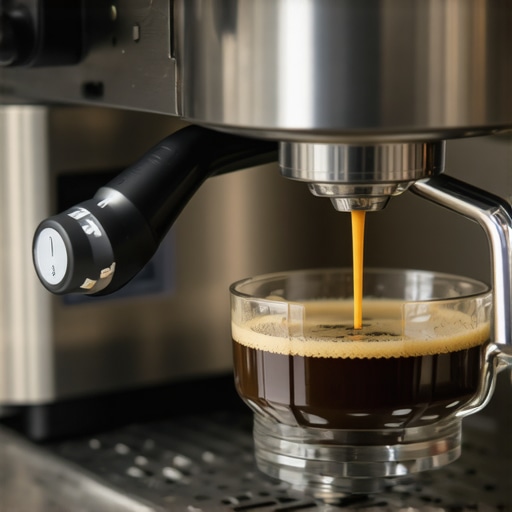
Apart from relying solely on your scale, watch for visual indicators like crema formation and flow rate. During my experiments, I manually timed my shots while observing the crema’s development. When I saw a thin crema and a quick pour, I knew I was under-extracting. Adjusting grind and tamping pressure in response helped synchronize flow with visual cues. Think of this as a feedback loop—like a musician watching the conductor for cues. For tricky scenarios, consult channeling prevention strategies for smoother extraction.
Fine-Tune Your Grinder and Machine Settings
Ensure your grinder’s burrs are properly aligned and settled—this prevents inconsistent grind particle size that causes flow delays. I ran a 5kg bean test to settle my burrs, reducing variability. Also, verify your machine isn’t experiencing thermal lag or pressure inconsistencies. Regular maintenance like descaling and replacing worn parts helps keep system response swift. This is akin to tuning an engine for peak performance—small tweaks yield big results. For persistent issues, explore bean handling tips that improve machine responsiveness.
Integrate These Steps into a Consistent Workflow
Develop a standard routine: calibrate, prepare your grinder, position your scale, and execute timed pulls. During my journey, sticking to a checklist reduced my shot variability. Small, habitual adjustments—like pre-wetting the portafilter or macro-dosing—further refine flow timing. Think of it as sharpening your tools before a big project. Implement these core techniques continually, and you’ll notice your espresso’s clarity and balance improve dramatically, making every shot a testament to precision and practice.
Many enthusiasts believe that simply owning high-end equipment guarantees perfect espresso, but in my experience, this is a myth. The misconception that brand-name machines, grinders, or milk frothers automatically produce cafe-quality results often leads to frustration. A crucial nuance many overlook is that **understanding the specific behavior and limitations of each component** is essential for achieving consistency. For instance, some think that expensive grinders always deliver flawless grounds, yet static buildup or misaligned burrs can cause uneven particle sizes, sabotaging your shot. Regular maintenance and calibration are often more impactful than the mere cost of equipment.
What advanced users often get wrong about pressure profiling
For seasoned baristas, the assumption that automated pressure profiling can replace manual finesse is tempting. However, studies, such as those referenced in a recent _Coffee Science Review_, highlight that **machine settings alone can’t compensate for inconsistencies in input variables—like tamping pressure or bean freshness**. Mastering the nuanced interplay between grind size, tamping, and timing remains vital, even with sophisticated pressure control. Relying solely on automation can mask underlying issues, leading to a false sense of perfection. Be cautious of this trap—automated features are tools, not magic bullets. To dig deeper into this topic, check out pressure lag fixes that reveal how sensor behavior can distort your measurements.
Another common mistake is **overlooking the impact of static and static-related static** on grind consistency. Static buildup in grinders can cause uneven dosing and inconsistent extraction, which is often dismissed as user error. Using static-reduction techniques, like RDT hacks, can significantly improve overall shot quality. For example, implementing static mitigation strategies can reduce grind clumping, leading to more stable flow and extraction. You can explore such solutions in this guide on static fixes.
Remember, a sophisticated setup demands equally sophisticated attention to detail. Combining careful calibration, maintenance, and understanding technical nuances helps elevate your home espresso experience from beginner to an expert level. Have you ever fallen into this trap? Let me know in the comments.
Prioritize Routine Maintenance for Longevity and Consistency
One of the most effective ways to keep your espresso setup performing at its best is regular maintenance. I personally dedicate a few minutes weekly to descale my machine using a trusted descaling solution, which prevents mineral buildup and maintains optimal thermal performance. Additionally, I schedule monthly deep cleanings for my coffee grinder, removing static and residual oils, which ensures uniform particle size and prevents flavor contamination. Consistent care not only prolongs the lifespan of your equipment but also guarantees the high-quality extraction you crave. For detailed routines, consult resources like this guide on boiler maintenance. Regular upkeep is an investment that saves you from costly repairs and inconsistent shots over time.
Invest in Tools That Simplify Long-Term Care
Using specialized tools has transformed my maintenance approach. For example, a burr grinder calibration weight set allows me to verify my grinder’s consistency without guesswork, ensuring that particle size remains uniform after settling burrs. I also rely on a precision pressure tester to regularly check my espresso machine’s pressure stability—crucial for dialing in light roasts or performing pressure profiling. These tools are invaluable because they provide objective data, reducing guesswork and helping me catch small issues before they escalate. A good example is the smart scale that I pair with software to monitor flow rate and respond proactively. Investing in proper tools empowers you to maintain your setup efficiently and confidently.
Future Trends in Equipment Maintenance and Scaling Up
Looking ahead, I predict automation and smart diagnostics will become standard features in high-end home espresso gear. Machines could soon self-report maintenance needs, like gasket wear or boiler efficiency drops, via connected apps. For enthusiasts eager to stay ahead, exploring diagnostic tools like smart power drain fixers is essential. My advice for those serious about scaling: regularly upgrade your maintenance protocols based on these emerging tech insights to prevent downtime and maintain peak performance. This proactive mindset ensures your investment continues to pay off in consistent excellence.
How do I keep my gear working without constant guesswork?
The secret is employing targeted tools—like calibration weights and pressure testers—and establishing a predictable maintenance schedule. For example, I set monthly reminders for descaling and grinder calibration, which significantly reduces variance in my shots. Also, integrating software solutions that monitor flow behavior helps me catch irregularities early. Don’t forget to keep parts like seals and filters conditioned with manufacturer-approved products; they’re the silent heroes of sustained machine health. To start, try implementing a simple but effective tip: use a precision scale to verify your grinder’s consistency after settling burrs using the smart scale. This step alone can dramatically improve your extraction repeatability and confidence. With consistent maintenance and smart tools, you keep your setup performing reliably and delivering championship-level espresso every day.
Lessons That Sealed My Fate as a Home Barista
- Trial and error are your best friends—accepting early mistakes led me to uncover hidden response delays in my scale that I never suspected.
- Sometimes, the simplest fix—like repositioning my scale—delivered the biggest improvements, emphasizing the value of testing assumptions in your setup.
- Understanding the quirks of sensor lag and response times transformed my approach from guesswork to precision, elevating my espresso game significantly.
- I realized that even premium equipment needs regular calibration and maintenance—neglecting this can undo all your technical efforts.
- Embracing visual cues alongside measurement brought a new depth to my practice, allowing for quicker adjustments and more consistent shots.
Uncover My Go-To Gear and Guides for Espresso Perfection
- Smart Scale Technology — I’ve found that investing in a high-response-time smart scale makes a world of difference; it offers real-time feedback critical for fine-tuning extraction.
- Pressure Testing Tools — Using tools like pressure testers, as discussed in pressure lag fixes, ensures my machine maintains consistent pressure profiles, especially on delicate light roasts.
- Calibration Resources — Regularly referencing guides like the dry-erase method keeps my grinder aligned and responsive, preventing static-related inconsistencies.
- Community Tips and Techniques — Engaging with forums and articles like light roast dialing tips helps me stay on the cutting edge of extraction optimization.
This is Your Moment to Brew with Confidence
Your journey toward mastering home espresso flow rate timing is a personal one, filled with experiments, discoveries, and refined skills. Every adjustment you make, no matter how small, pushes you closer to that perfect shot—rich, balanced, and café-quality. Remember, the key isn’t perfection overnight but consistency built through mindful tweaks and learning from each pour. Embrace the process with patience and curiosity, and your espresso will reward you with every flavorful sip. Are you ready to turn your home setup into your personal barista haven? Keep pushing, keep experimenting, and share your successes—your perfect shot awaits!