The Reason Your Milk Foam Collapses Before You Finish Pouring
I recall the moment vividly: I was finally mastering that perfect latte art pour, feeling quite proud of my creamy, glossy milk foam. Then, suddenly, the foam started to deflate. My heart sank as the beautiful microfoam vanished into thin air before I could even finish my pour. If you’ve faced this frustrating situation, you’re not alone. It turns out, there’s a surprisingly simple reason behind this common hiccup, and understanding it can save your coffee moments from disaster.
The Hidden Culprit Behind Falling Milk Foam
Many home baristas and espresso enthusiasts struggle with milk foam that collapses too quickly. This issue can be perplexing because, at first glance, it seems like a minor detail. However, the stability of your milk foam depends on several factors—temperature, milk type, steaming technique, and even the cleanliness of your equipment. Early on, I made the mistake of assuming that the foam’s quality was just about the milk itself, ignoring the importance of proper steaming technique and equipment maintenance. This oversight often leads to unstable foam that dissipates before you can achieve that perfect latte art.
One key aspect I overlooked was the temperature of the milk. Steaming milk to exactly the right temperature—around 140°F to 150°F (60°C to 65°C)—is crucial. Overheating can cause the foam to become too wet or too dry, leading to collapse. Additionally, incomplete or improper cleaning of the steam wand can introduce tiny impurities that destabilize the bubbles. A build-up of residue or mineral deposits may seem trivial, but they can drastically affect foam stability.
For instance, I once ignored the importance of cleaning my steam tip regularly and noticed my foam losing volume quickly. After a thorough clean, involving a quick pipe-cleaner session, my foam lasted much longer, allowing me to craft better latte art and enjoy my drink more. To delve deeper into the importance of equipment hygiene, check out this article on [how to clean a moldy water tank without harsh chemicals](https://espressotechguide.com/how-to-clean-a-moldy-water-tank-without-using-harsh-chemicals). It’s a game-changer for maintaining overall espresso quality.
In the upcoming sections, I’ll guide you through practical, proven steps based on years of personal experience and some expert tips to keep your milk foam stable and your coffee truly satisfying. If this sounds familiar, stay tuned—your foam stability dilemma is about to become a thing of the past.
Master Your Steaming Technique
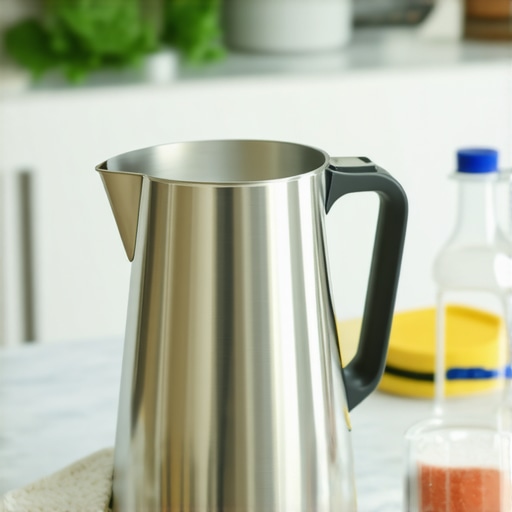
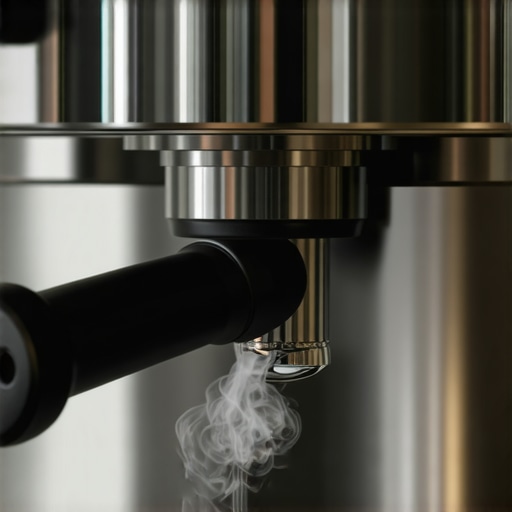
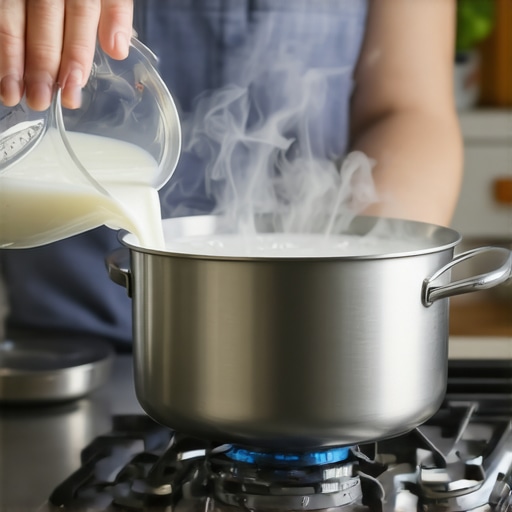
Begin by filling your pitcher with cold milk, ideally whole milk for richer foam. Position your steam wand just below the milk’s surface at a slight angle. Turn on the steam at full power, creating a gentle rippling motion. As the milk heats, lower the pitcher gradually to keep the wand’s tip near the surface, introducing air and creating microbubbles essential for stable foam. When the milk reaches 140°F to 150°F, turn off the steam and wipe the wand immediately to prevent residue buildup, which can destabilize the foam. My first attempt involved too much air, resulting in large bubbles that popped quickly. Once I practiced controlling air intake, my foam stayed stable longer, making latte art feasible.
Refine Your Frothing Technique
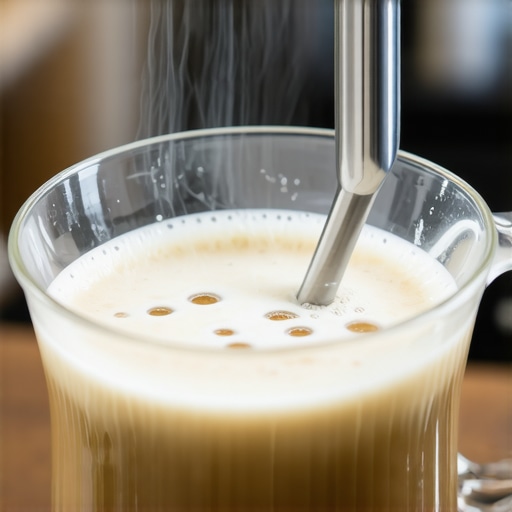
Focus on creating a whirlpool motion within the pitcher. Position the wand slightly tilted and slightly submerged, then introduce a gentle, consistent sound—similar to a hiss. The swirling action ensures the milk heats evenly, breaking larger bubbles into microfoam. If the foam collapses quickly, check if you’re overfrothing; stop as soon as the texture becomes shiny and velvety. Using a digital thermometer helps maintain the ideal temperature, preventing overheating that causes instability. Once I started paying close attention to these details, my latte art improved significantly because the foam held its shape longer.
Clean and Maintain Your Equipment
Regularly clean your steam wand and milk pitcher. Residue or mineral deposits can introduce impurities, causing foam to collapse. To clean the wand thoroughly, use a pipe cleaner and warm water after each session, ensuring no milk residue remains that might weaken the bubbles. For more stubborn buildup, refer to this guide on how to clean a moldy water tank without harsh chemicals. Rinse the pitcher with hot water and dry thoroughly to prevent bacteria growth. Consistent maintenance guarantees you don’t transfer impurities into your milk, securing stable microfoam for your latte art endeavors.
The Significance of Milk Quality and Temperature
Use fresh, cold milk, ideally within a week of its expiration date. Ultra-pasteurized milk tends to produce less stable foams due to altered protein structures. Steam to the right temperature—around 140°F to 150°F—using a thermometer for precision; overheating damages the proteins that stabilize foam. I once guessed the temperature, and the foam deflated quickly. After adopting a digital thermometer, I achieved consistent results. Also, avoid excessive steaming; over-steaming can dry out the bubbles, making them fragile and prone to popping. Practicing these parameters turned my foams from unstable to resilient, enabling smoother latte art pours.
Control the Milk’s Texture and Consistency
Aim for a smooth, glossy, and velvety texture. As you steam, listen for a quiet hissing sound and watch for the milk’s surface to bubble gently. When the milk begins to stretch and form a fine, satin-like foam, it’s ready. If it becomes overly frothy with large bubbles, stop steaming and gently tap the pitcher on the counter to release excess larger bubbles. Pour the milk within 30 seconds of steaming to prevent the foam from separating or collapsing. My early attempts failed because I poured immediately after steaming; now, I wait a brief moment, allowing the foam to settle, which results in more durable microfoam suited for latte art.
Final Tips and Troubleshooting
If foam continues to deflate, double-check your cleaning routine, ensure proper steaming technique, and verify the freshness of your milk. Also, make sure your equipment’s temperature sensors are calibrated if available. For persistent issues, inspect your steam wand for blockages using simple pipe cleaners. Regularly descaling your machine prevents mineral buildup that can impair steaming performance. With these methodical adjustments, your foam stability will improve, leading to consistently beautiful latte art every time.Many espresso enthusiasts believe they have mastered the basics, but beneath the surface lie nuanced pitfalls that can undermine even the most passionate home baristas. One common misconception is that high-end equipment automatically guarantees perfect coffee every time. In reality, many users overlook the importance of understanding the intricacies of their gear, leading to advanced mistakes that can compromise flavor and consistency. For example, relying solely on manufacturer’s specifications without considering specific variables like grind size or tamping pressure can result in uneven extraction and dull shots. Additionally, a frequent oversight is neglecting maintenance routines; even the best espresso machine or grinder can falter if not properly cleaned and calibrated. For instance, neglecting to regularly descale your equipment can lead to mineral buildup, affecting thermal stability and shot quality. Expert sources highlight that consistent maintenance is crucial for preserving machine performance and ensuring optimal extraction conditions. Have you ever fallen into this trap? Let me know in the comments. Recognizing the nuances and avoiding these advanced mistakes can elevate your home brewing from good to exceptional, turning everyday coffee into a craft.
Once you’ve invested in quality espresso machines, grinders, and milk frothers, maintaining them becomes crucial for consistent results. Regular upkeep ensures longevity and keeps your equipment operating at peak performance. Personally, I rely on specific tools and routines to keep my setup running smoothly, and sharing these can help you avoid costly repairs and inconsistent brews.
Invest in Precision Maintenance Tools
One of my go-to tools is an ultrasonic basket cleaner, which I use monthly to remove accumulated coffee oil residues that standard cleaning often misses. This device ensures my portafilter baskets are free of buildup, preventing channeling and uneven extraction. For cleaning stubborn deposits, this guide explains how to get the most out of ultrasonic cleaning for espresso equipment. Regular use dramatically improves shot consistency and flavor clarity.
Choose the Right Tools for Grinder and Machine Calibration
I highly recommend a calibrated digital flow meter for monitoring flow rate and pressure. Over time, grinders and espresso machines drift from their optimal settings, affecting taste and texture. Using precise tools like these allows you to make micro-adjustments, ensuring you maintain ideal extraction parameters. For example, a small tweak in grinder burr alignment, combined with real-time flow tracking, can make a noticeable difference in shot quality. Check out this article about how hybrid burrs may fail on light roasts—being aware of equipment nuances helps prevent unnecessary issues.
Set Up a Routine for Ongoing Equipment Checks
Maintaining your gear doesn’t have to be complicated. I schedule bi-weekly checks, including descaling my machine, cleaning the steam wand with safe descaling methods, and inspecting gasket seals. Using a checklist ensures nothing gets overlooked, and you catch wear-and-tear early—saving money and downtime. Additionally, regular calibration of your milk frother pressure and temperature controls preserves the microfoam quality essential for aesthetically pleasing latte art.
How do I keep my equipment working long-term?
The key lies in understanding that consistent, thoughtful maintenance benefits from the right tools. Investing in a few expert-recommended devices—like ultrasonic cleaners or flow meters—can drastically extend your equipment’s lifespan. Remember, tools like these aren’t just for professionals; they’re an investment in your craft. In the future, technology may bring even smarter diagnostic tools for home use, but for now, a dedicated approach with reliable gear is your best bet. Don’t forget to try incorporating a routine cleaning schedule with a high-quality water filter system—this simple step can prevent mineral buildup and scale issues that often cause expensive damage over time.
For starters, I suggest picking a small ultrasonic basket cleaner to keep your portafilter baskets impeccable. This one tip alone improved my shot consistency significantly. Ready to give it a try? Your setup will thank you with years of reliable performance!
The Hardest Lesson I Learned About home espresso,milk frothers,barista gear,coffee grinders,espresso machines
One of the most humbling yet valuable lessons I encountered was realizing that even the most advanced equipment can falter without proper technique and maintenance. Investing in high-end gear is only half the battle; truly mastering the art involves understanding the nuances of each component and respecting their limits. For example, I used to think that a powerful steam wand could fix any foam stability issue, but I learned the importance of precise temperature control and regular cleaning to truly achieve microfoam that holds shape. This revelation pushed me to dive deeper into routine maintenance routines and to approach each step with mindfulness, dramatically improving my latte art and overall coffee experience.
My Essential Toolkit for Consistent Coffee Art
Over time, I gathered tools that made a real difference. A digital thermometer became my best friend, ensuring I steamed milk at the perfect temperature every time—crucial for stable foam. Regularly using a pipe cleaner on my steam wand, as suggested in this guide, kept residue at bay, preventing foam collapse. An ultrasonic basket cleaner for my portafilter baskets helped me eliminate oils and build-up that could disrupt extraction. These tools, combined with consistent maintenance routines, elevated my coffee game far beyond initial expectations, showing that small investments in proper tools can yield huge improvements.
This Is Your Moment to Elevate Your Home Barista Skills
Remember, every great latte starts with attention to detail. Embrace the learning process, and don’t shy away from experimenting with your equipment and techniques. Your journey toward perfect microfoam and beautiful latte art is uniquely yours—celebrate each milestone and learn from setbacks. The future of home espresso is bright, especially when you combine passion with the right know-how. Keep practicing, stay curious, and soon you’ll find that creating café-quality drinks at home is not just a possibility but an everyday reality.