The Real Reason Your Puck Screen Keeps Getting Stuck to the Group Head
Ever had that frustrating moment when, just as you’re about to extract a perfect shot, your puck screen suddenly sticks to the group head? I’ve been there. One morning, after a routine tamp and pull, I watched in disbelief as the puck screen stubbornly refused to come off, messing up my flow and leaving me frustrated. It’s one of those small nuisances that can feel like a major setback, especially when you’re chasing that ideal espresso.
But here’s the thing—it’s more common than you think, and understanding the *why* behind it can save you a lot of headaches. Today, I promise to uncover the real reasons your puck screen keeps sticking, and more importantly, share practical solutions that actually work. No more guessing, no more swearing at your machine.
Why That Sticky Puck Screen Might Be Sabotaging Your Coffee Day
Puck screens are designed to keep your brew head clean and prevent grounds from falling into the drip tray. However, if you’ve ever struggled with a screen that feels glued to the group head, you know it can interfere with your routine, prolonging cleanup and risking damage to your equipment. From my experience, the culprit often isn’t what you’d expect—it’s usually related to a combination of residual coffee oils, build-up, and improper cleaning techniques.
In the early days of my espresso journey, I made the mistake of rinsing my puck screen with water only when clearing the portafilter. That quick rinse seemed harmless at first, but over time, a stubborn layer of oily residue accumulated, acting like glue every time I removed the screen. It wasn’t until I discovered the importance of regular deep cleaning, including descaling the brew head, that things started to improve.
There’s an external expert consensus too—according to [Espresso Tech Guide](https://espressotechguide.com/why-your-group-head-screen-is-clogging-and-the-weekly-scrub-that-fixes-it), regular maintenance involving occasional deep cleaning of the brew head and puck screen not only prevents sticking but also enhances overall shot quality.
So, if you’re tired of wrestling with that sticky puck screen, the fix lies in understanding the root cause and adopting a consistent cleaning routine. Let’s dive into the specific steps that will make your espresso experience smoother and more enjoyable.
Deep Clean Regularly to Break the Bond
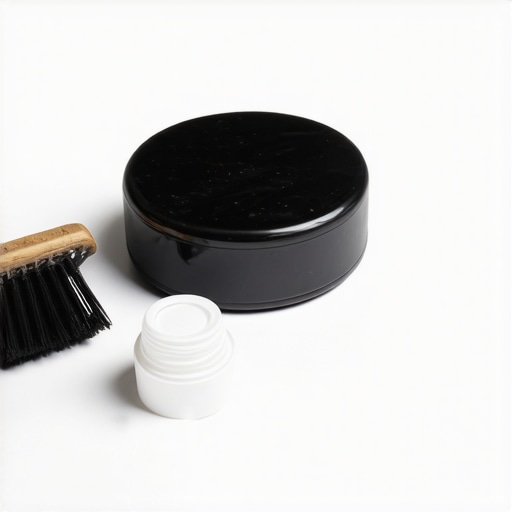
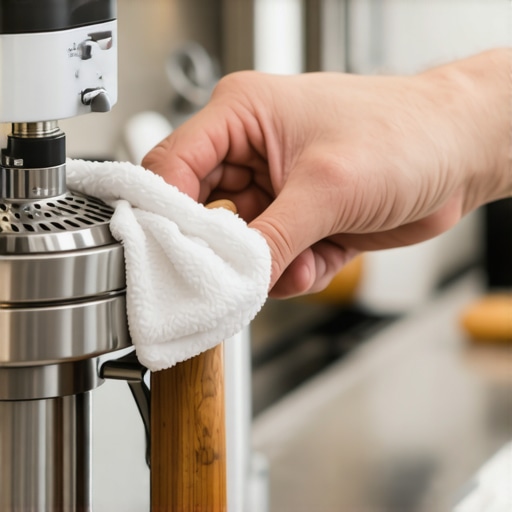
Think of your puck screen like a car windshield; over time, oil and grime form a stubborn layer if neglected. I once ignored cleaning mine for a week, and pulling it off felt like peeling tape after a glue party. To prevent this, integrate a deep cleaning routine every couple of weeks. Remove the puck screen, soak it in a solution of hot water and espresso machine cleaner, then scrub with a soft brush. This not only loosens oily buildup but also restores the original non-stick surface, making removal smooth and effortless. Regular cleaning is your best defense against the sticky situation.
Sebring the Gasket and Seal Checks
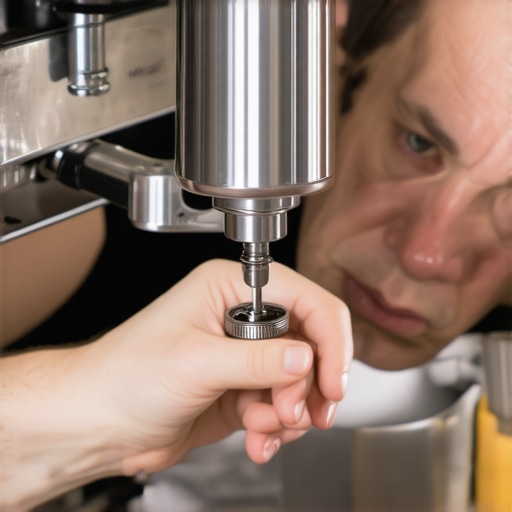
Sometimes, the issue isn’t just the screen but tiny leaks or malfunctions in the gasket or seal that cause excess pressure buildup, leading to adhesion. During my maintenance days, I always inspect the seals around the brew head. A worn or loose gasket can cause the puck screen to adhere by creating uneven pressure zones. If you notice signs of wear, replace the gasket promptly. Checking your pump and seal integrity regularly ensures the puck screen stays free and easy to remove.
Adjust Pressure and Tamping Techniques
Improper tamping can also contribute to the screed sticking problem. Applying uneven pressure or tamping too forcefully creates a dense puck that ‘glues’ the screen in place. I used to press with all my might, leading to resistance when removing the puck. Instead, aim for a firm, level tamp, about 30 pounds of pressure, and ensure the grounds are evenly distributed. This modulates the pressure in your brew head, reducing the likelihood of adhesion. A smoother extraction process translates into an easier puck screen removal.
Use Proper Backflushing to Maintain Flow
Residual oils and grounds can cause build-up behind the puck screen, acting like glue. Incorporate a weekly backflush with cleaner designed for your machine. This process pushes out any accumulated oils, keeping passages clear. When I started backflushing regularly, I noticed my puck screens came off without resistance—the difference was night and day. Remember, regular backflushing not only keeps your puck screen free but also prolongs the life of your machine’s internal components.
Apply a Light Lubricant as a Last Resort
If all else fails and your puck screen continues to stick, applying a tiny amount of food-grade lubricant around the edges can help. Use sparingly—a drop or two—on the inside rim of the screen or the groove it slides into. Always ensure the lubricant is safe for food contact and does not contaminate your espresso. This trick can be a quick fix when you’re rushing but should be part of a broader maintenance routine to avoid long-term issues.
Many home baristas and enthusiasts assume that buying the latest gear guarantees perfect espresso, but this is a misconception worth busting. For instance, a common myth is that expensive grinders automatically produce better shots. While high-quality grinders are beneficial, they won’t compensate for poor tamping or inconsistent dosing. In fact, many overlook the importance of understanding the nuances of burr alignment and how hybrid burrs fare on light roasts, which can significantly affect grind consistency and shot quality.
Investing in Quality Tools That Last
Having the right equipment is just the start; maintaining it is what ensures long-term performance. For home espresso enthusiasts, I swear by a high-quality burr grinder with adjustable settings and durable materials. I personally use a set of precision calibration tools, such as a dial gauge, to fine-tune burr alignment, which has significantly improved shot consistency. Avoid cheap plastic parts—investing a bit more upfront saves you from frequent replacements and subpar results. Additionally, keeping dedicated cleaning brushes and descaling kits handy helps uphold your gear’s integrity.
The Power of Regular Upkeep
Think of your espresso machine and grinders as high-performance engines; they require regular oil changes and adjustments. I schedule weekly cleaning routines, which include backflushing with a specialized cleaner like cafiza, and deep cleaning of the brew head and portafilter. For grinders, I purge and brush the burrs after every few uses, especially when grinding ultra-light roasts that produce finer grounds prone to clumping. Regular maintenance not only extends the lifespan of your equipment but also enhances your coffee’s flavor profile. For example, descaling your machine prevents mineral build-up that can cause inconsistent temperatures and pressure issues, which you can read more about in [this detailed guide](https://espressotechguide.com/why-2026-boiler-scale-choked-5-signs-you-need-a-flush-2).
Tools That Make a Difference in the Long Run
Beyond cleaning, consider tools that help troubleshoot and optimize your setup. A TIMING DOSE TUBE, for instance, ensures consistent extractions by maintaining uniform tamp pressure and tamping depth. I recommend a good timer and flow meter to monitor shot time and water flow, making adjustments easier and more scientific. An adjustable pressure gauge on your espresso machine can detect pressure variances that signal gasket or seal wear, preventing costly repairs down the line. For grinder calibration, use a burr alignment kit to detect uneven burrs, which are a common cause of bitter or sour shots, especially with hybrid burrs on ultra-light roasts.
Future-Proof Your Setup with Smart Tech
Looking ahead, smart sensors and IoT-enabled devices are beginning to automize and refine maintenance. Predictive descaling and usage alerts help you stay ahead of wear and tear, reducing downtime and ensuring consistent quality. Many high-end machines now include diagnostic apps that log performance metrics—making troubleshooting quicker and more precise. Personally, I’m excited about integrating a smart scale with flow rate monitoring into my workflow, which allows me to make micro-adjustments for espresso extraction perfection.
How do I maintain my espresso setup over time?
The key is establishing a disciplined routine—regular cleaning, calibration, and component checks. Invest in quality tools like burr calibration kits and pressure gauges, and don’t overlook the importance of descaling. Remember, a well-maintained setup not only produces better coffee but also lasts for years, saving you money and frustration. For detailed tips on calibration, check out the guides on grinder alignment and calibration. Try integrating a flow meter into your workflow to fine-tune shot timing; it’s an advanced tip that pays dividends for serious enthusiasts.
The Hardest Lesson I Learned About barista gear,milk frothers,home espresso,coffee grinders,espresso machines
Early in my coffee journey, I underestimated the importance of thorough cleaning routines, assuming that regular rinsing was enough. I later discovered that residual oils and mineral build-up could cause stubborn sticking, leading to frustration and inconsistent shots. This taught me that investing time in deep cleaning is essential for smooth removal of puck screens and excellent espresso quality.
3 Myths About barista gear,milk frothers,home espresso,coffee grinders,espresso machines That Held Me Back
One common misconception was that expensive equipment guarantees perfect results. I learned that even top-tier gear needs proper maintenance—neglecting this can severely impact performance. Additionally, I believed that quick rinses sufficed, but deep cleaning revealed how buildup from oils and minerals could cause sticky puck screens. Debunking these myths became a game-changer in my coffee ritual.
What Experts Won’t Tell You About barista gear,milk frothers,home espresso,coffee grinders,espresso machines
Many professionals emphasize regular maintenance routines over purchasing new equipment. They often omit how crucial deep cleaning and calibration are for preventing issues like sticking puck screens. Experts also suggest inspecting seals and gasket integrity periodically—small fixes that dramatically improve machine longevity and shot consistency. Taking this advice transformed my approach to home espresso craftsmanship.
Curated Resources to Elevate Your Coffee Setup
- Espresso Calibration Tools: A precision burr alignment kit has helped me achieve consistent grind quality, essential for preventing puck sticking and ensuring flavor clarity.
- Deep Cleaning Solutions: Cafiza and similar cleaners are my go-to products for maintaining clean brew heads and puck screens, prolonging equipment life.
- Instructional Guides: The comprehensive articles on hybrid burr and grinder maintenance offer valuable insights for troubleshooting common grinding issues affecting shot quality.
- Pressure Gauges and Flow Meters: These tools help monitor and optimize pressure during extraction, preventing buildup that can cause puck screen sticking and improving overall espresso performance.